I’ve now had the pleasure of working with interior stylist & writer Laurie Davidson twice. Laurie was working as the homes editor for Style At Home magazine back when I was featured so was sent down to style my home for the shoot along with interior photographer extraordinaire Colin Poole who has shot the houses of many celebs as well as for pretty much every magazine & publication you can think of. I was in good hands.
Fast forward 18 months & Laurie visited yesterday as part of my Ideal Home magazine shoot after becoming self employed. She now works freelance for various magazines as well as writing for online publications. She also managed to bag Colin to come back & reshoot too which was brilliant as they were both so lovely, something which is definitely needed when you have to hold a pose with an empty mug of pretend tea, waiting for the sun to come back out from behind a cloud.
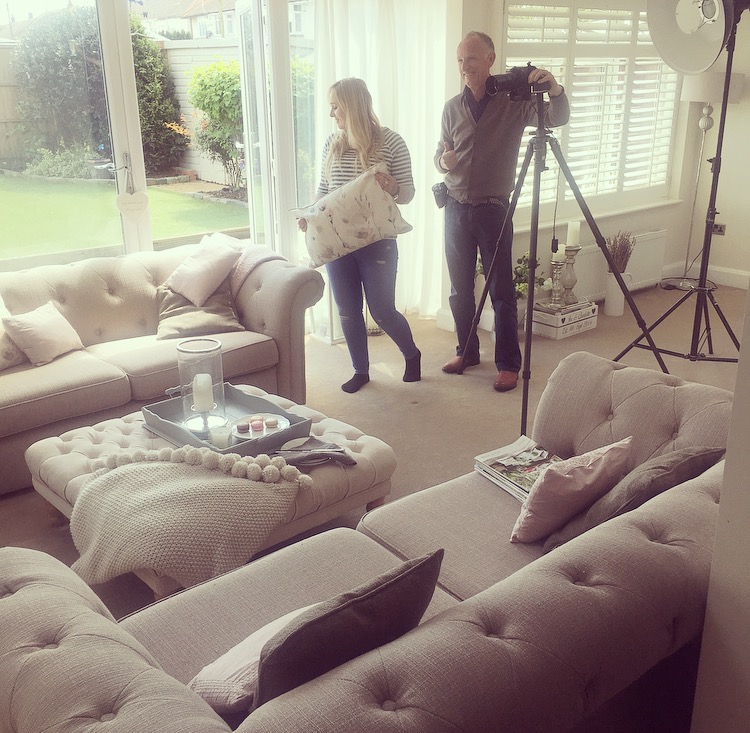
I wrote about my photoshoot experience here previously. The shoot itself was very similar however I soon learnt that the expertise from the professionals was SO important to know what look to go for depending on which magazine it’s going to be publicised in. Ideal Home is a completely different kettle of fish to Style At Home.
Being on an interiors photoshoot is such a learning experience; you will honestly never look at a magazine or publication in the same way. I now appreciate each image so much more as you realise the hard work & time that goes into getting each ‘picture perfect’ shot. From moving a mug a few centimetres to the left to what I learnt was every stylists nemesis; creased bedlinen.
Laurie has put together a list of 5 tips for any budding stylist or to help you achieve the perfect Instahome images.
1. When shooting for magazines, some of the more practical items can be unsightly so we often remove them. This goes for things like TVs, toasters, old tea towels, plugs and wires, bins etc. Have a look at your picture and see if there’s anything in it that isn’t visually pleasing and if it’s easy enough, take it out.
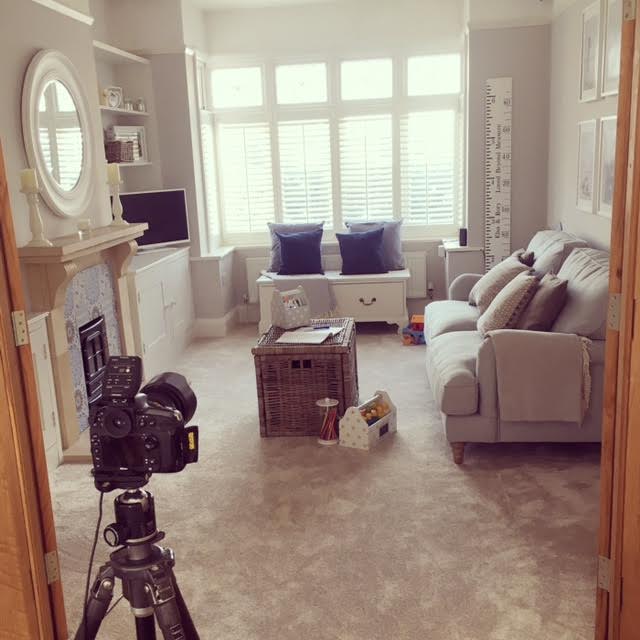
2. Think about what sort of look you want for your picture and take that into consideration when styling it – for example, if you want a hotel-style/showhome finish, then symmetrical cushions, lamps and vases work well, and usually an even number of each either side. For a more laidback look, group objects together instead, in groups of three or five.
3. Look at heights of objects and make sure you have varying levels to keep it visually interesting. Make sure you don’t have things ‘growing’ out the top of other objects (for example, a pendant light over the top of a vase of flowers).
4. Bed linen is a stylist’s nemesis – throws and bedspreads are a godsend, so make good use of them if you don’t want to get the iron out. Check seams and edges are all neat and any zips and labels are hidden.
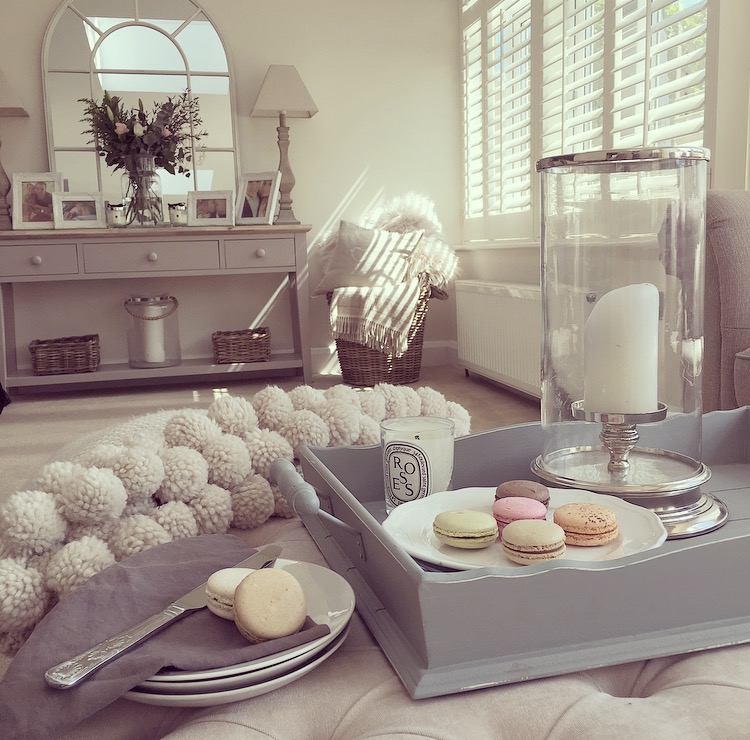
5. Don’t be afraid to pull things into shot to make it more interesting – the corner of a rug, the side of a table, the edge of a napkin.
Laurie carries with her full of stylist essentials when she goes on shoots which she let me have a little look at to see what type of thing comes in handy when you have to prepare for anything.
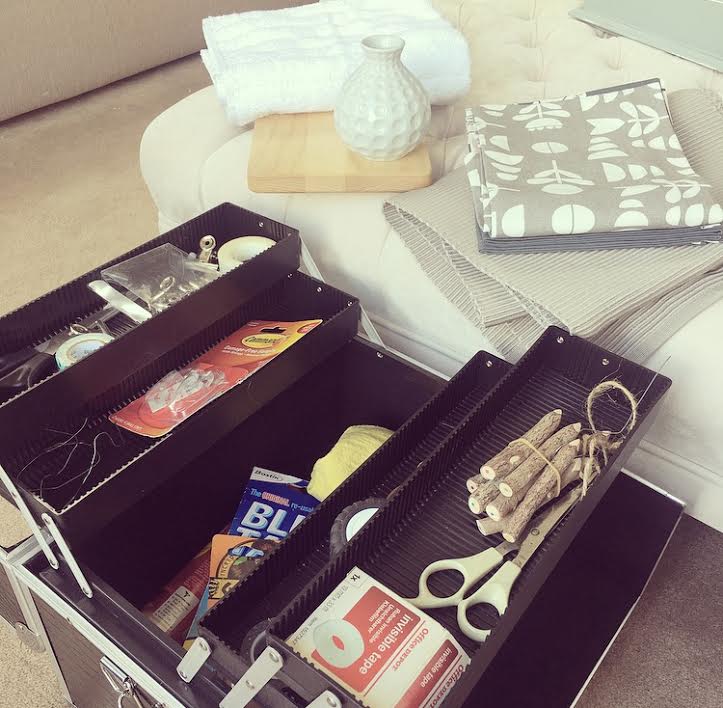
She explained –
A stylist’s kit is vital for shoots and there are a range of things I carry with me to each and every one. My kit box is a make-up box, as it has lots of compartments to keep things in order, which is ideal. In here, I keep items like tape, scissors, blue-tac, matches, glue, florist’s wire, a duster and polish, etc, plus I always have some Command M strips for putting up pictures (as they don’t mark the wall and are easily removeable). A needle and thread, tape measure and clips are also handy.
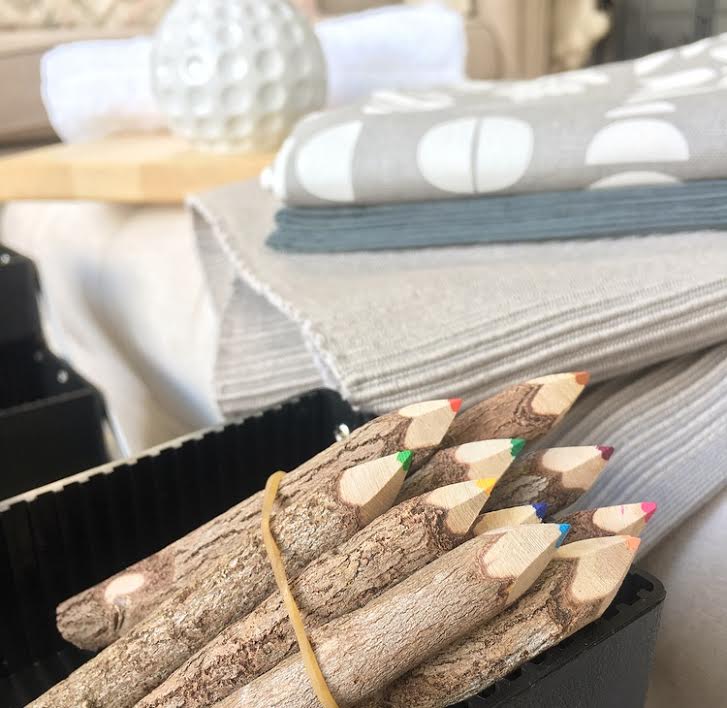
She also came with a large bag full of props ready to style rooms when they need just something a little bit extra –
When it comes to larger props, here’s a breakdown of the essentials I always have on me:
- Kitchen – tea towels, teapot, bread board, food props (dependant on season).
- Living room – neutral cushions (incase I have to ‘pad out’ a sofa), a few different throws, vases, books.
- Dining room – table runner, glass jug, flowers, cutlery, napkins.
- Bedroom – Throws (again), smaller vases, candles
- Bathroom – Towels, bath mat, storage basket, candles and toiletries
Thank you so much to lovely Laurie for bringing her expertese to The Home That Made Me. You can also find her on Instagram @ldavdiso.
Would you be interested in a workshop with Laurie & I on how to style your home along with tips on getting your home publicised? Stay tuned for an exciting opportunity.
Love,
Another amazing read on my cup of tea break! Lions all of these tips, I also loved your videos throughout the day and totally agree that you can see how much effort and time goes in and in makes you look at magazine images different. It also in a strange way makes you appreciate that these homes have been styled, sometimes I can be hard on myself about the house looking perfect on a day to day but it’s not always possible when actually living in it! Plus of course preying for a workshop spot ?? Naomi (K&B) xxxxx
Oops!! typo!! Love*** ?