The thing I’m most known for is neutral interiors & my main principle is to keep the things that are hard/expensive to change (walls & main furniture) light & inoffensive so you’ll never fall out of love 3 months down the line but then add personality, depth & colour by using cushions, throws, curtains & accessories.
I’m a big fan of styling the seasons & creating a new look by switching up soft furnishings & accessories as/when you feel like it. They play a HUGE part in the overall look & feel of a space & can make or break when designing a room.
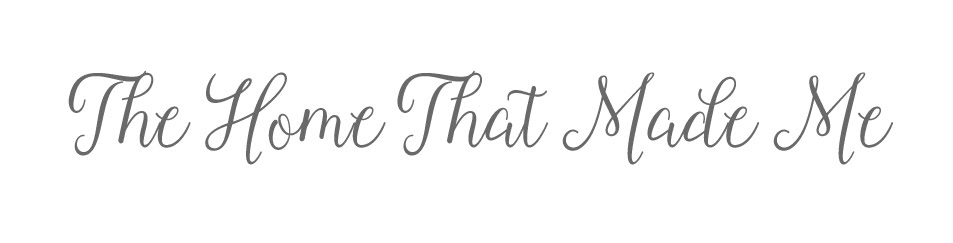
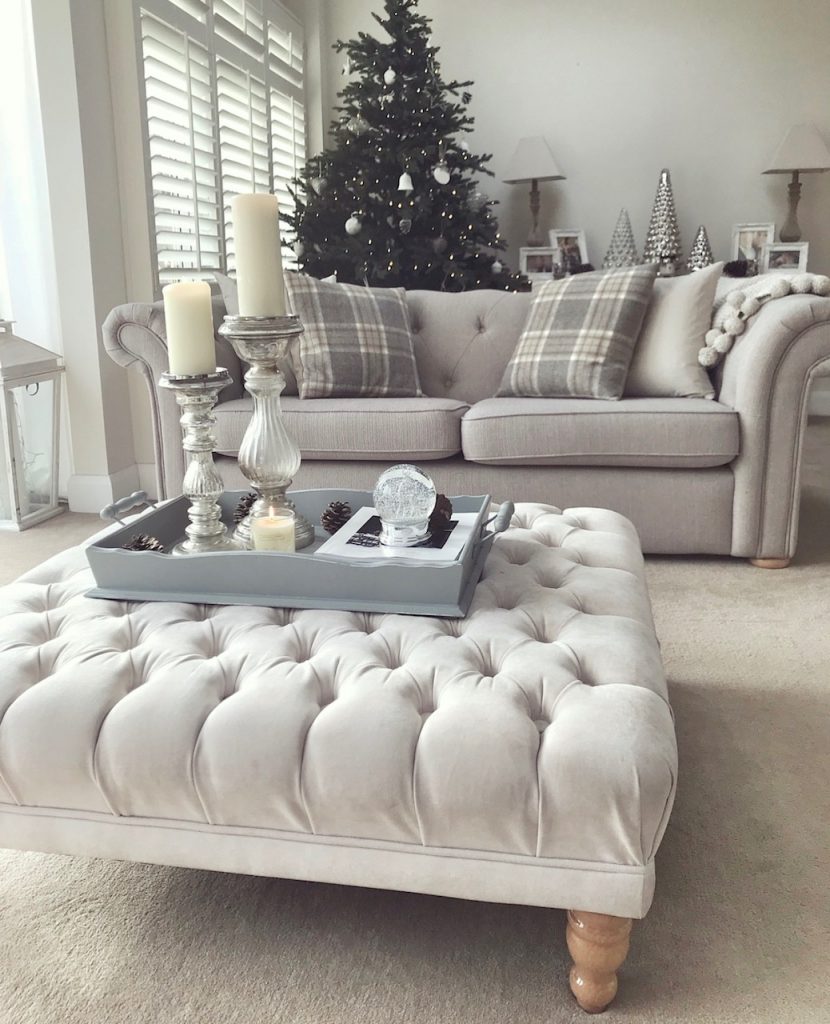
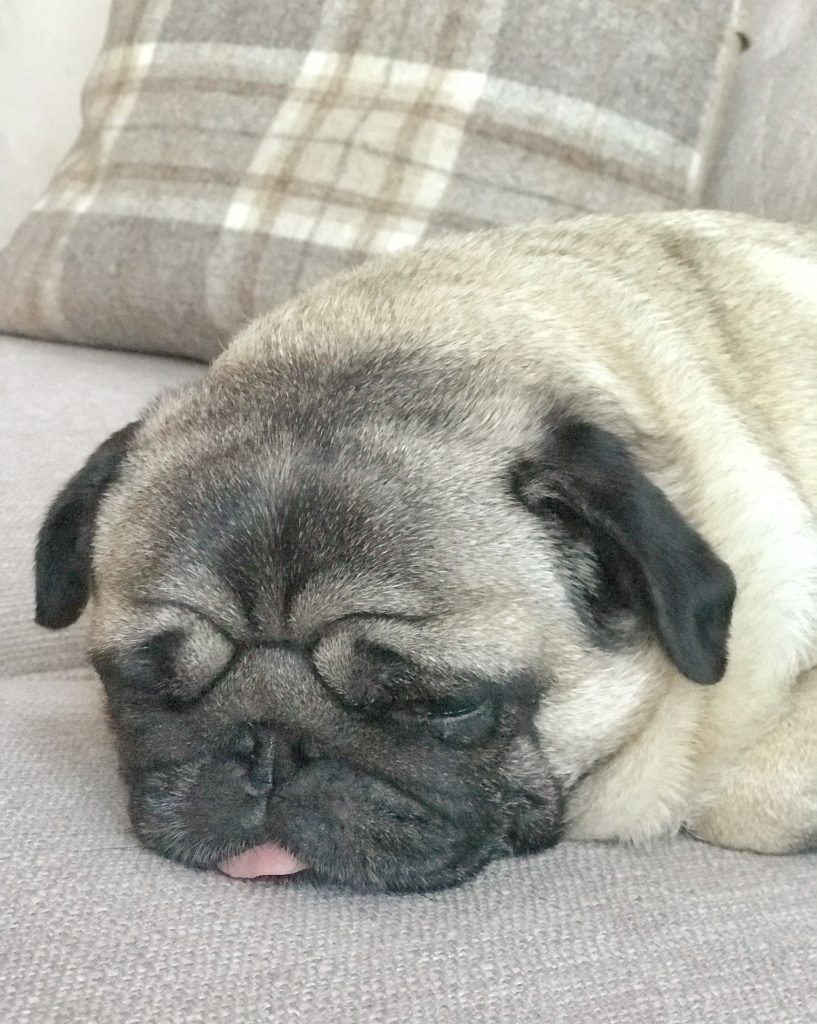
You know when you know in your head what you want but can’t quite find it? Well that was me when searching for some new cushions to give my living room a new look for the festive period (& in fact, they’d look beautiful year round!) & match my Scandi style Christmas decor of white & silver. I was left disappointed by the choices from high street stores.
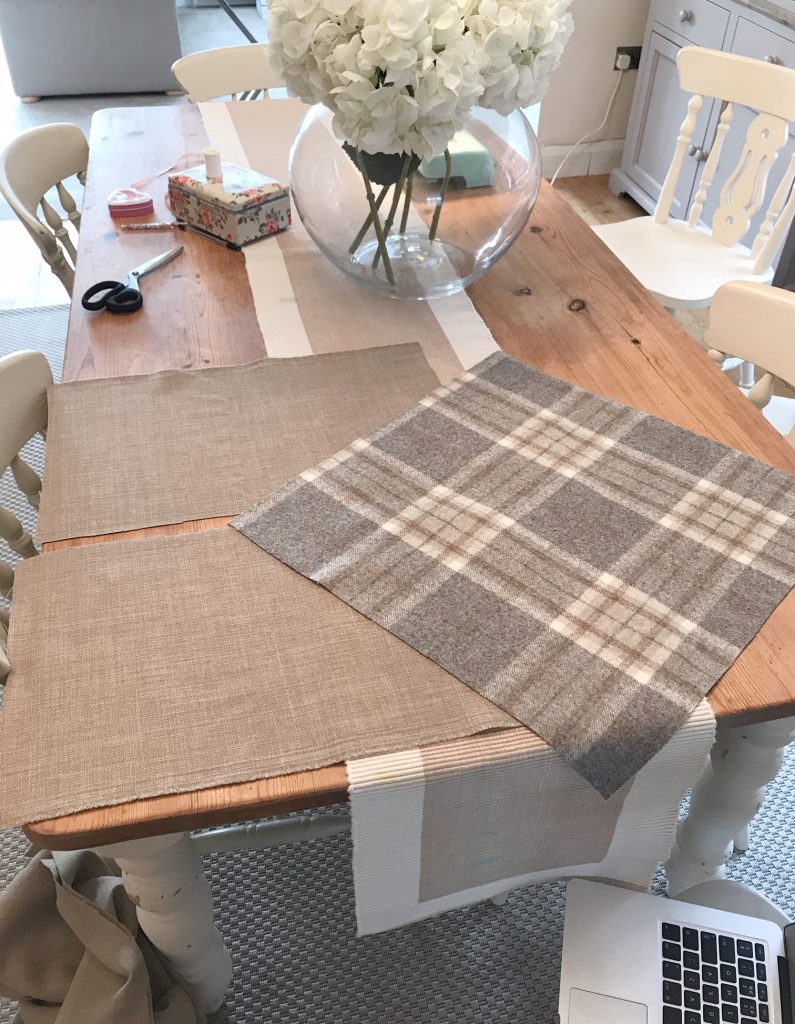
Nothings going to stand in my way between having the perfect cushion though so I went on the hunt for some beautiful fabric in an attempt to make some myself & came across Remnant Kings who are a 3rd generation family fabric retailer, established in Glasgow over 70 years ago. They now have five stores across central Scotland, a sister wholesaler and an online store at www.remnantkings.co.uk selling all kinds of fabric (dressmaking, interiors, quilting etc) as well as specialising in made to measure curtains and blinds.
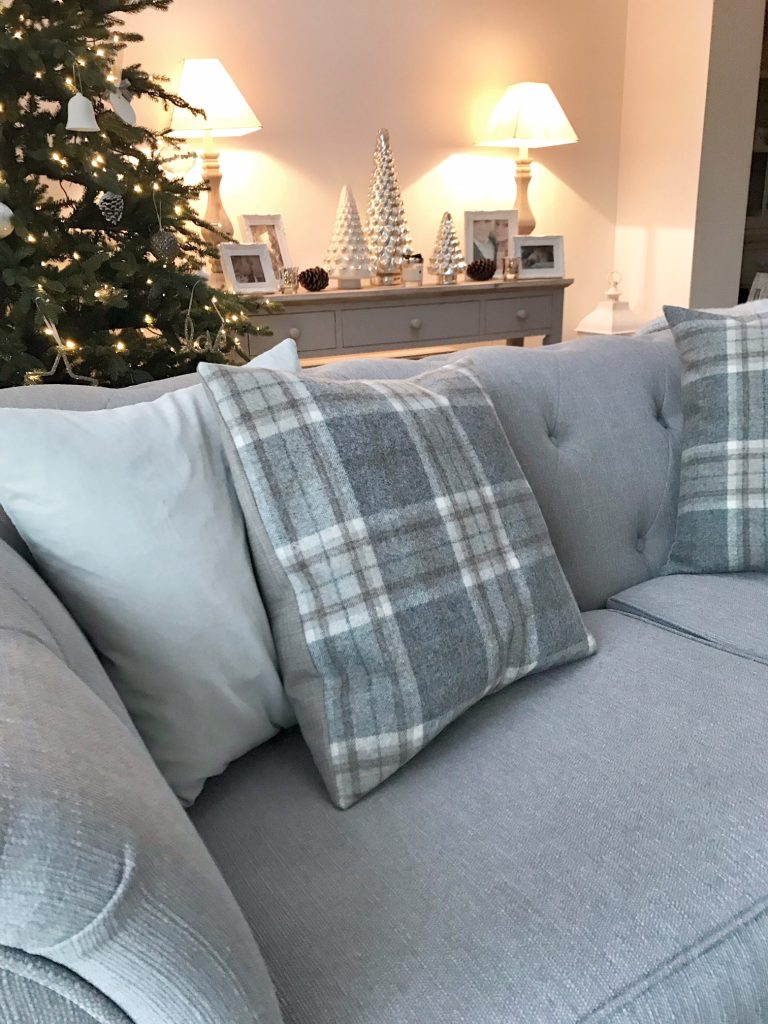
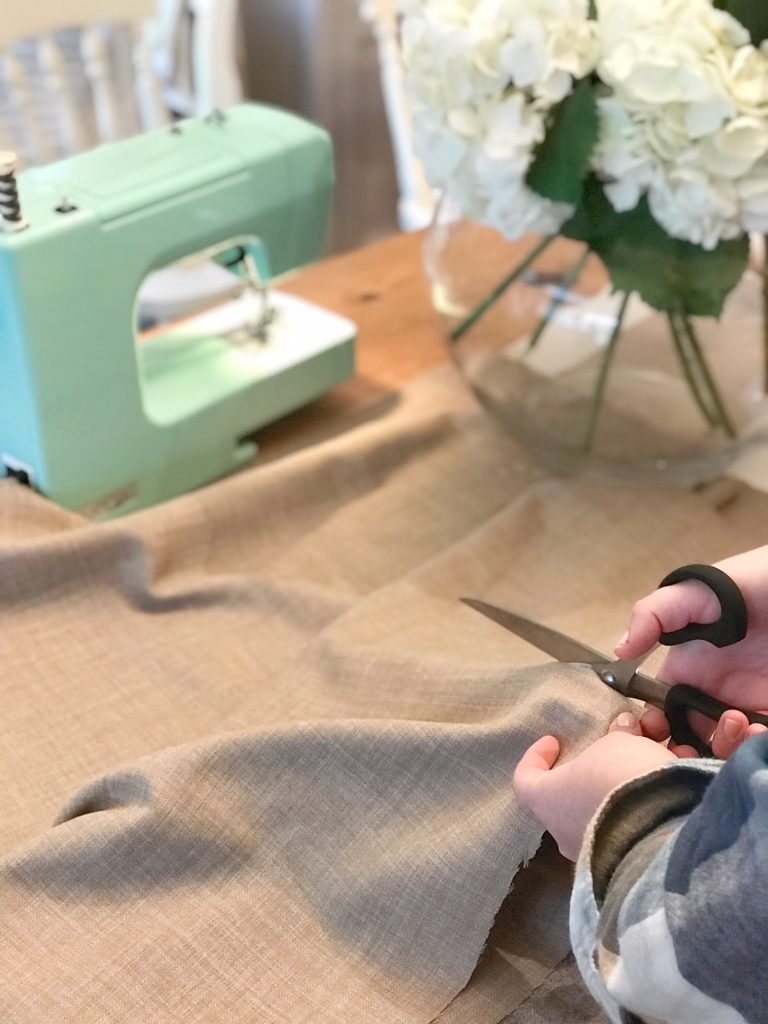
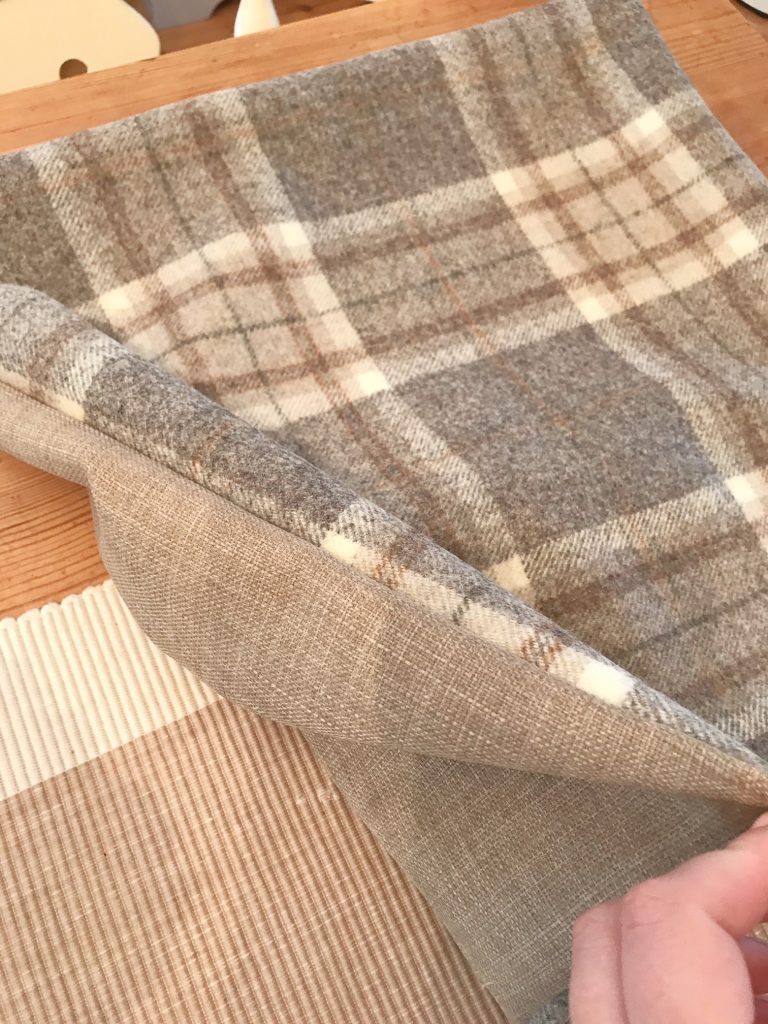
The fabric that caught my eye was the Moon Aysgarth in ‘Mushroom’. To save money, I went for a plain fabric for the back with Clarke & Clarke Linoso in Linen which works beautifully.
I also ALWAYS recommend going for the best quality pads you can – not only do they feel super soft but they also hold their shape & don’t end up looking thin & ruined after a month. I wanted 20′ (50x50cm) so went with these duck feather cushion pads but other sizes include 15′, 16′, 18′ & 22′ depending on what size suits your space.
Now, let me first say that I am definitely no sewing machine whizz….I had a couple of lessons which Joe bought me (along with my sewing machine which you can find here available in 3 gorgeous colours) as a wedding present back 3 years ago so I know how to set it up & the basics. Envelope cushions are one of the most basic things to make so anybody can do it & once you’ve mastered it, the possibilities are endless for your decor (or even if you want to make your own clothes!) for a fraction of the price of buying ready made.
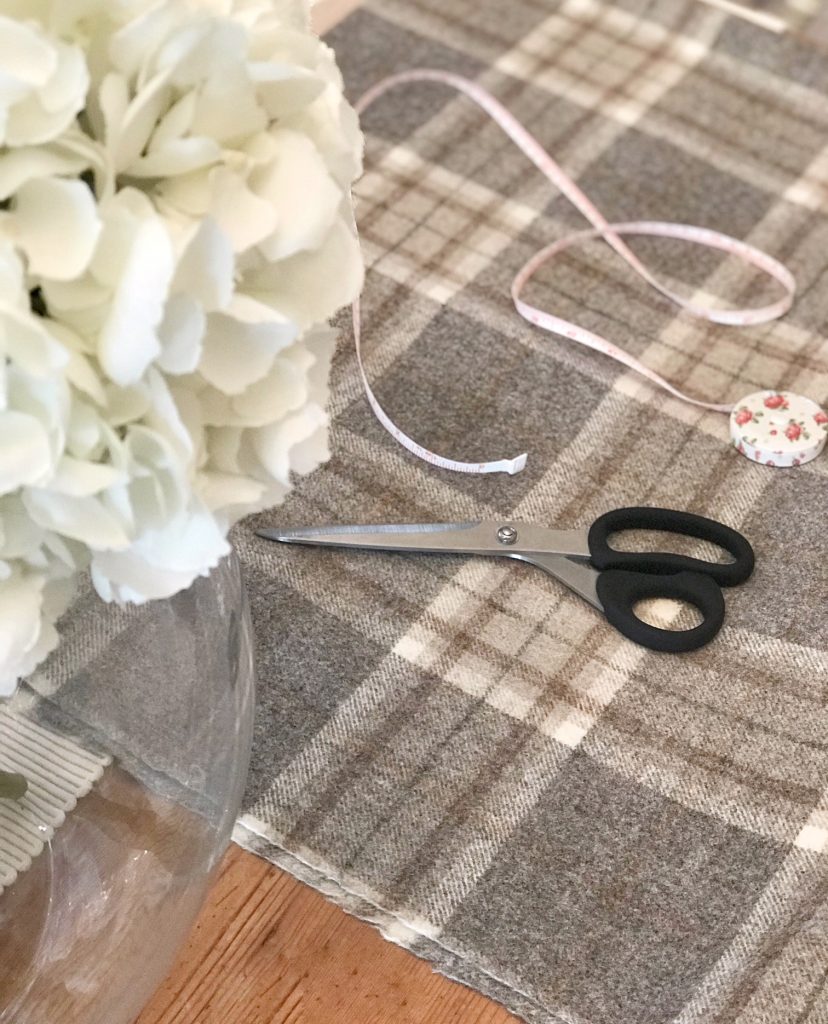
WHAT YOU’LL NEED –
- Your chosen fabric
- Cushion pad in your chosen size
- A sewing machine
- Some thread (ideally a matching colour to your fabric)
- An iron & ironing board
- Scissors
- Tape measure
- Pins
- A pointy but not too pointy thing – I used a pen
HOW TO –
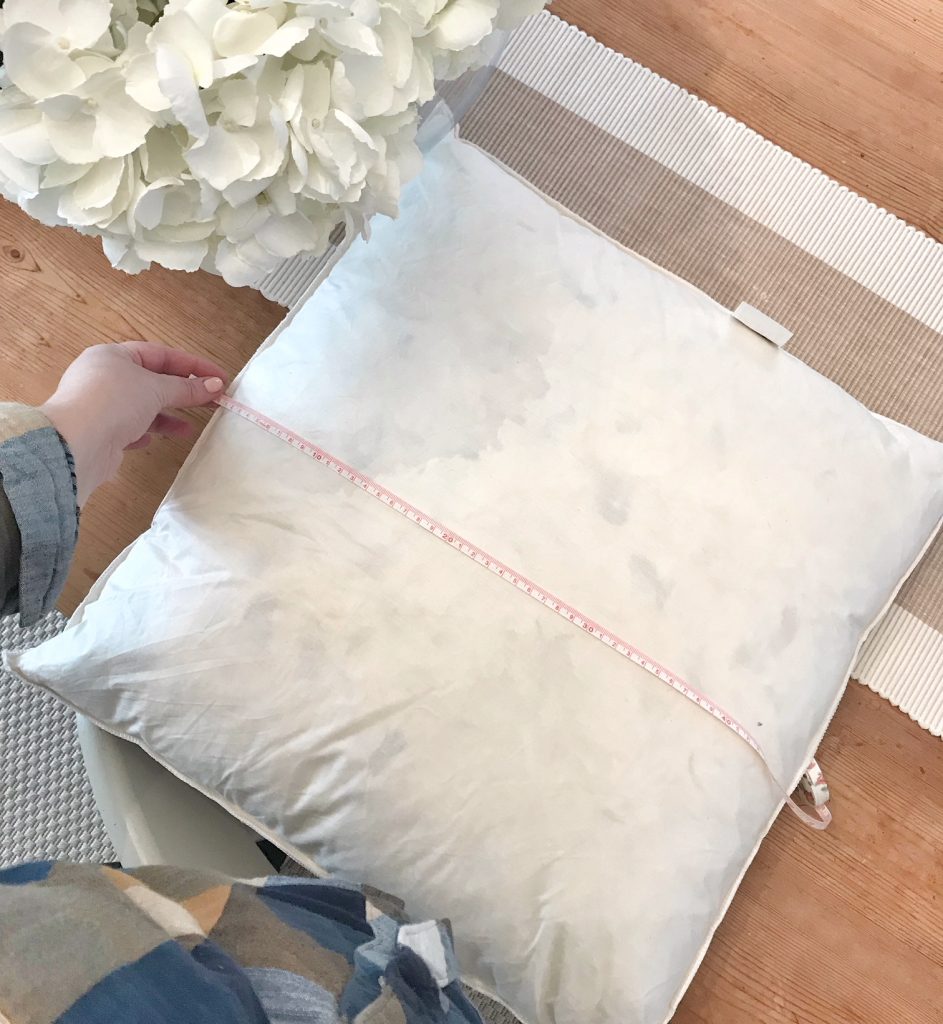
STEP 1: Measure your cushion.
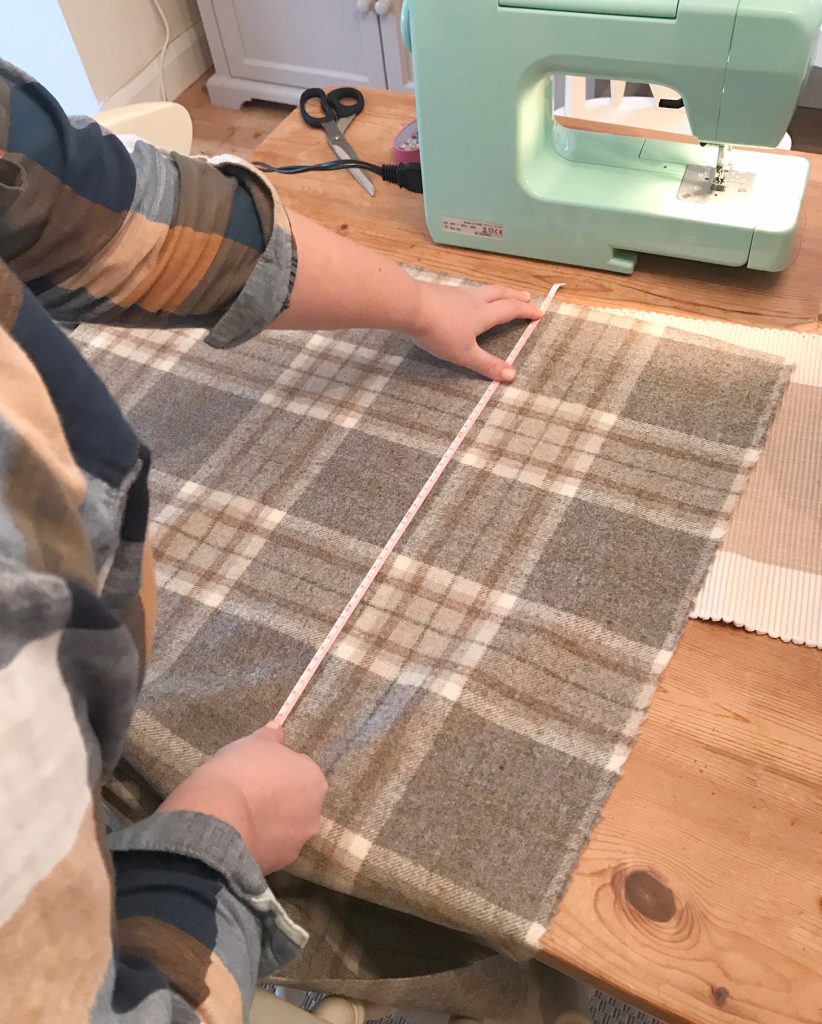
STEP 2: Using your measurements, cut your front piece of fabric to exact measurement (if your cushion pad is 20′ then cut your fabric to 20′ x 20′ or 50 x 50cm.
STEP 3: Next cut your ‘envelope’ back pieces. You’ll want 2 pieces that lap over each other so for example my 20′ cushion would need 2x 10′ HOWEVER add on 2′ to each piece so that would mean you’d cut 2x 12′ x 20′ pieces (if 16′ then cut 2x 10′ x 16′ or for 18′ then cut 2x 11′ x 18′ etc).
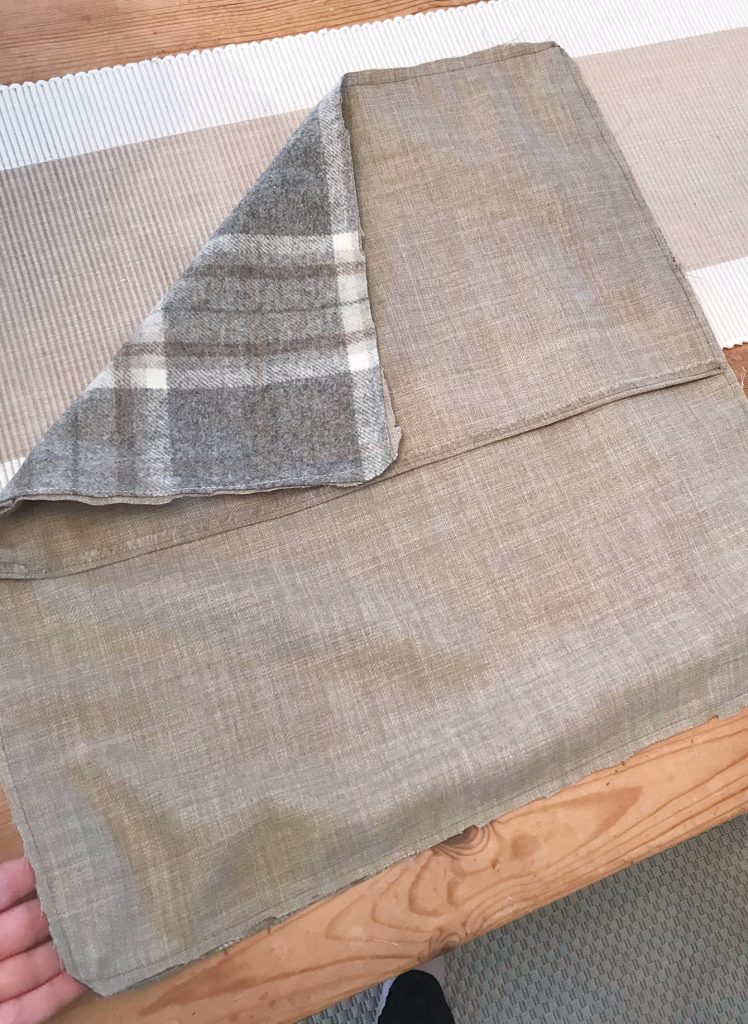
STEP 4: Lay out your 3 pieces that should look like this.
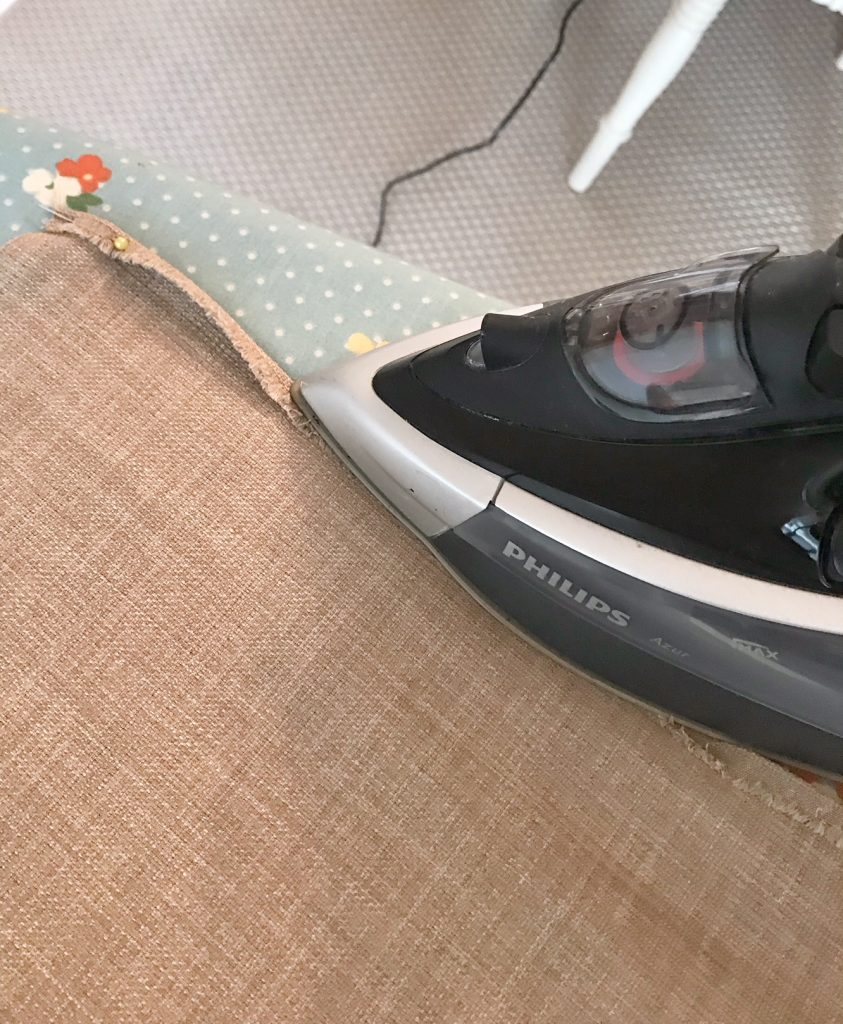
STEP 5: With your 2 smaller back pieces, slightly fold back to create a perfect line then iron one long edge of each. This will be seen so its important to stop any fraying & obviously wonky cutting.
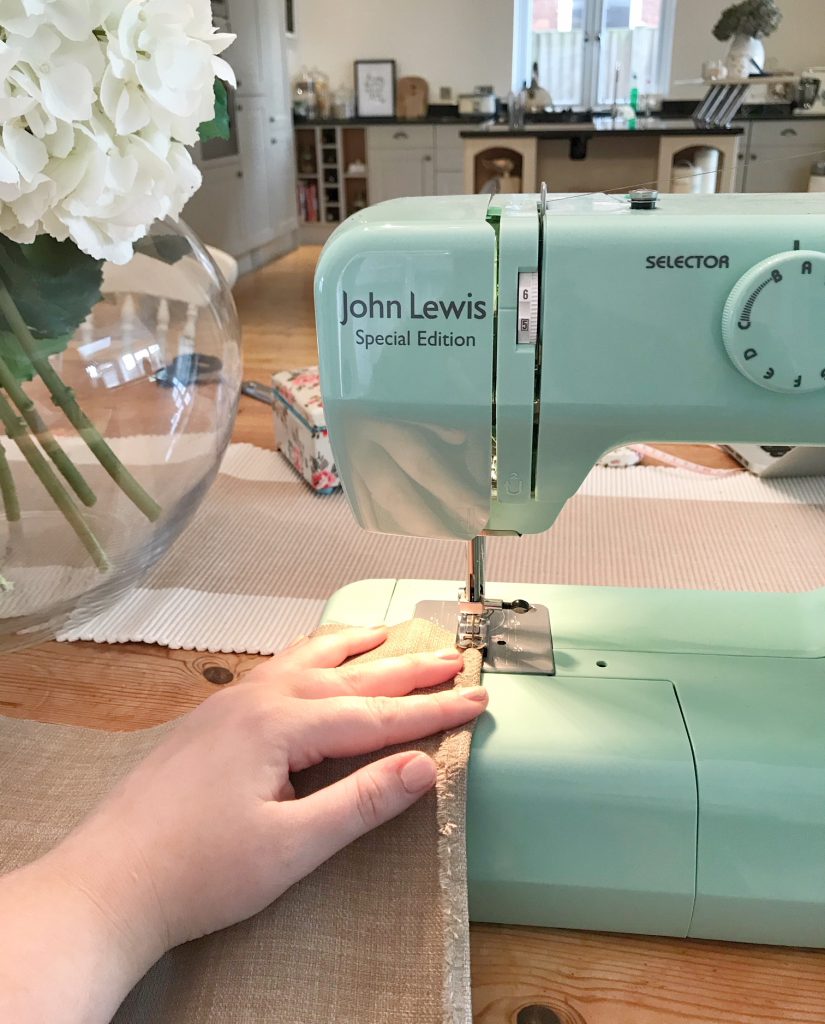
STEP 6: Sew these folds down.
STEP 7: Now to put your cushion together. Place your cushion down with your patten (what you’d see) facing forward.
STEP 8: Place 1 of your back pieces down with the back of the fabric looking towards you (so the nice patterned sides are facing one another – think what is inside this will be what you see at the front/back of your cushion).
STEP 9: Place the second piece down so they are overlapping, again with back of the fabric facing you.
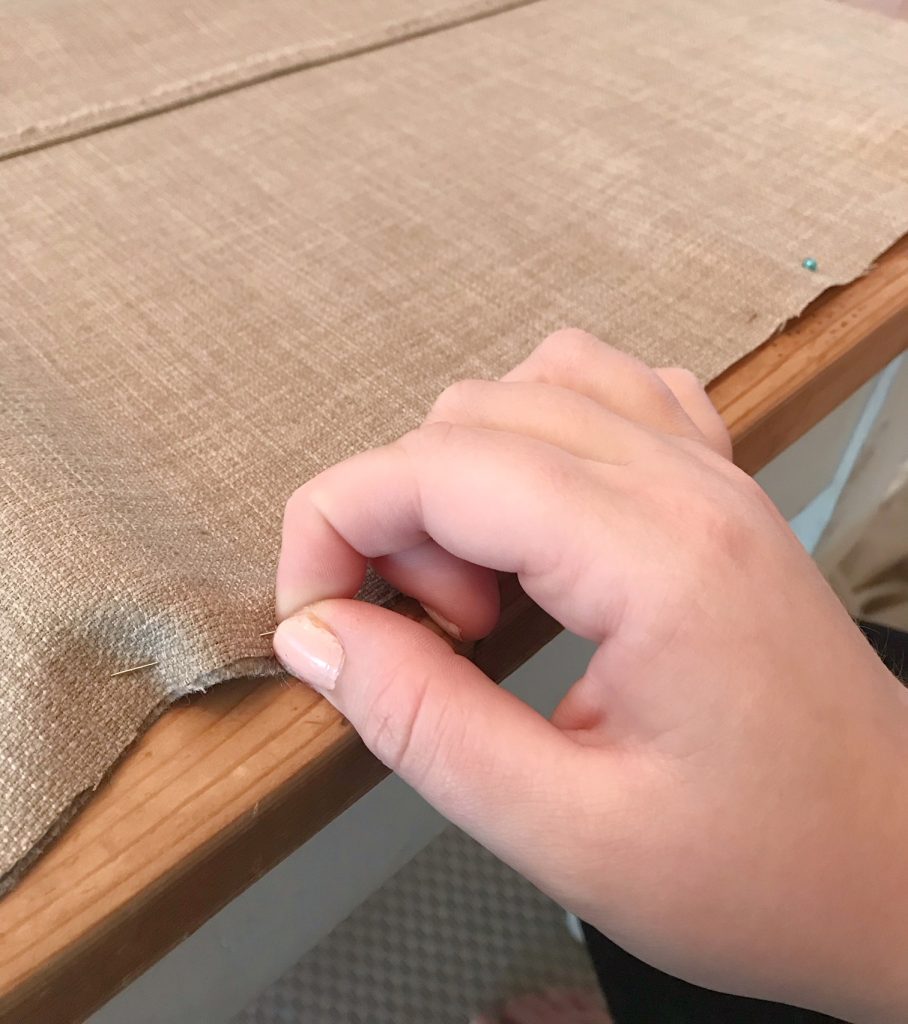
STEP 10: Pin around all 4 sides.
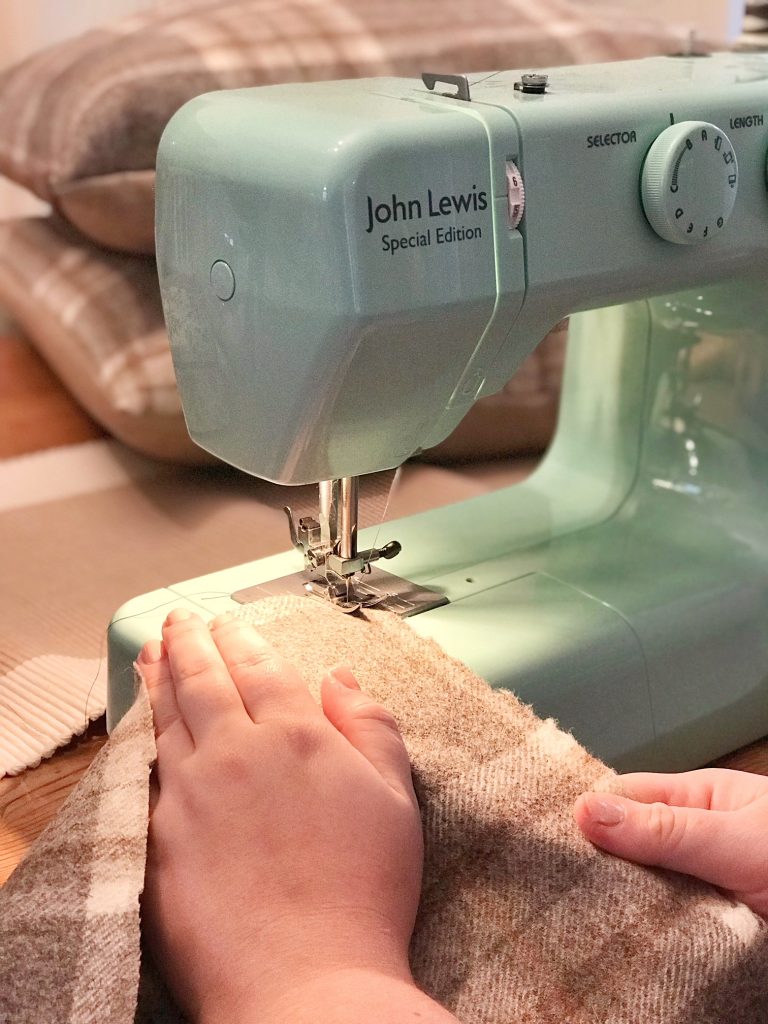
STEP 11: Sew around all 4 sides.
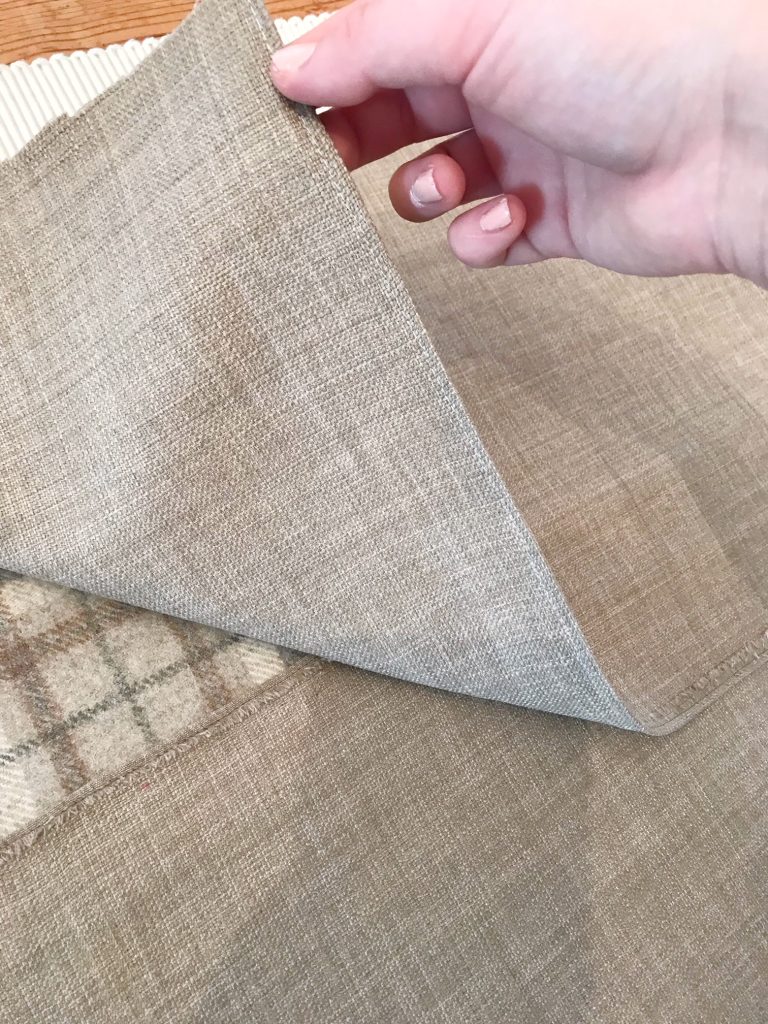
STEP 12: Snip a triangle off the 4x corners to make the edges more ‘pointy’ when you turn it inside out. Make sure not to cut the stitching. It’ll look something like this…a bit rough & ready.
STEP 13: Turn the cushion inside out.
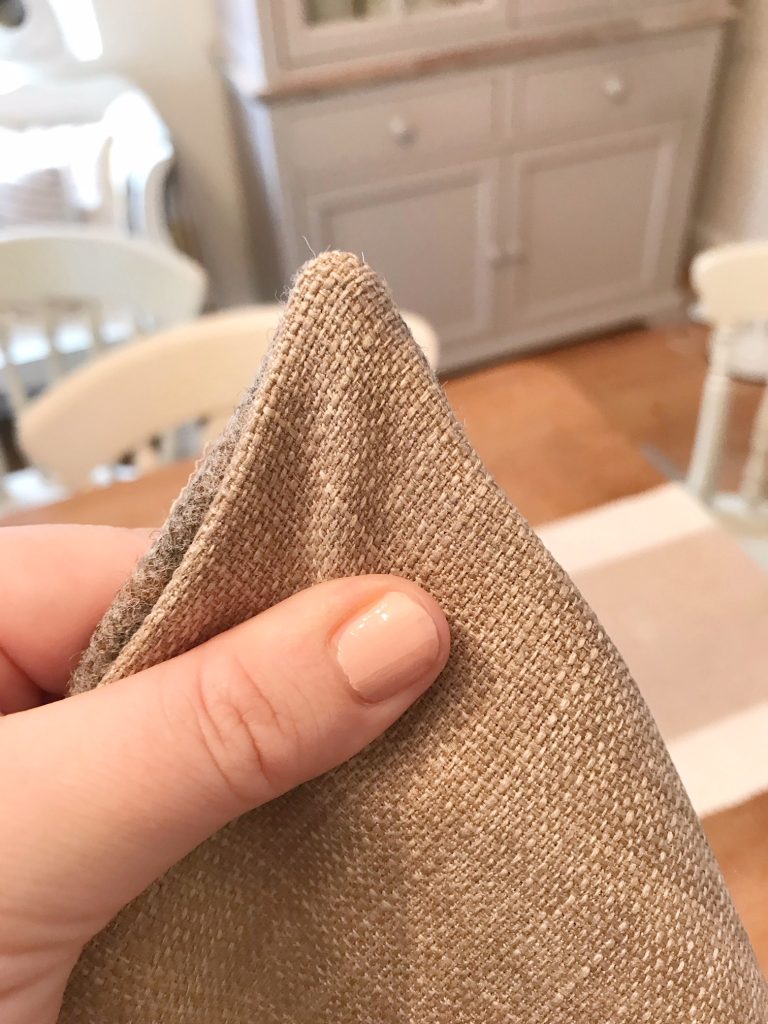
STEP 14: With your ‘pointy but not too pointy thing’ e.g. a pen (with the lid on obviously), poke out your 4x corners so they become pointed.
STEP 15: You’ll see once it’s inside out that the edges will look so much better so all that’s left to do is pop in your cushion pad.
ET VOILA!! A simple cushion which costs next to nothing & can easily be swapped or changed up depending on the seasons/decor.
Remnant Kings are generously offering The Home That Made Me readers 15% off with code ‘THTMM15’ until 24th December.
Love,
*This is a sponsored post
Love This! I am definitely going to be making some cushions! Nice idea for presents.
Definitely! Also I always think you end up with something better quality than on the highstreet & cheaper too…plus I’m all proud of my cushions & keep telling everyone ‘I made those’! xx
You have inspired me to dig out my sewing machine!