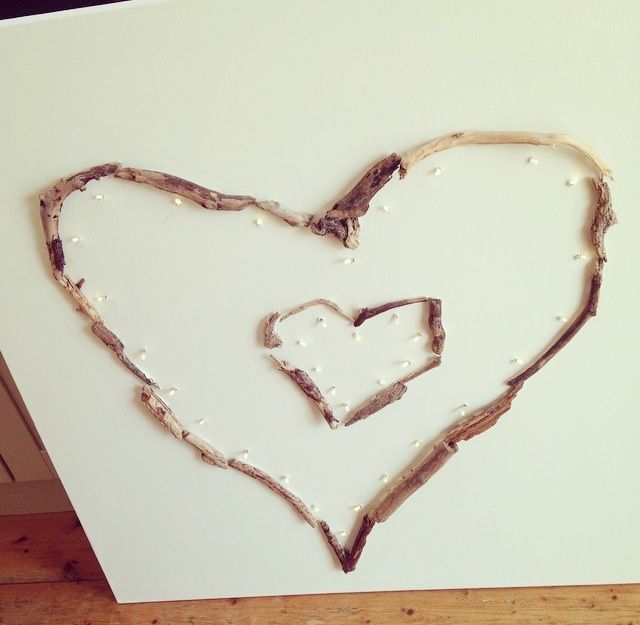
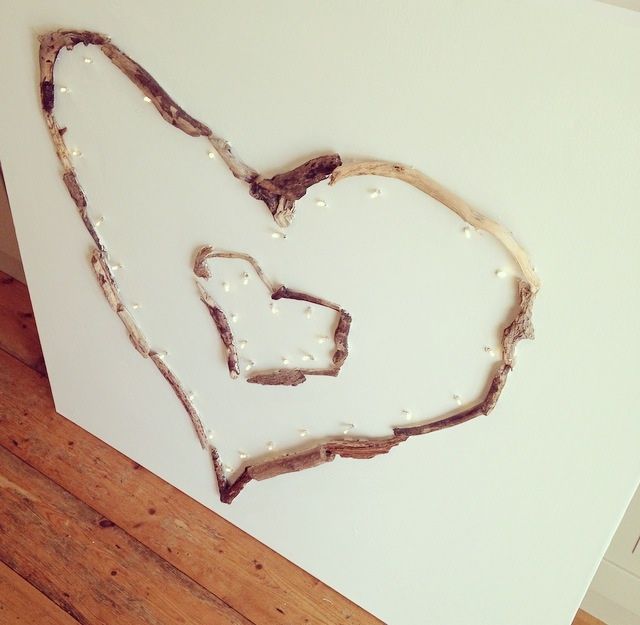
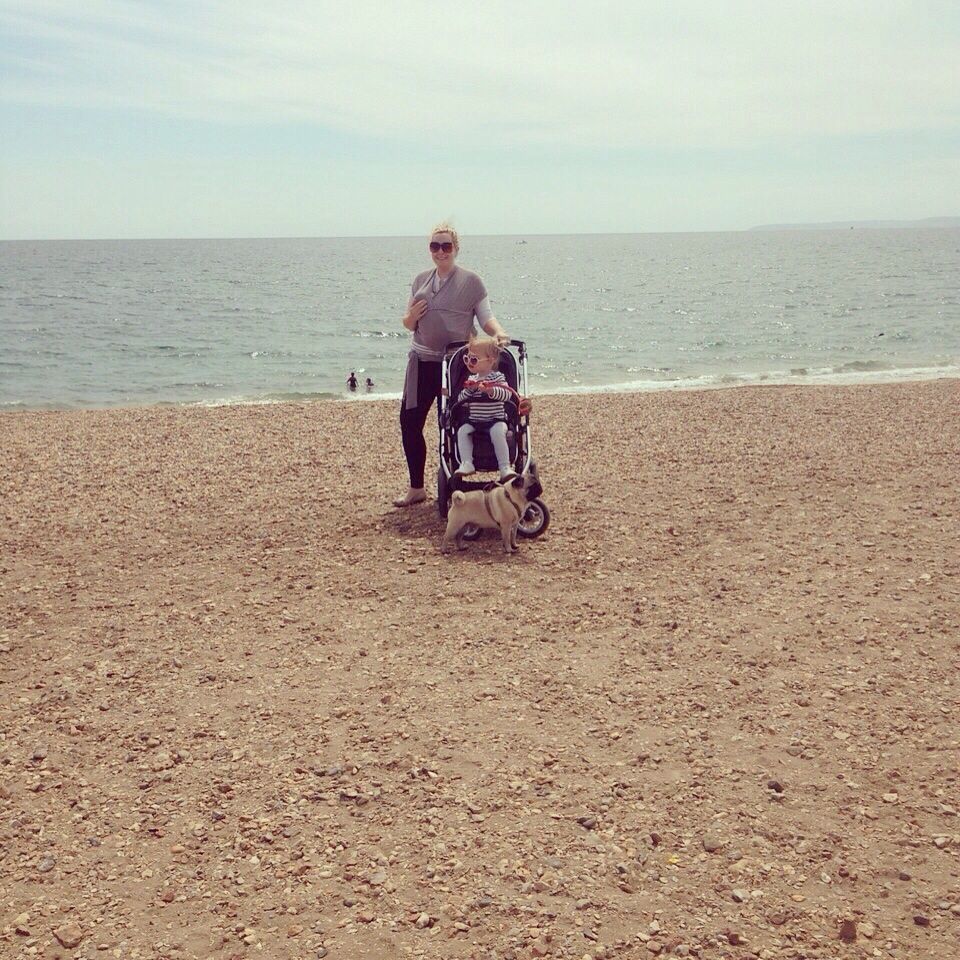
I am lucky enough to live 5 minutes away from some of the most beautiful beaches in the UK – the sunny town of Bournemouth on the South Coast of England. After seeing something similar to this canvas in a local gallery for a ridiculous price, I decided to utilise a bit of our lovely beach to make my own for a fraction (as in like 1/25th!!) of the price.
- A box canvas – size depending on your space and style going for. I chose a huge 100x100cm from Hobbycraft to make a real statement. See http://www.hobbycraft.co.uk/hobbycraft-100-cm-x-100-cm-box-canvas/561255-1000
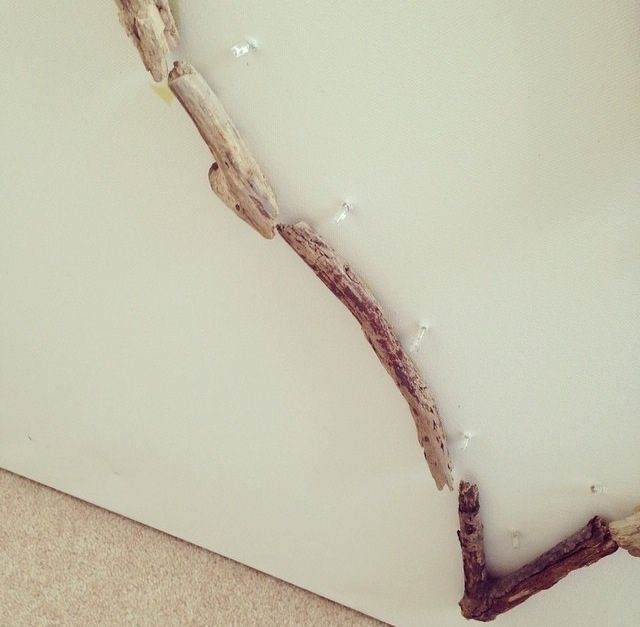
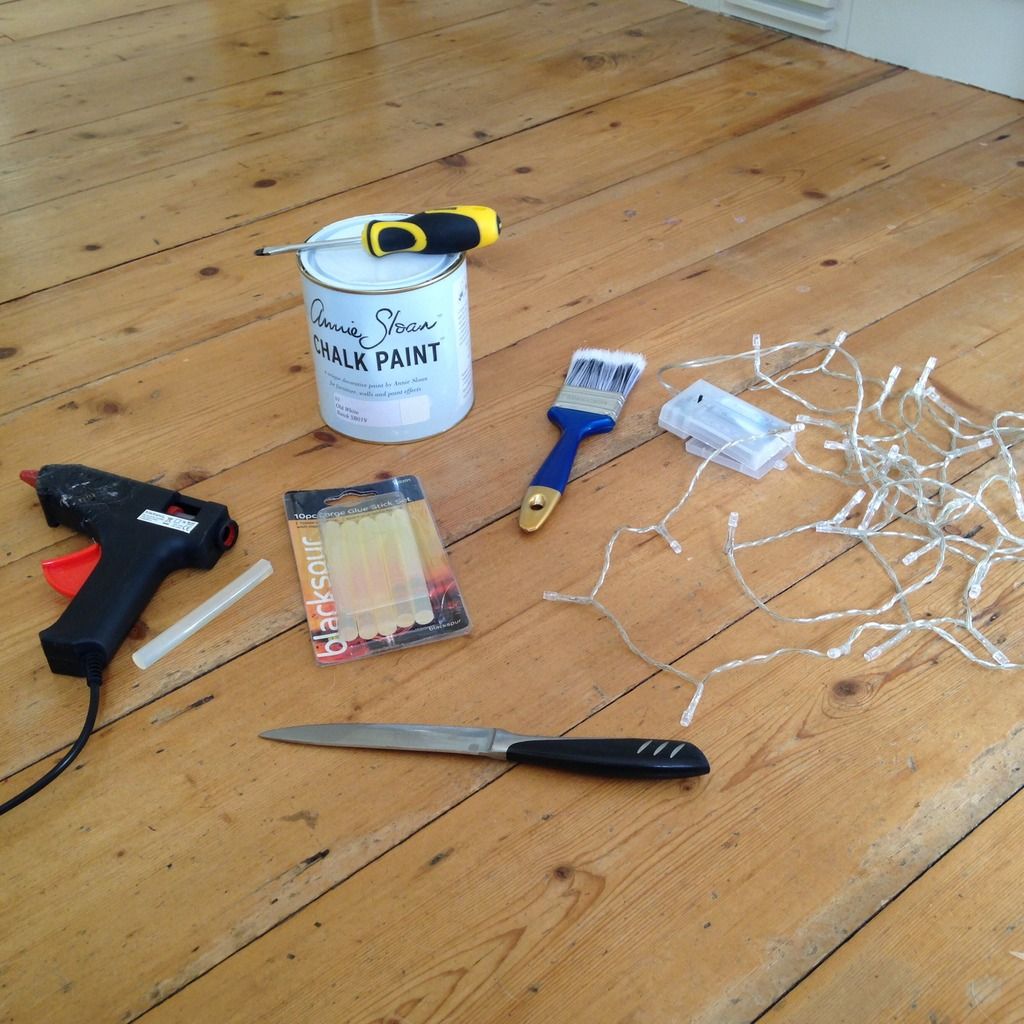
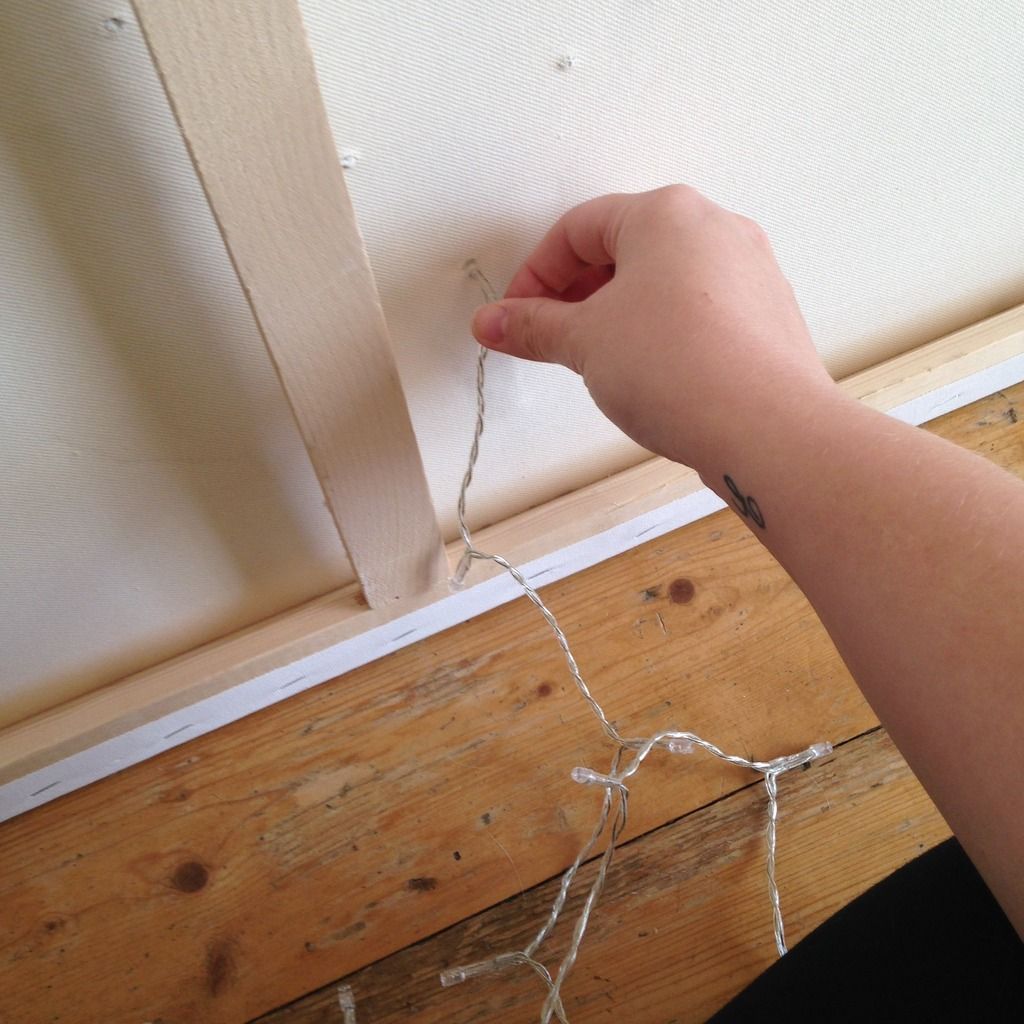
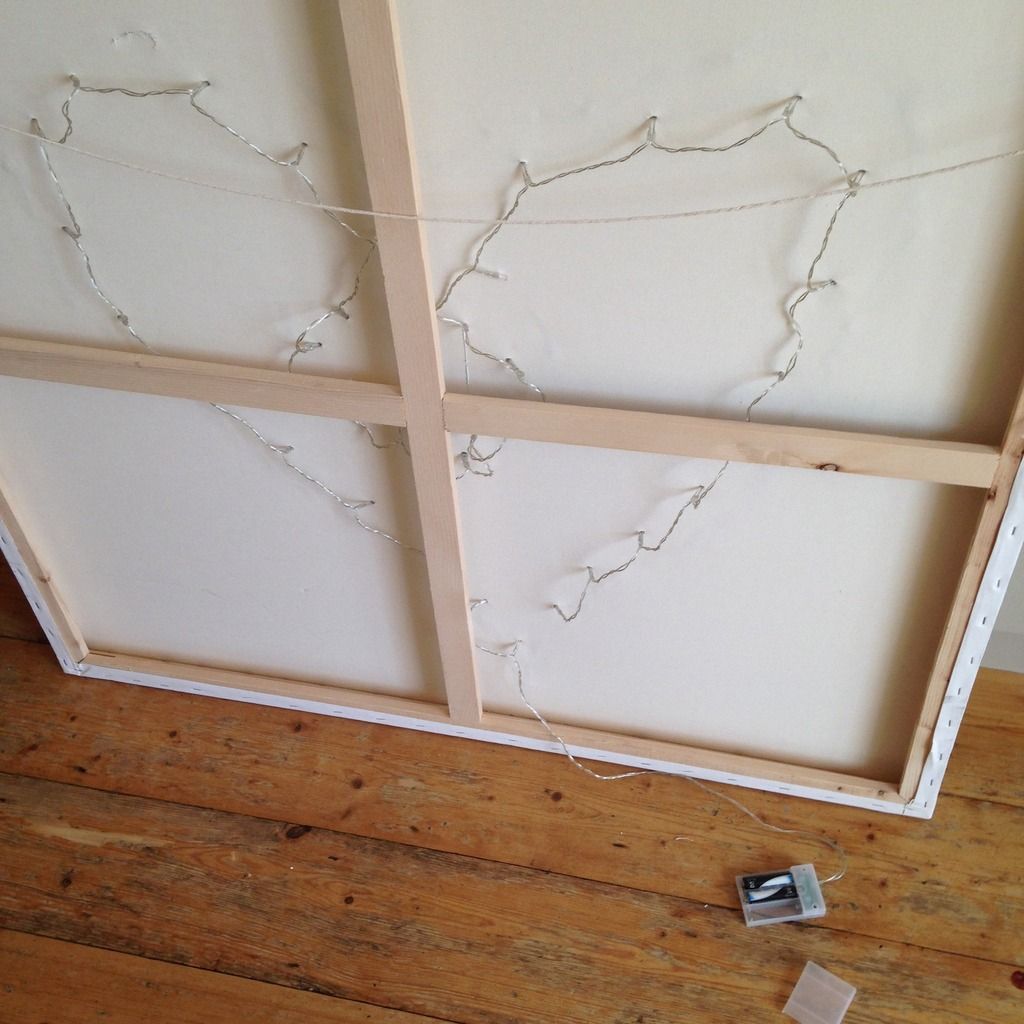
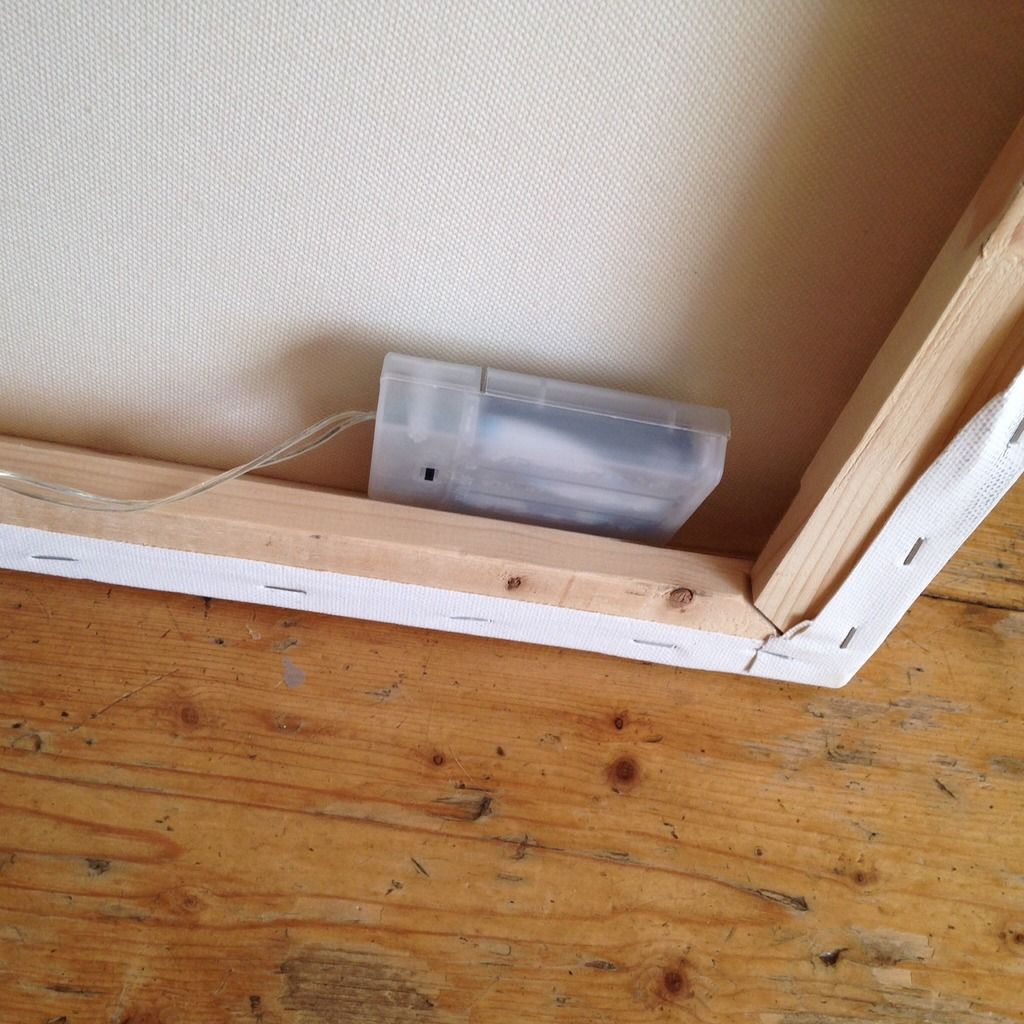
- A set of battery powered fairy lights – approx 50 lights, again depending on size and effect going for . See http://www.ebay.co.uk/itm/Warm-White-Twinkling-Lamp-Fairy-String-Lights-13ft-4M-40-LED-Battery-Operated/261774764869?_trksid=p2047675.c100005.m1851&_trkparms=aid%3D222007%26algo%3DSIC.MBE%26ao%3D1%26asc%3D20140122125356%26meid%3Df7a866ca9e1b4d7dbe140ed0e19dbe0d%26pid%3D100005%26rk%3D2%26rkt%3D6%26sd%3D231483222399&rt=nc
- Paint – colour of your choice, I used Annie Sloan Old White but it can be any paint you have lying around or a colour to match your room.
- A paintbrush – for obvious reasons…
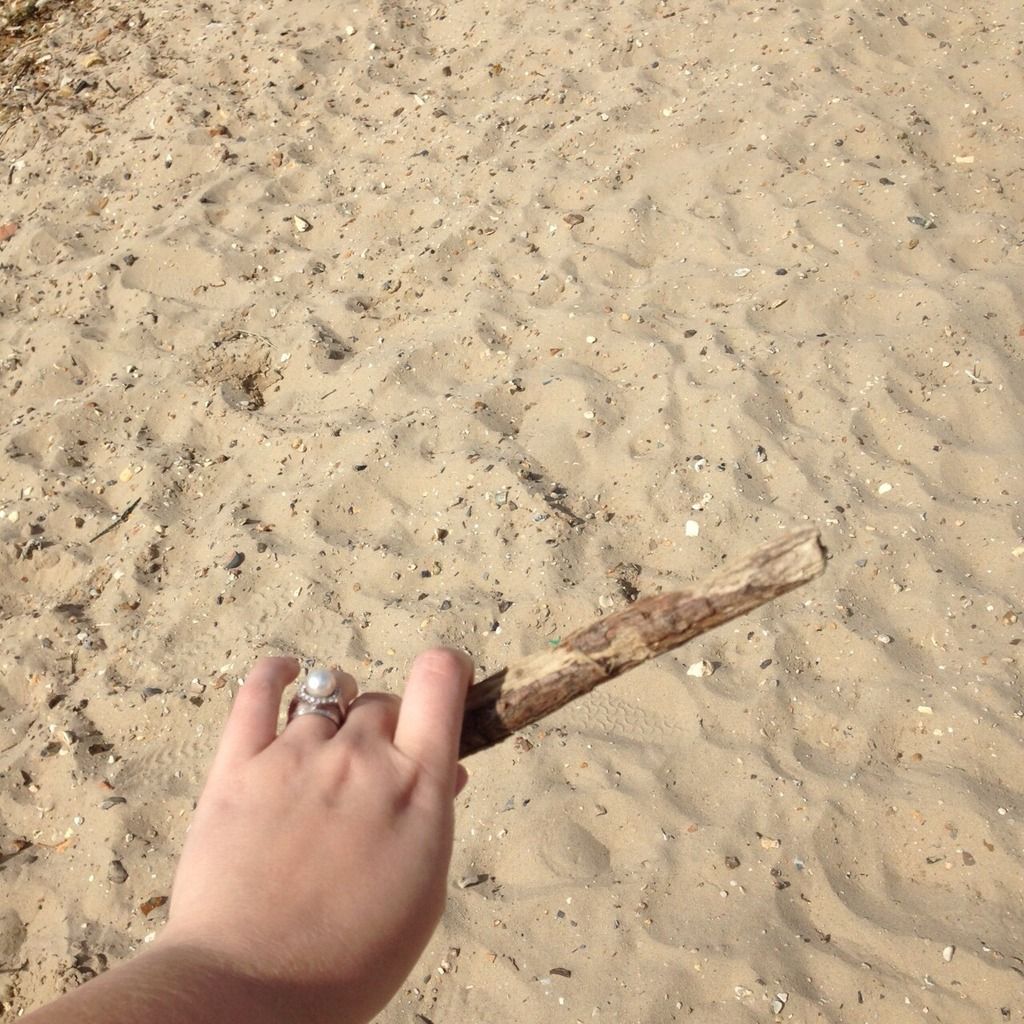
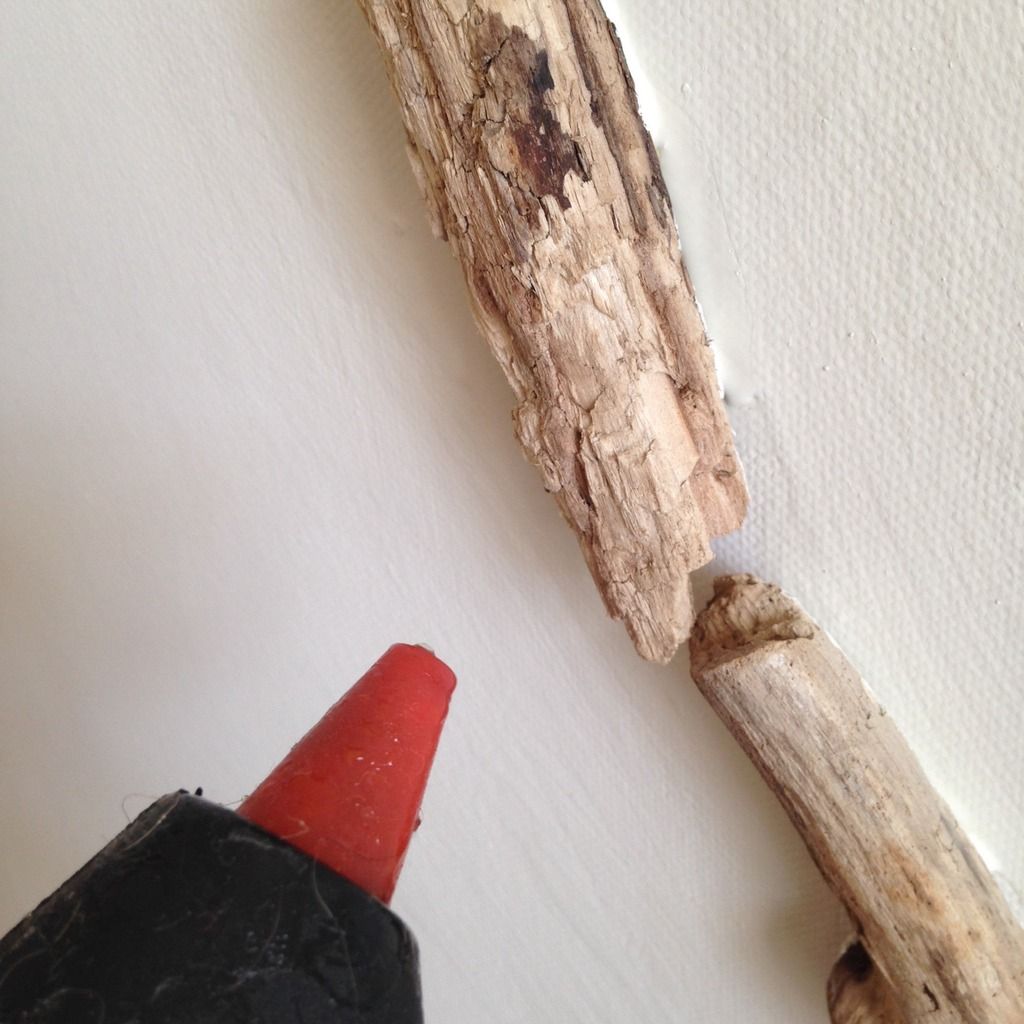
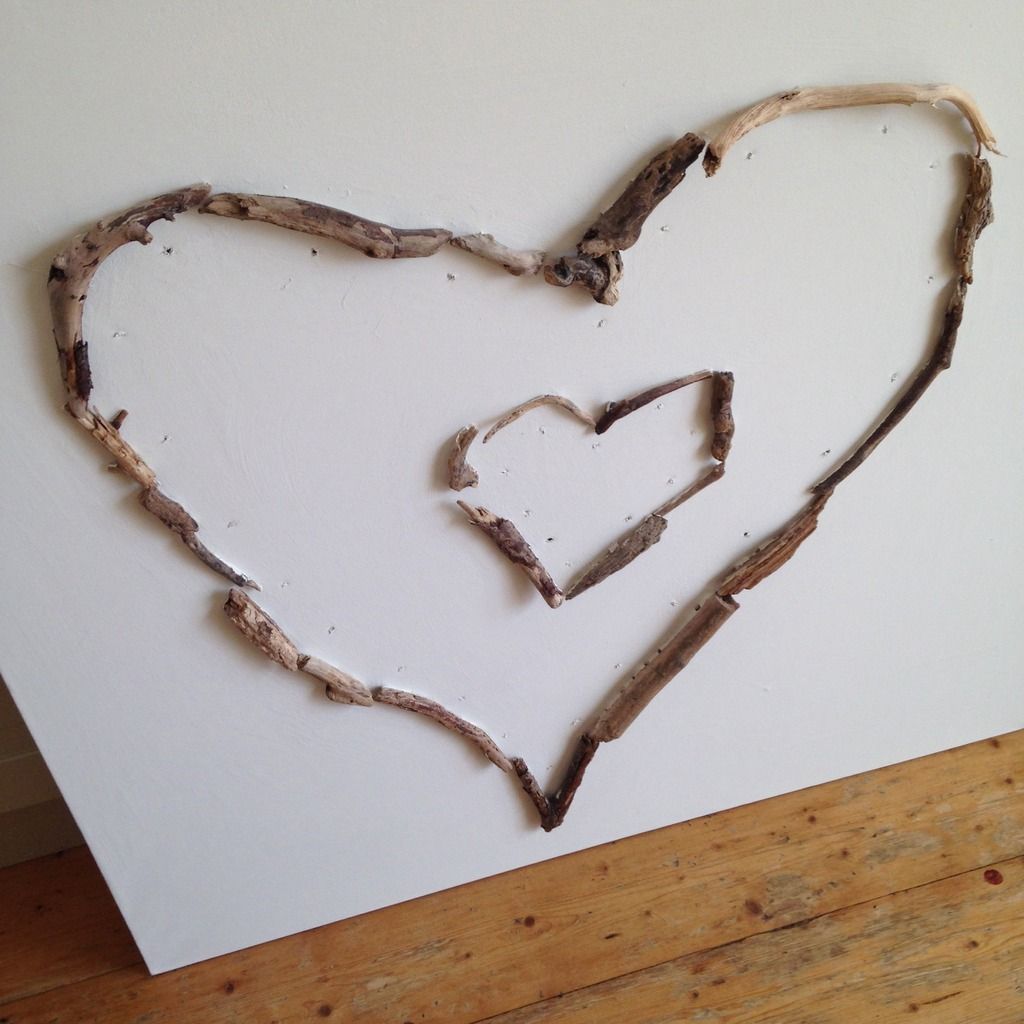
- Driftwood – here’s the fun part, a beach trip! I picked up 2 huge bags worth and then used the bits that most fitted the shape of the heart and looked best.
- A glue gun – how cute is this pink mini one available from Hobbycraft? http://www.hobbycraft.co.uk/pink-hot-melt-mini-glue-gun/598098-1000 also available in blue
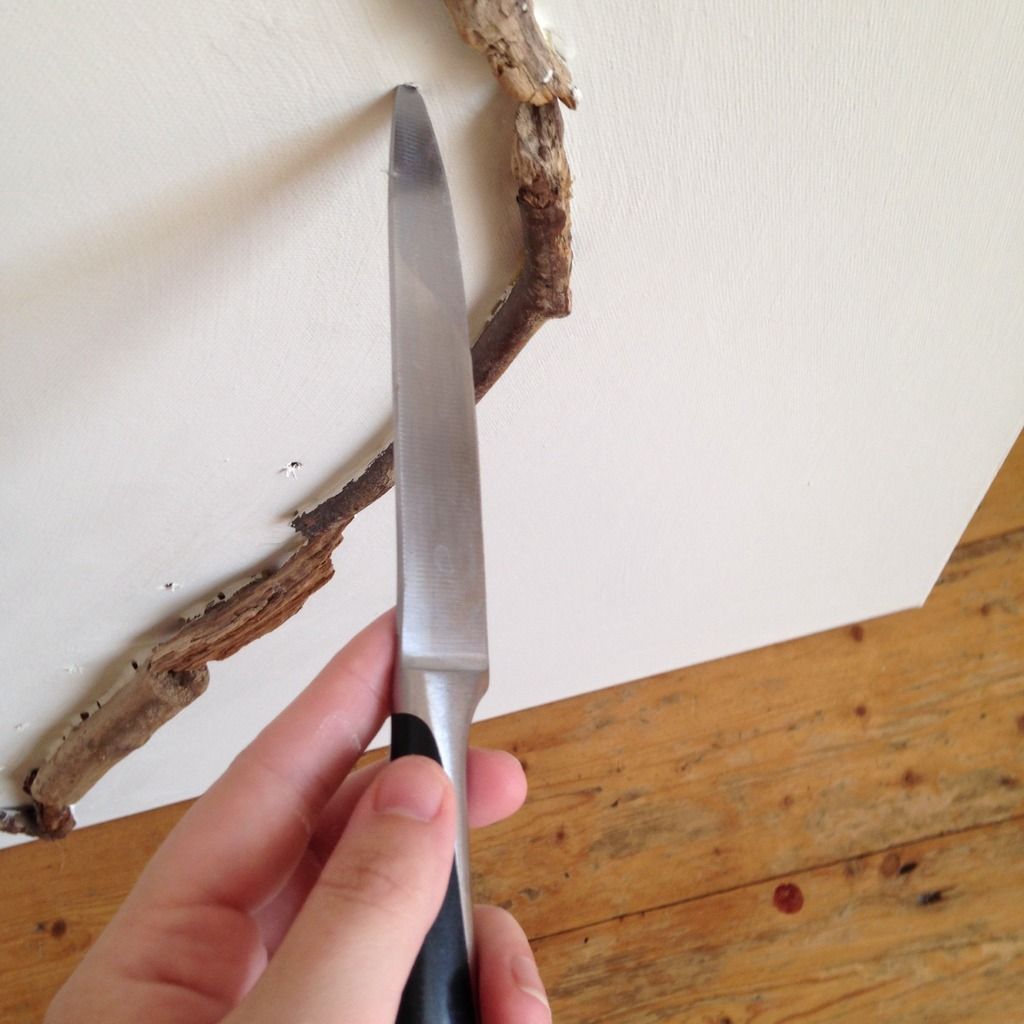
- A sharp knife – to start off the holes for the fairy lights
- A cross head screwdriver – to push through the initial knife hole to make bigger
Time taken –
Approx 30 minutes (not including drying time)
Cost –
£20
Instructions –
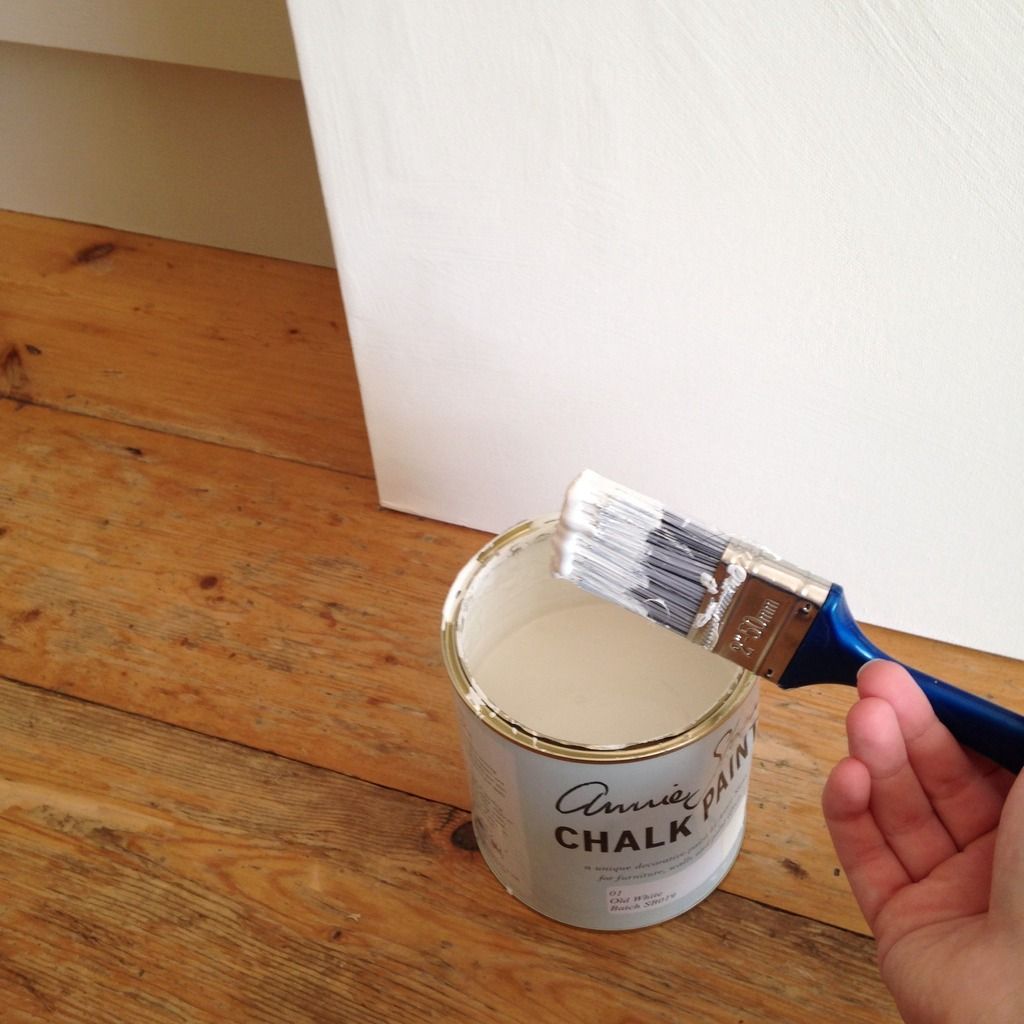
1. So firstly you need to paint your canvas including the sides using a paint colour of your choice. I stuck with Annie Sloan Old White as a lot of my furniture is painted in this colour and it’s a bit warmer than normal white paint, also chalk paint gives a lovely finish & requires less coats (I’m lazy!). This would look lovely in any colour to match your decor.
Et voila – a beautiful shabby chic wall art for next to nothing 🙂
Why not try other shapes? Stars, beach huts etc.
Love, Charlotte x

I love this idea! Definitely going to try this out 🙂
http://www.littlemeeke.blogspot.com xxx
I Love this! deffo adding onto my never ending list of projects, might even make a great gift idea 🙂
http://www.homeofwonderland.blogspot.com xx
It's amazing what you can do with nature 🙂 x
Let me know how you get on! x