I’m not actually sure anybody reads blogs anymore, but this is my little space on the internet & I decided it’s about time it actually gets some use….so what better way to share my most recent project – my ensuite revamp!
If you follow me over on Instagram you’ll know that I recently completed the guest bedroom ensuite, transforming it in to a functional, beautiful shower room for all our lovely friends & family to enjoy whilst staying. It was a real labour of love, but totally inspired me to start tackling a bigger task with our ensuite bathroom.
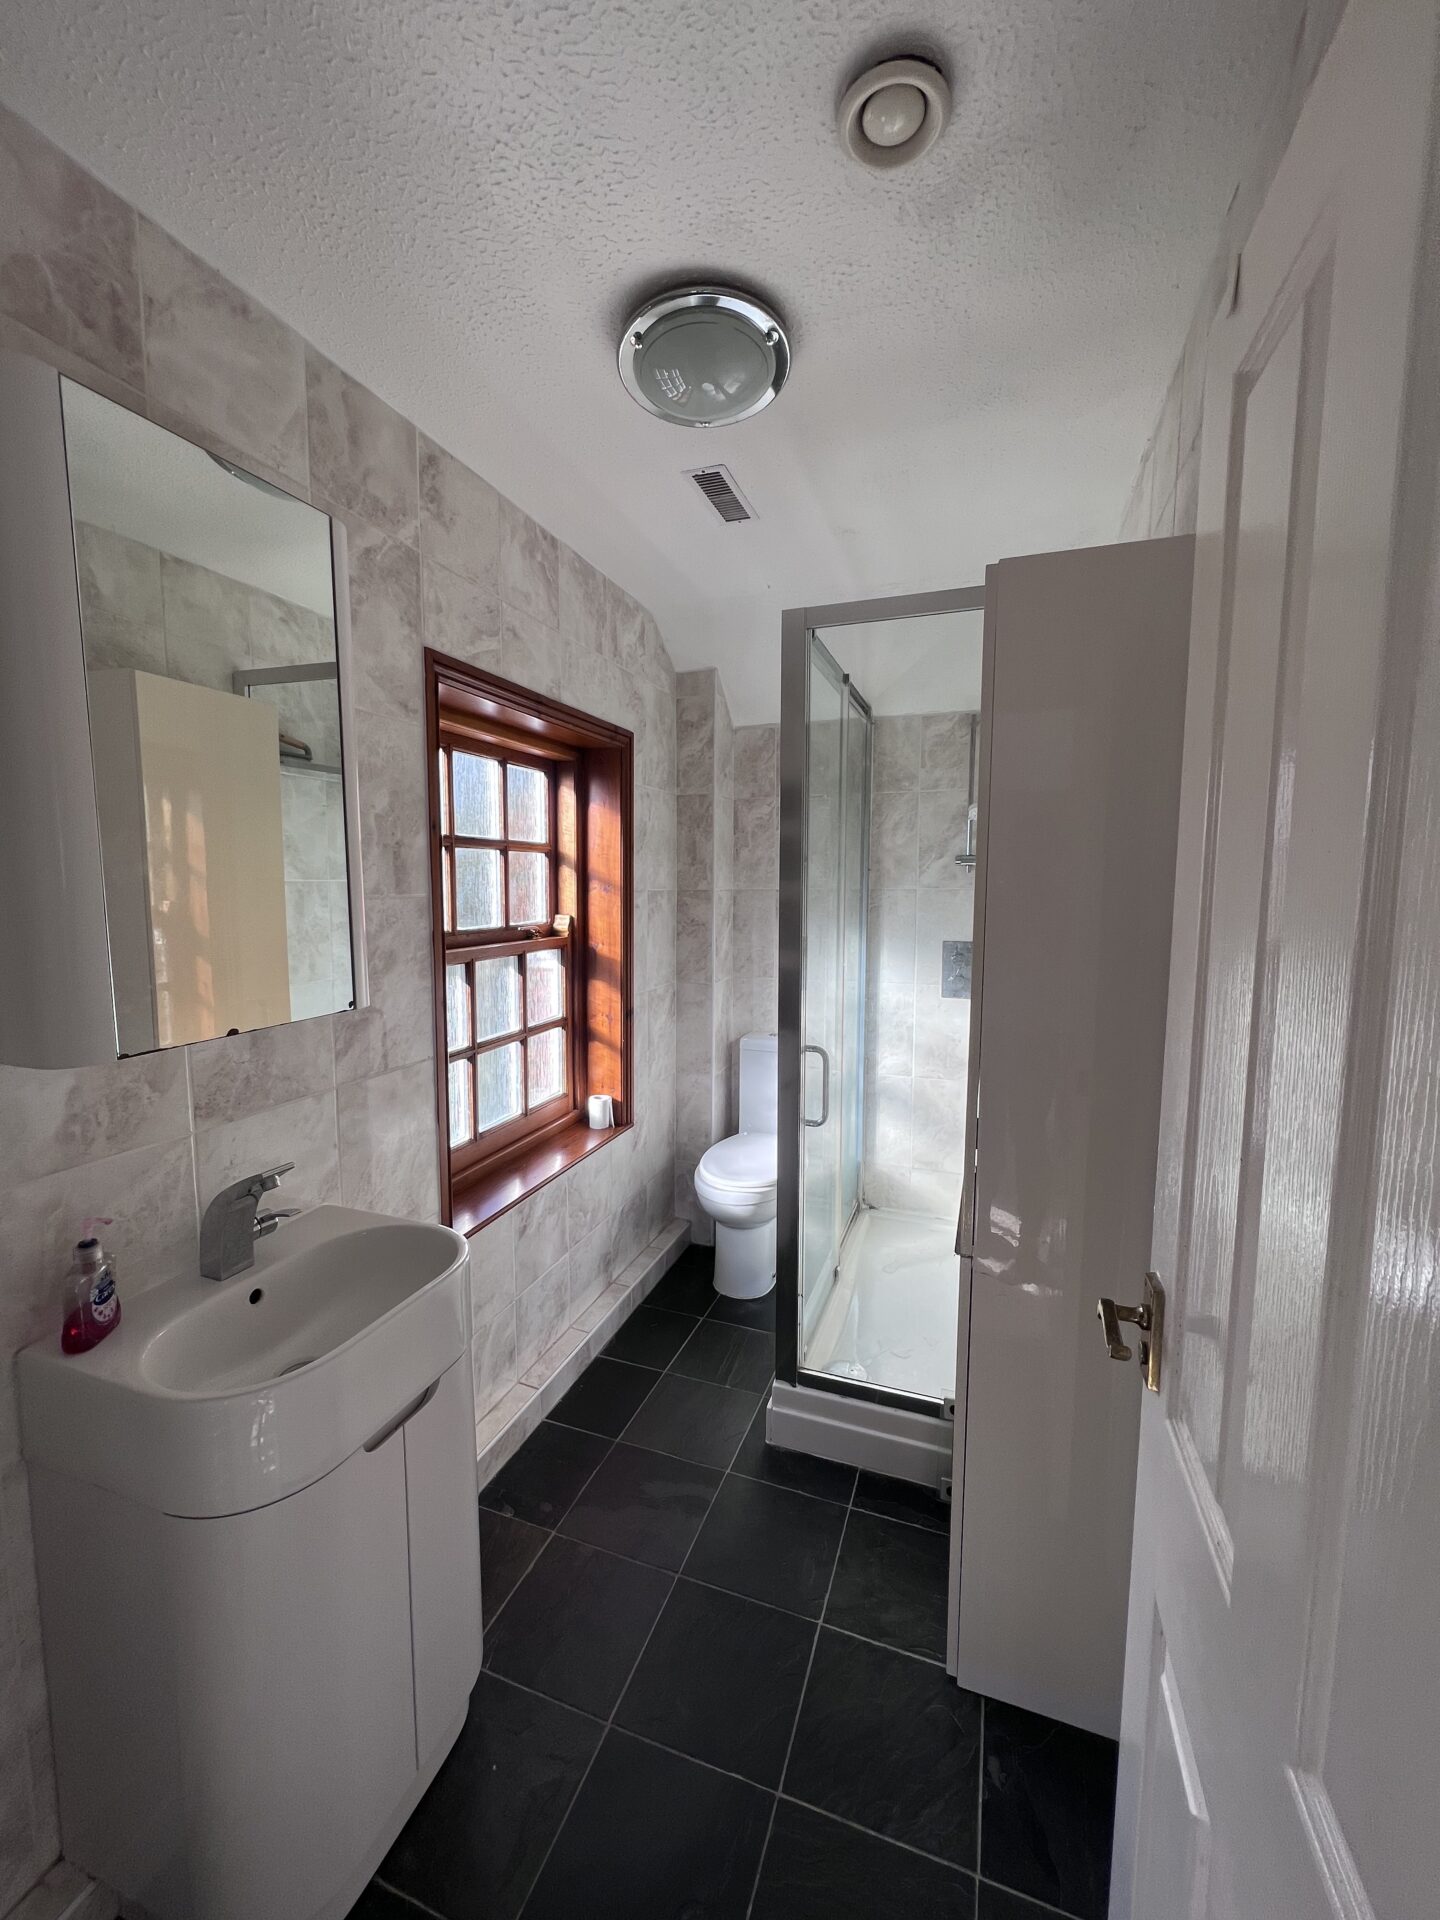
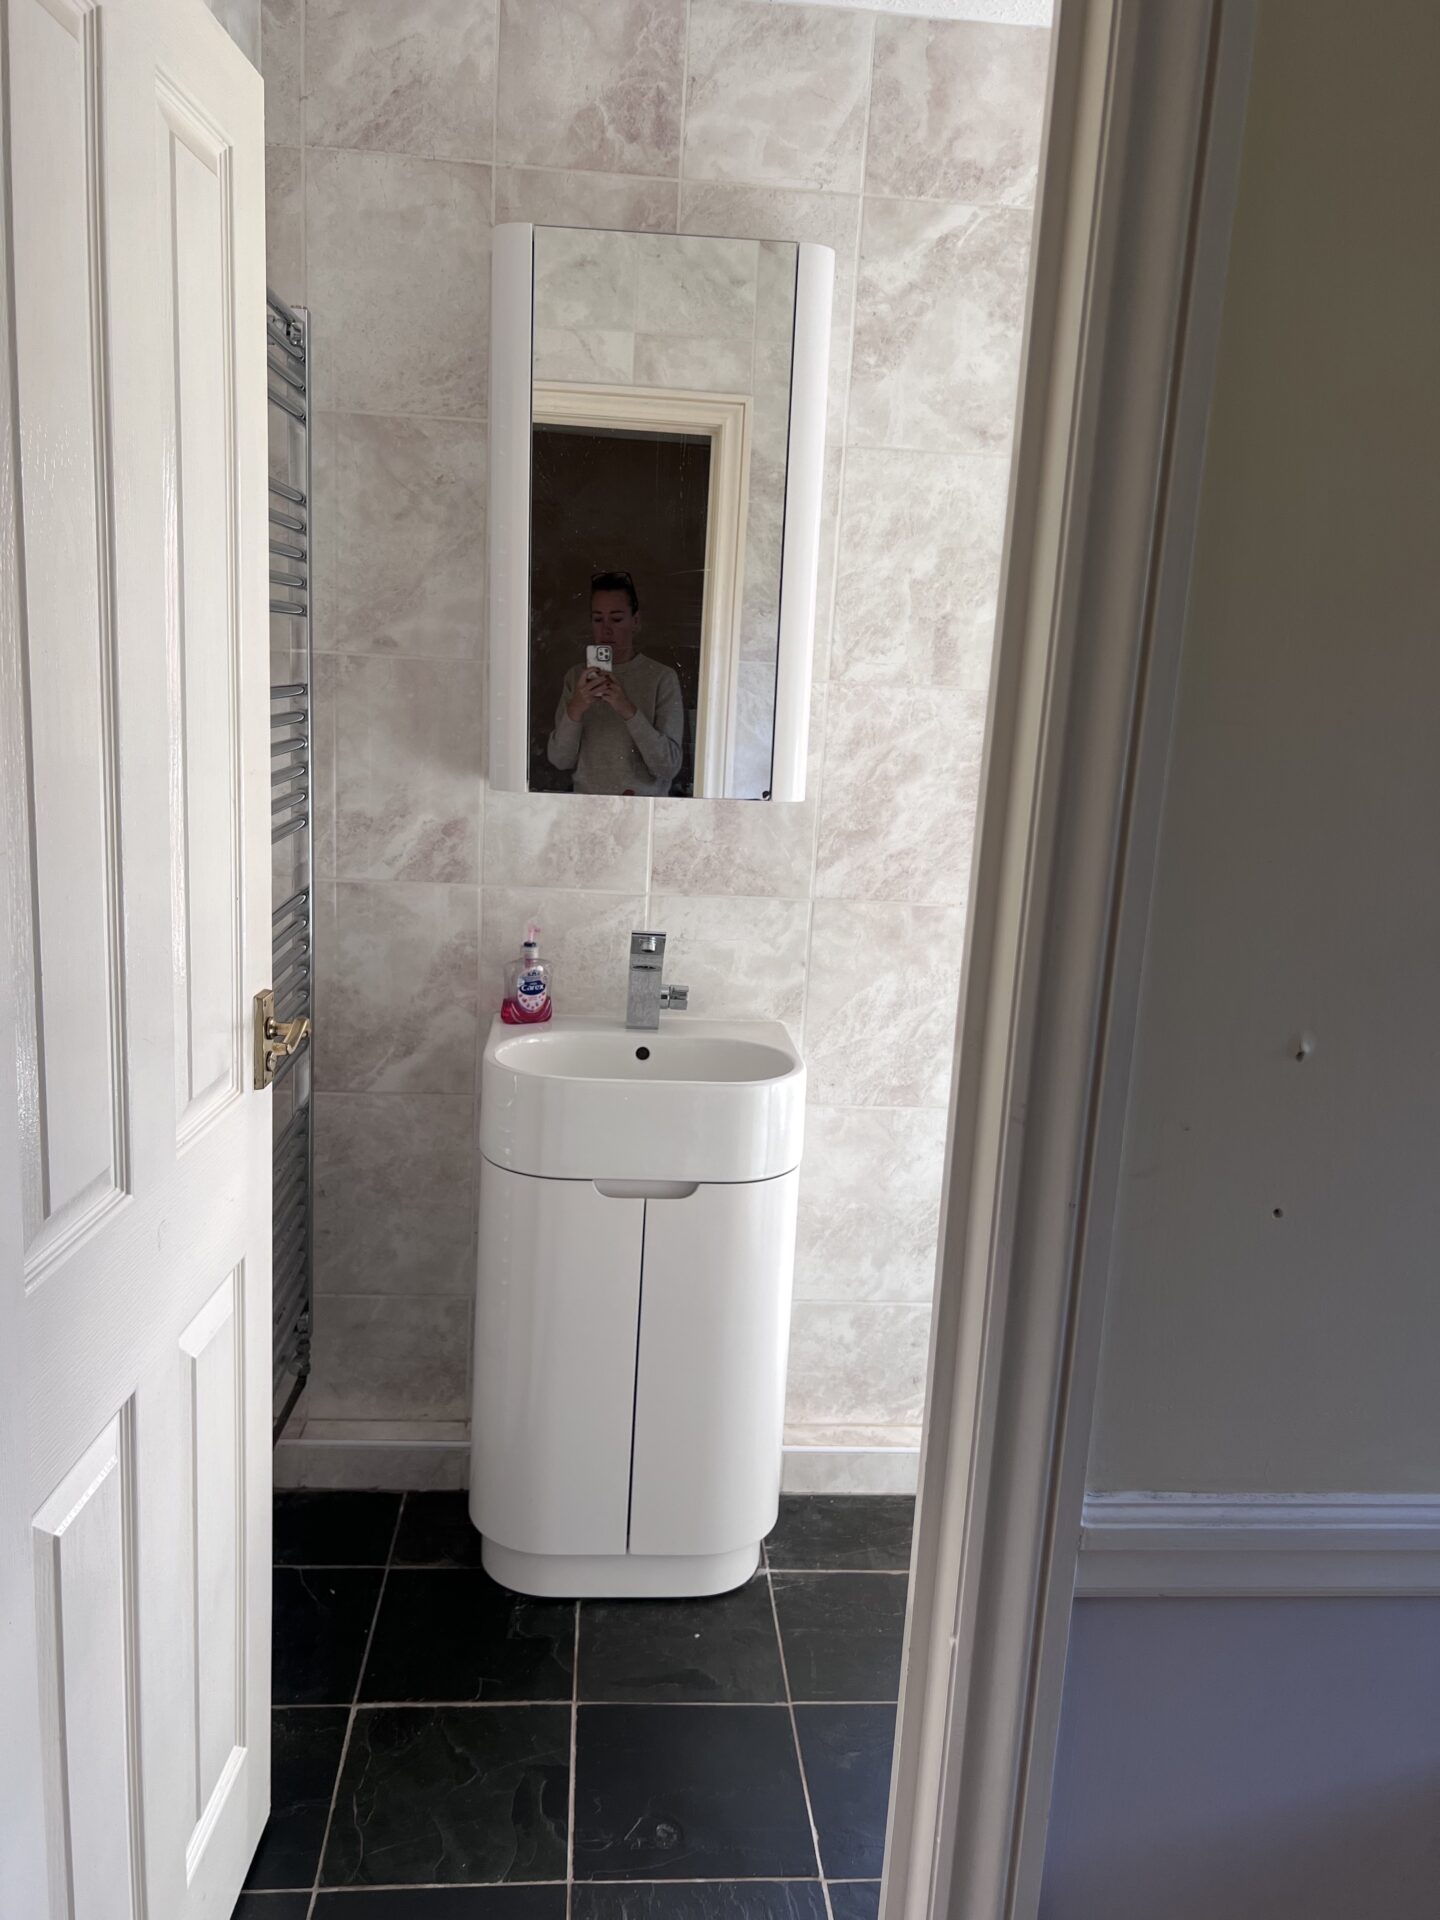
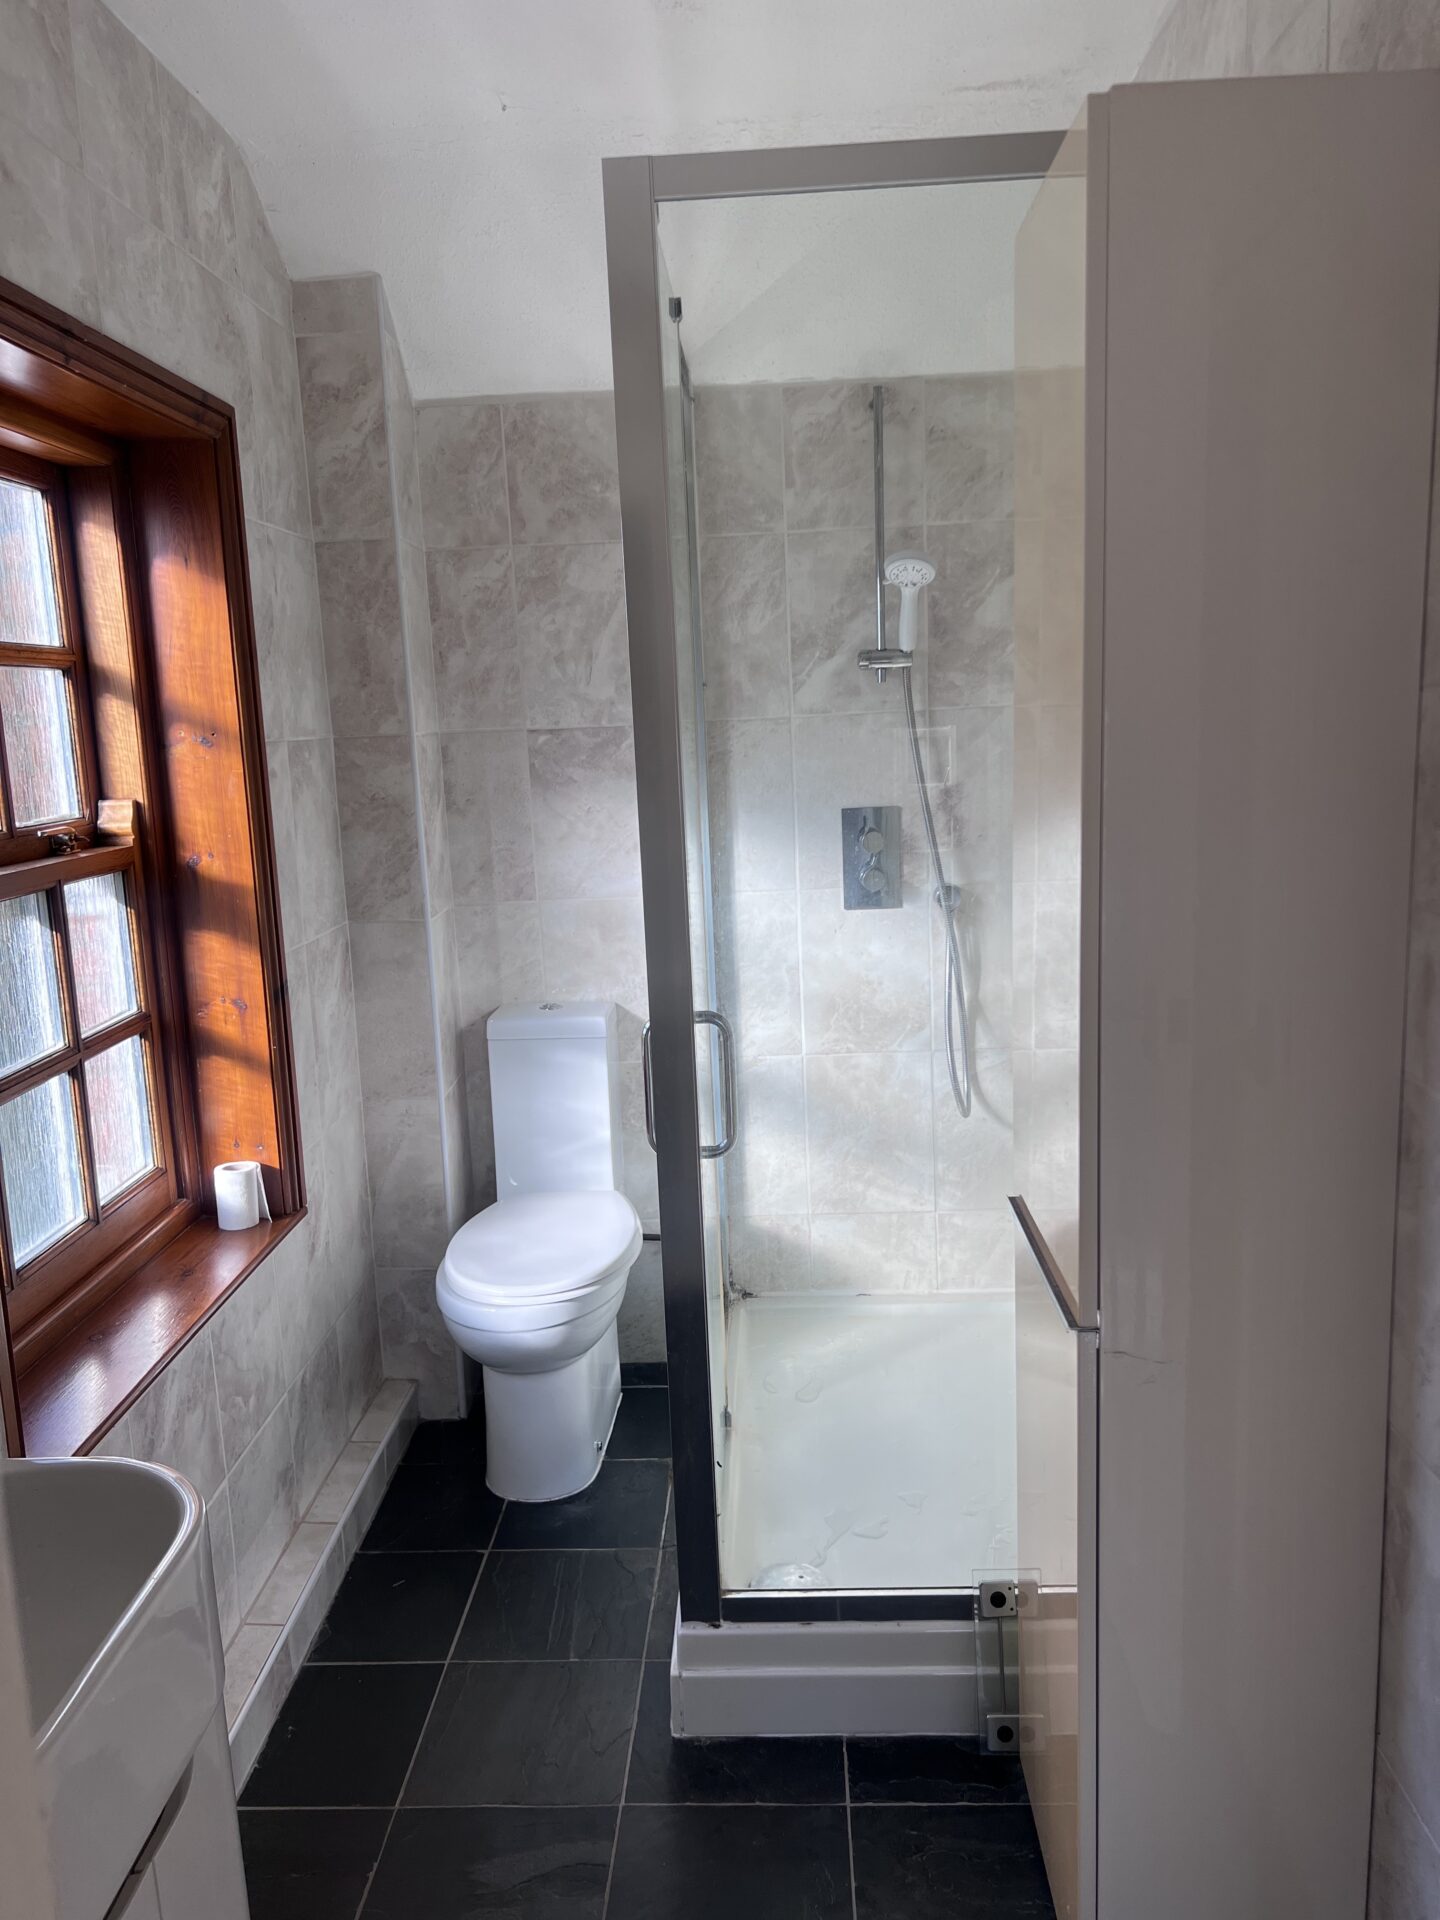
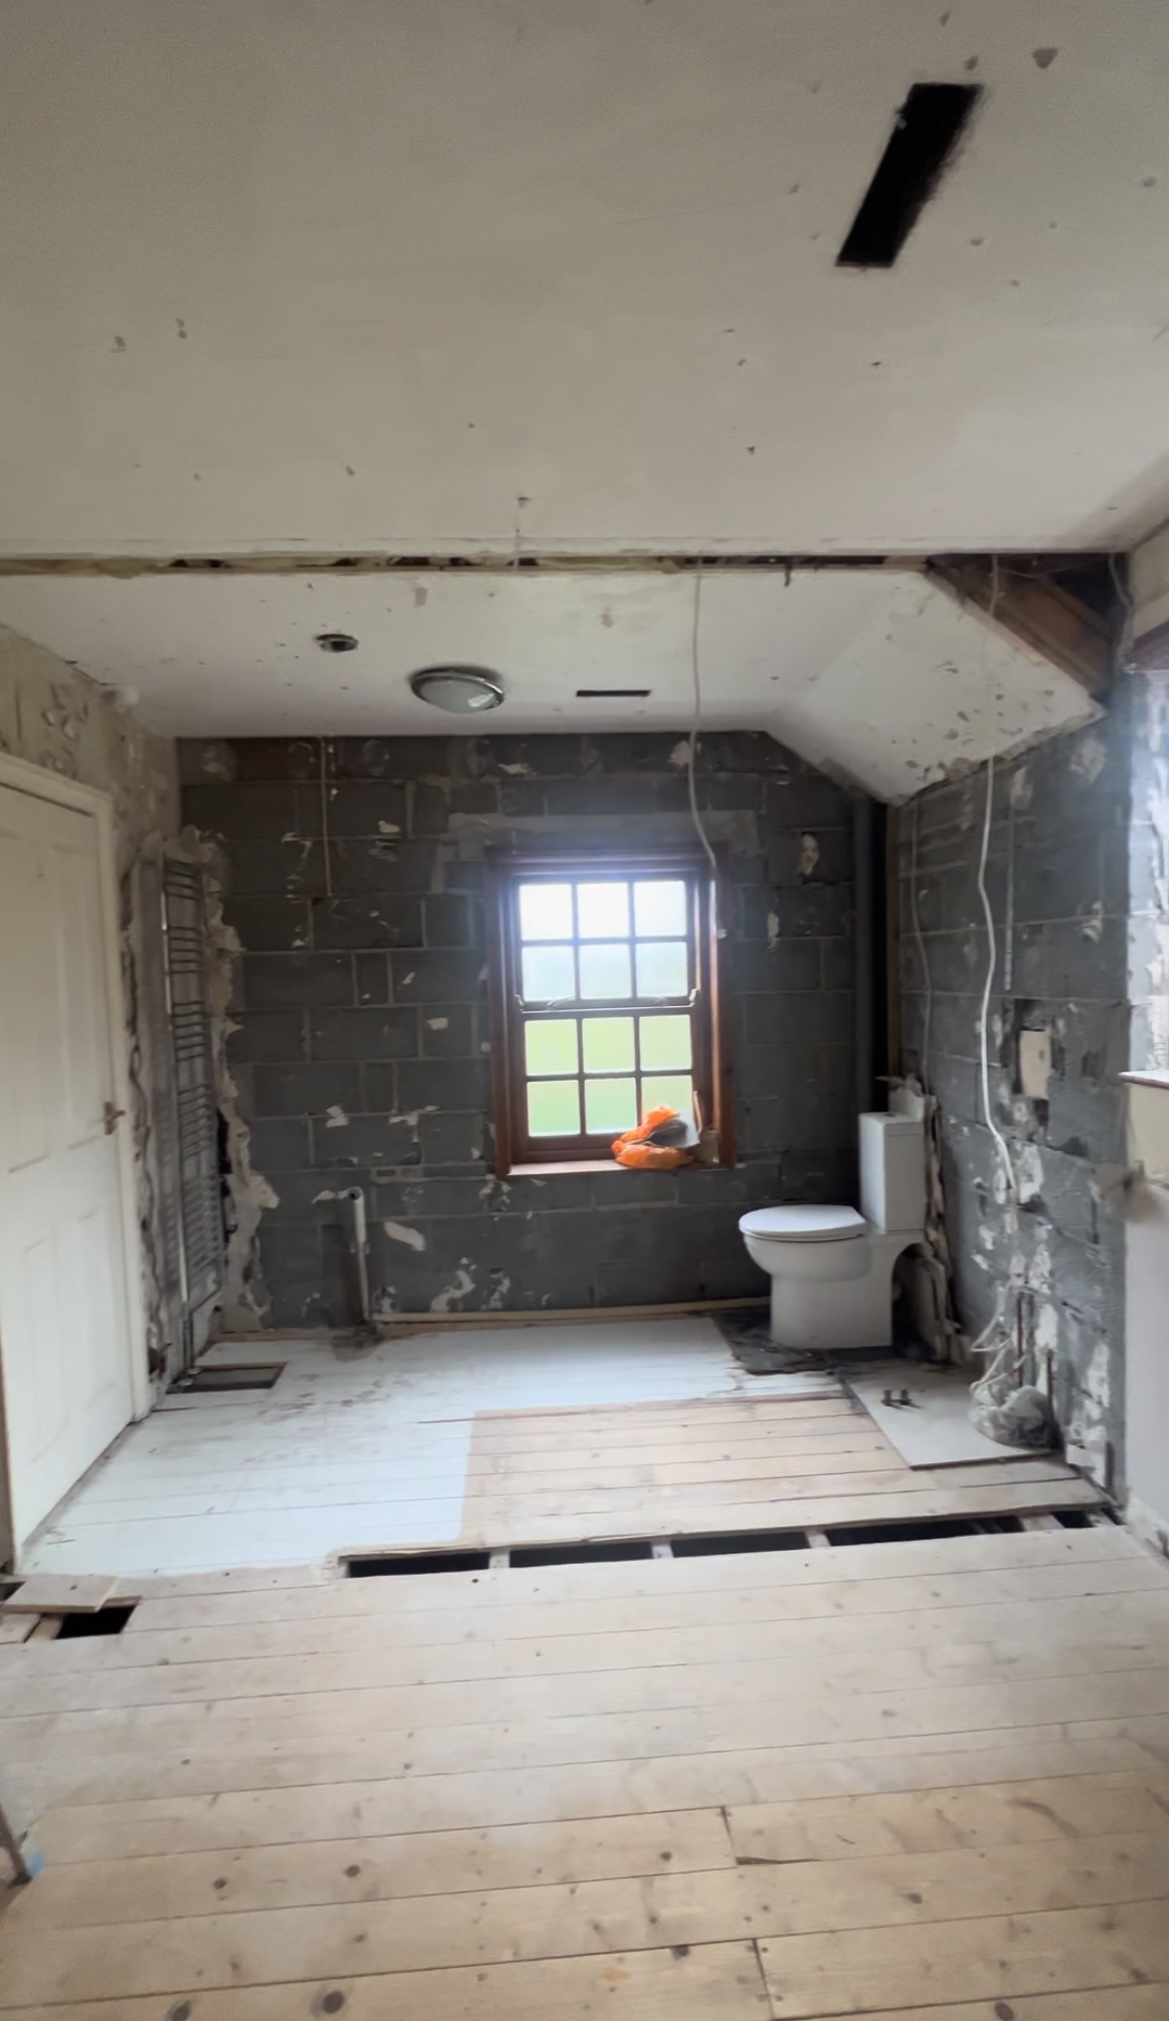
The ensuite was fairly small, with a raised shower which would bounce underfoot due to rotting timbers, tiles which looked dirty no matter how hard you scrubbed them & as with all the bathrooms here, a tendency to leak through the downstairs ceilings. Oh the joys.
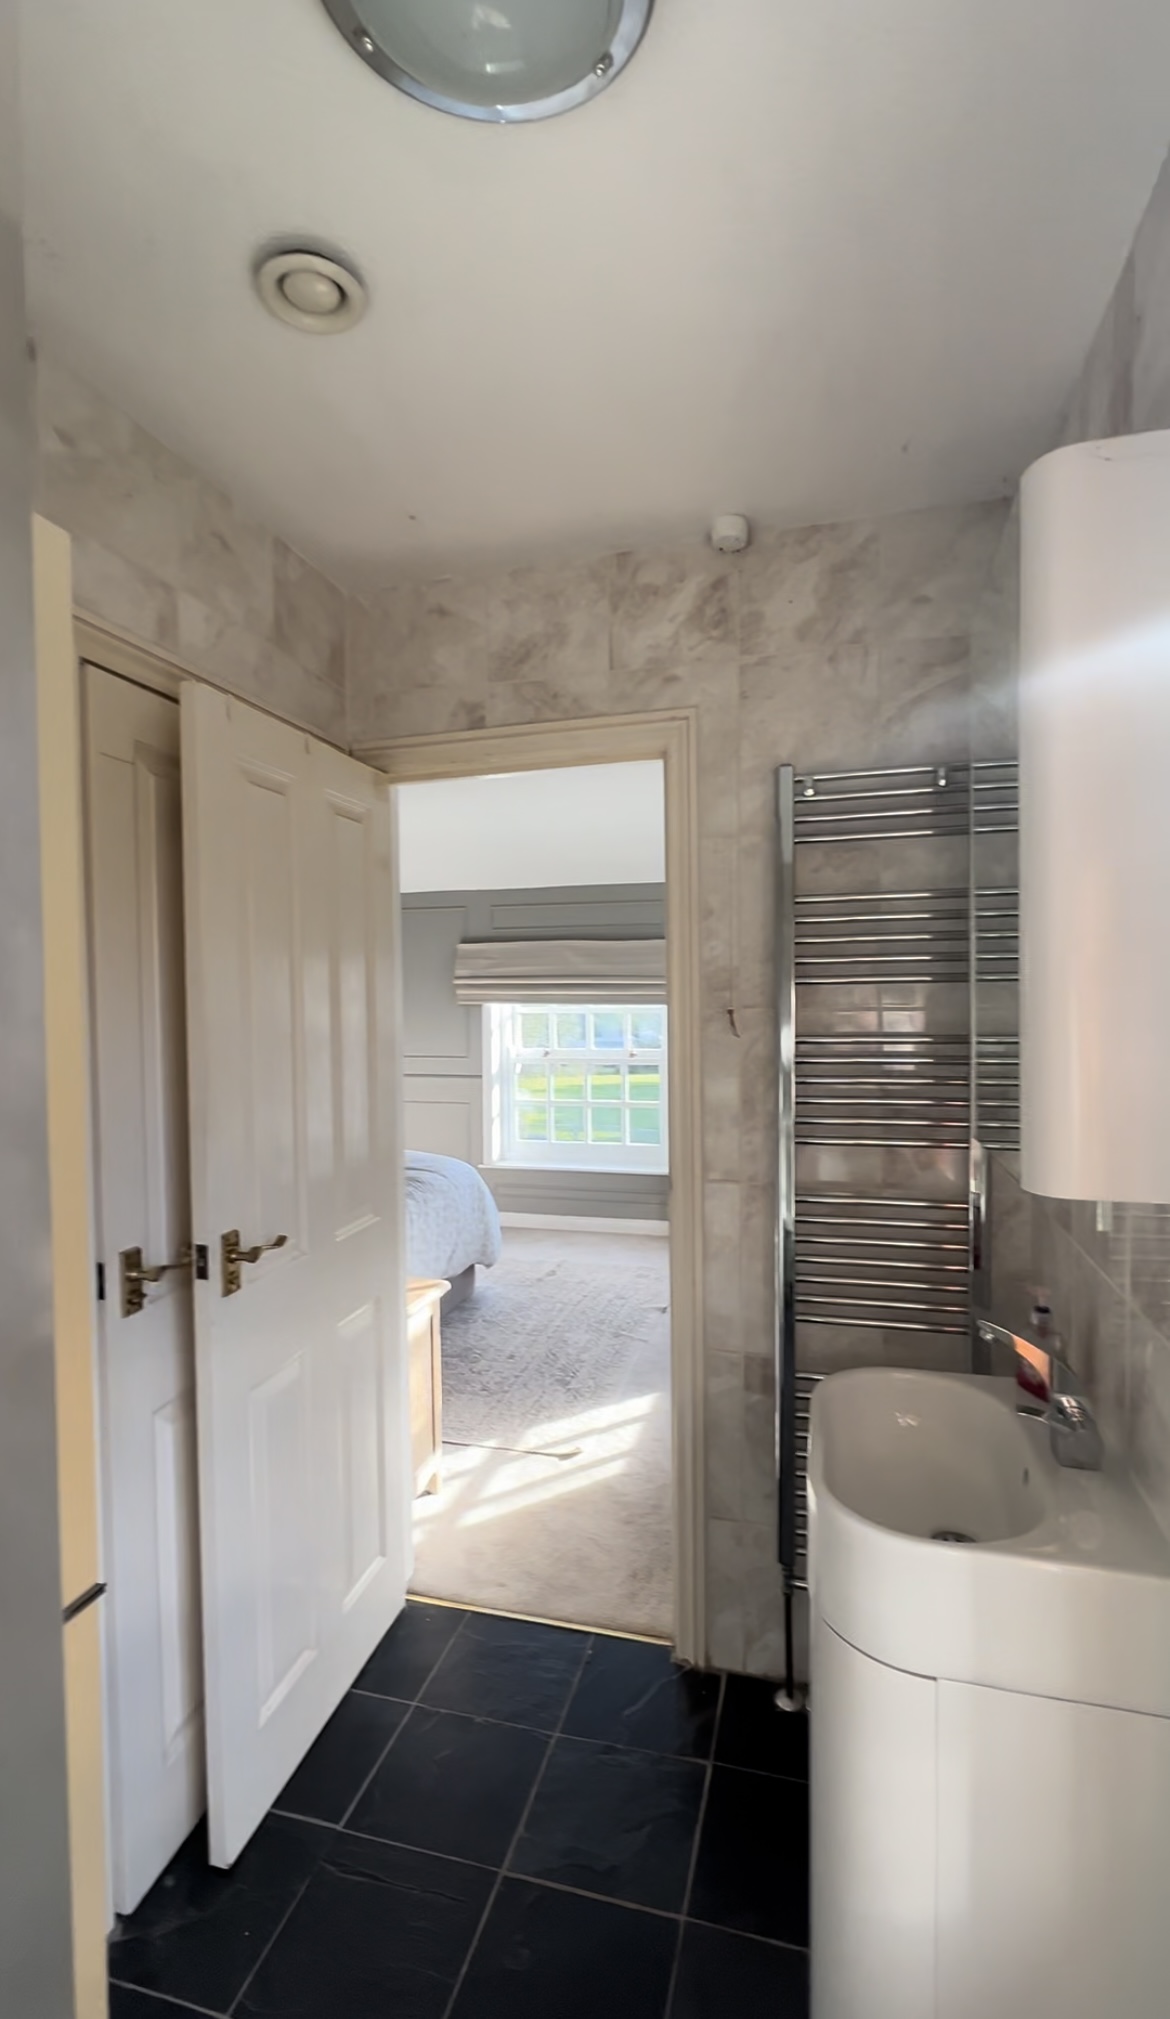
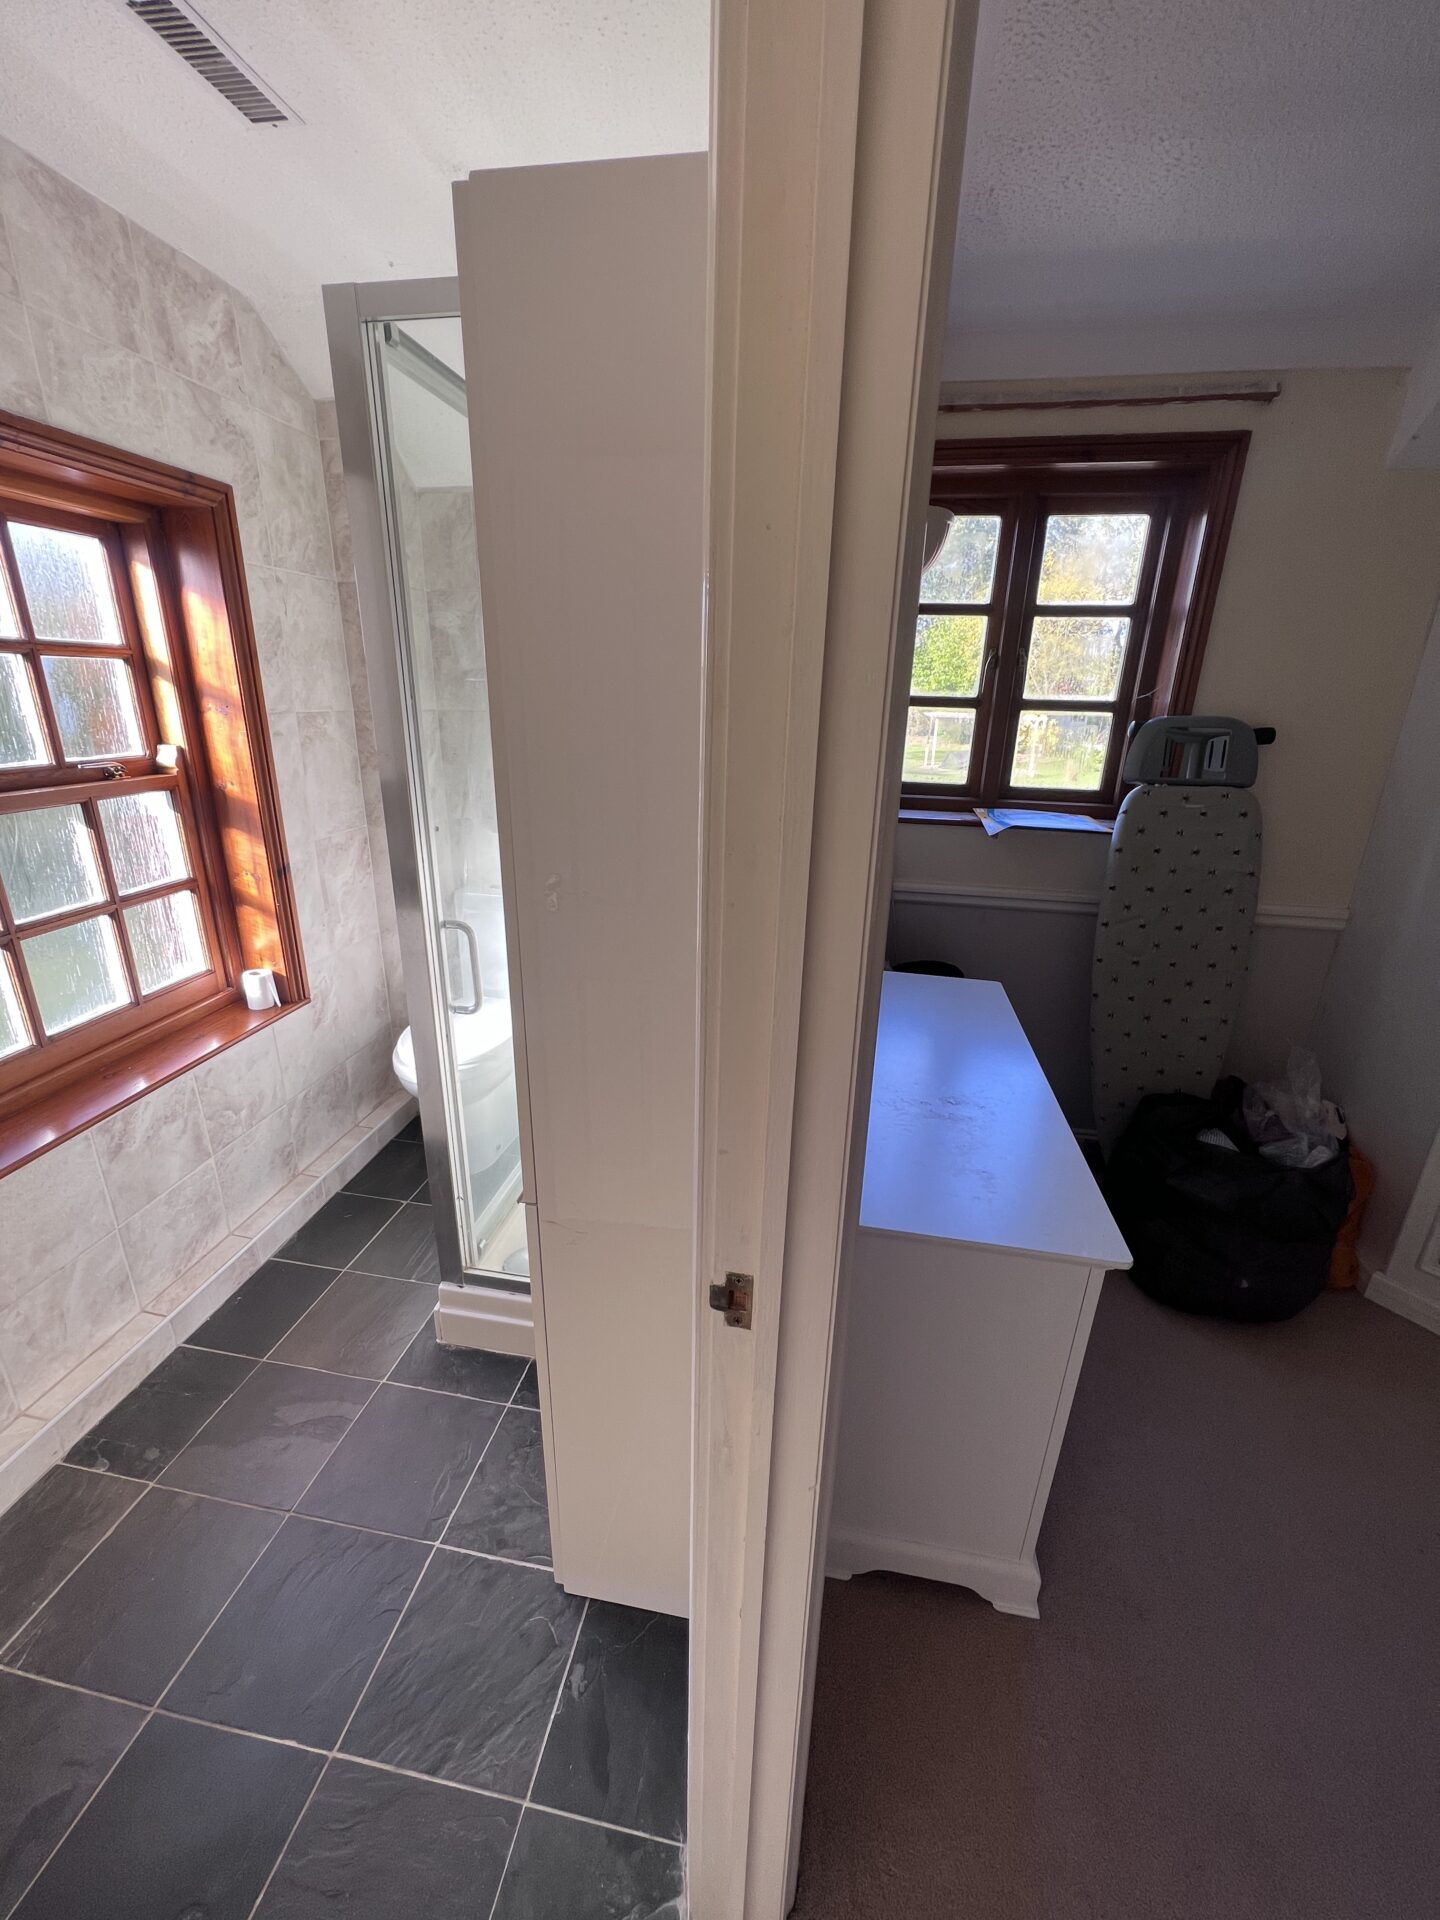
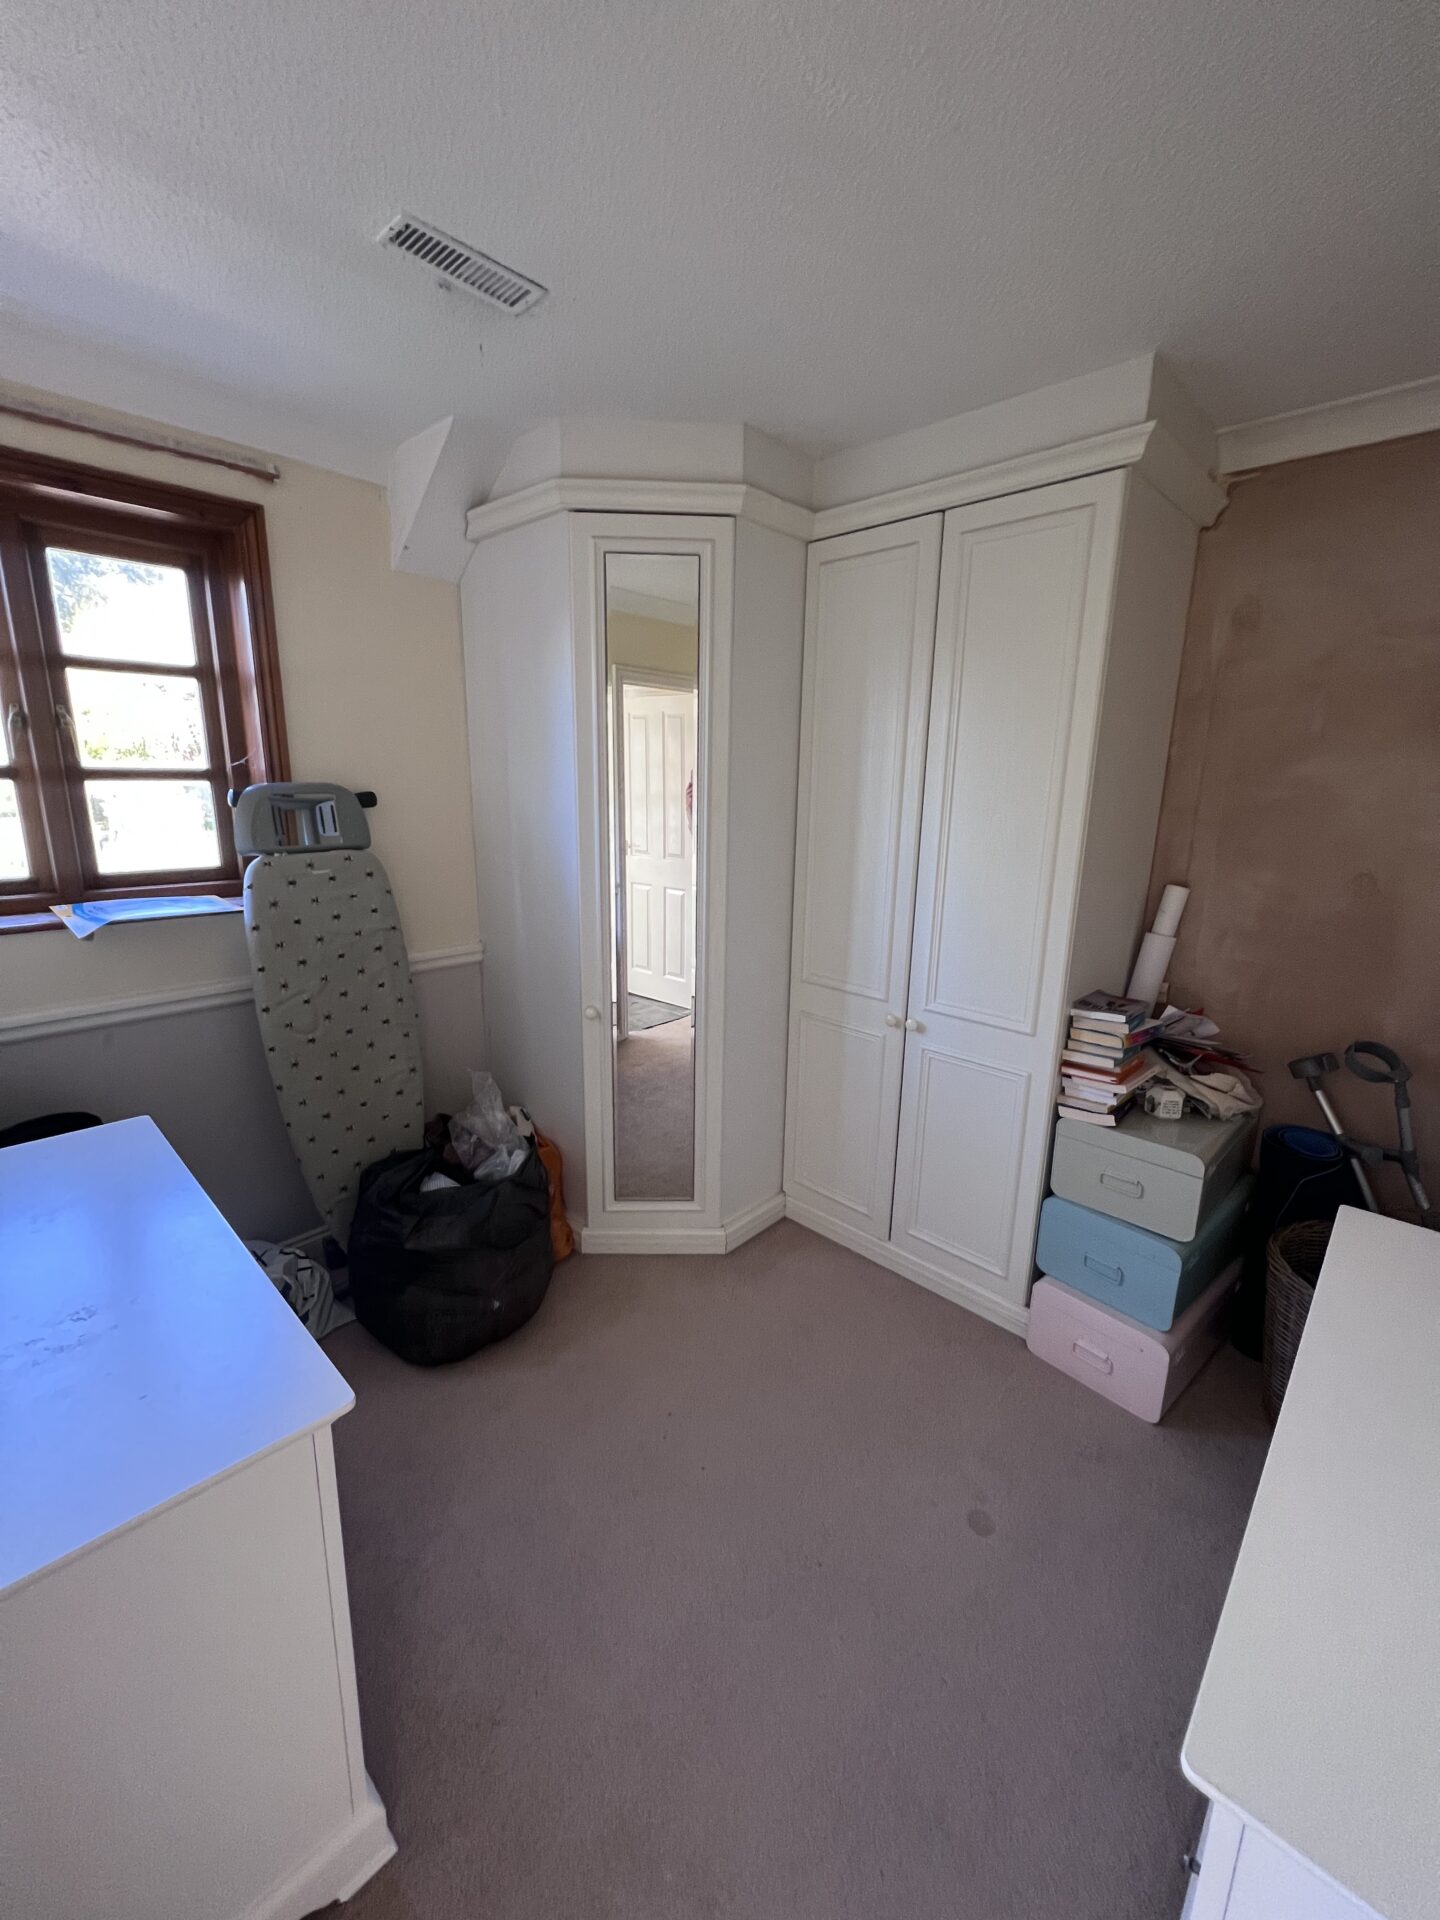
Adjoining was a room we nicknamed the ‘secret room’….which definitely sounds much dodgier than it actually was. This was originally used by the previous owners as a 5th bedroom / dressing room & had a door through to the landing which we blocked up when we first moved in. We basically used it as a dumping ground, because every house has one of those, right?
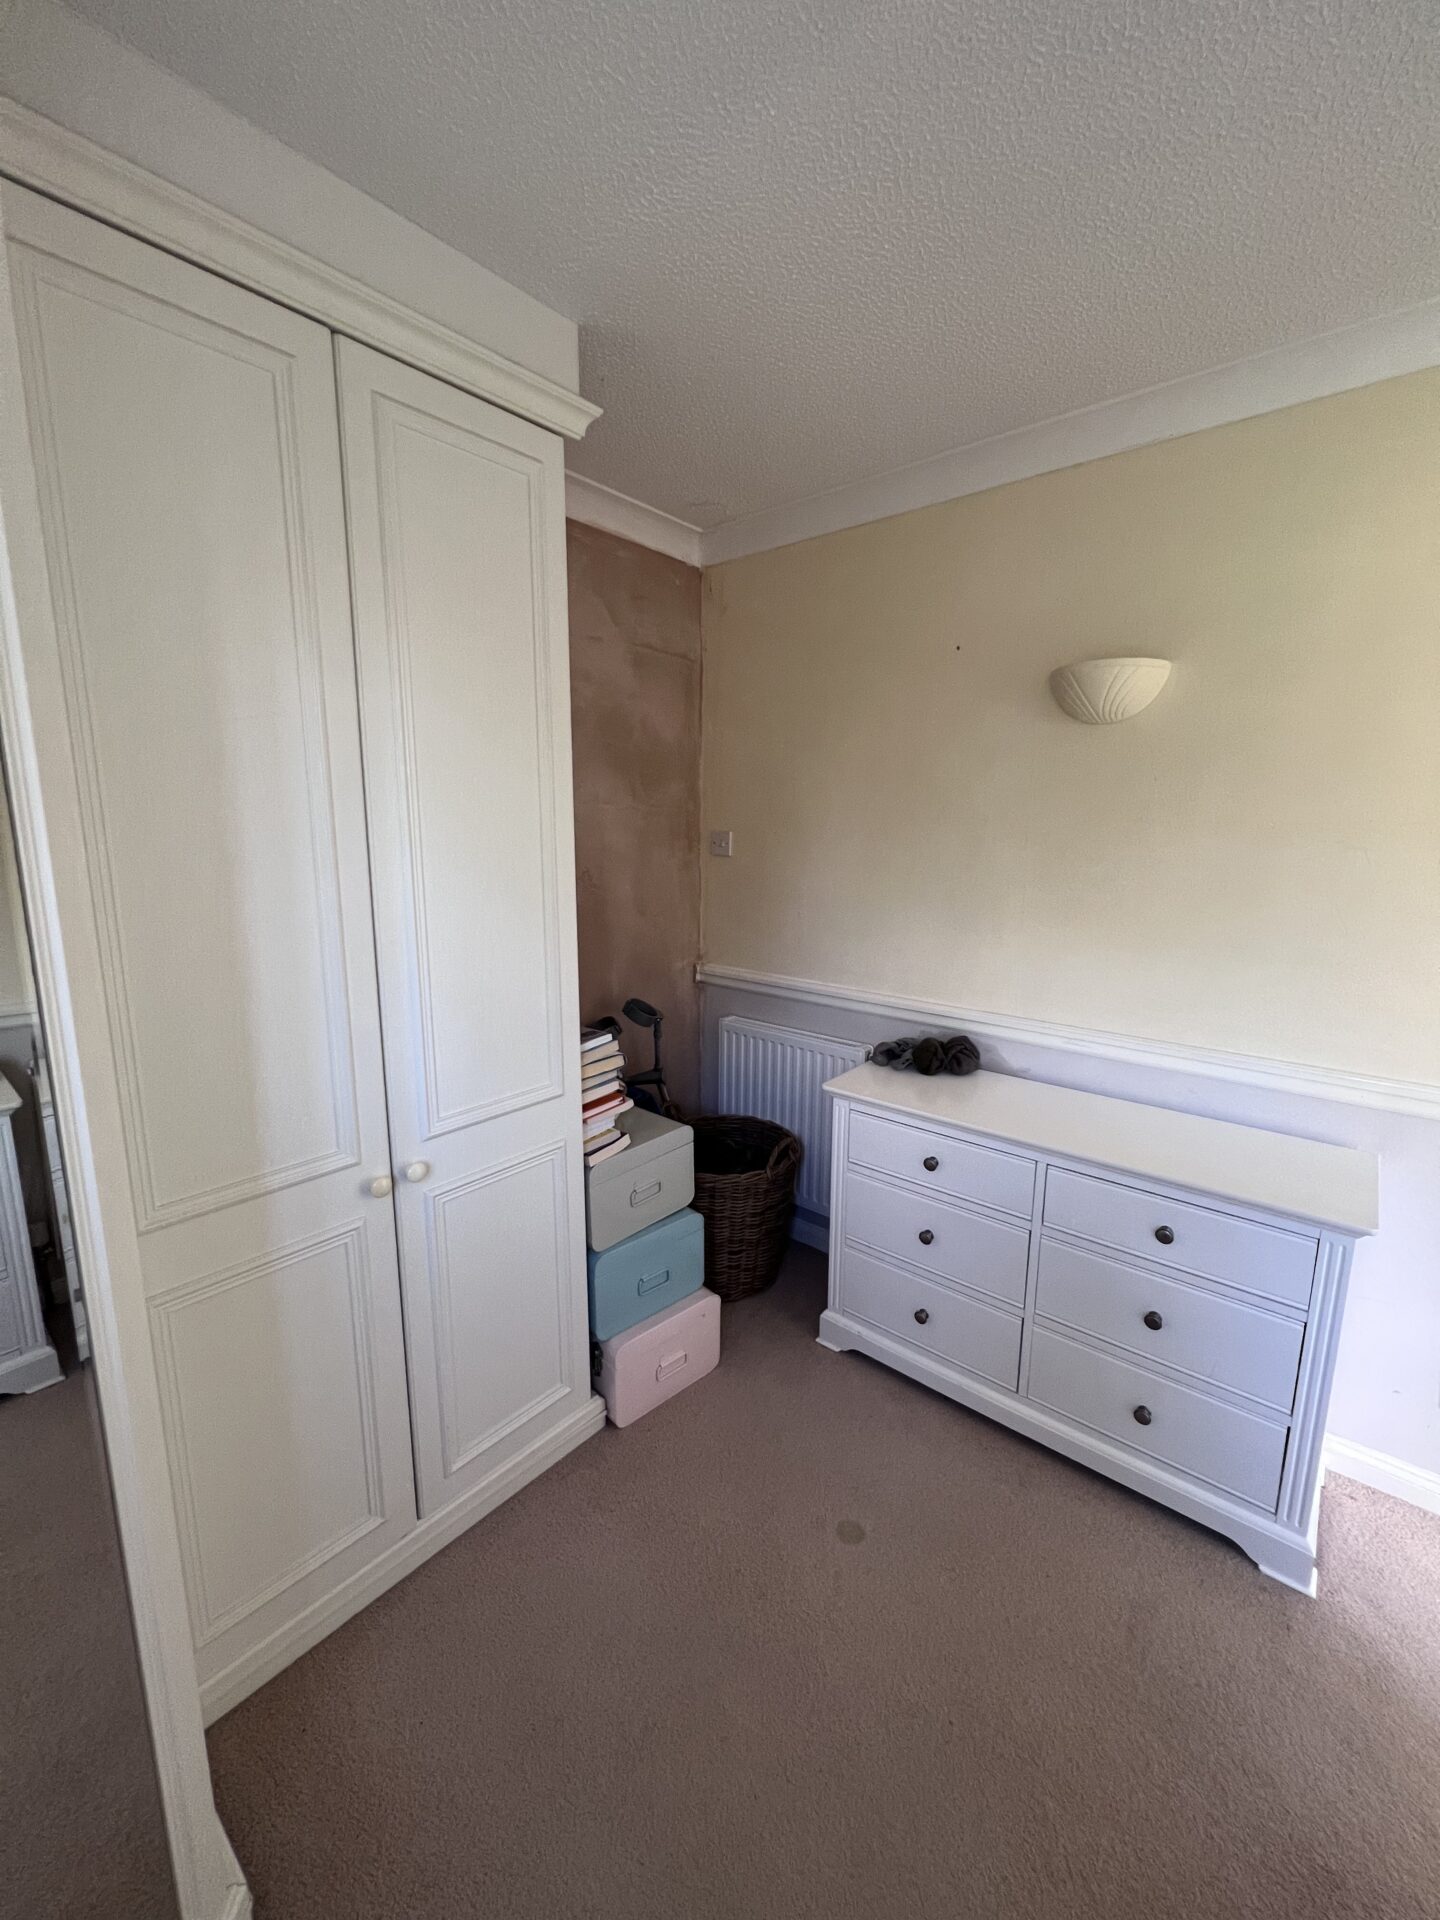
The plan was to knock the stud wall out in between these two to create a large hotel feel ensuite. I had a list of ‘must haves’ including a big freestanding bath, a double vanity unit & we also needed wardrobe space so after a lot of head scratching we came up with a plan which also had to take into consideration the logistics of plumbing.
After stripping both rooms by ripping out the old sanitary ware & removing the built in wardrobes, it was time to take off the tiles (which had been tiled on top of tiles) then I started to knock through the wall. We soon got a good idea of the space & just how big it was going to be!
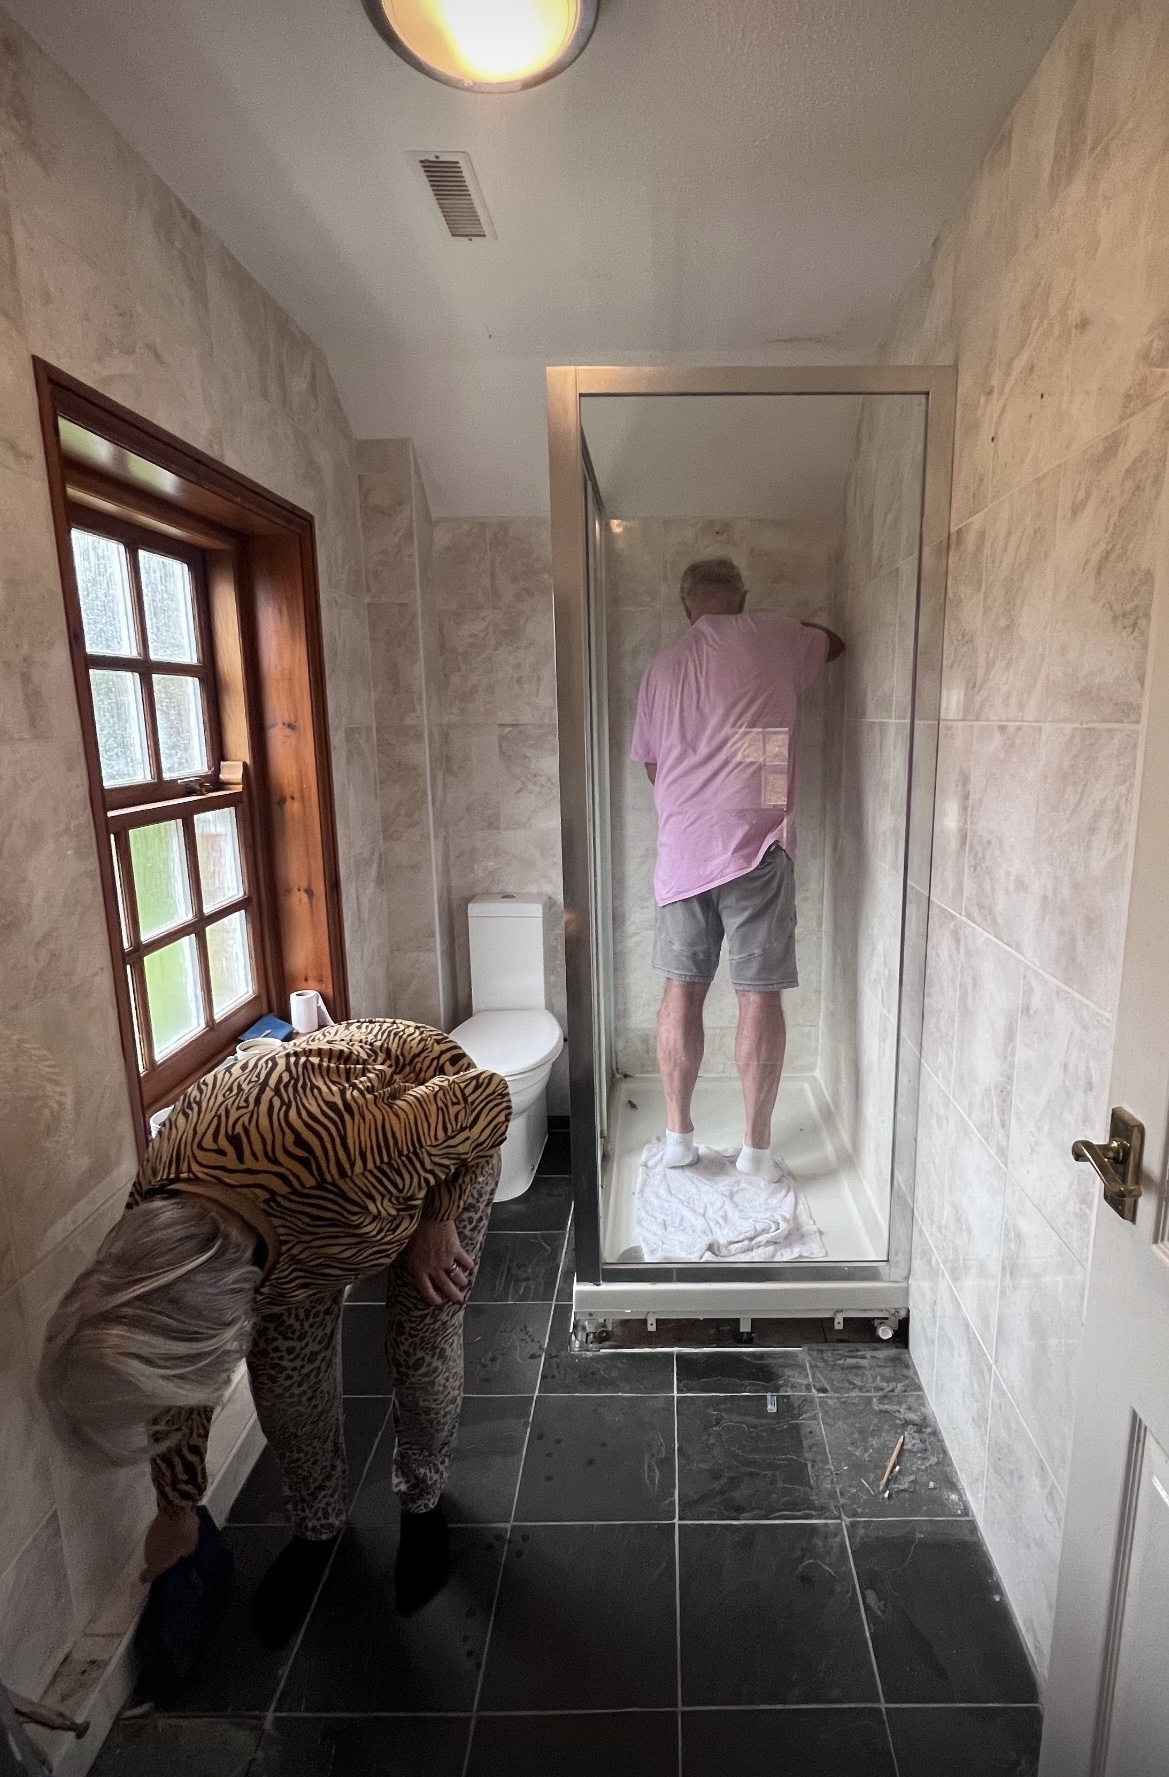


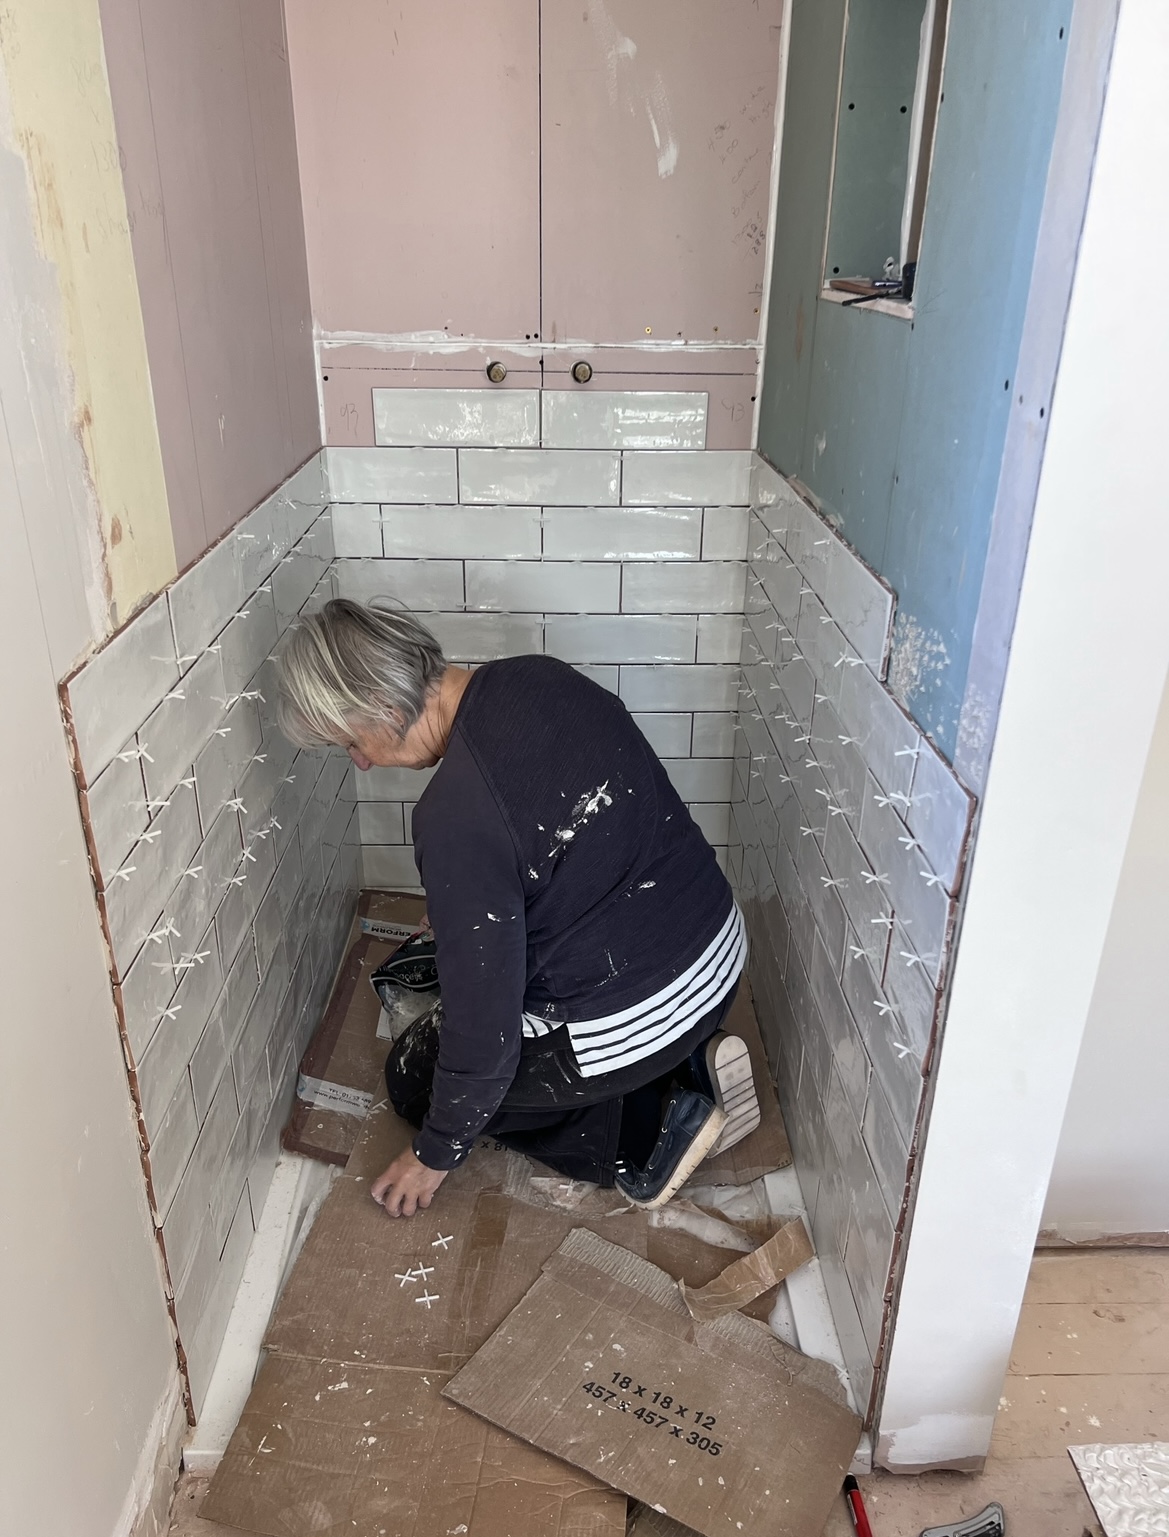
Once completely back to bones, it was then a case of putting it all back together again. We called in the pro’s for plastering, electrics & plumbing but managed to complete the rest ourselves to keep costs down as much as possible. Once first fix was completed & the plaster had dried we were ready to decorate & tile. My parents were amazing & helped no end.
The main cost of this was the trades, with the whole space needing to be replastered, then new downlights, wall lights & fan installed by an electrician & the entire space rejigged plumbing wise it took a big chunk of the budget up.
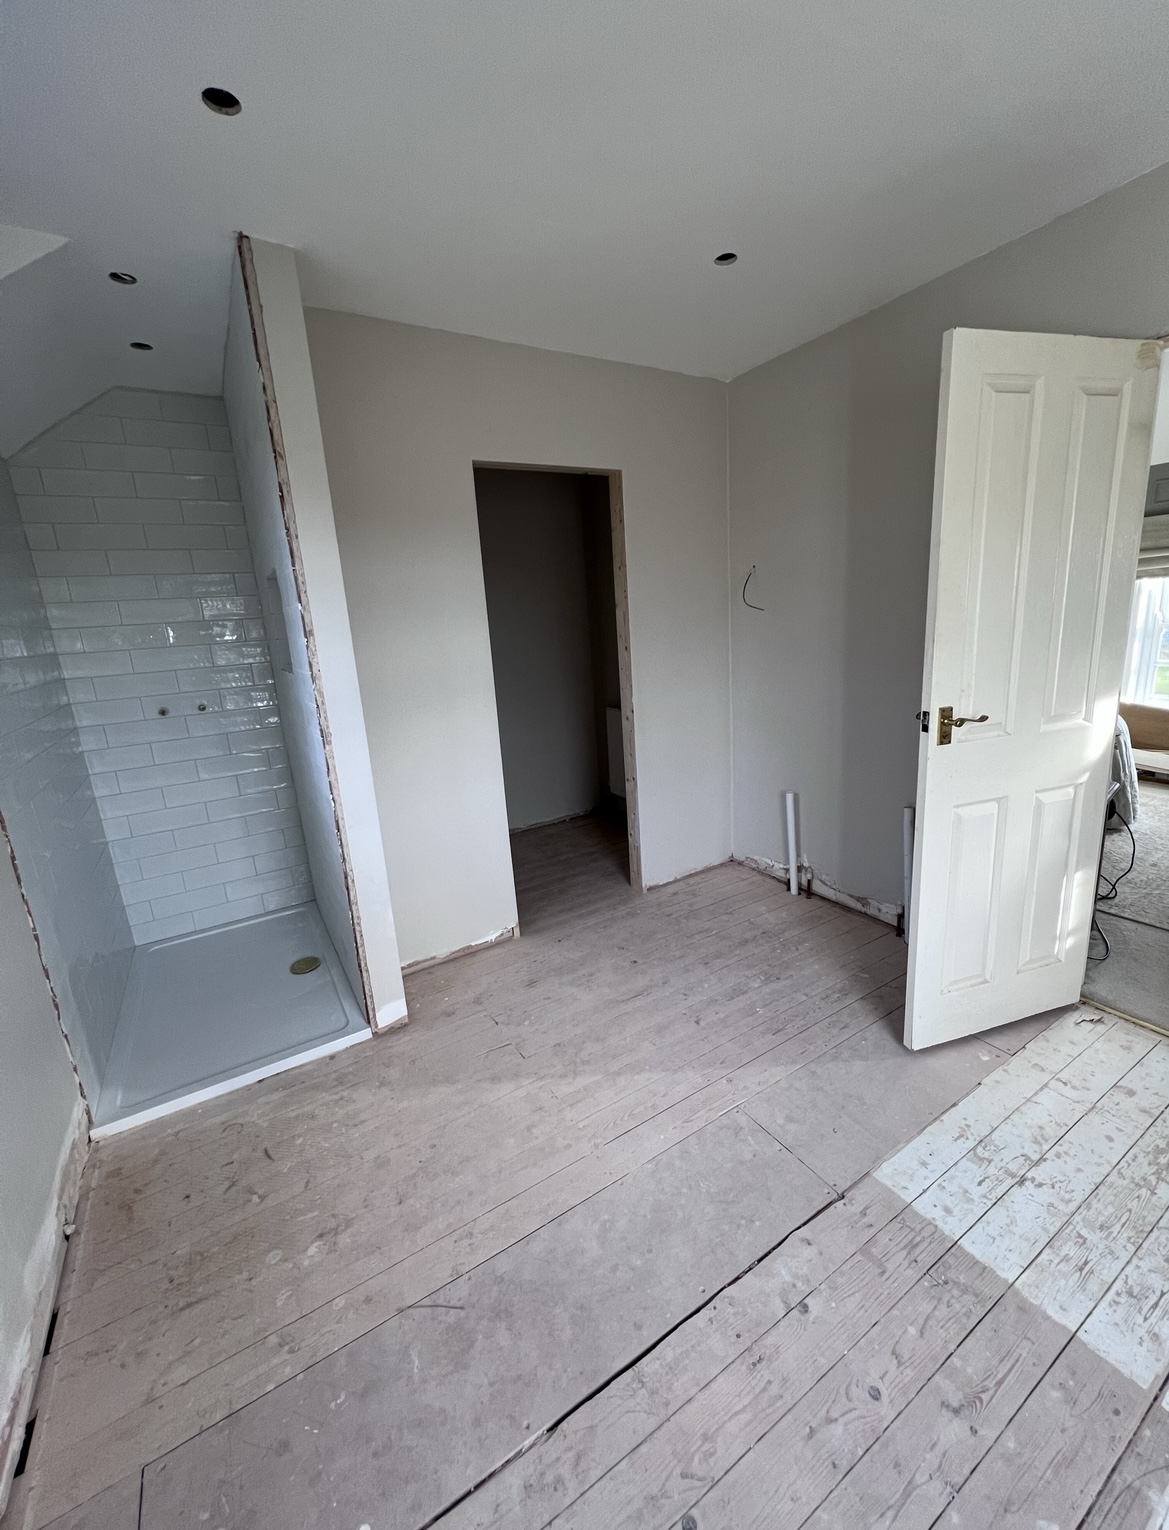
The flooring went down before 2nd fix when it finally all came together & to say I’m obsessed is an understatement.
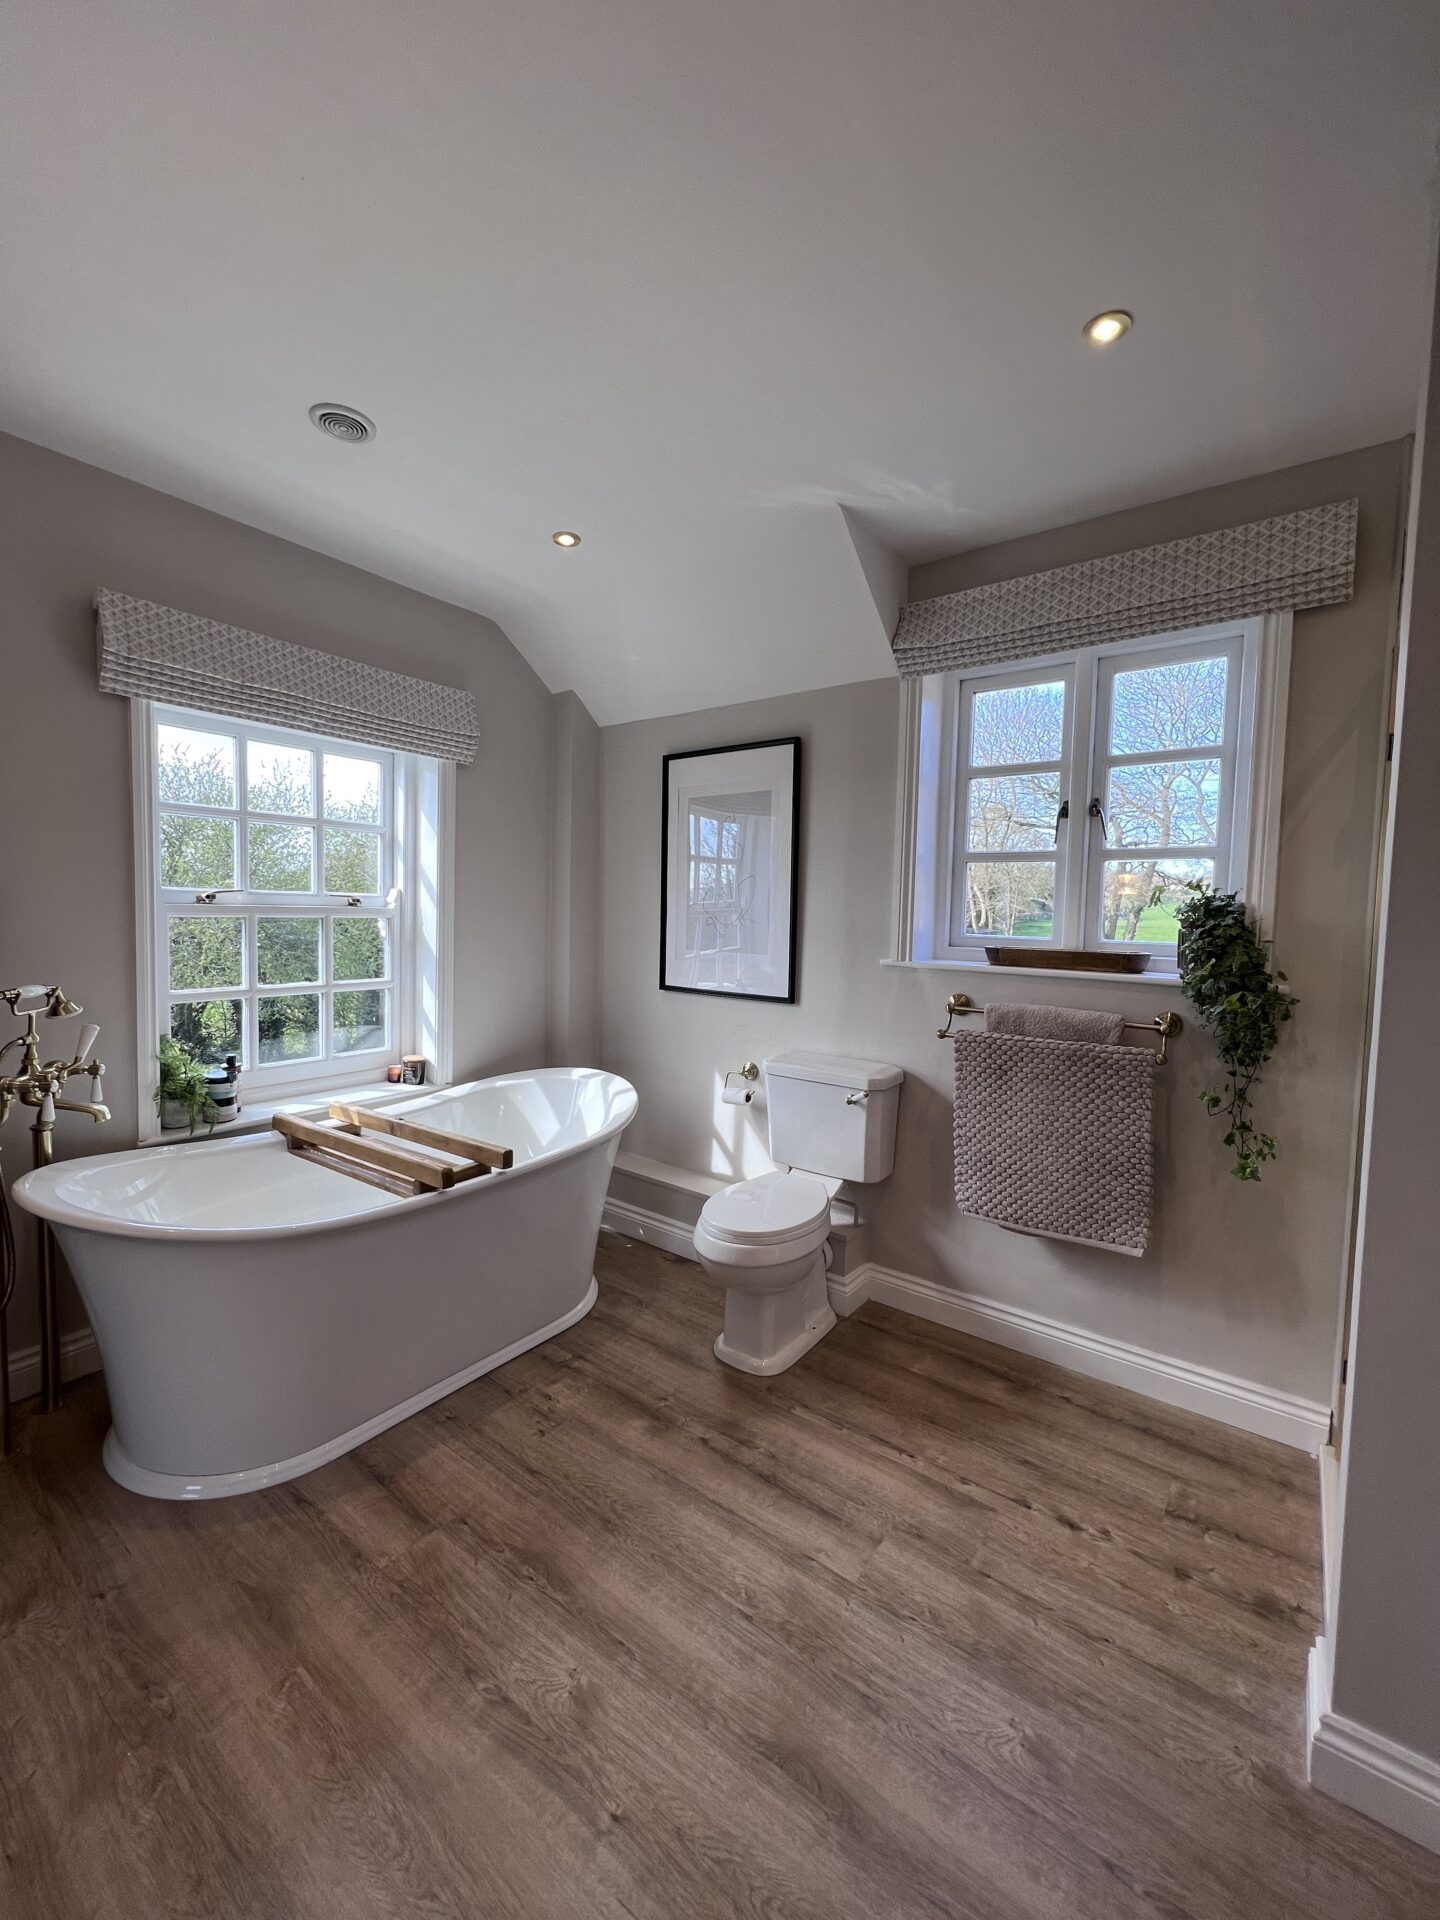
Here is what it looks like now….
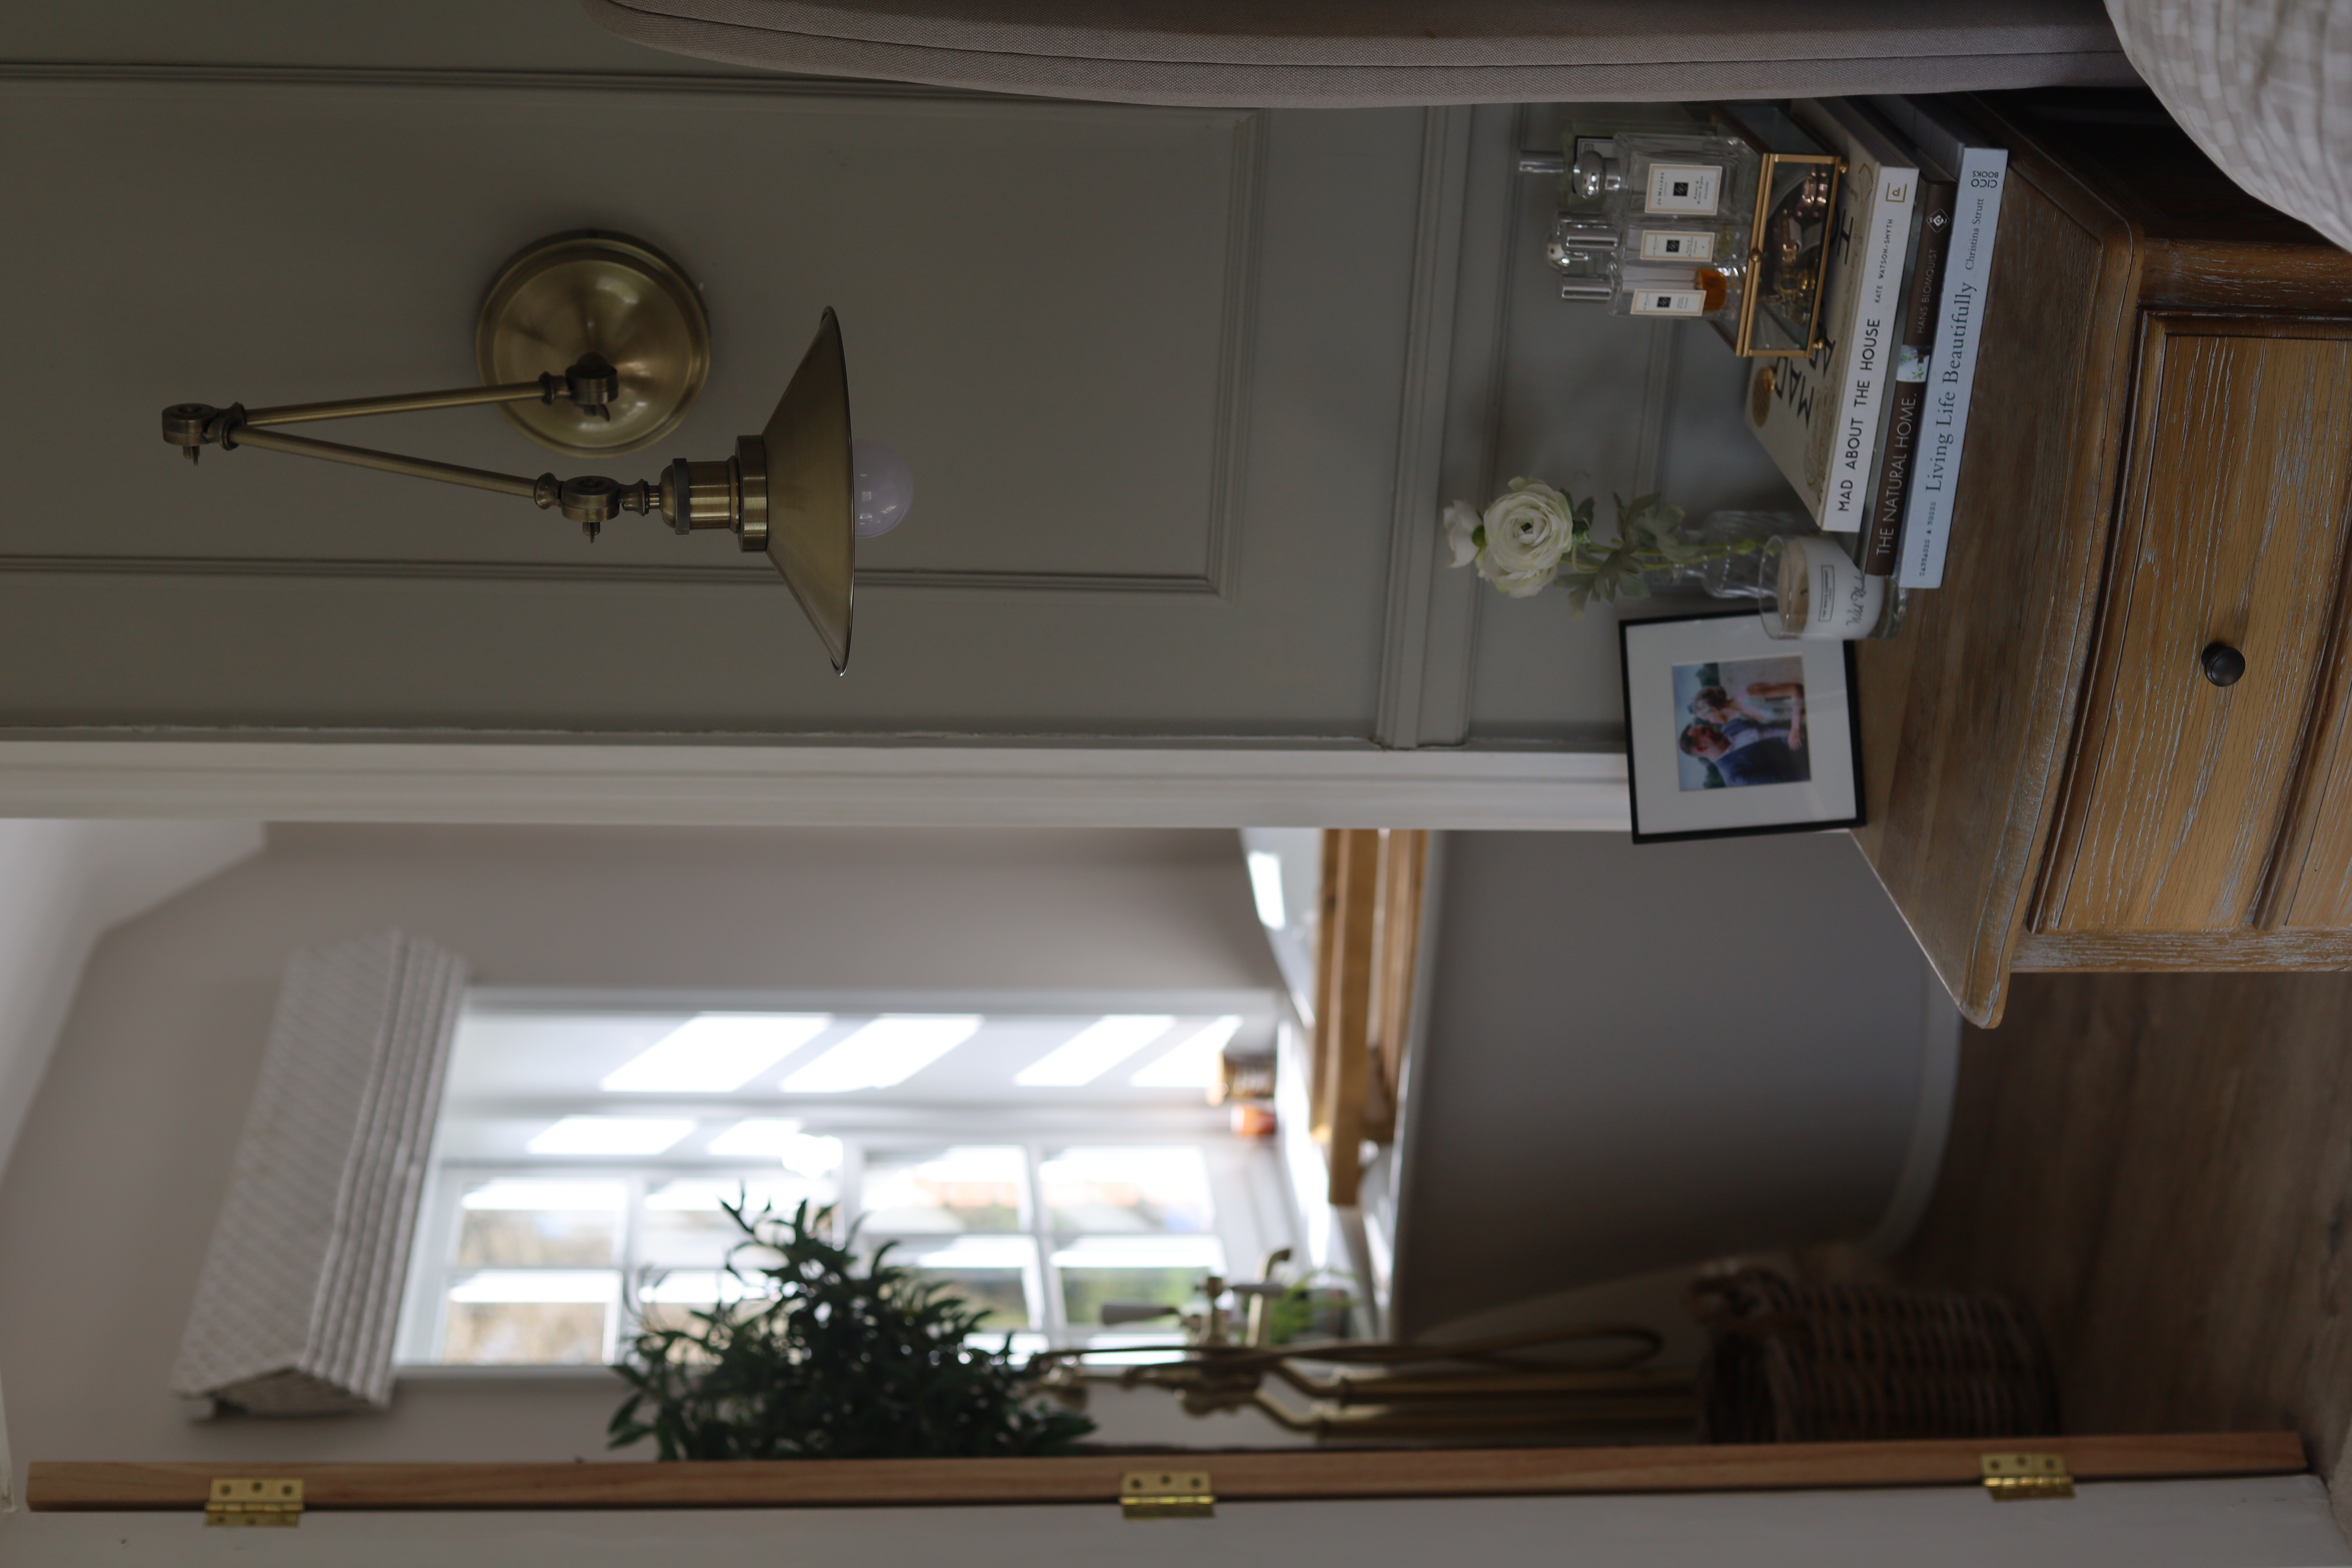
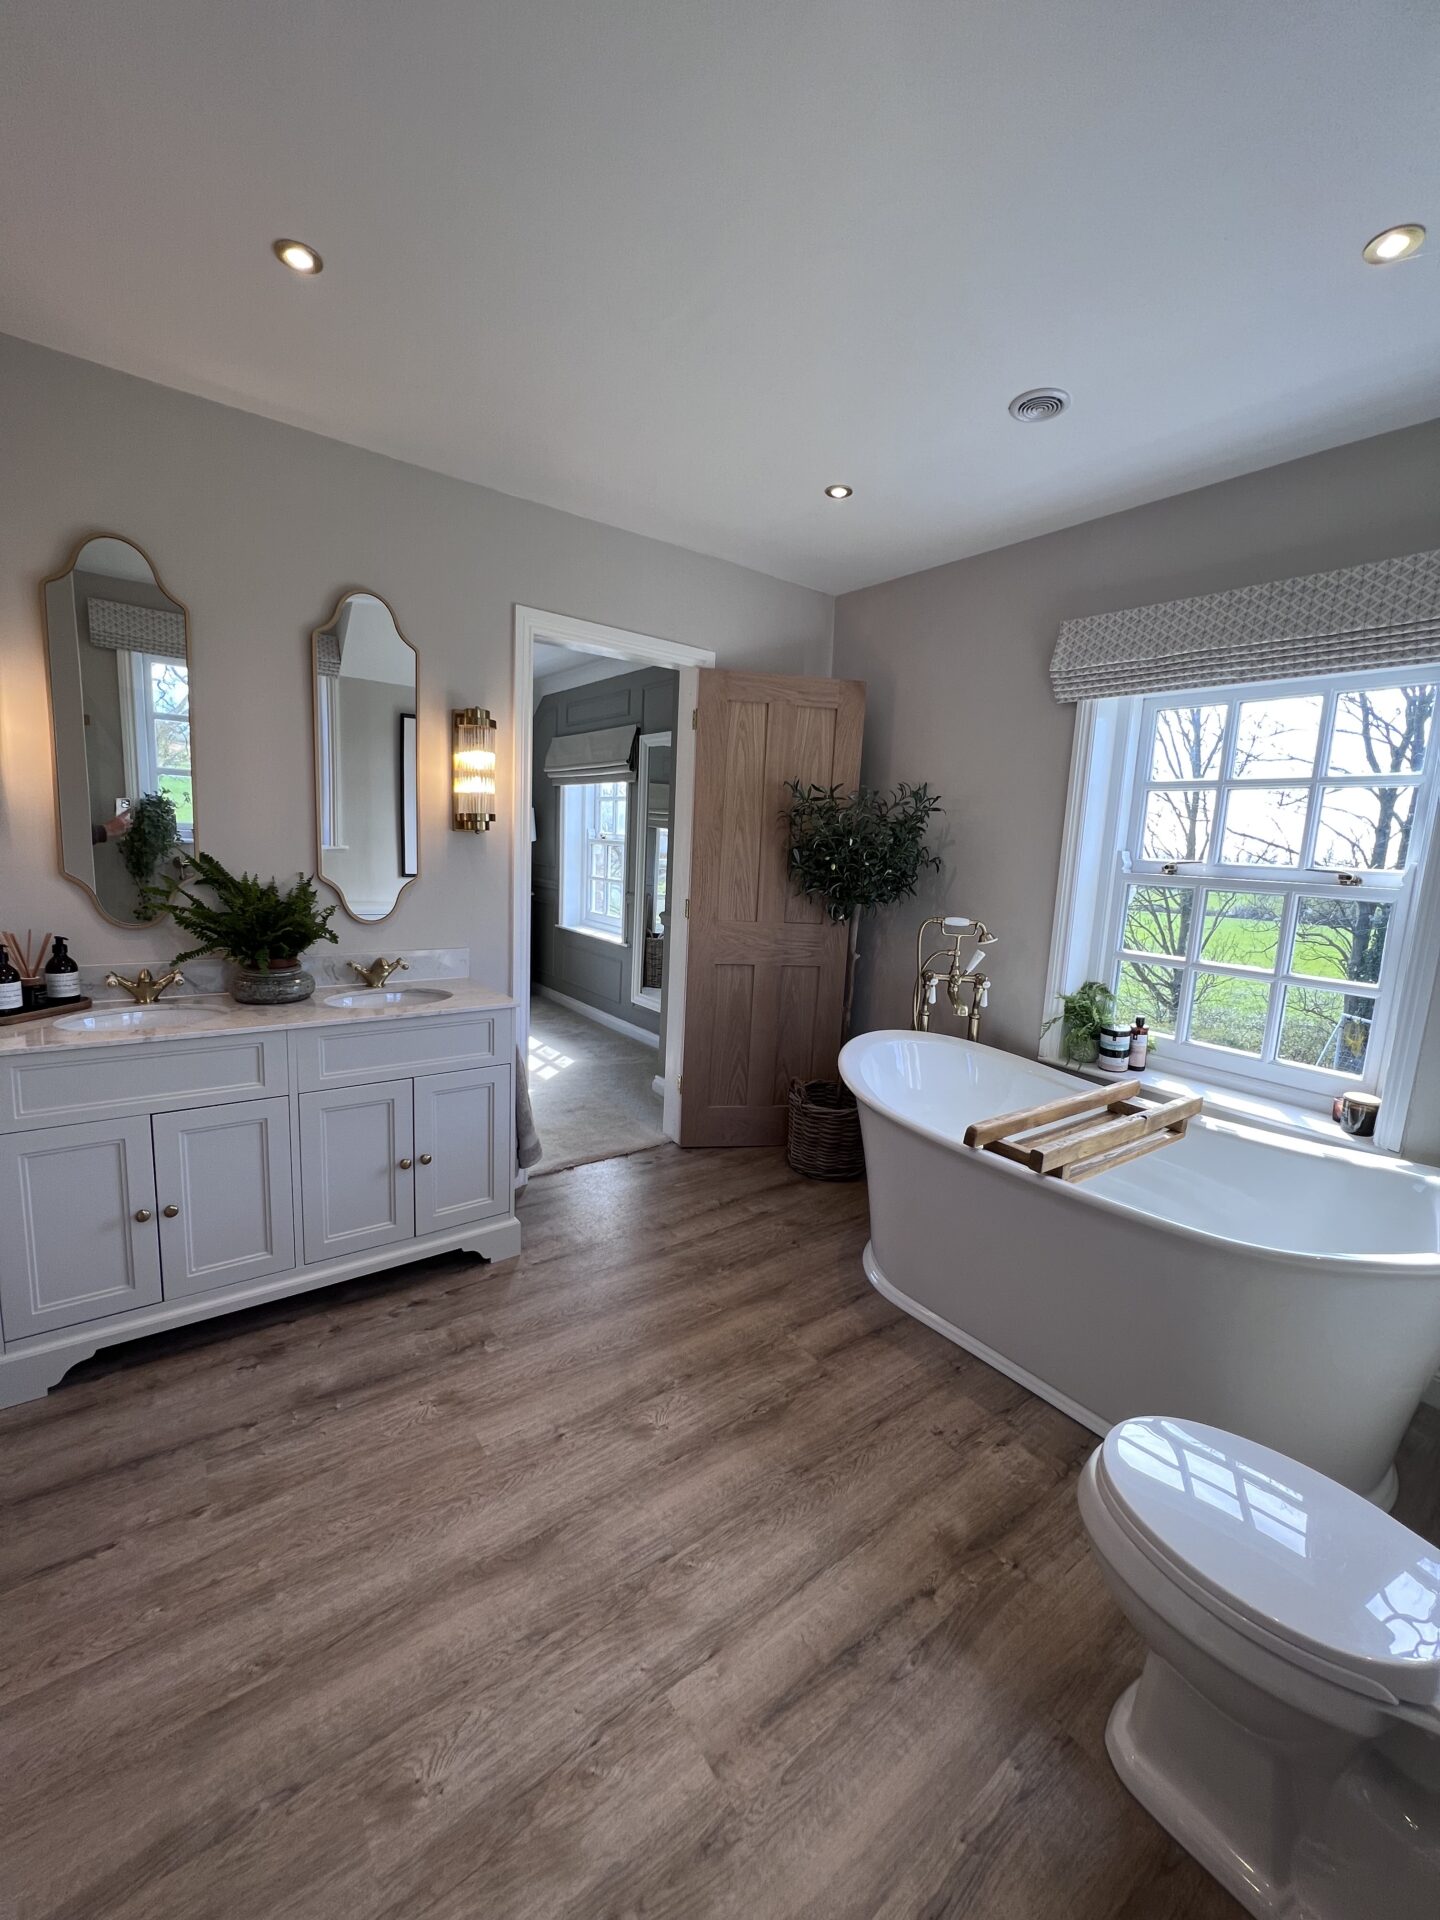
The walls are painted in a mix up of Farrow & Ball ‘Skimming Stone’ in Leyland Trade hardwearing matt from Decorating Centre Online. It’s a gorgeous warm taupe tone & really compliments the brass hardware.
The flooring is Polyflor Camaro in ‘Cashmere Oak’ LVT – it’s the perfect choice for bathrooms being waterproof & durable whilst looking like real wood & feeling warm underfoot.
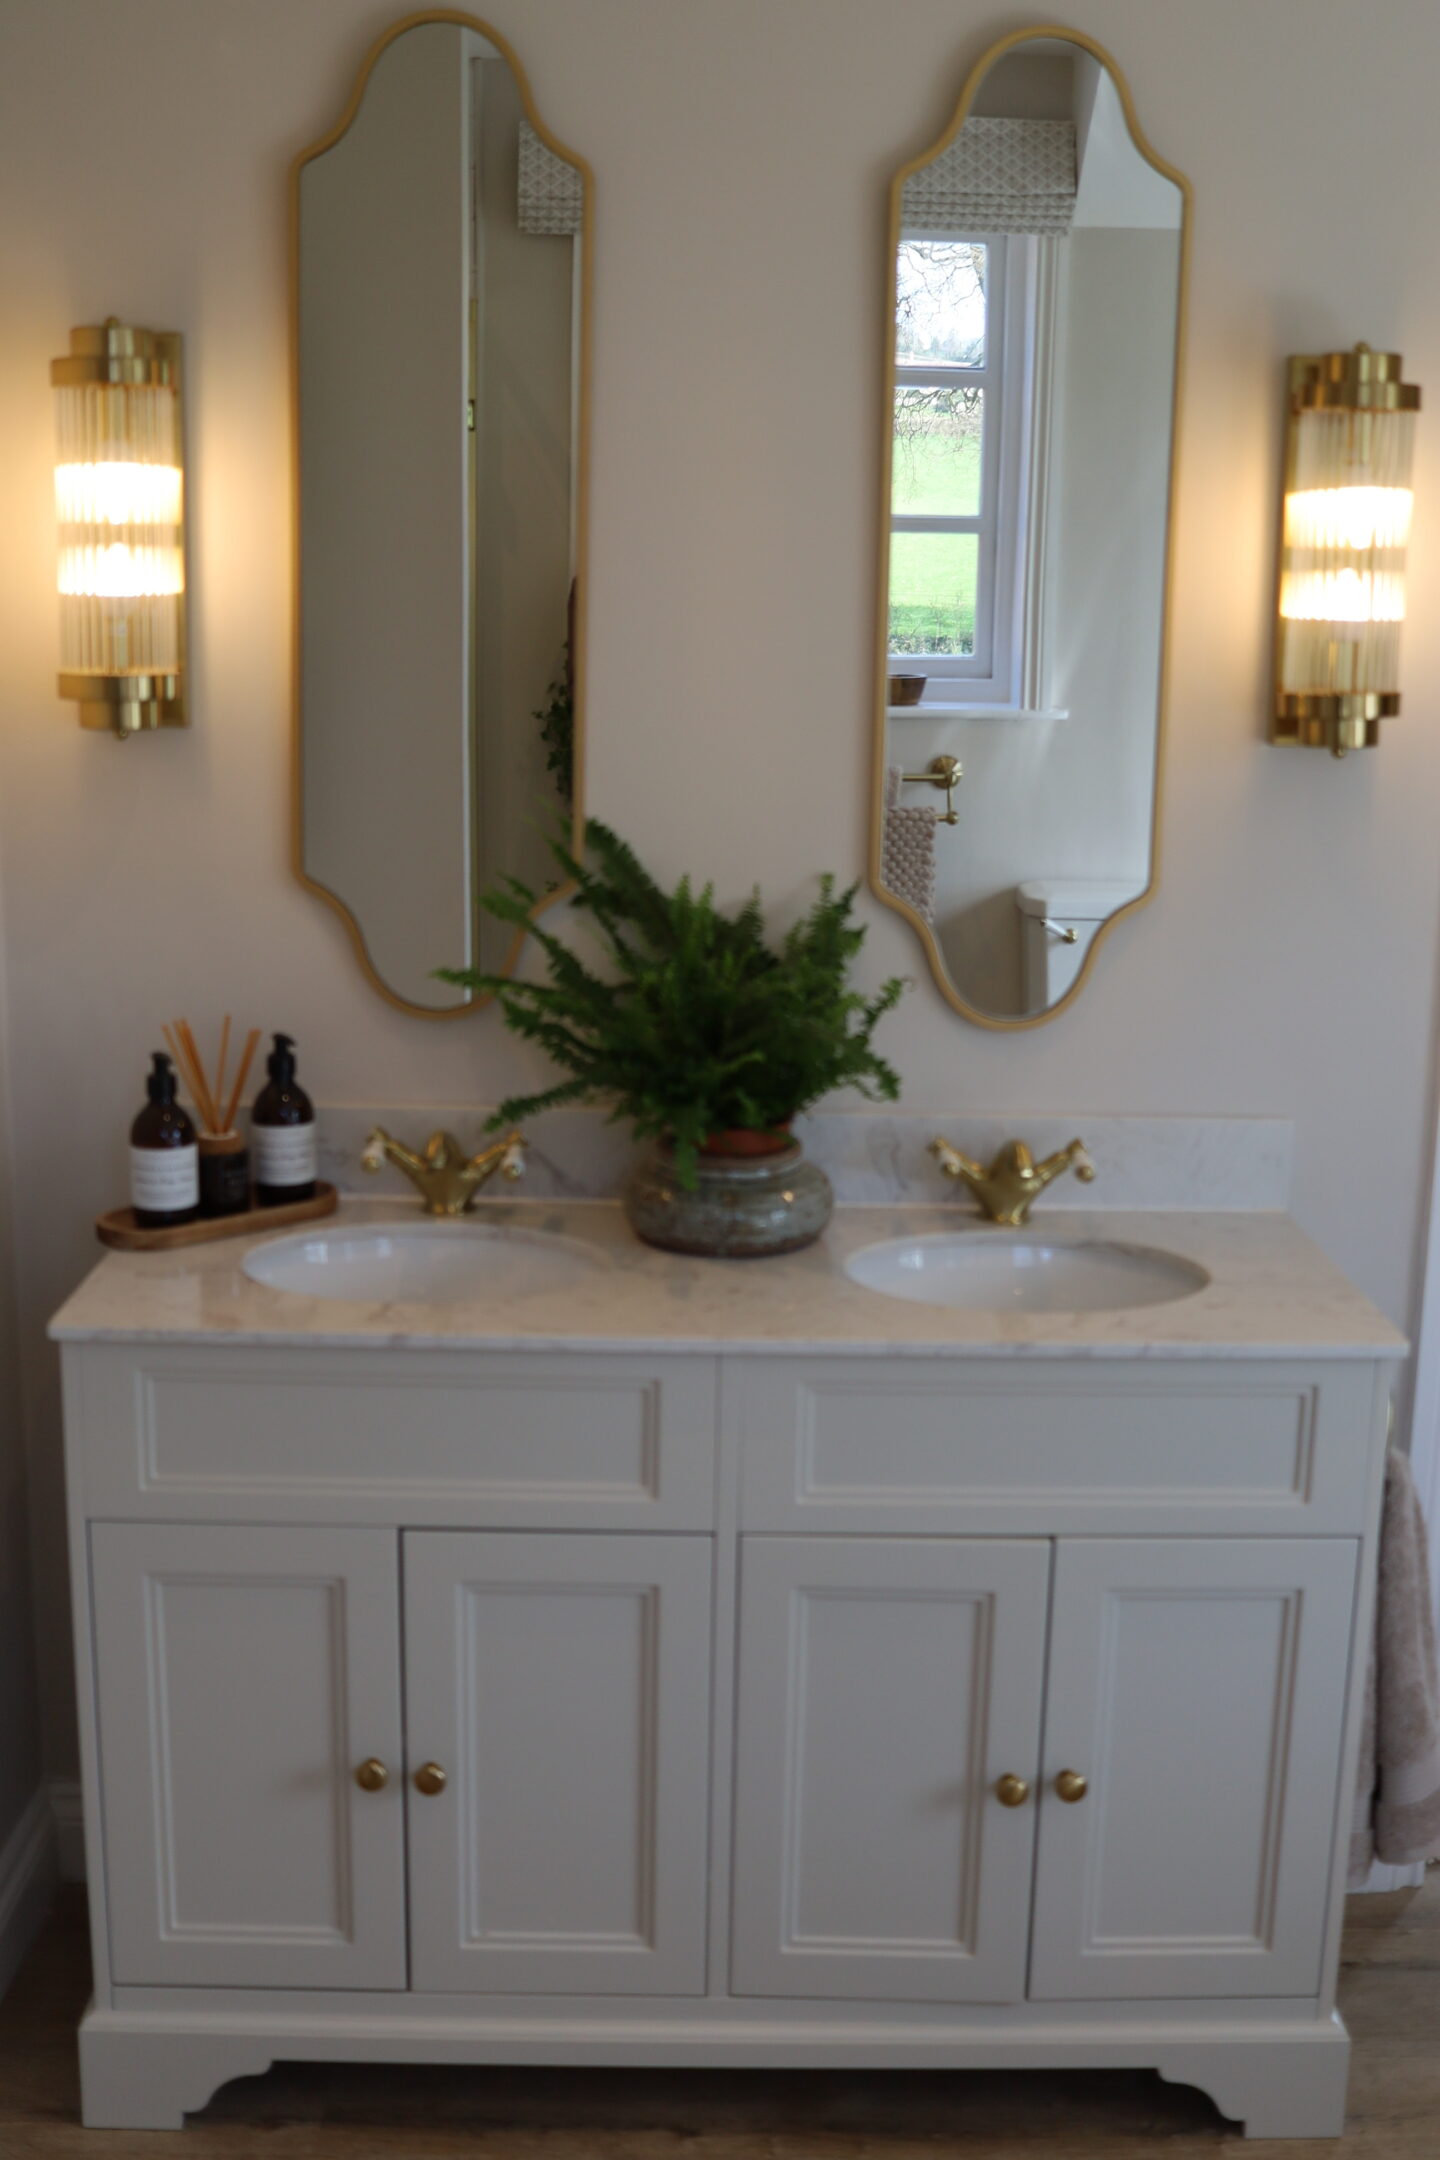
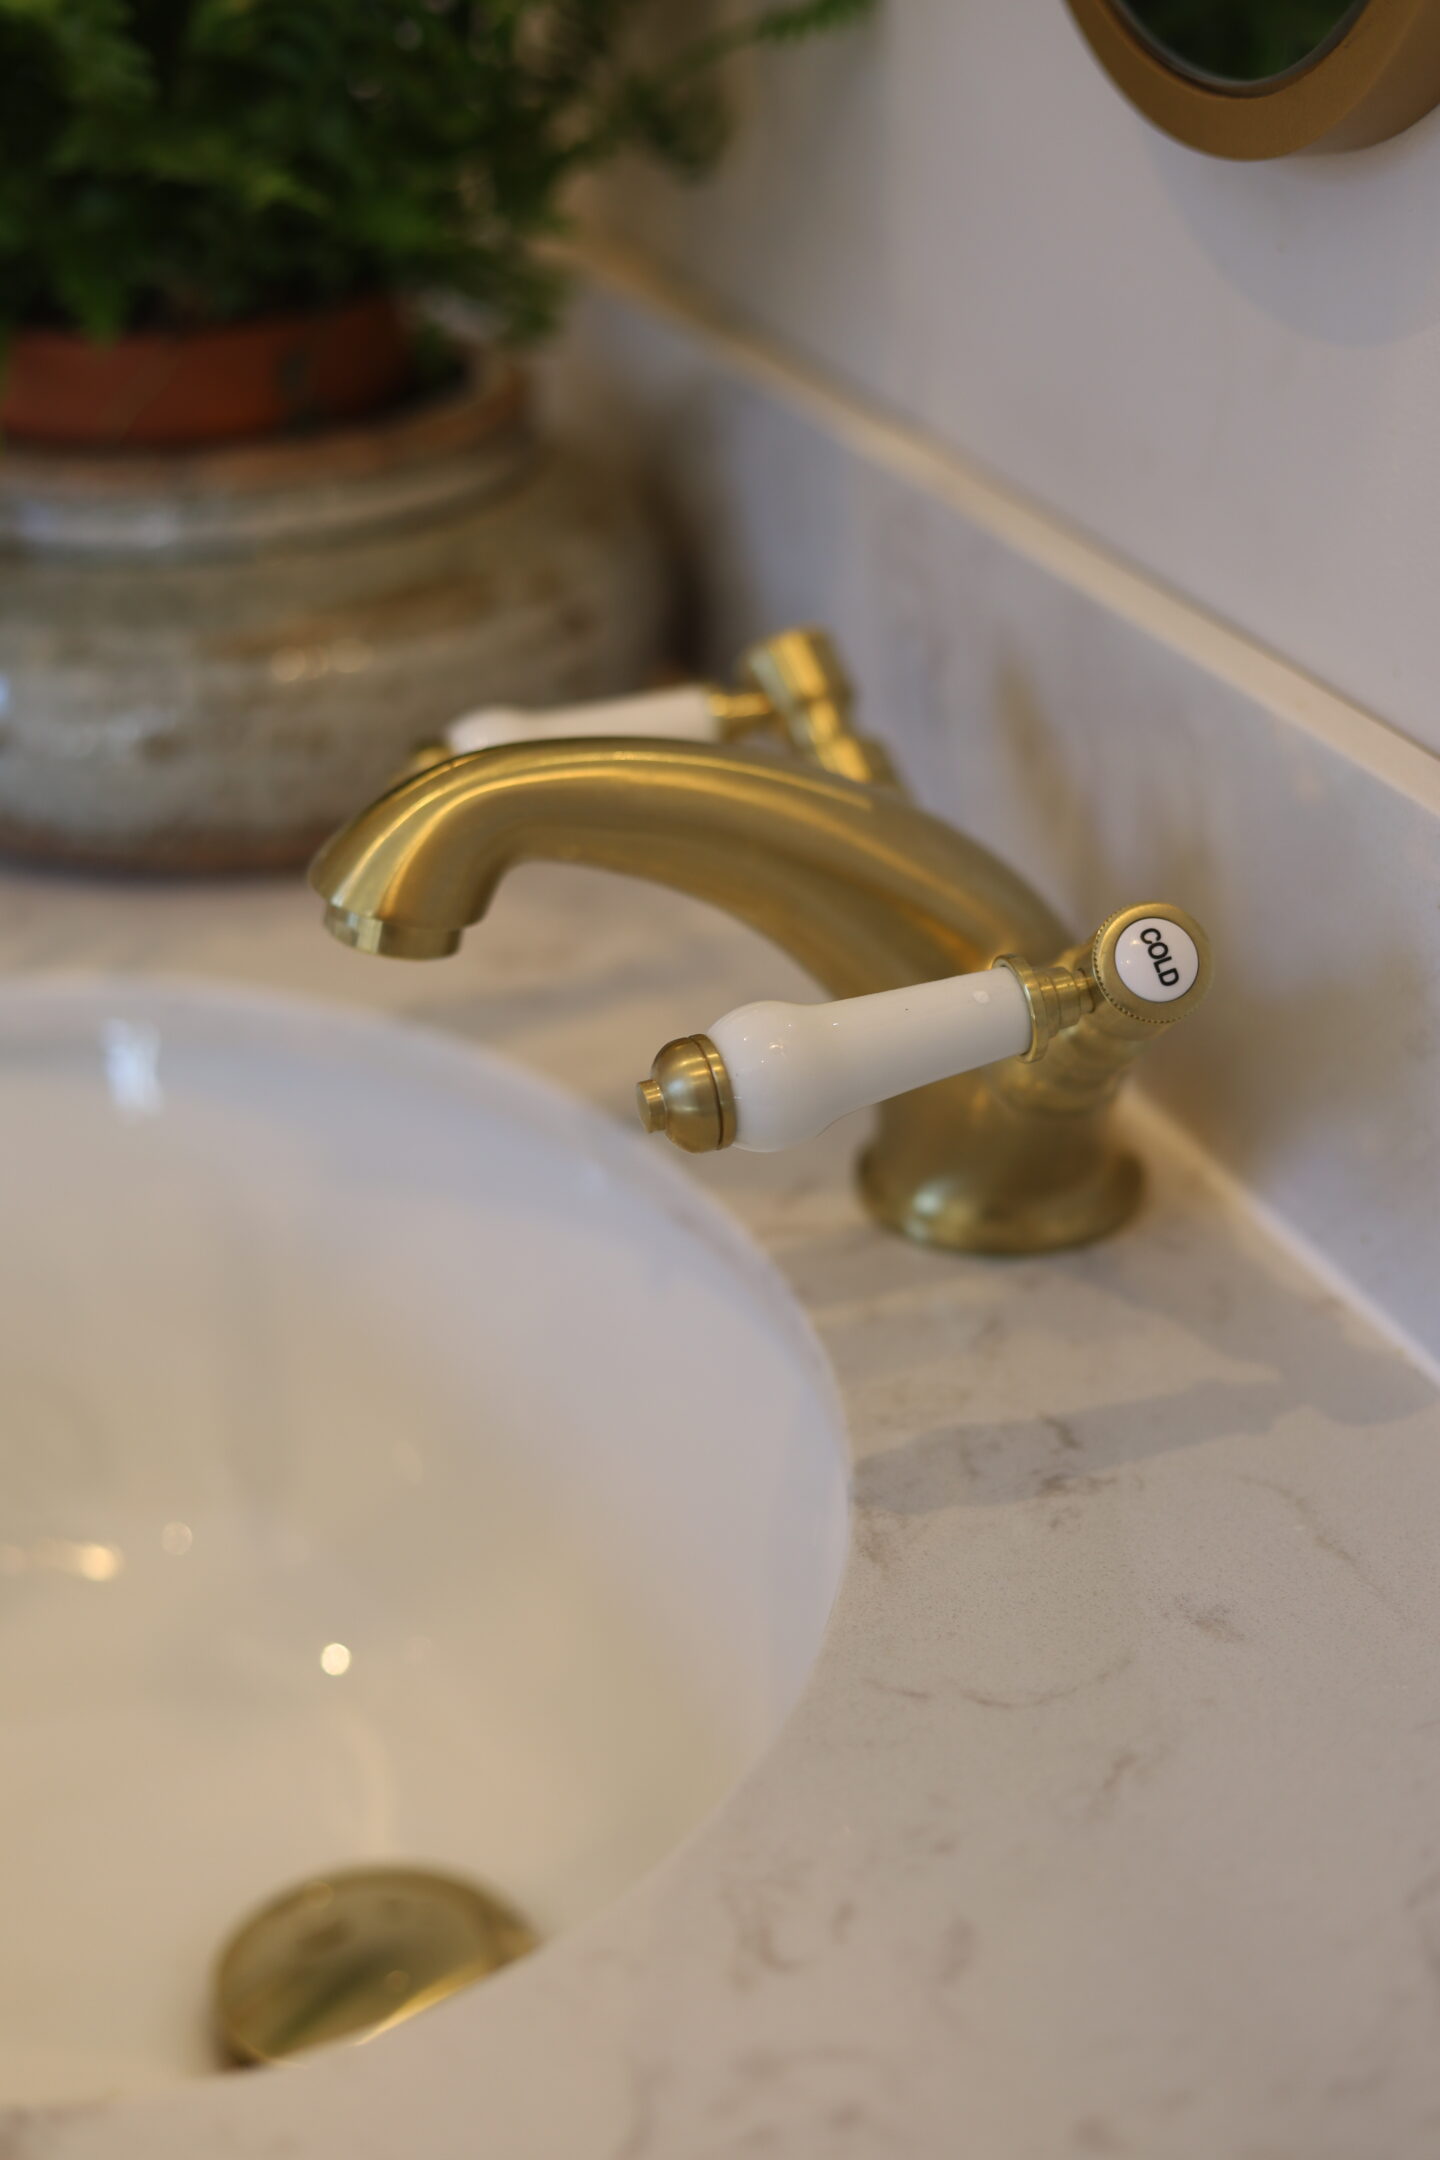
I am absolutely in love with the double vanity unit. This is the Lucia Chalk from Bathroom Mountain*. It comes in various different styles & sizes with different sink options & a range of colours. I went with the undermount basins for a more seamless look with a marble top in colour white (although it is more of a warm greige) in size 1200mm. I combined this with the Cherwell traditional brushed brass mixer taps* along with brushed brass waste*.
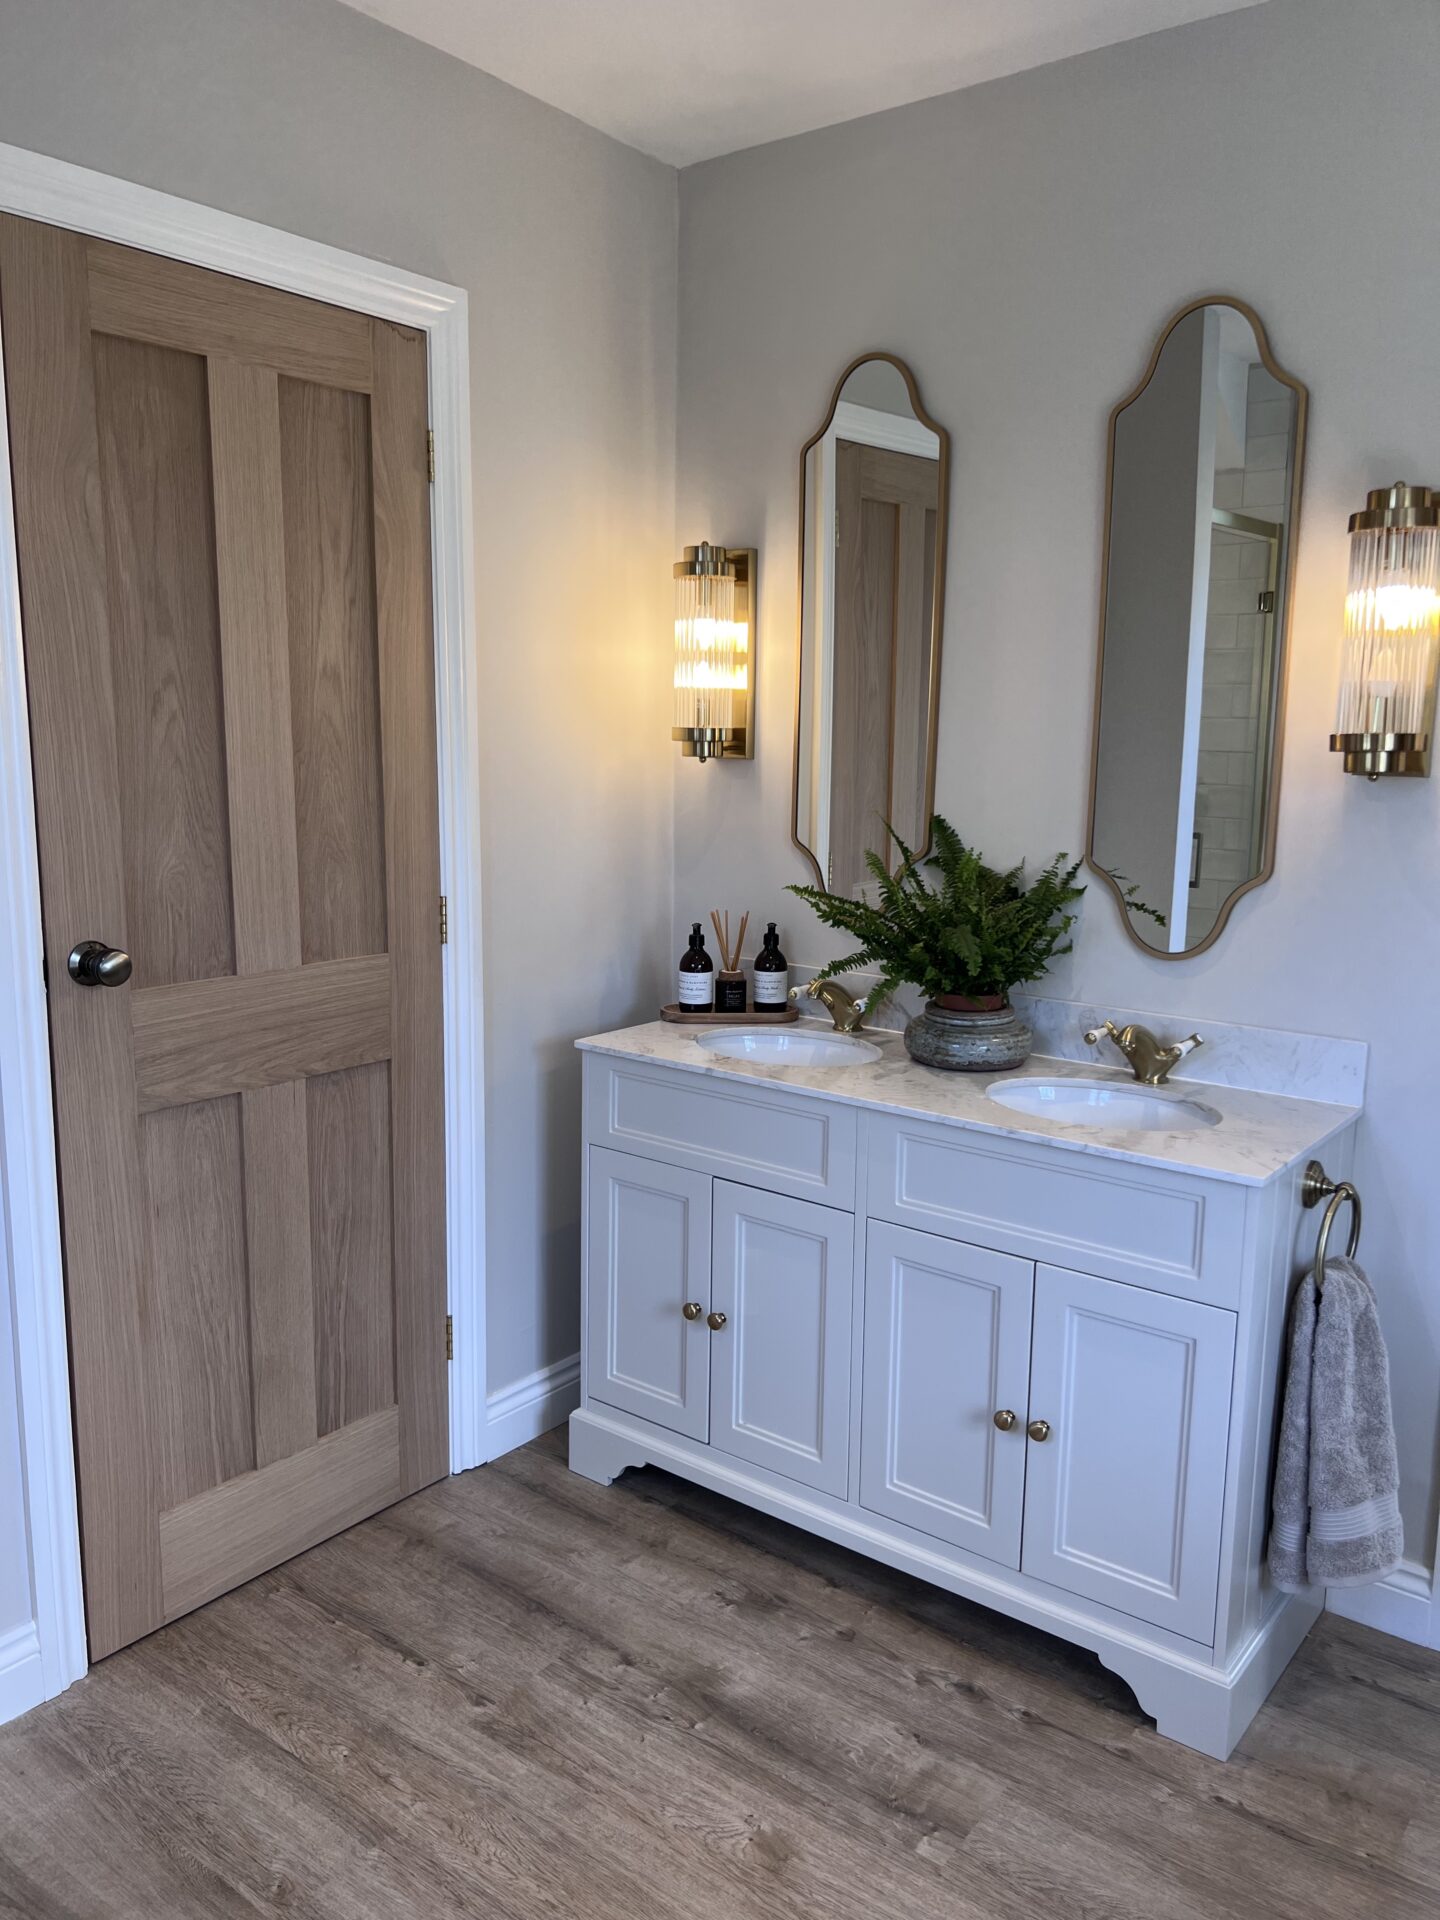
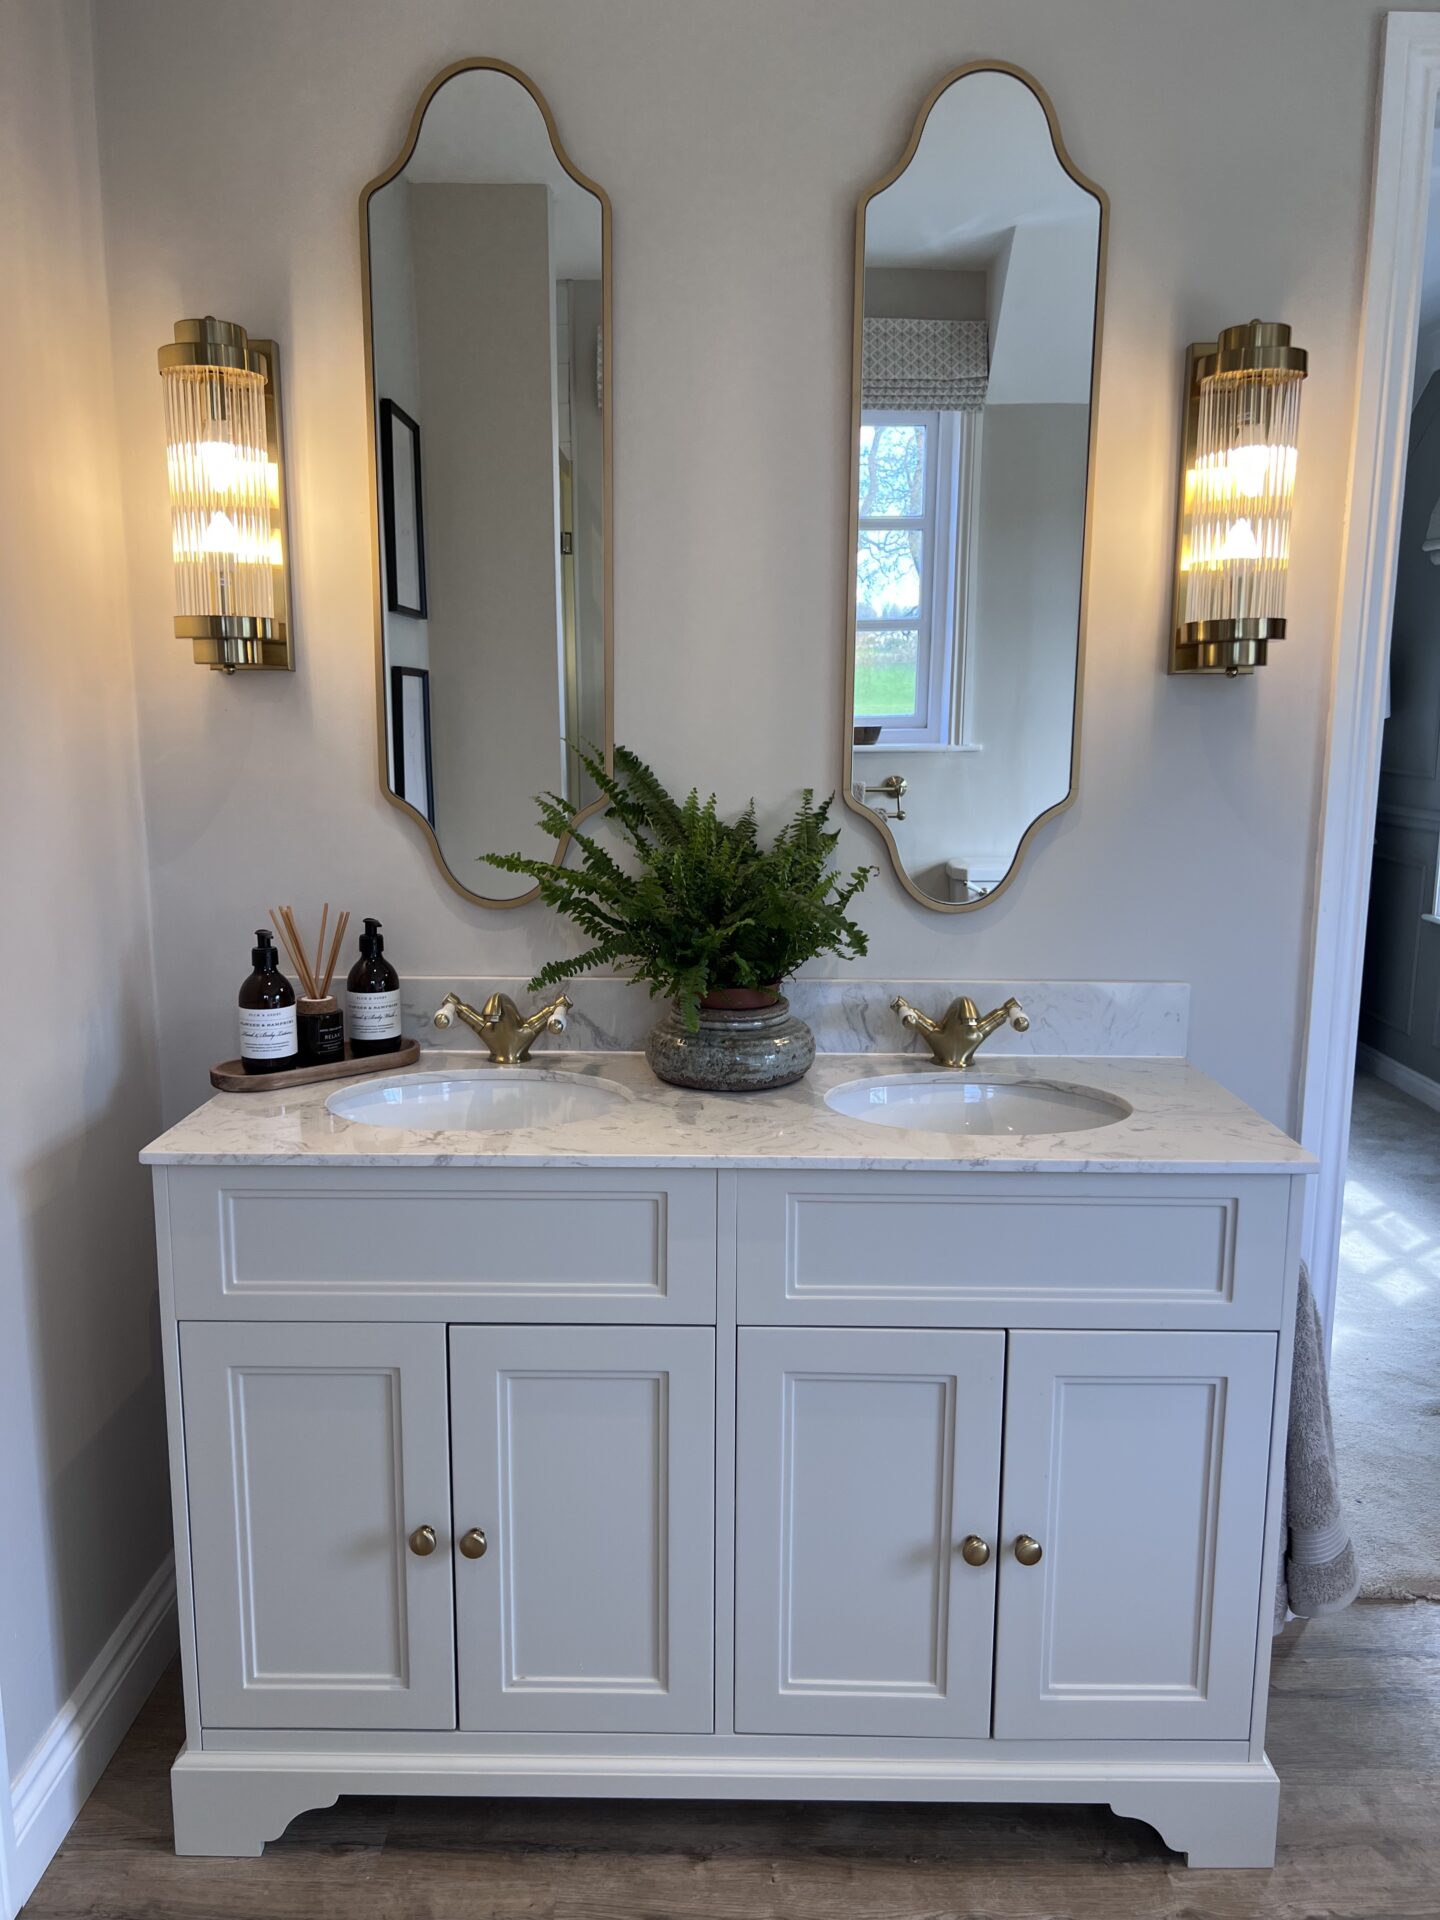
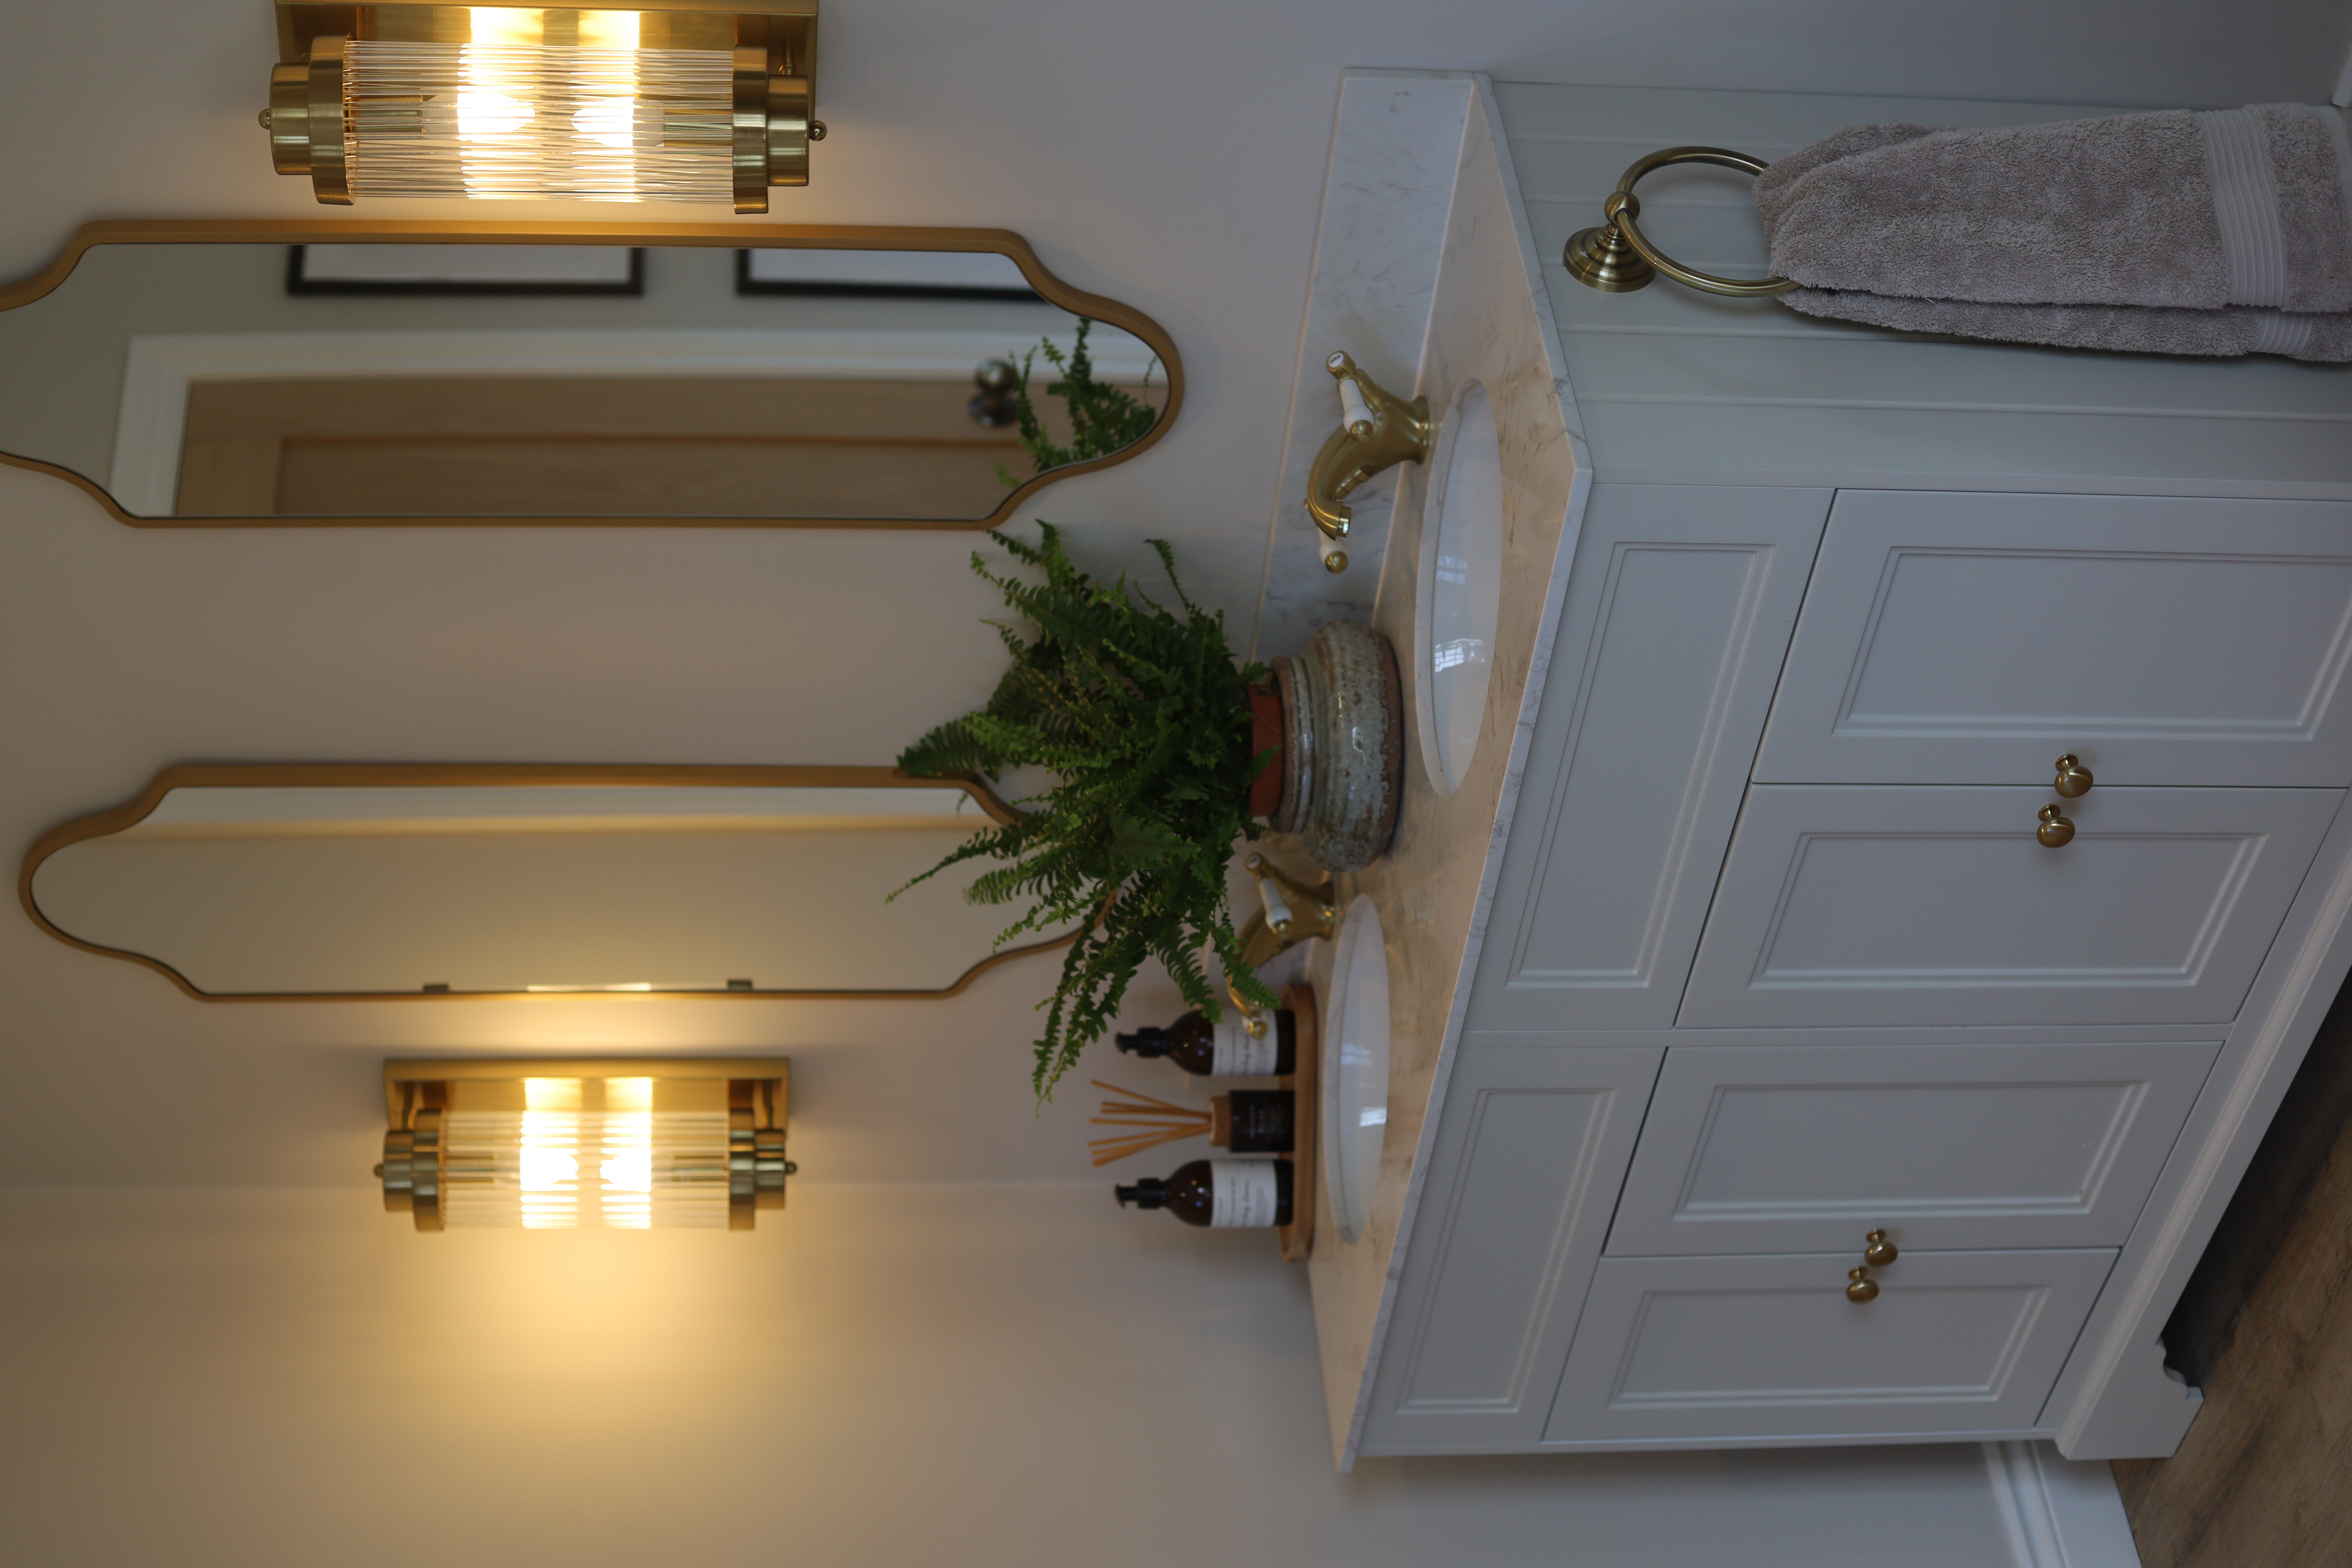
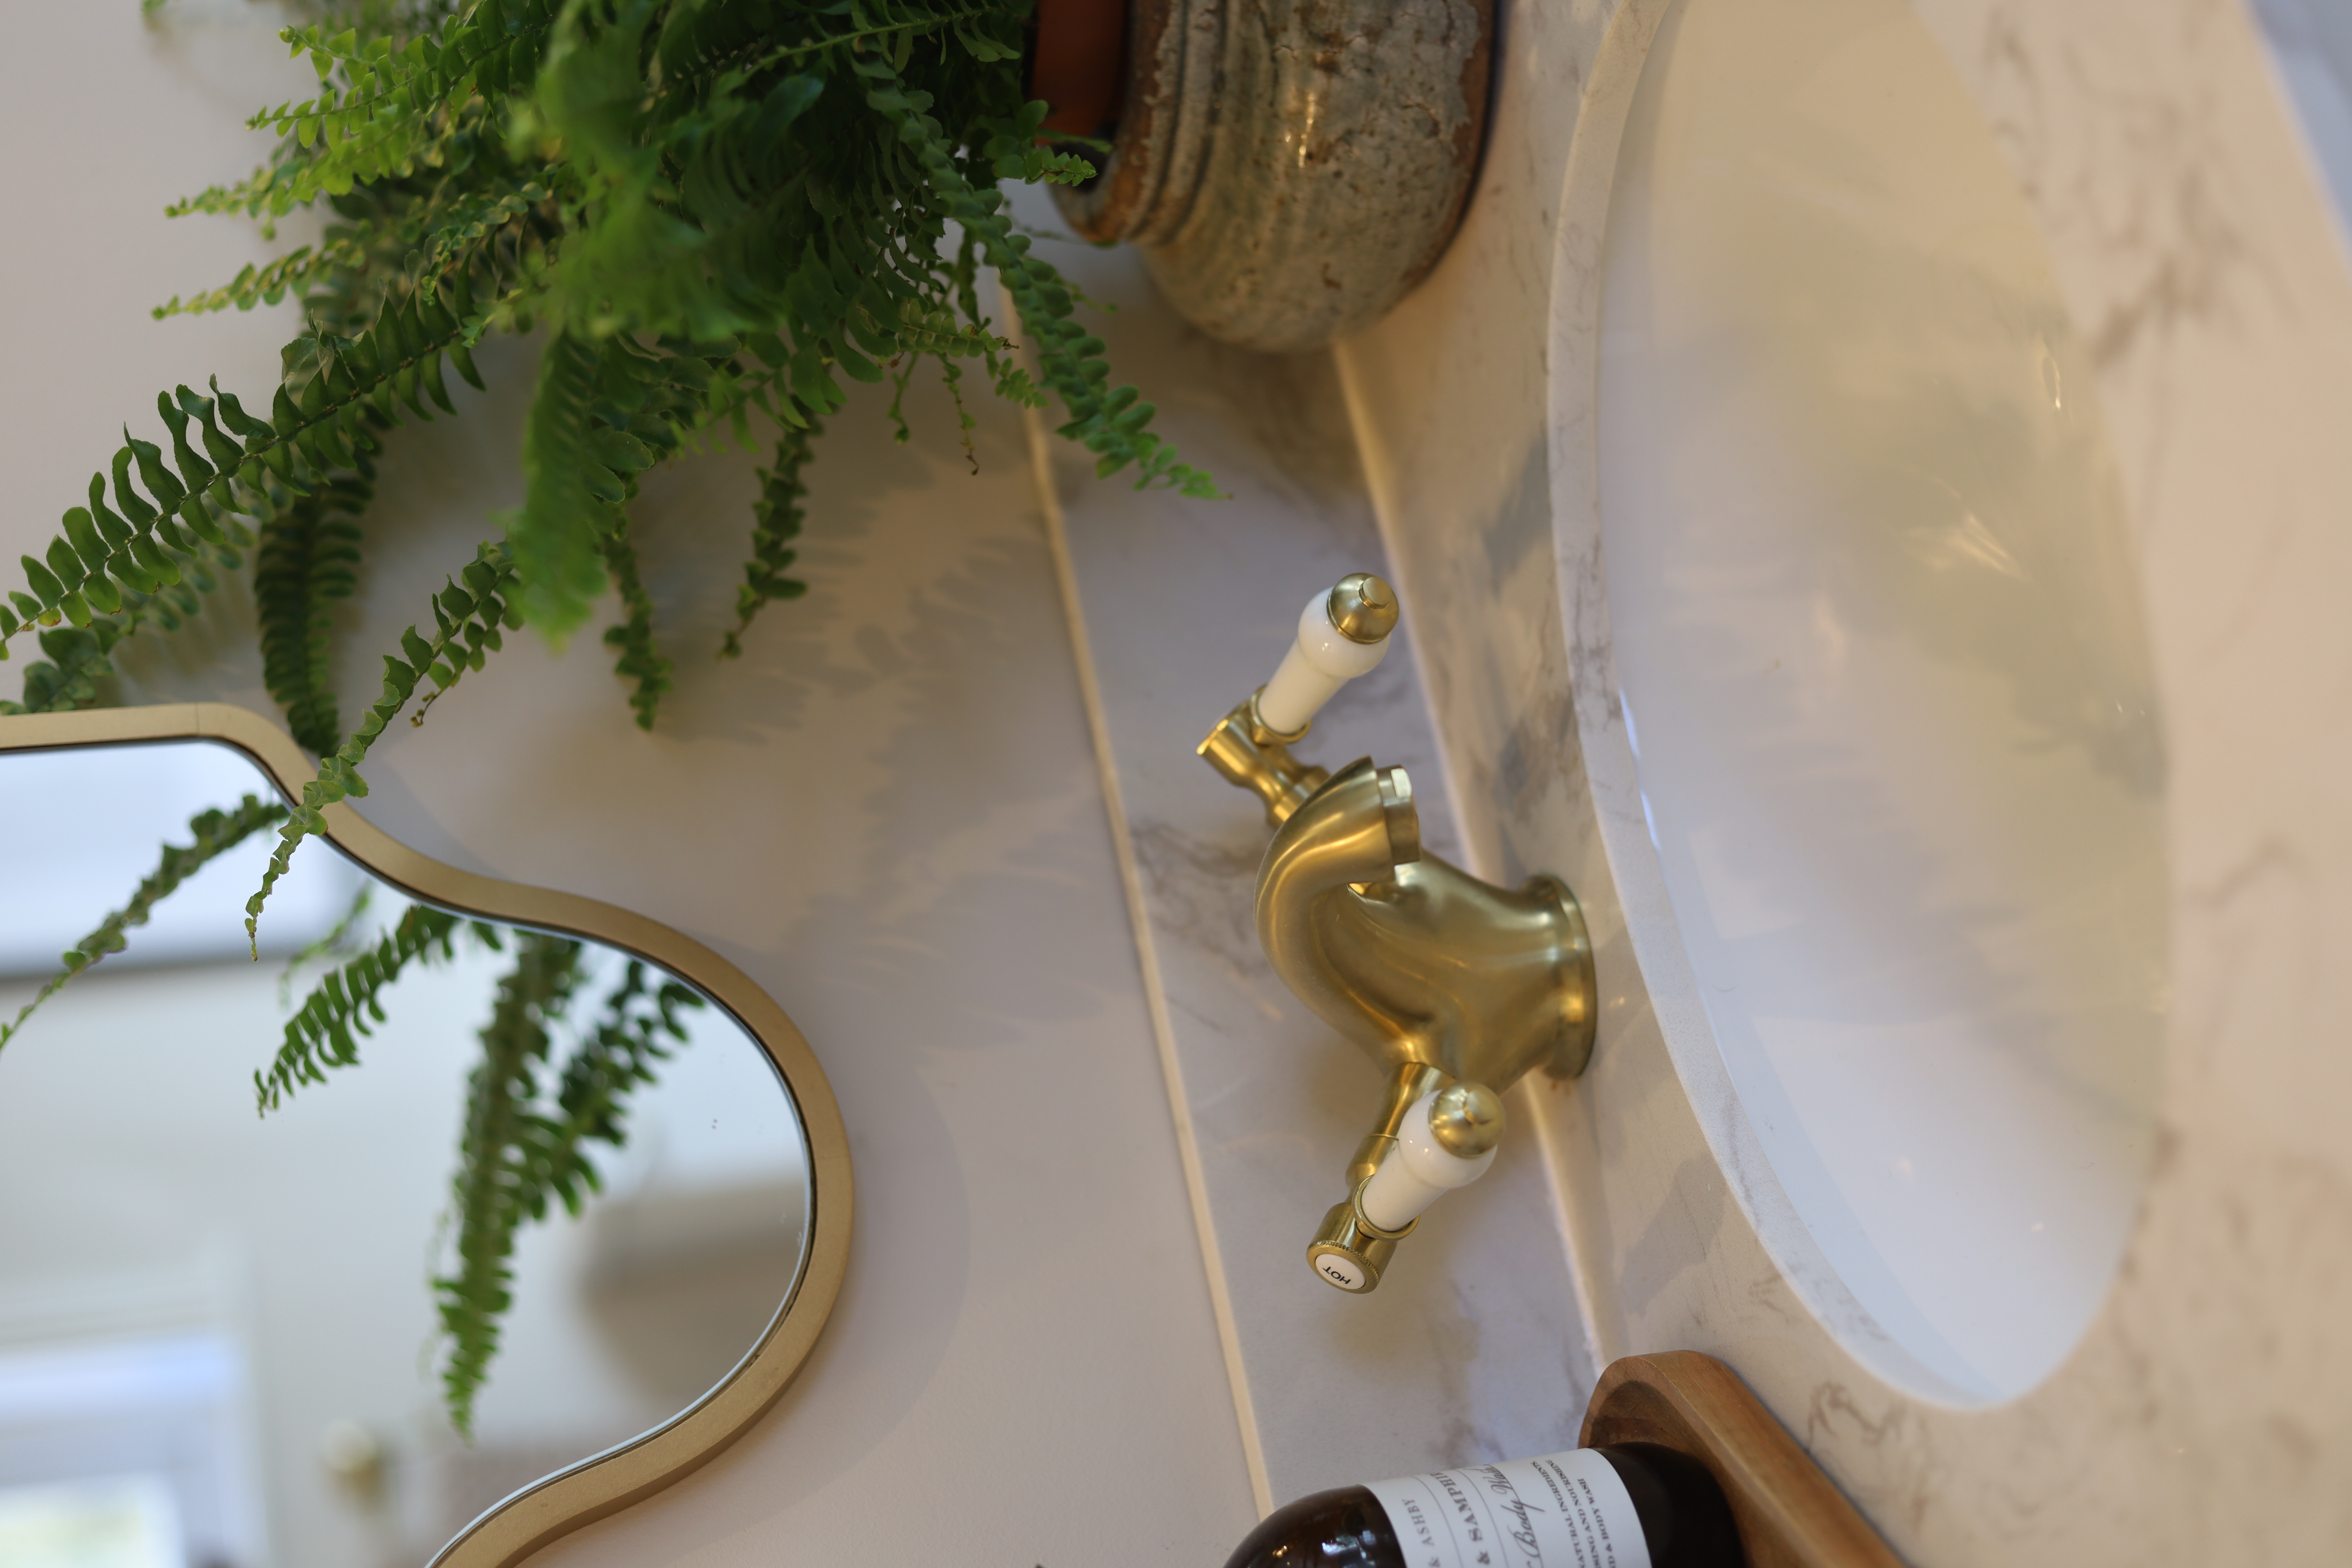
I’ve styled the vanity with two of these bargain moroccan style curved mirrors from Dunelm, inspired by the beautiful bathroom of @roseywoodinteriors on Instagram.
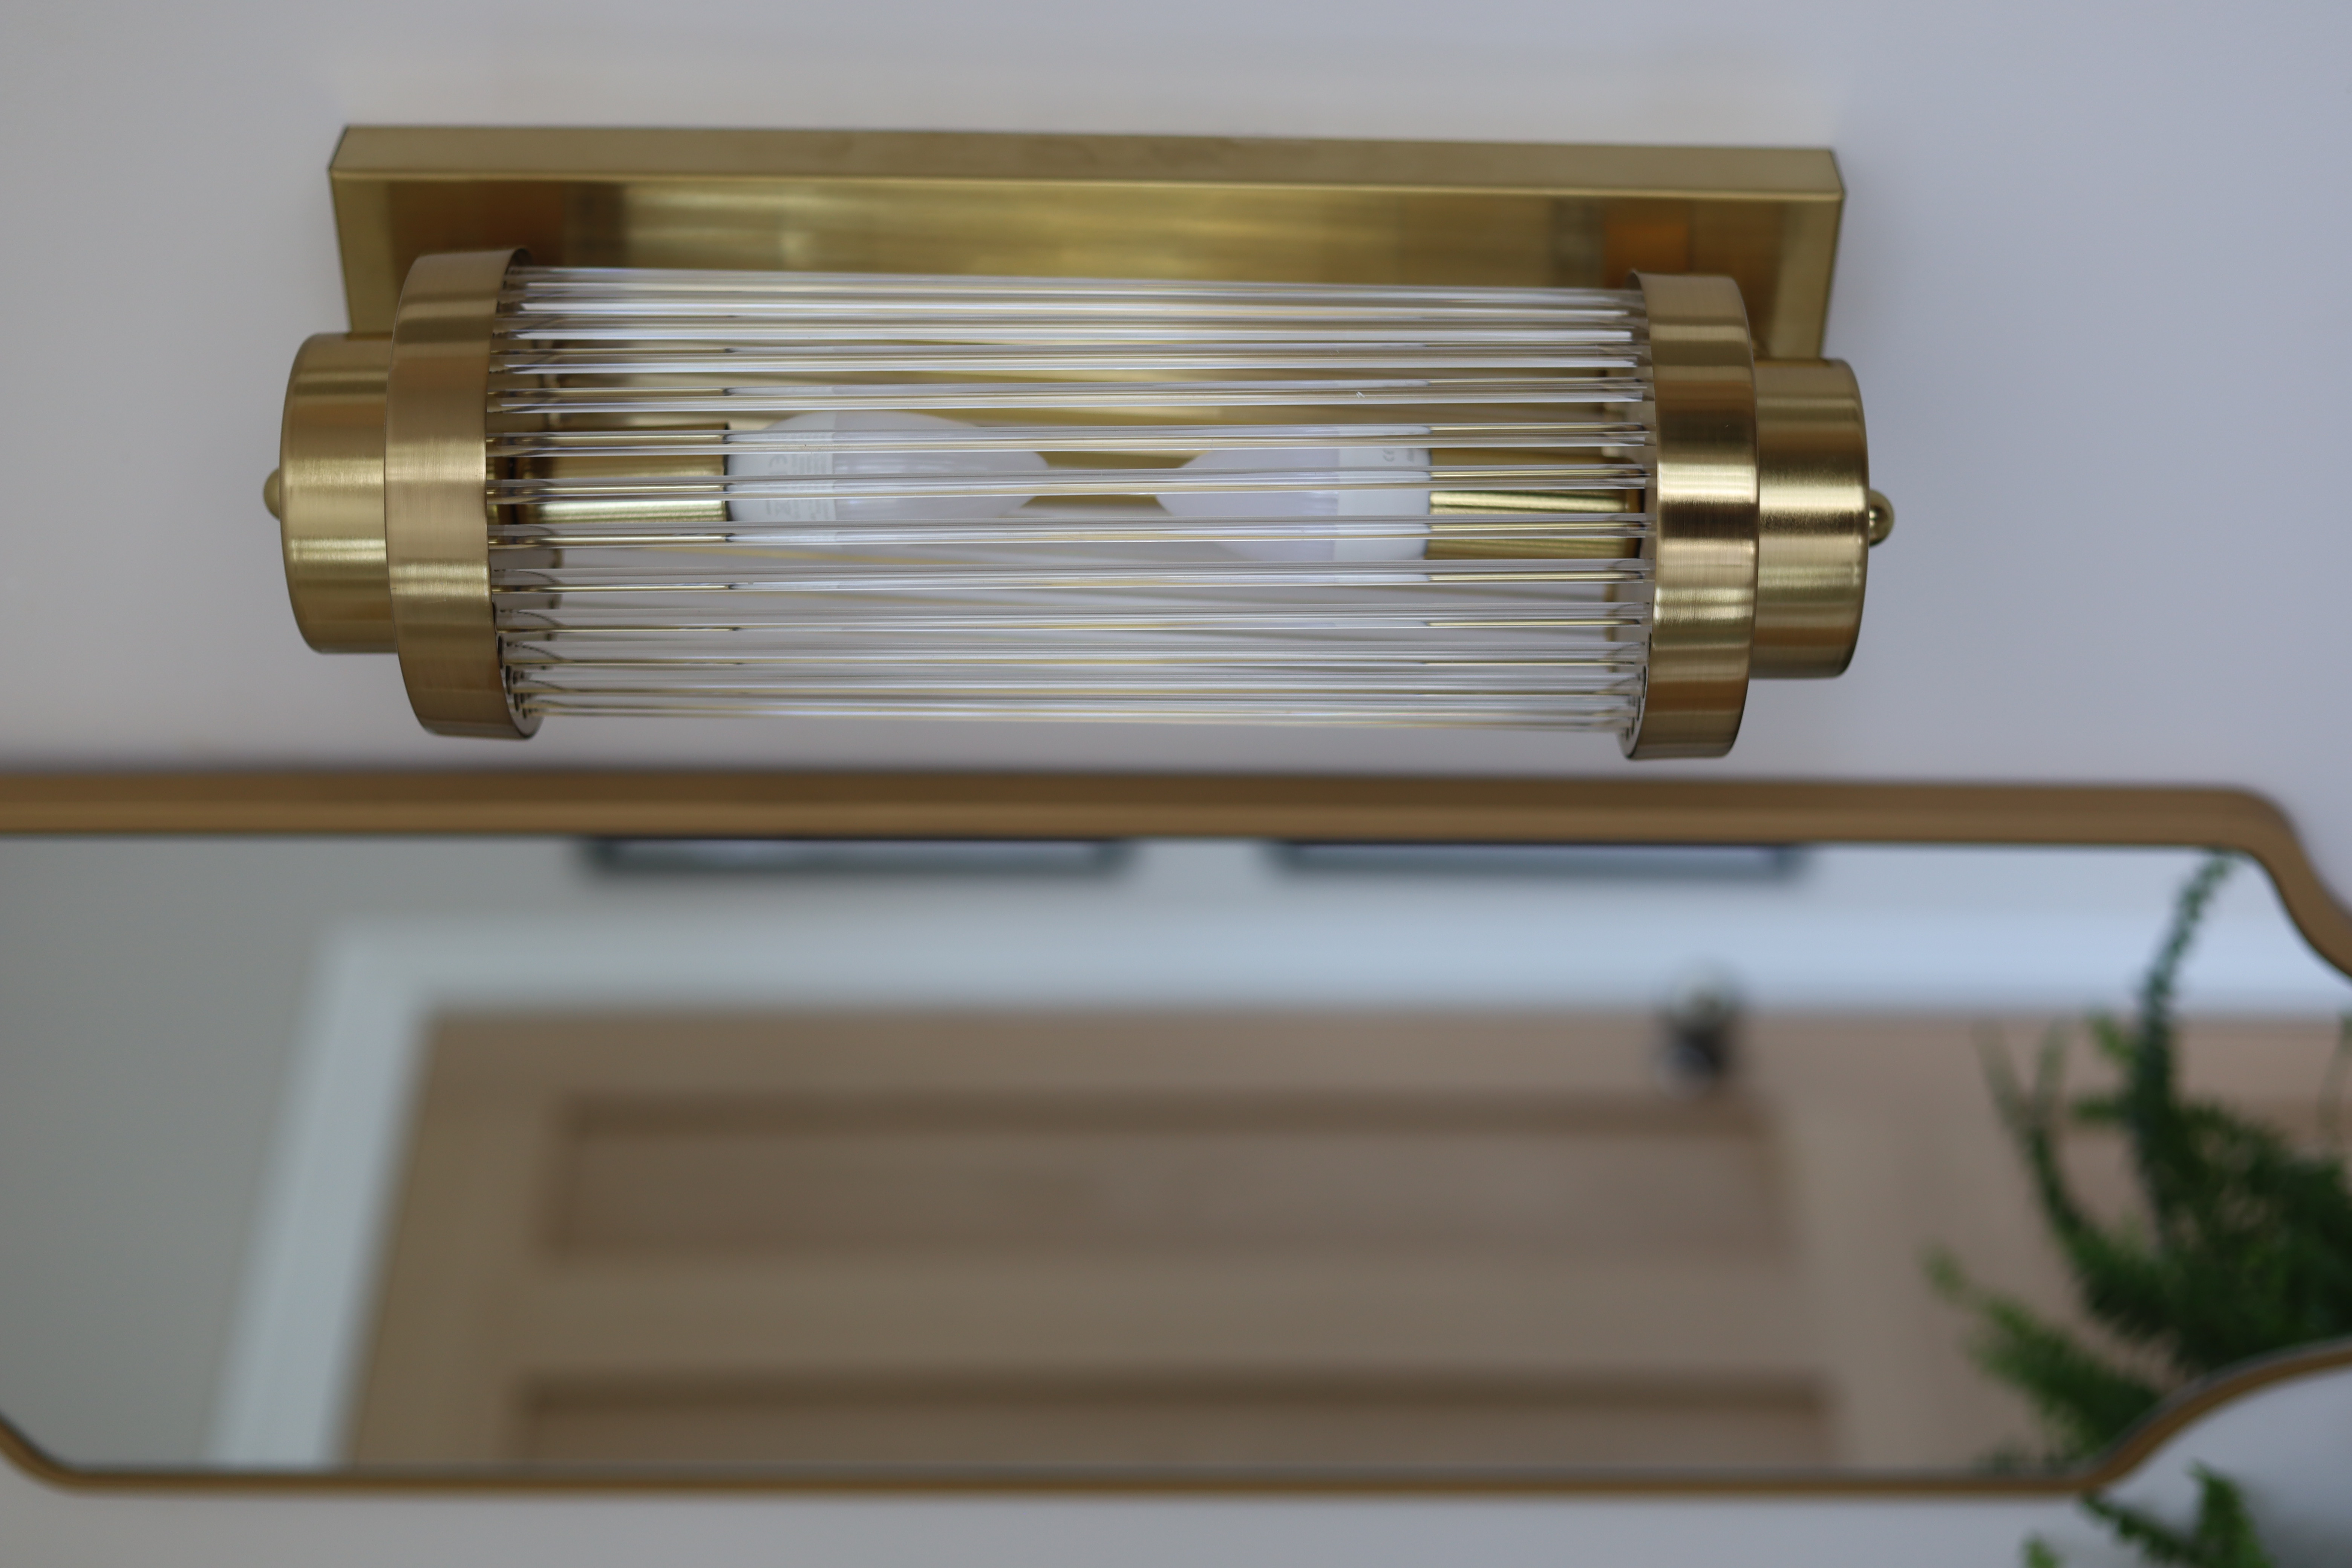
Either side I had wall lights installed to give that hotel feel. I probably spent about 3 days searching high & low for some dupes of some Pooky wall lights I had absolutely fallen in love with but couldn’t justify the price of…I’m glad to say it paid off because I managed to find these beauties* on Amazon at a fraction of the price.
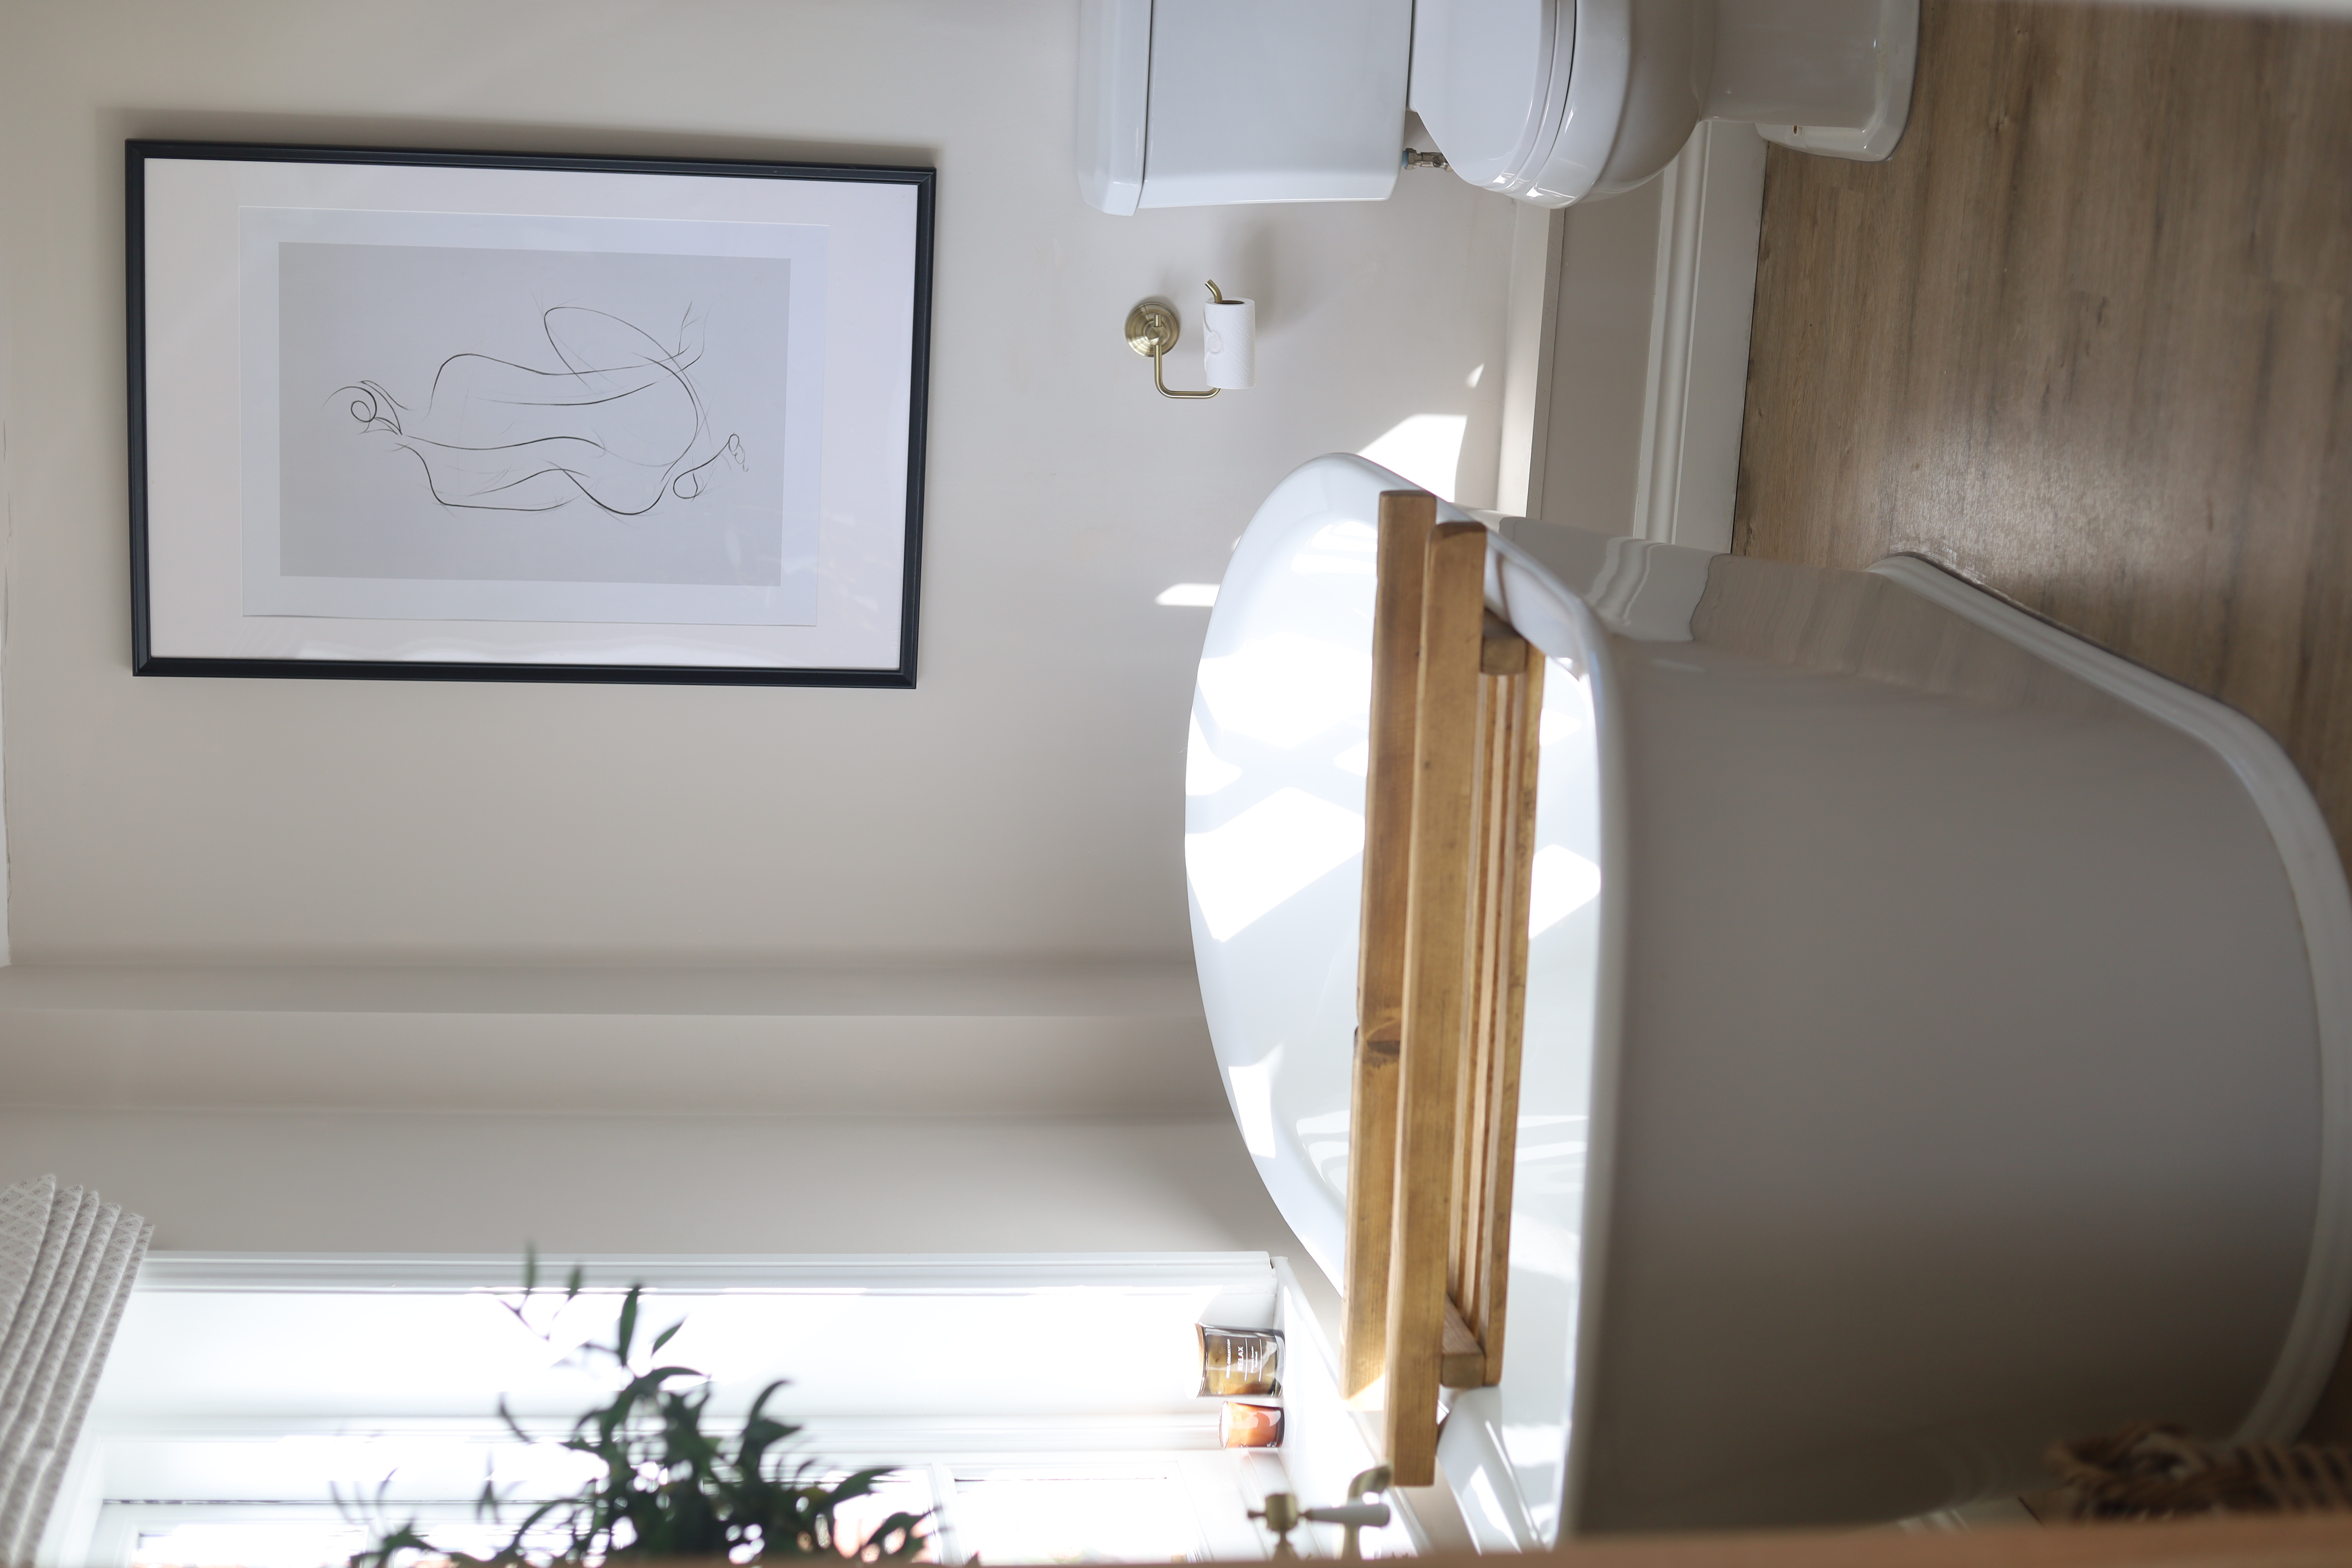
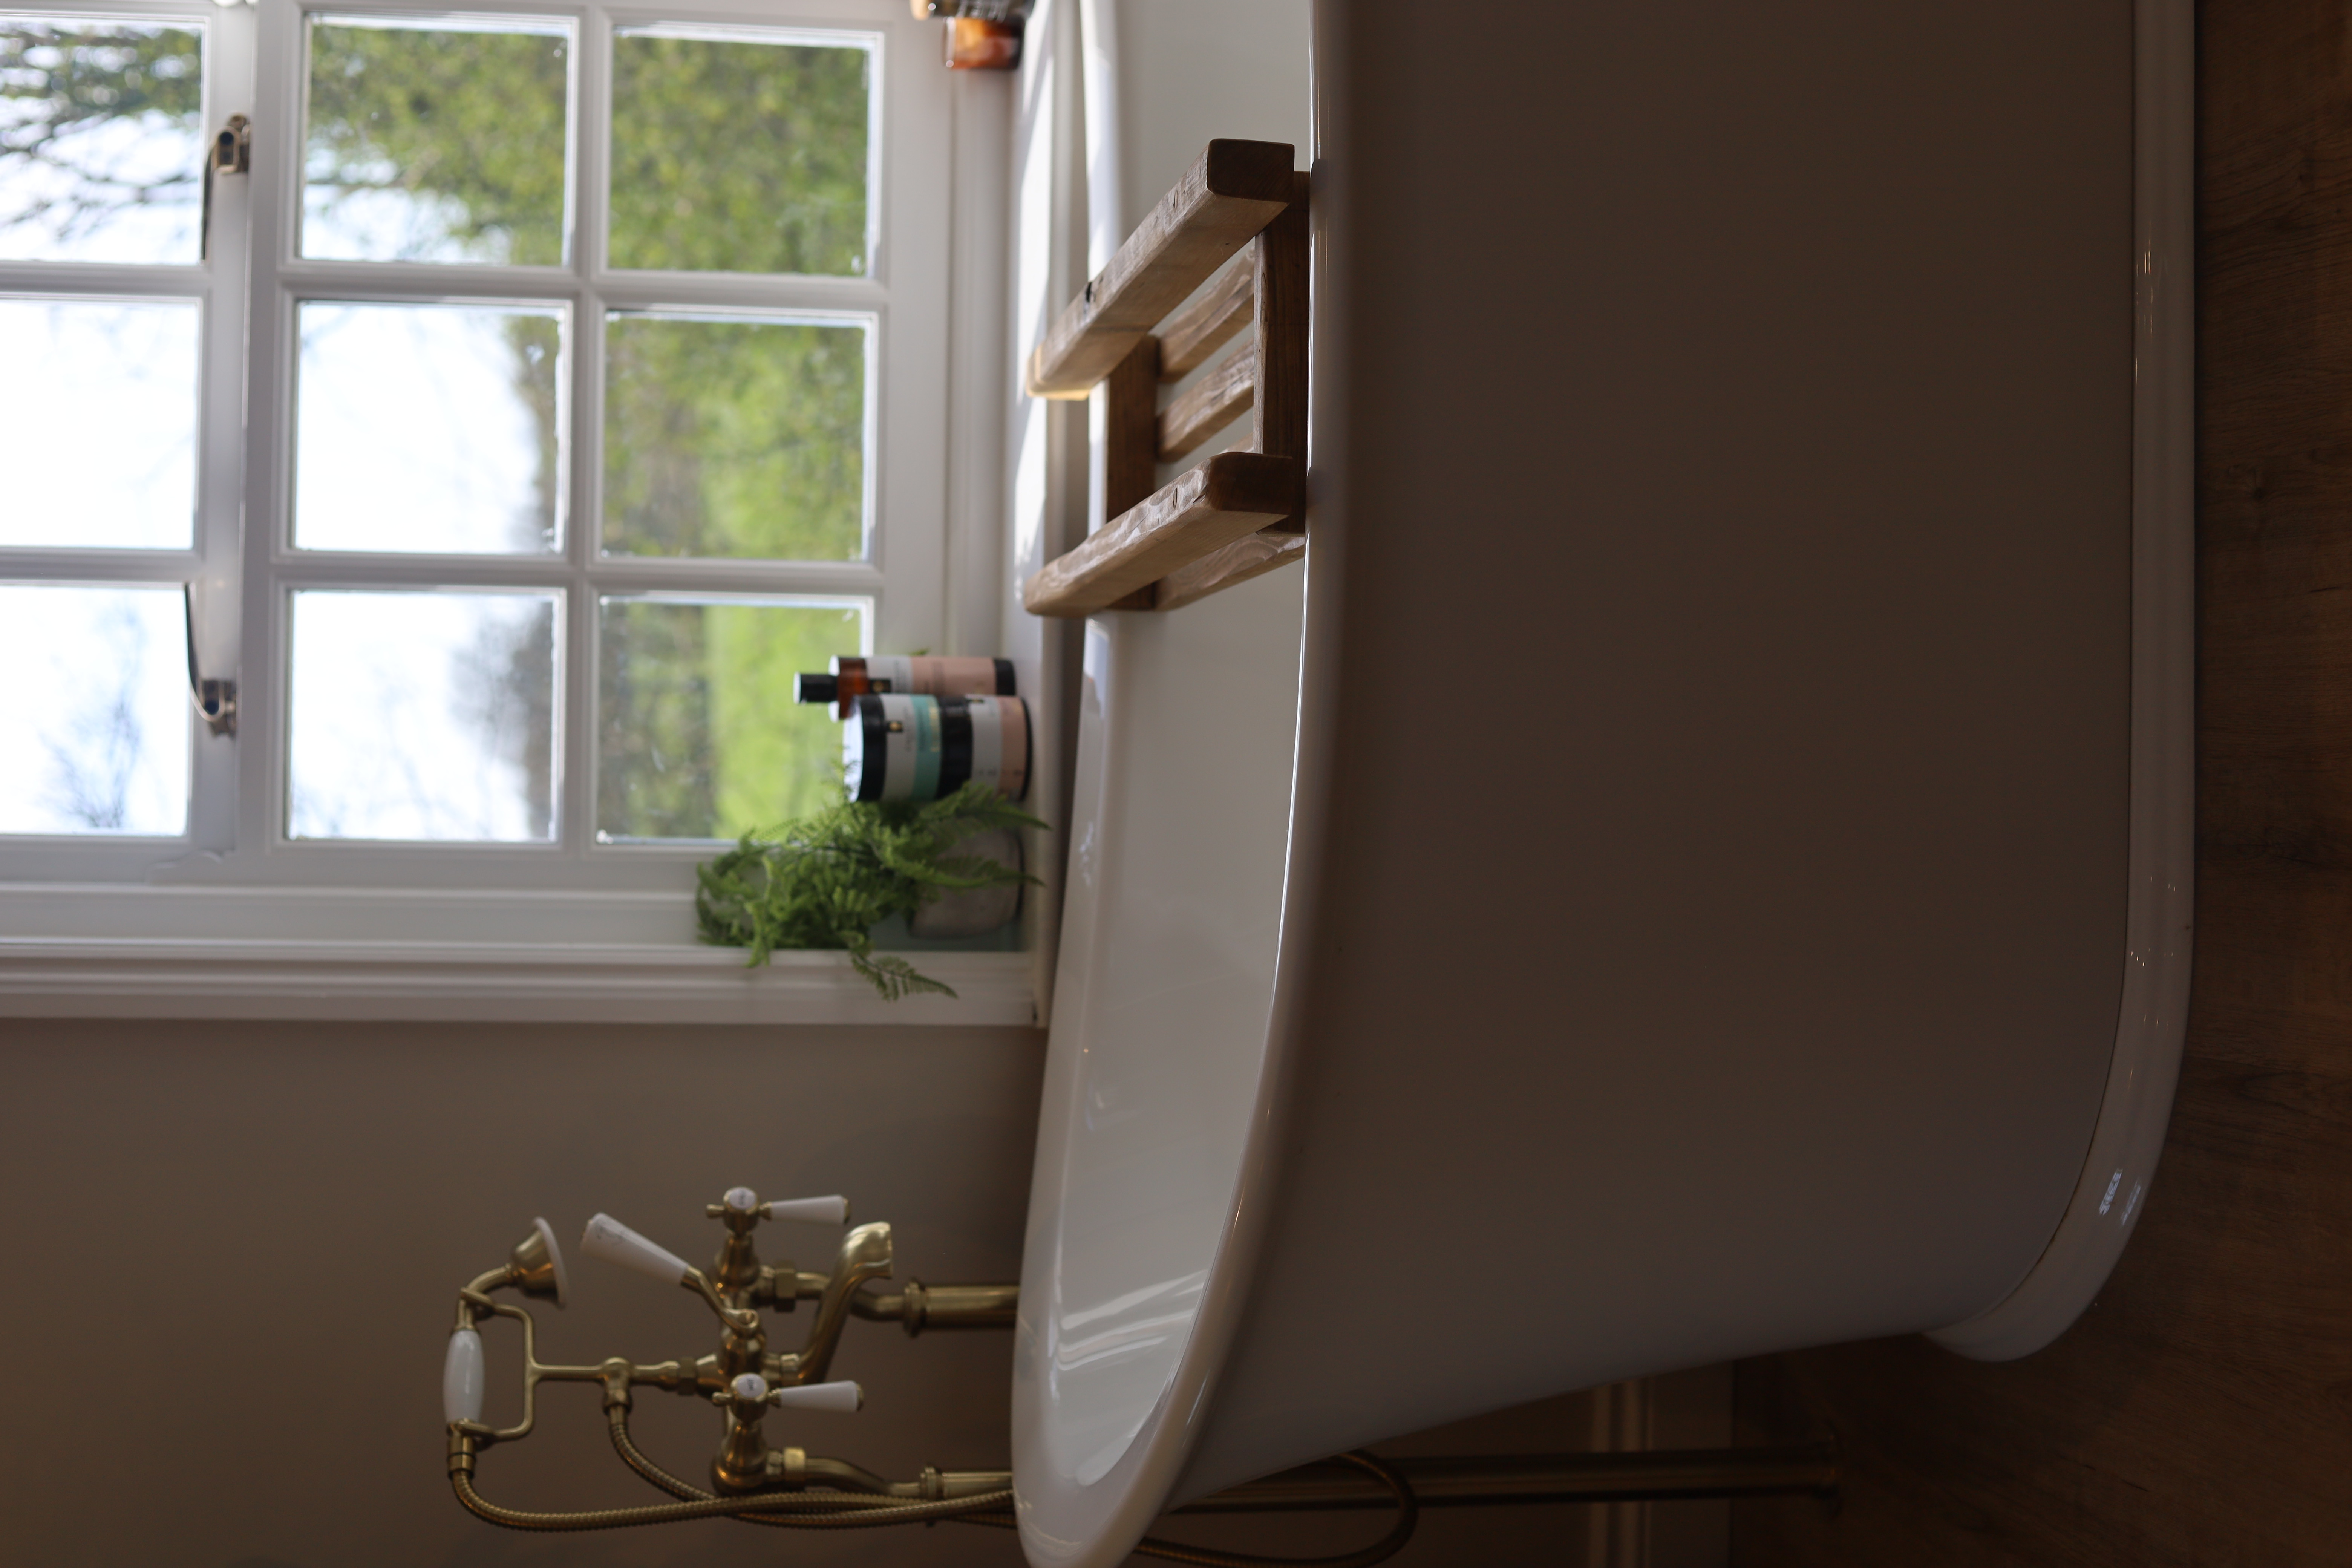
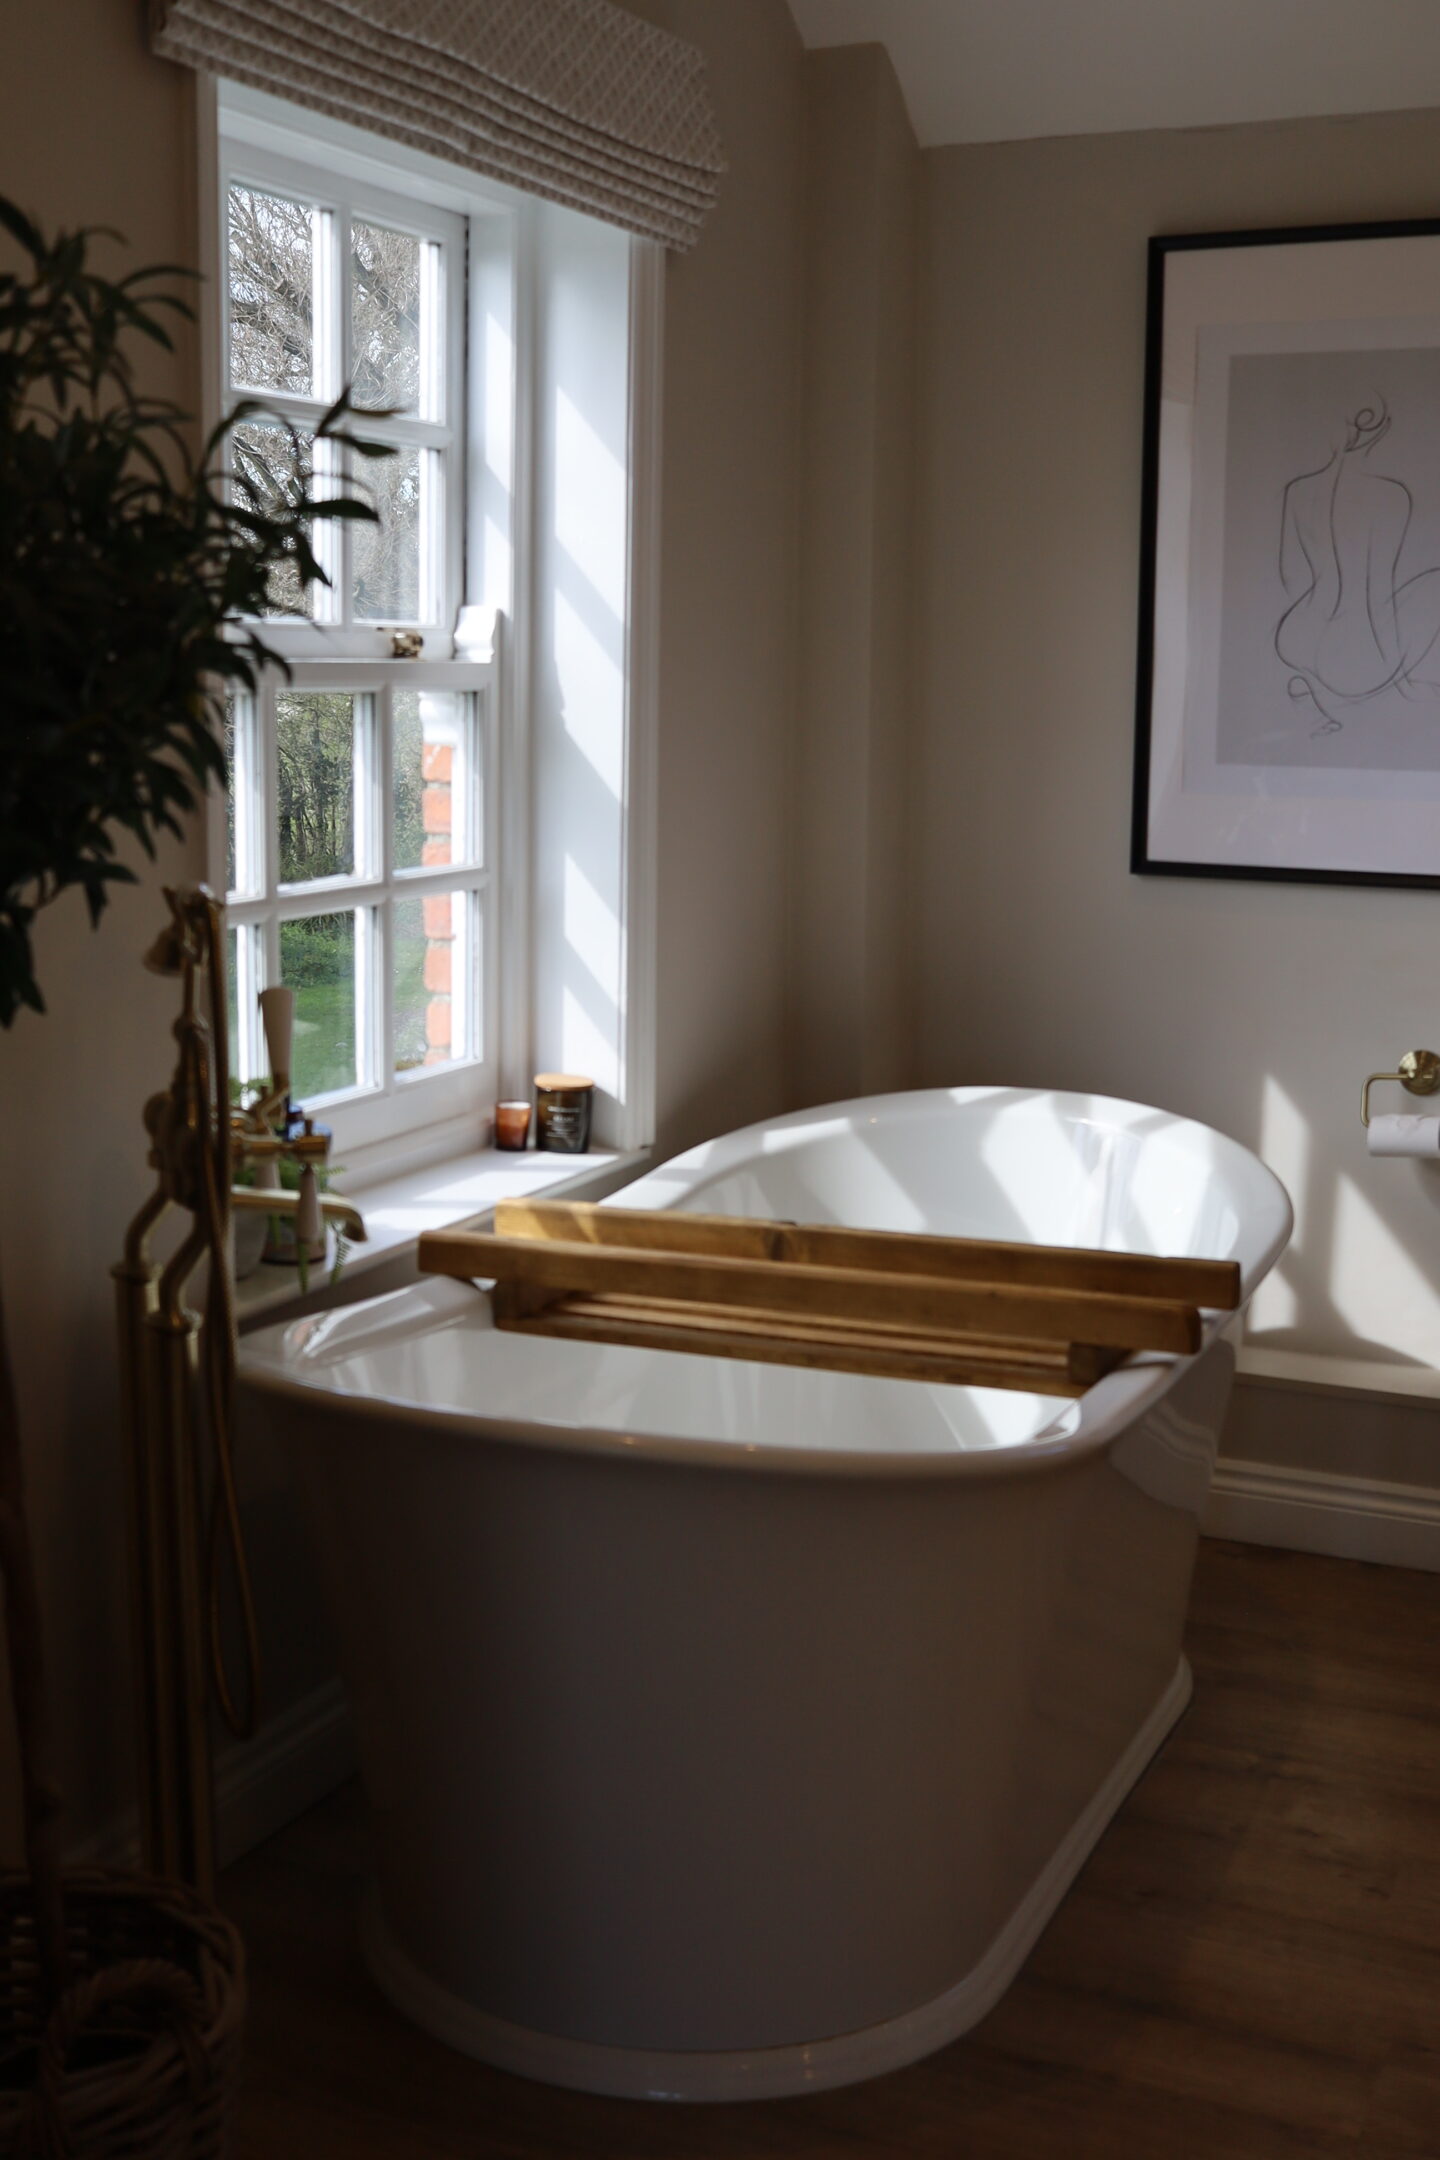
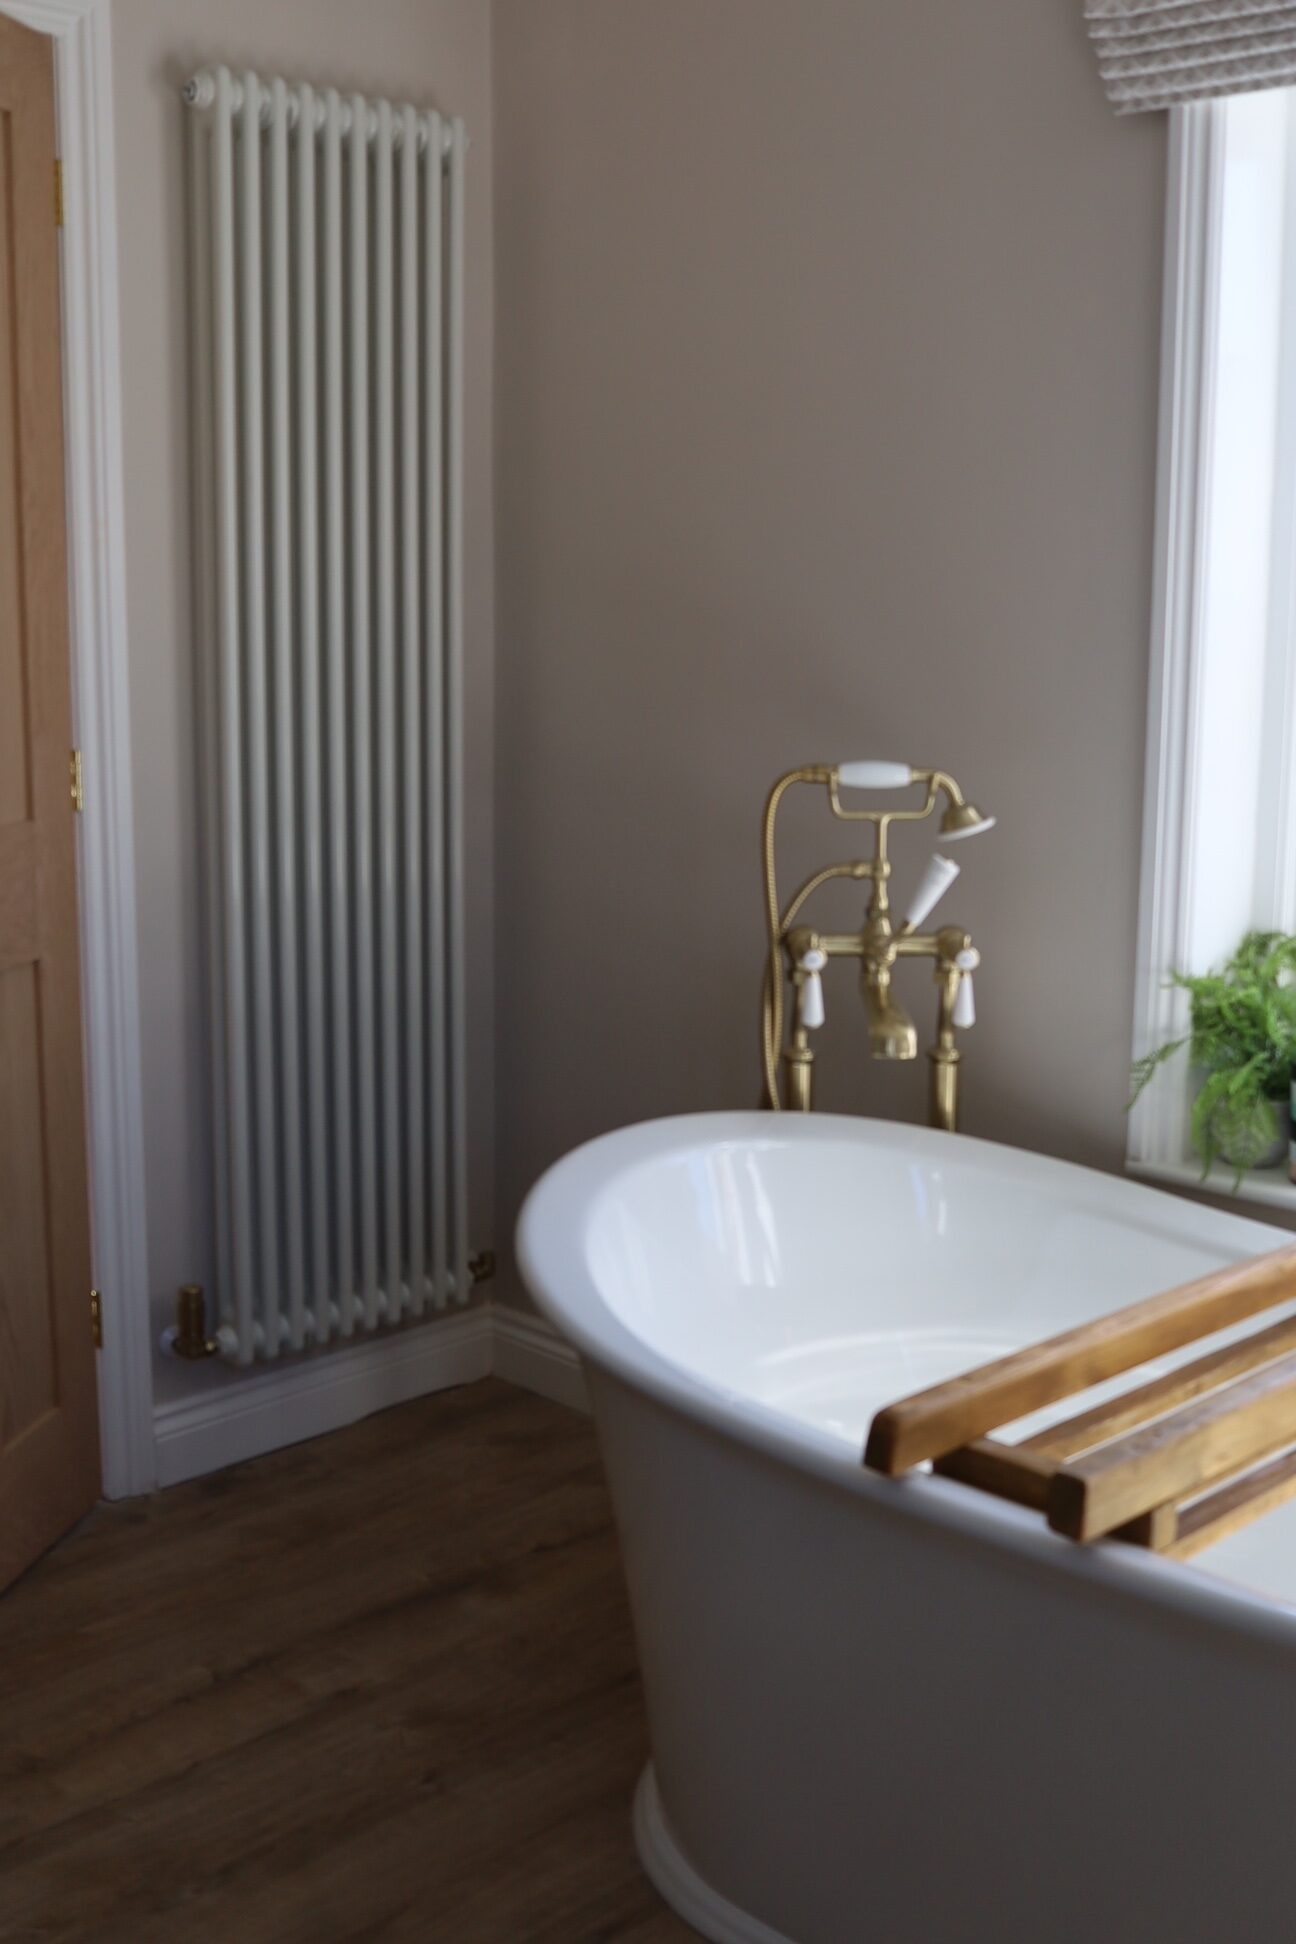
Next up is the freestanding bath of DREAMS. It’s safe to say we all fight over this pretty much every day & after nearly 3 long years without a bath since moving, we are now supporting prune fingers whenever we get a chance. As a tall family, it was a case of ‘as big as we can get’ when it came to picking the size & this one is the perfect amount of wide too. This is the Chartham traditional double ended slipper bath by The Bath Co in size 1675 x 865 which I brought from Victoria Plum for £367.20 inc delivery, however unfortunately they’ve stopped selling it!
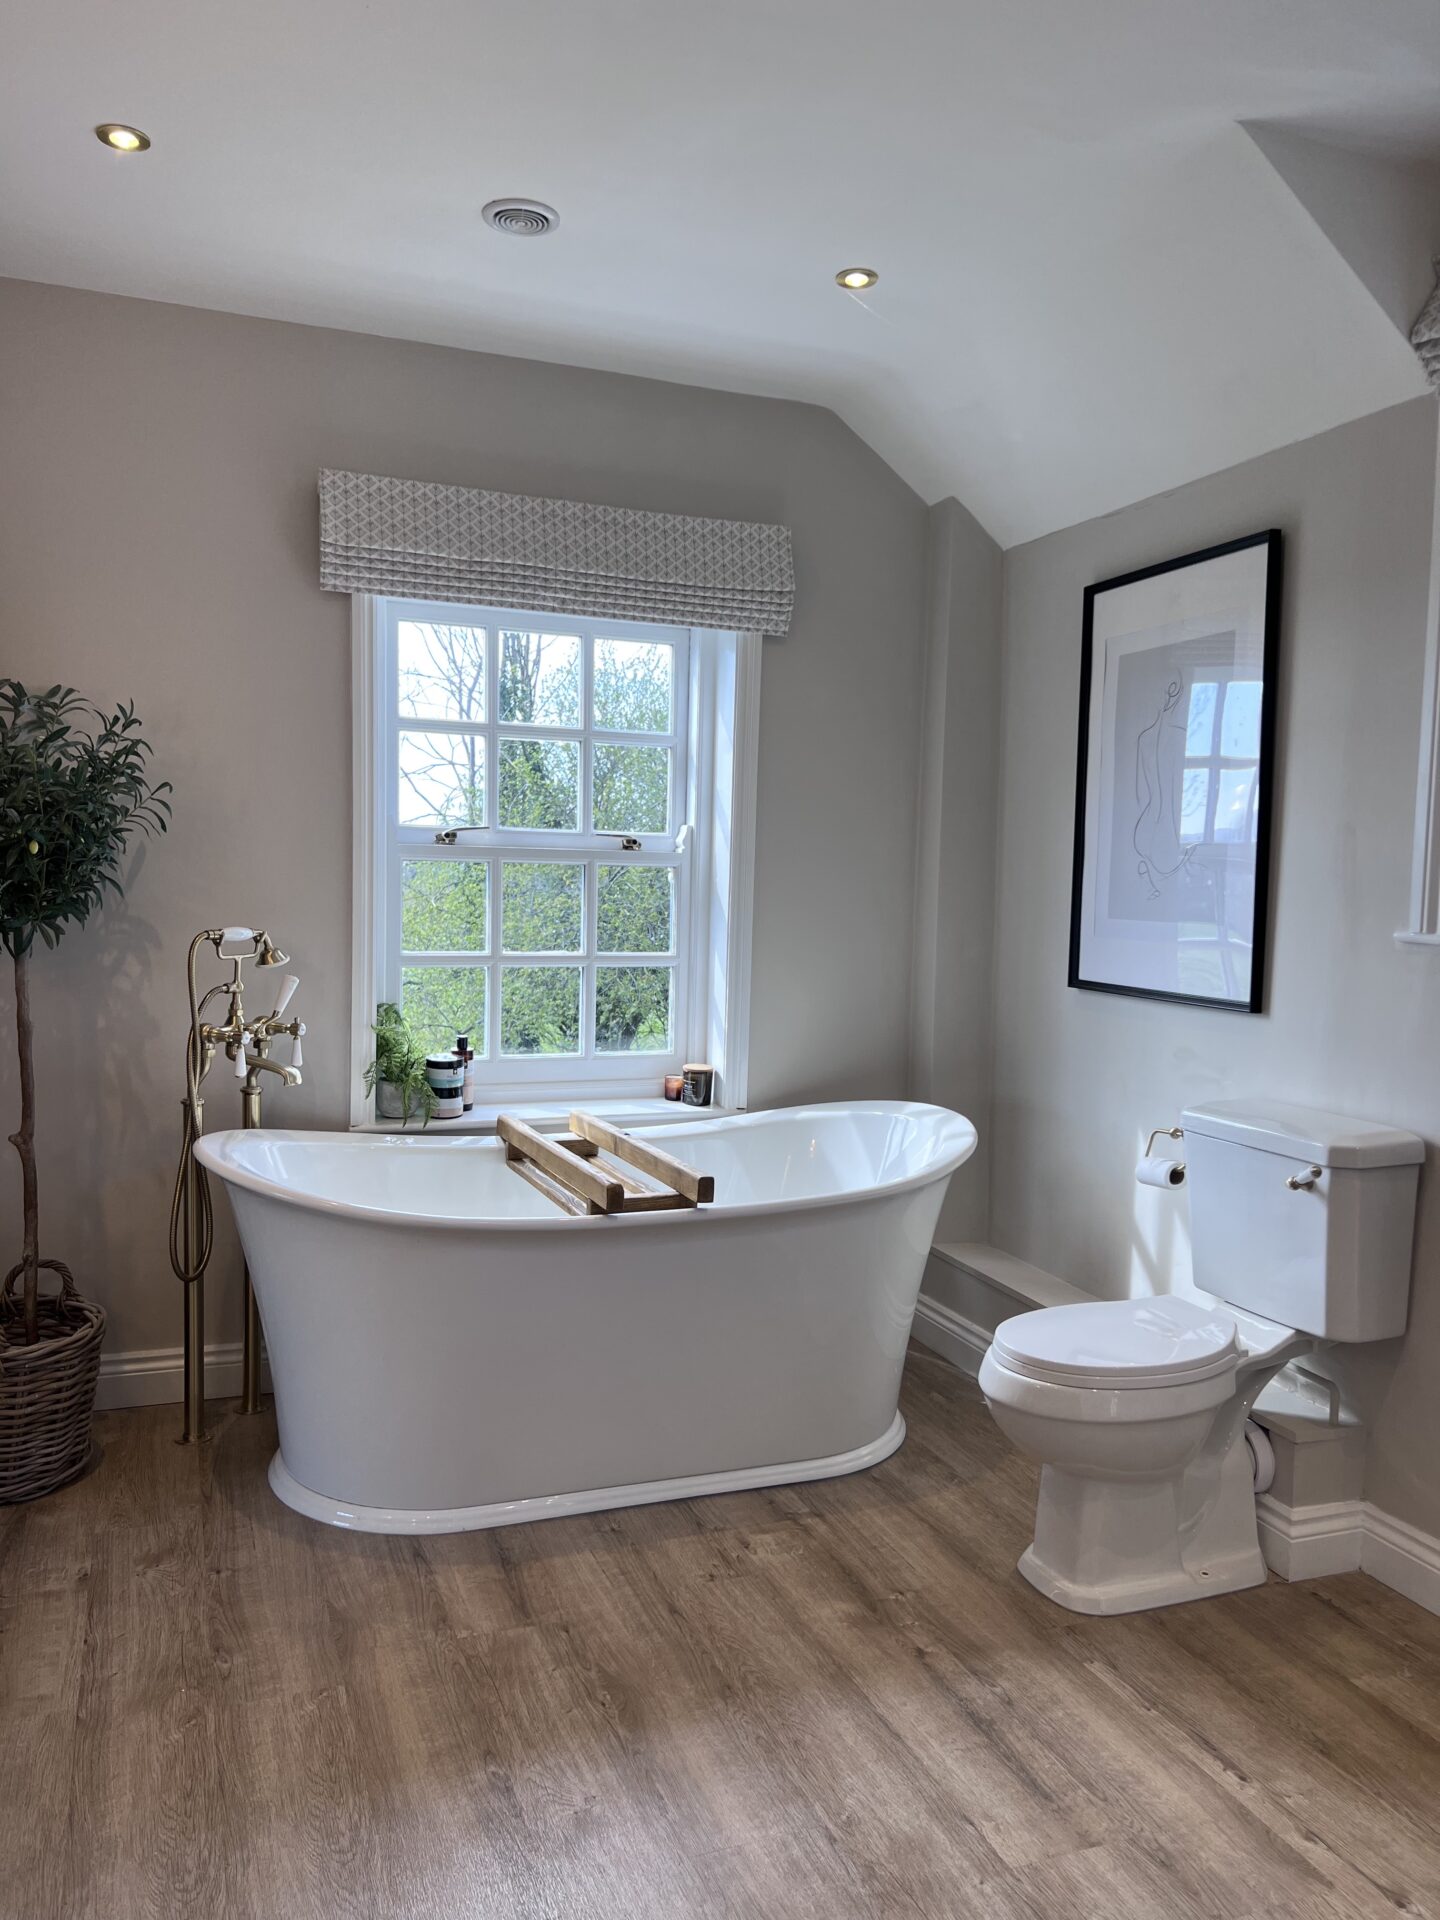
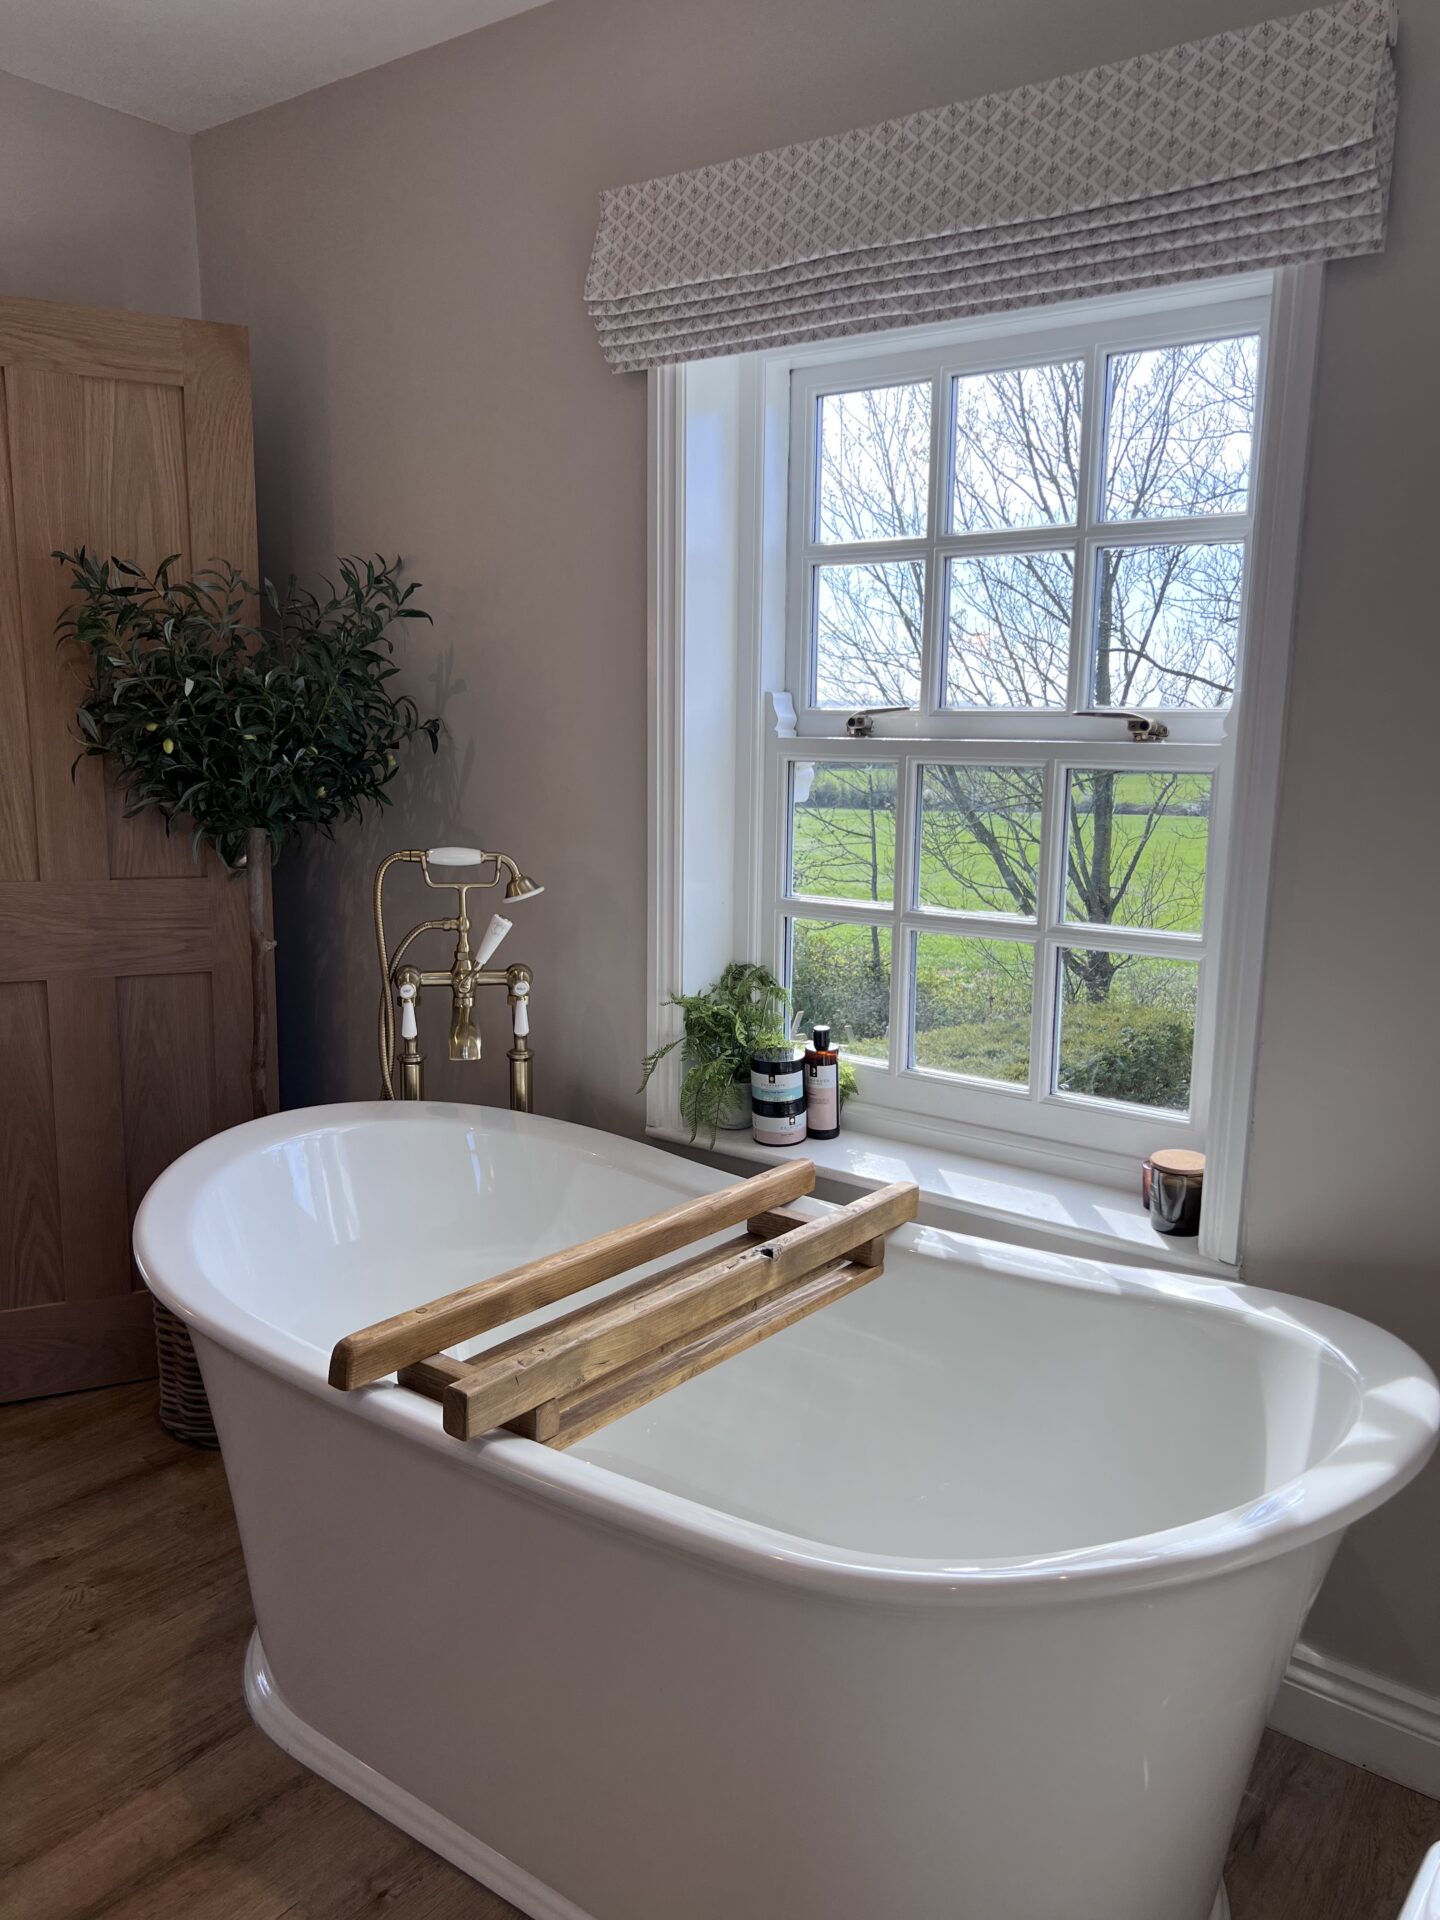
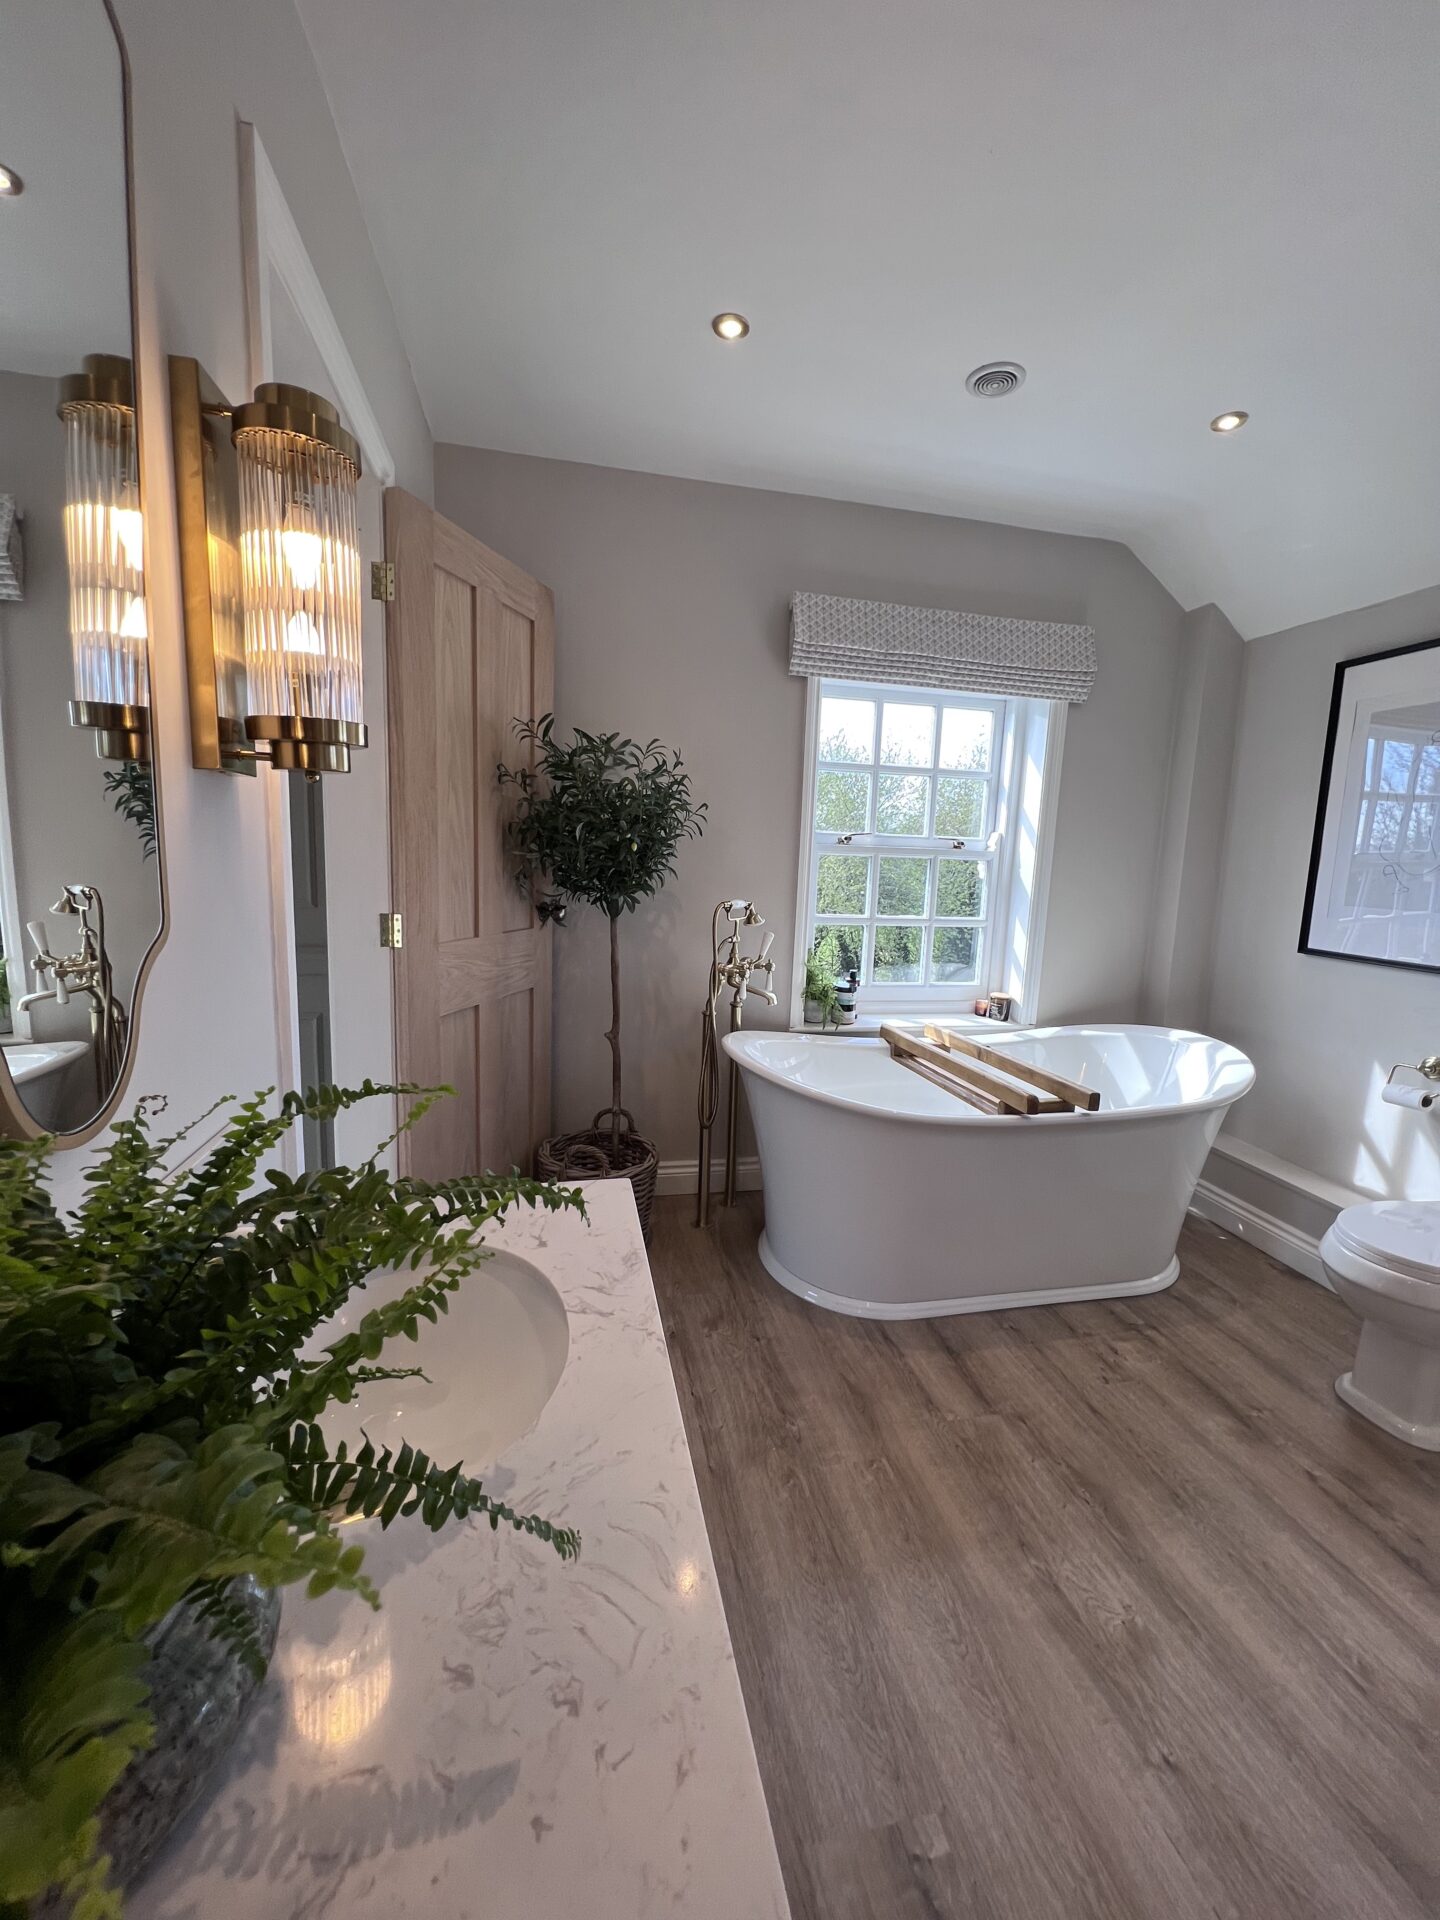
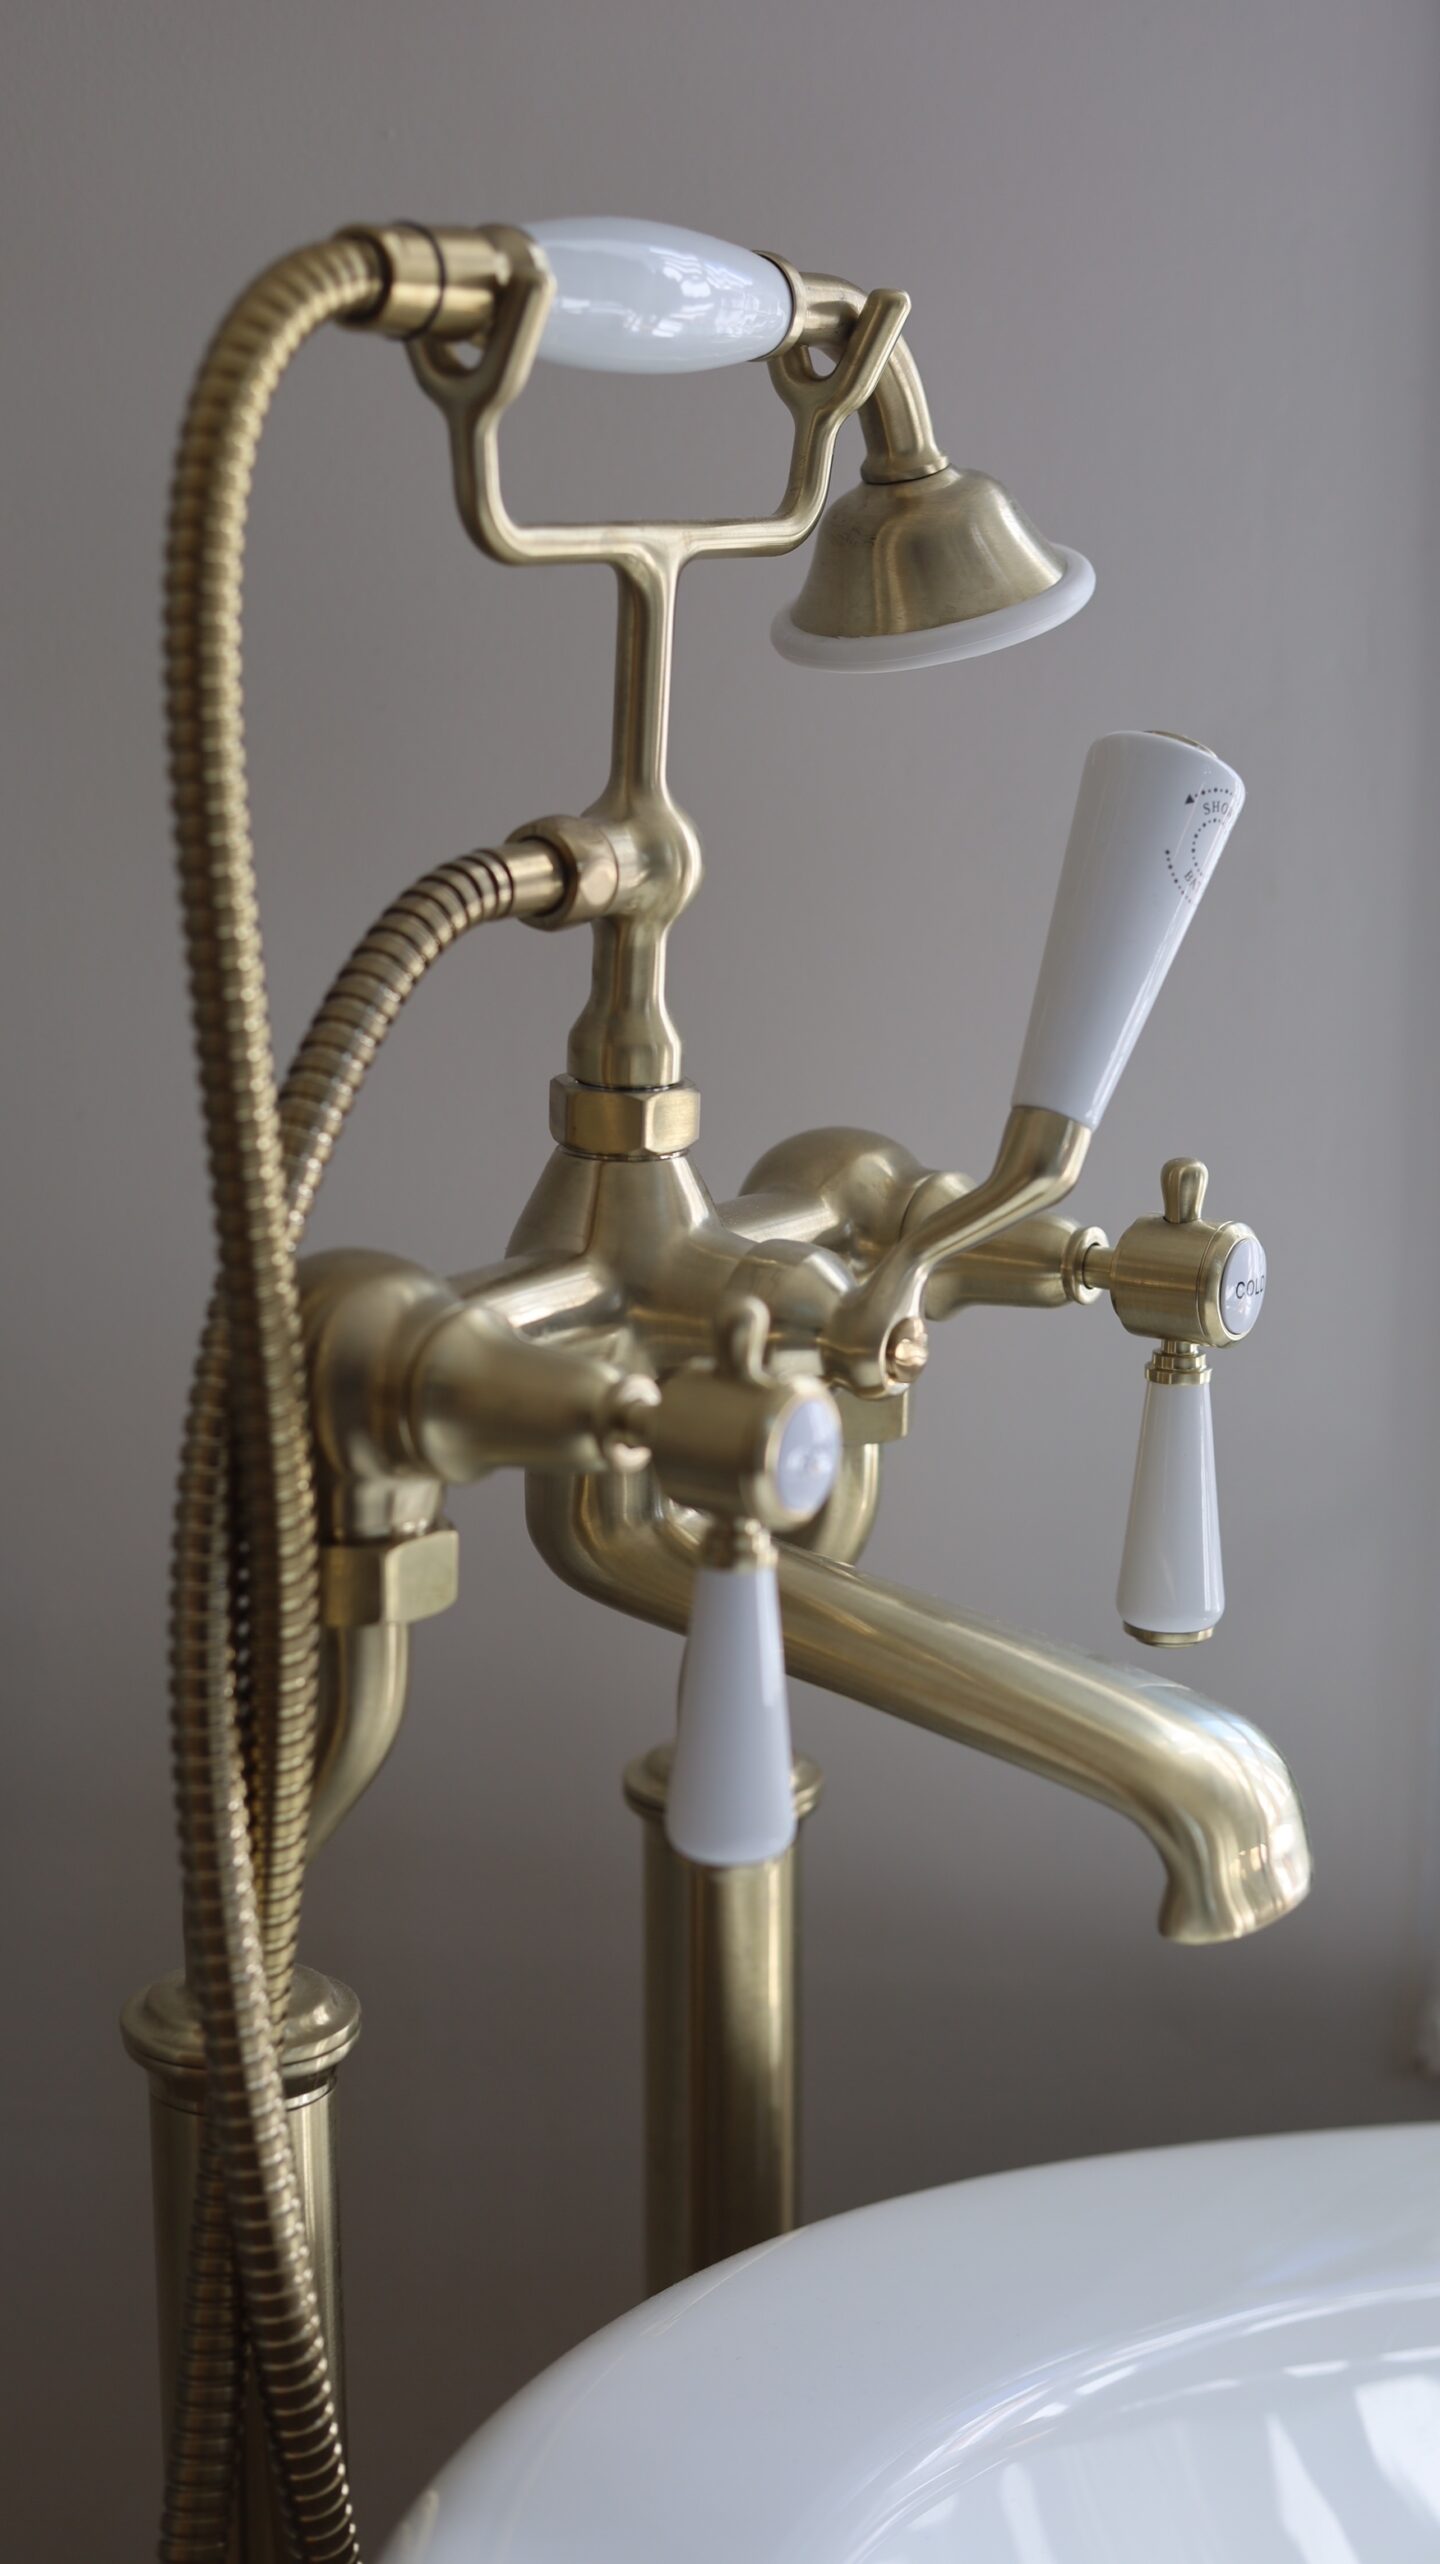
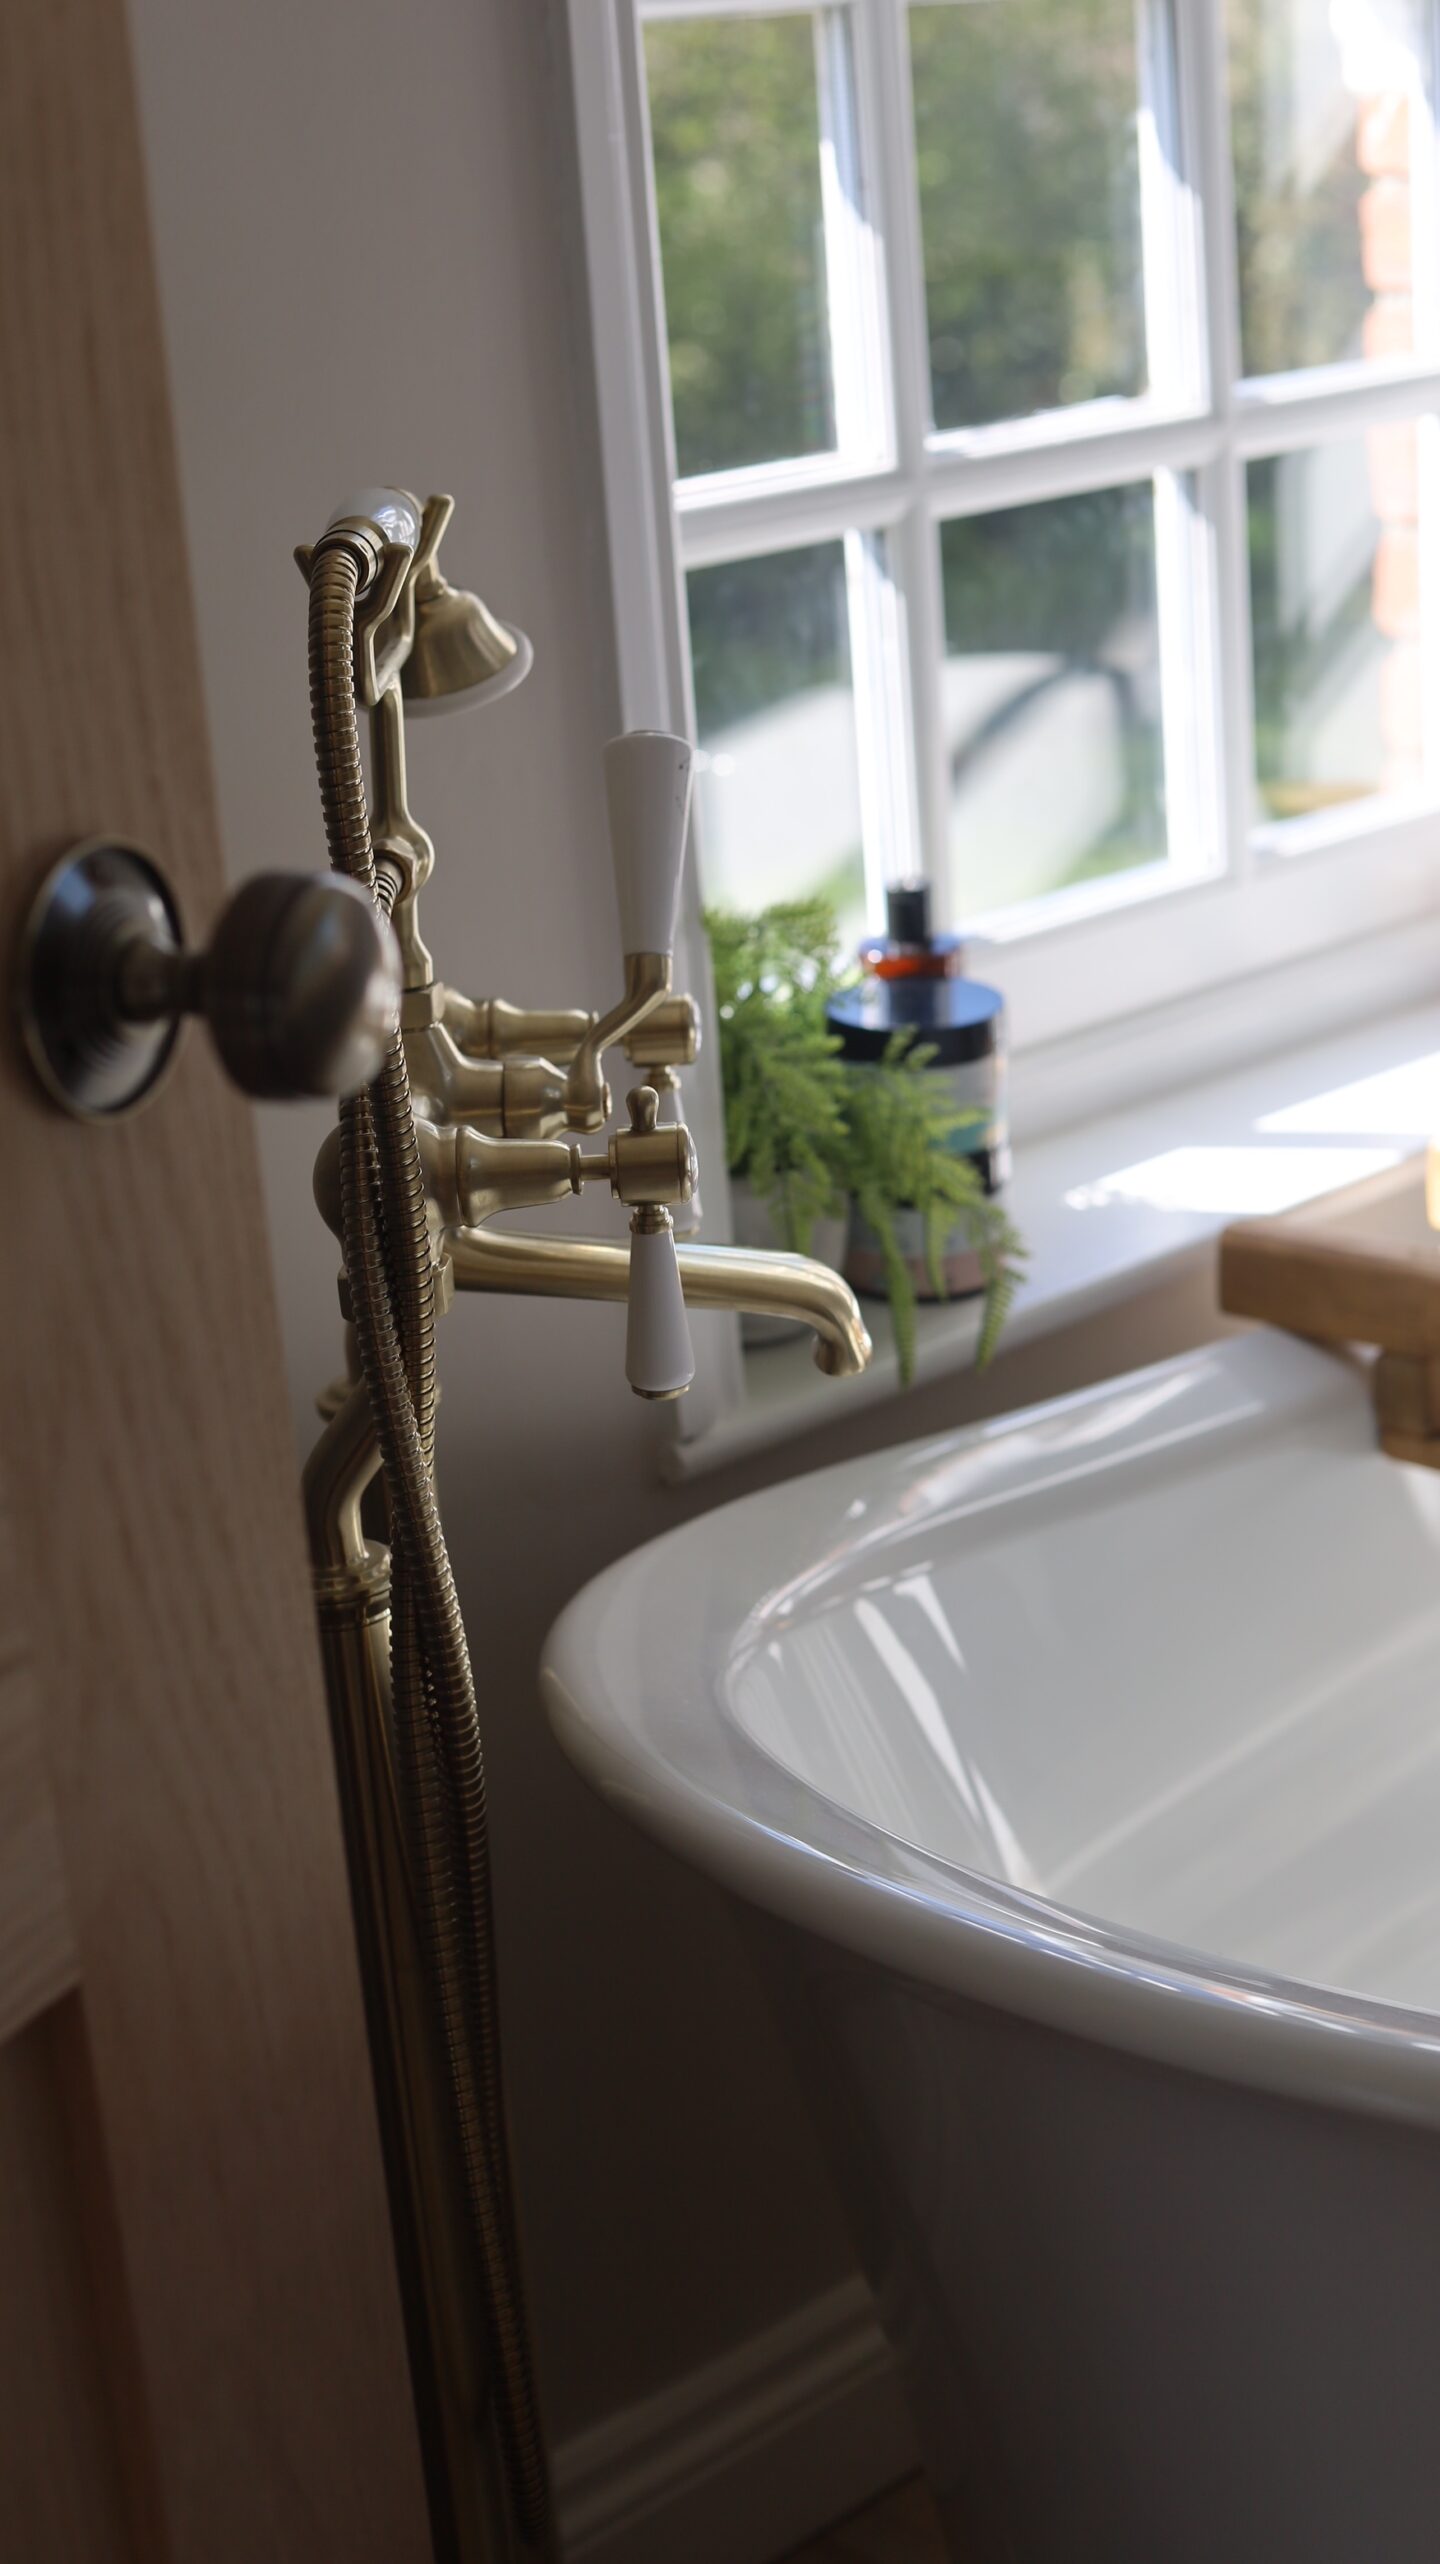
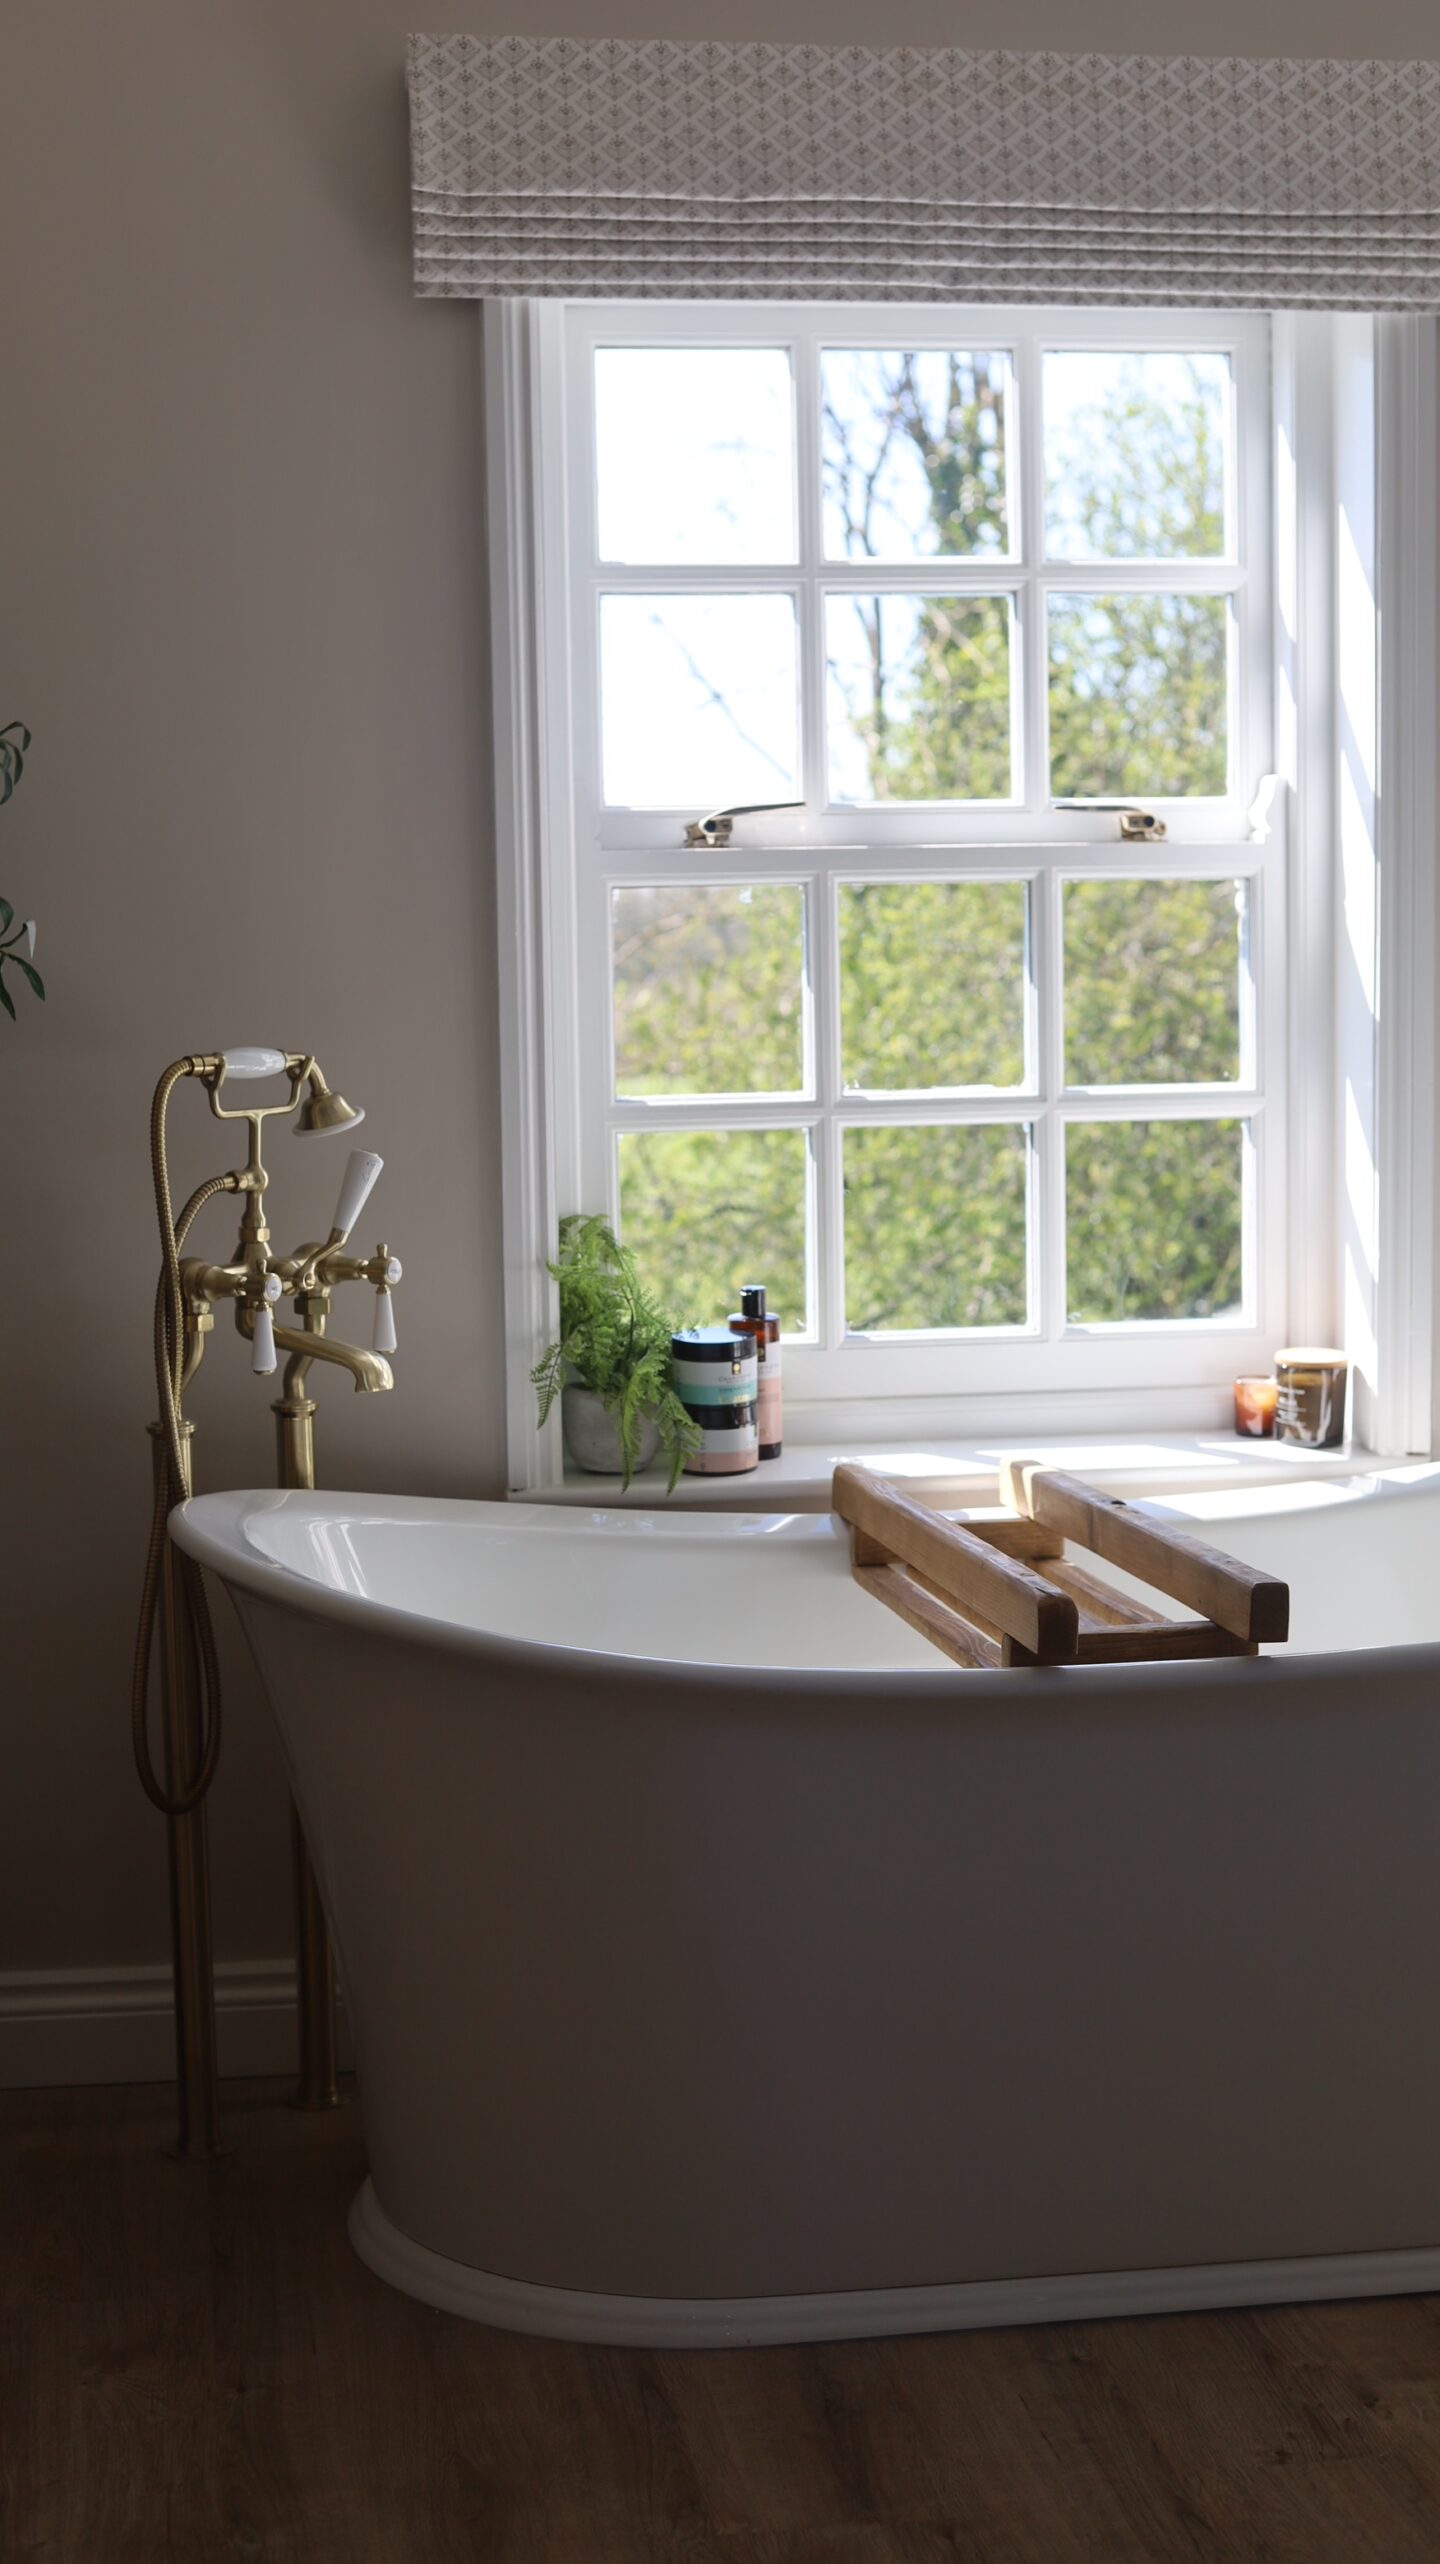
The brass freestanding bath mixer tap is the ‘Helston’ from Better Bathrooms. It’s got that traditional charm I was looking for but struggled to find as a lot of them are very modern or incredibly expensive.
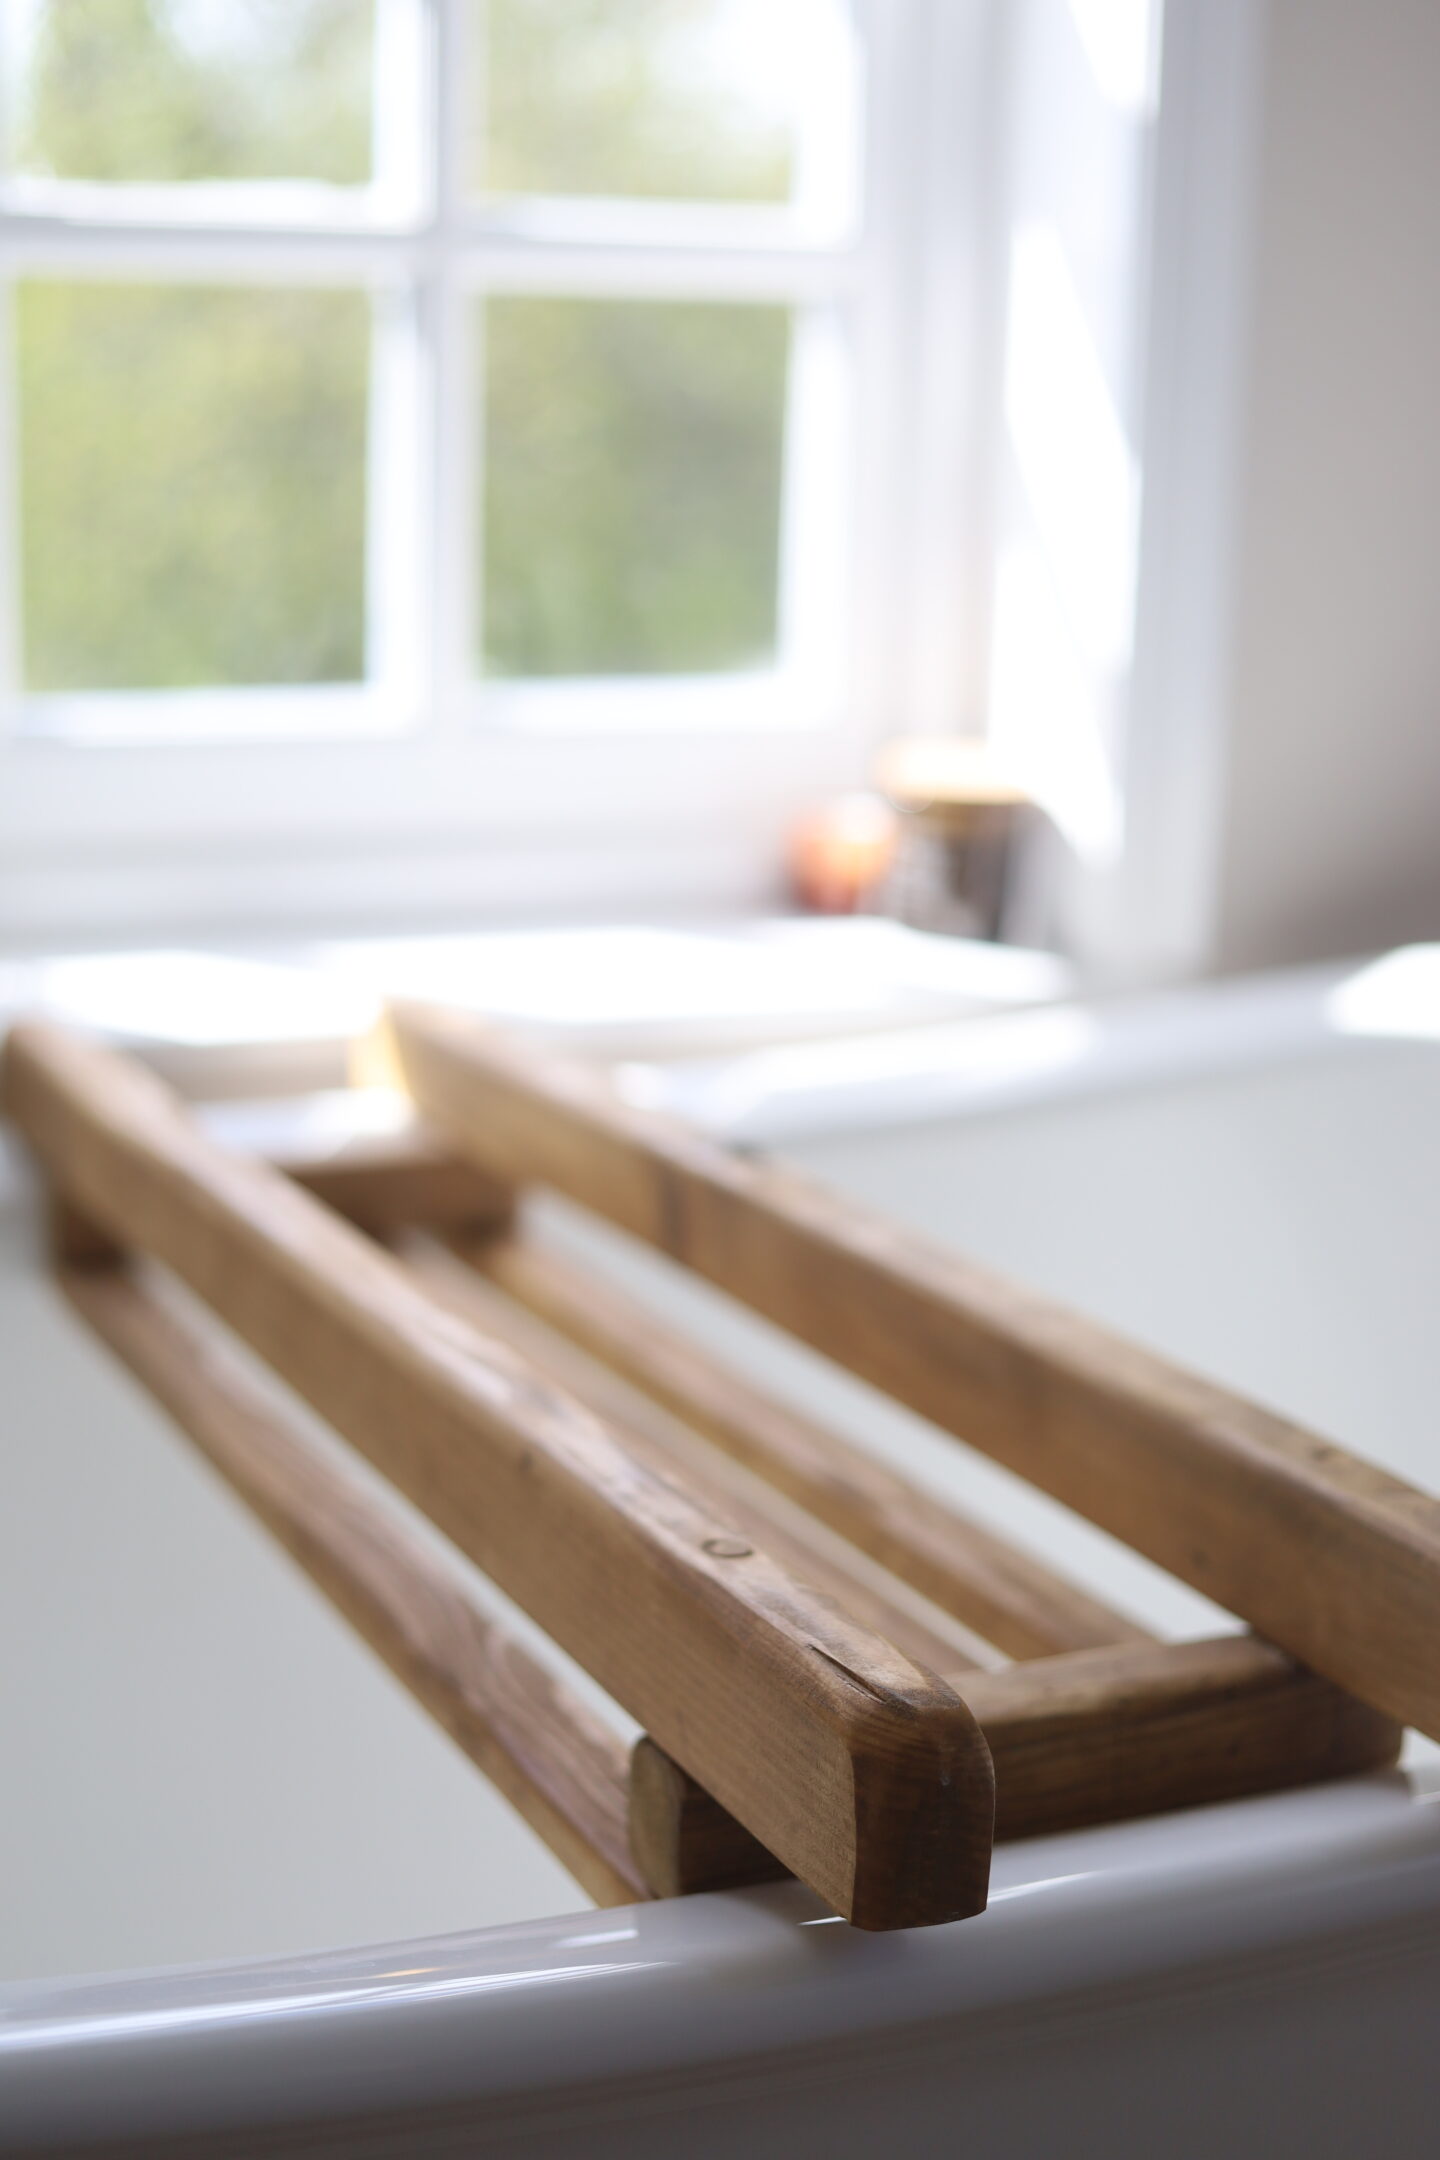
Styled with the most beautiful bath board which my mum brought me for Christmas from @thedancingwoodman. Because the bath is so wide it was tricky to find one that fit, but these come in a range of sizes & stain options to fit your scheme. I love it’s rustic look & it ties in well with the wood flooring & doors.
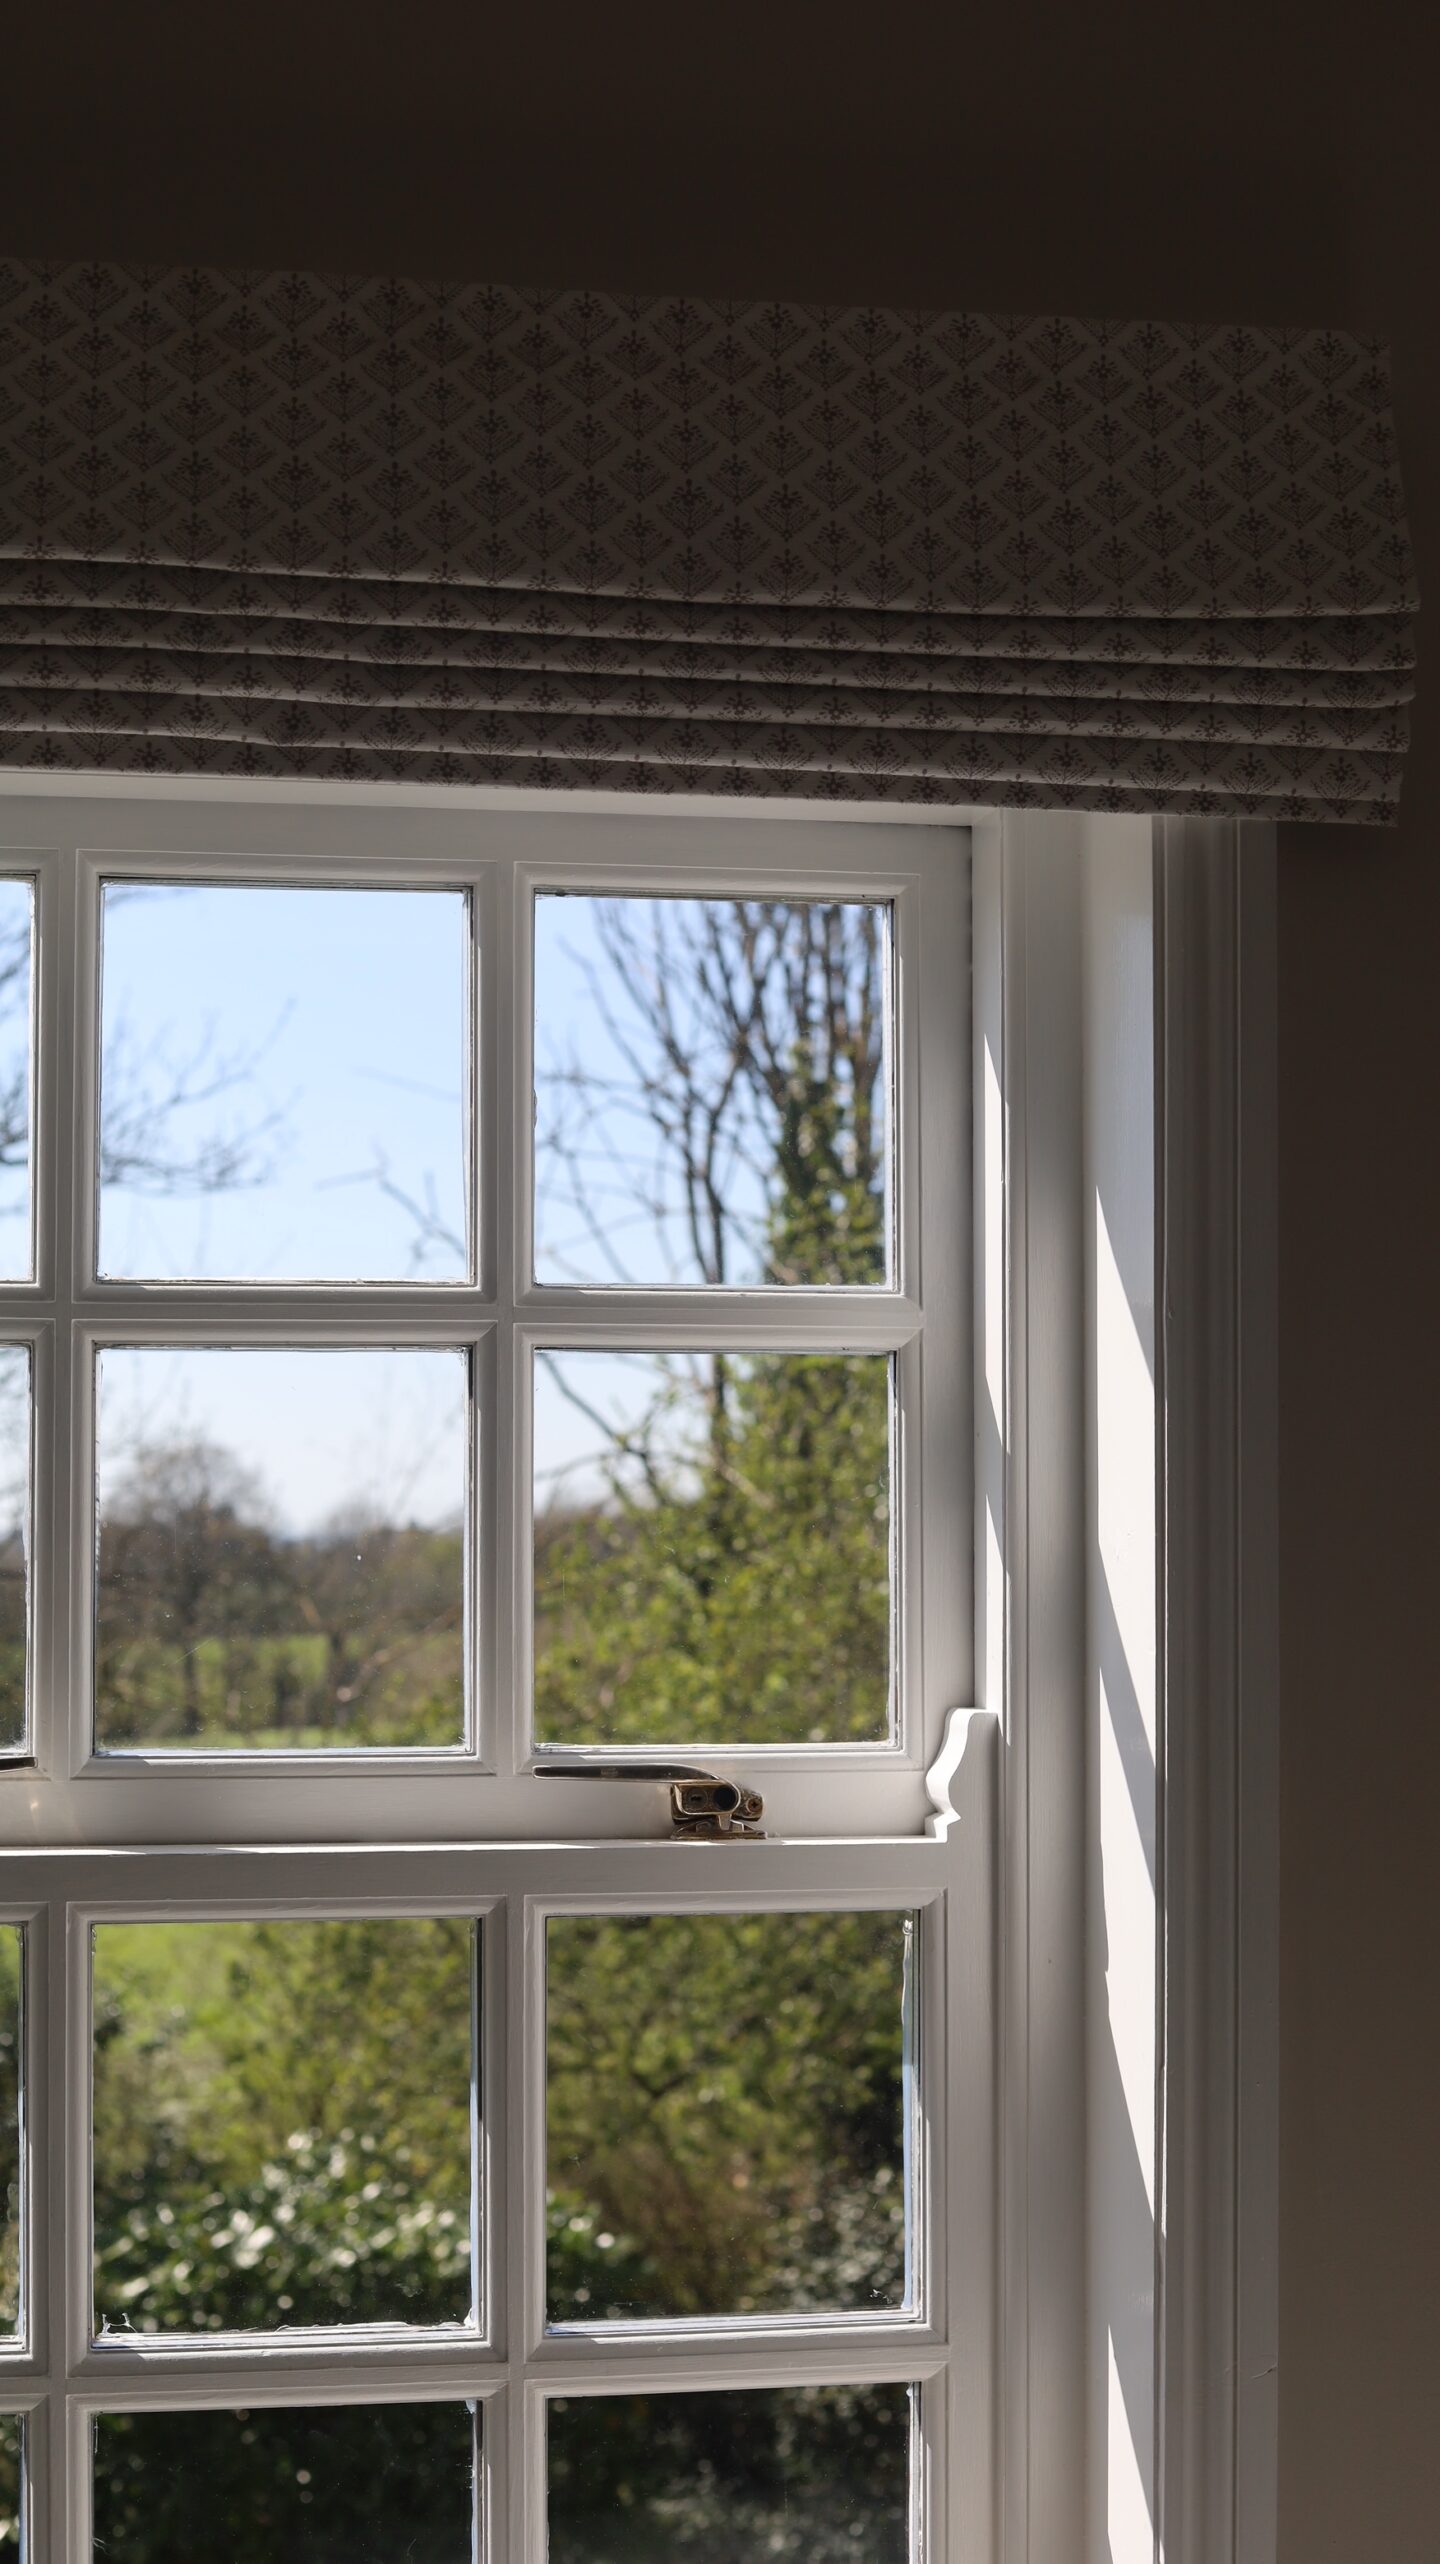
The orange pine windows were tackled yet again with a paint brush & some Zinsser Allcoat, because you all know how much I love painting them. We also had the glazing replaced in both of these by a local company as one was textured/frosted & of course I wanted to lie in the bath & make the most of the rolling fields around us. The other window, although not frosted, had failed glass units & was very misty so by removing the wooden beading these were swapped over so we can make the most of the views.
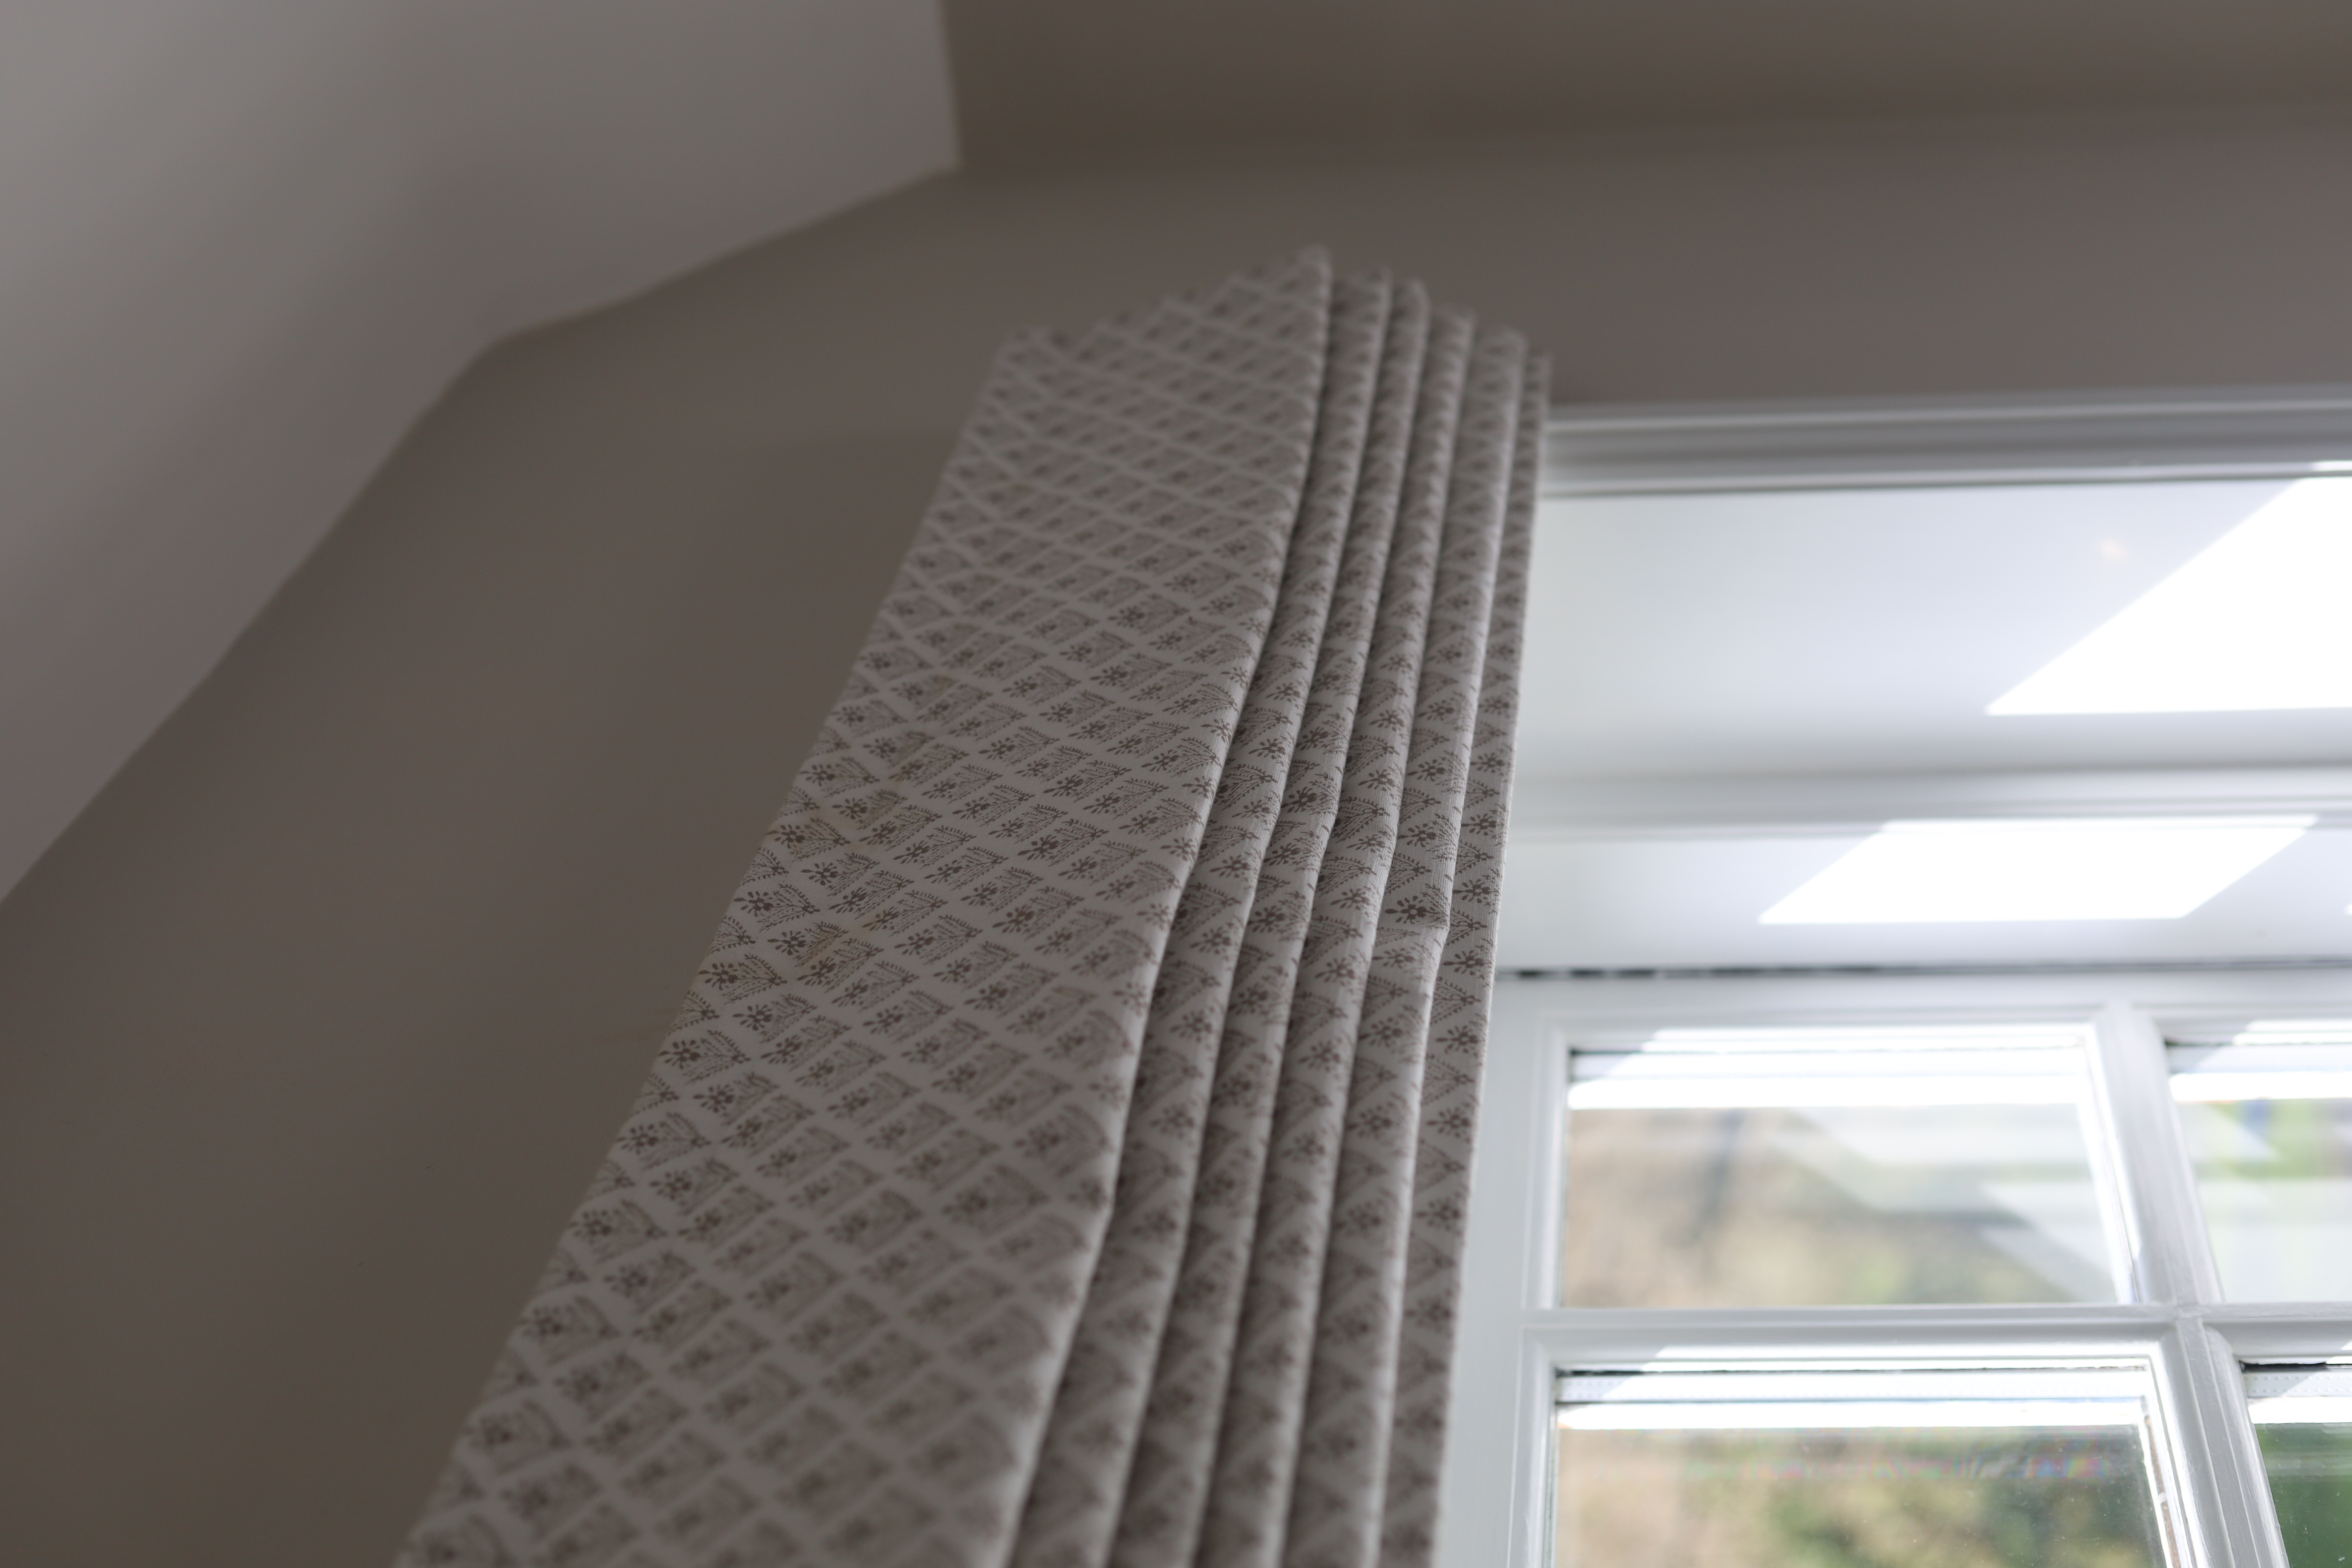
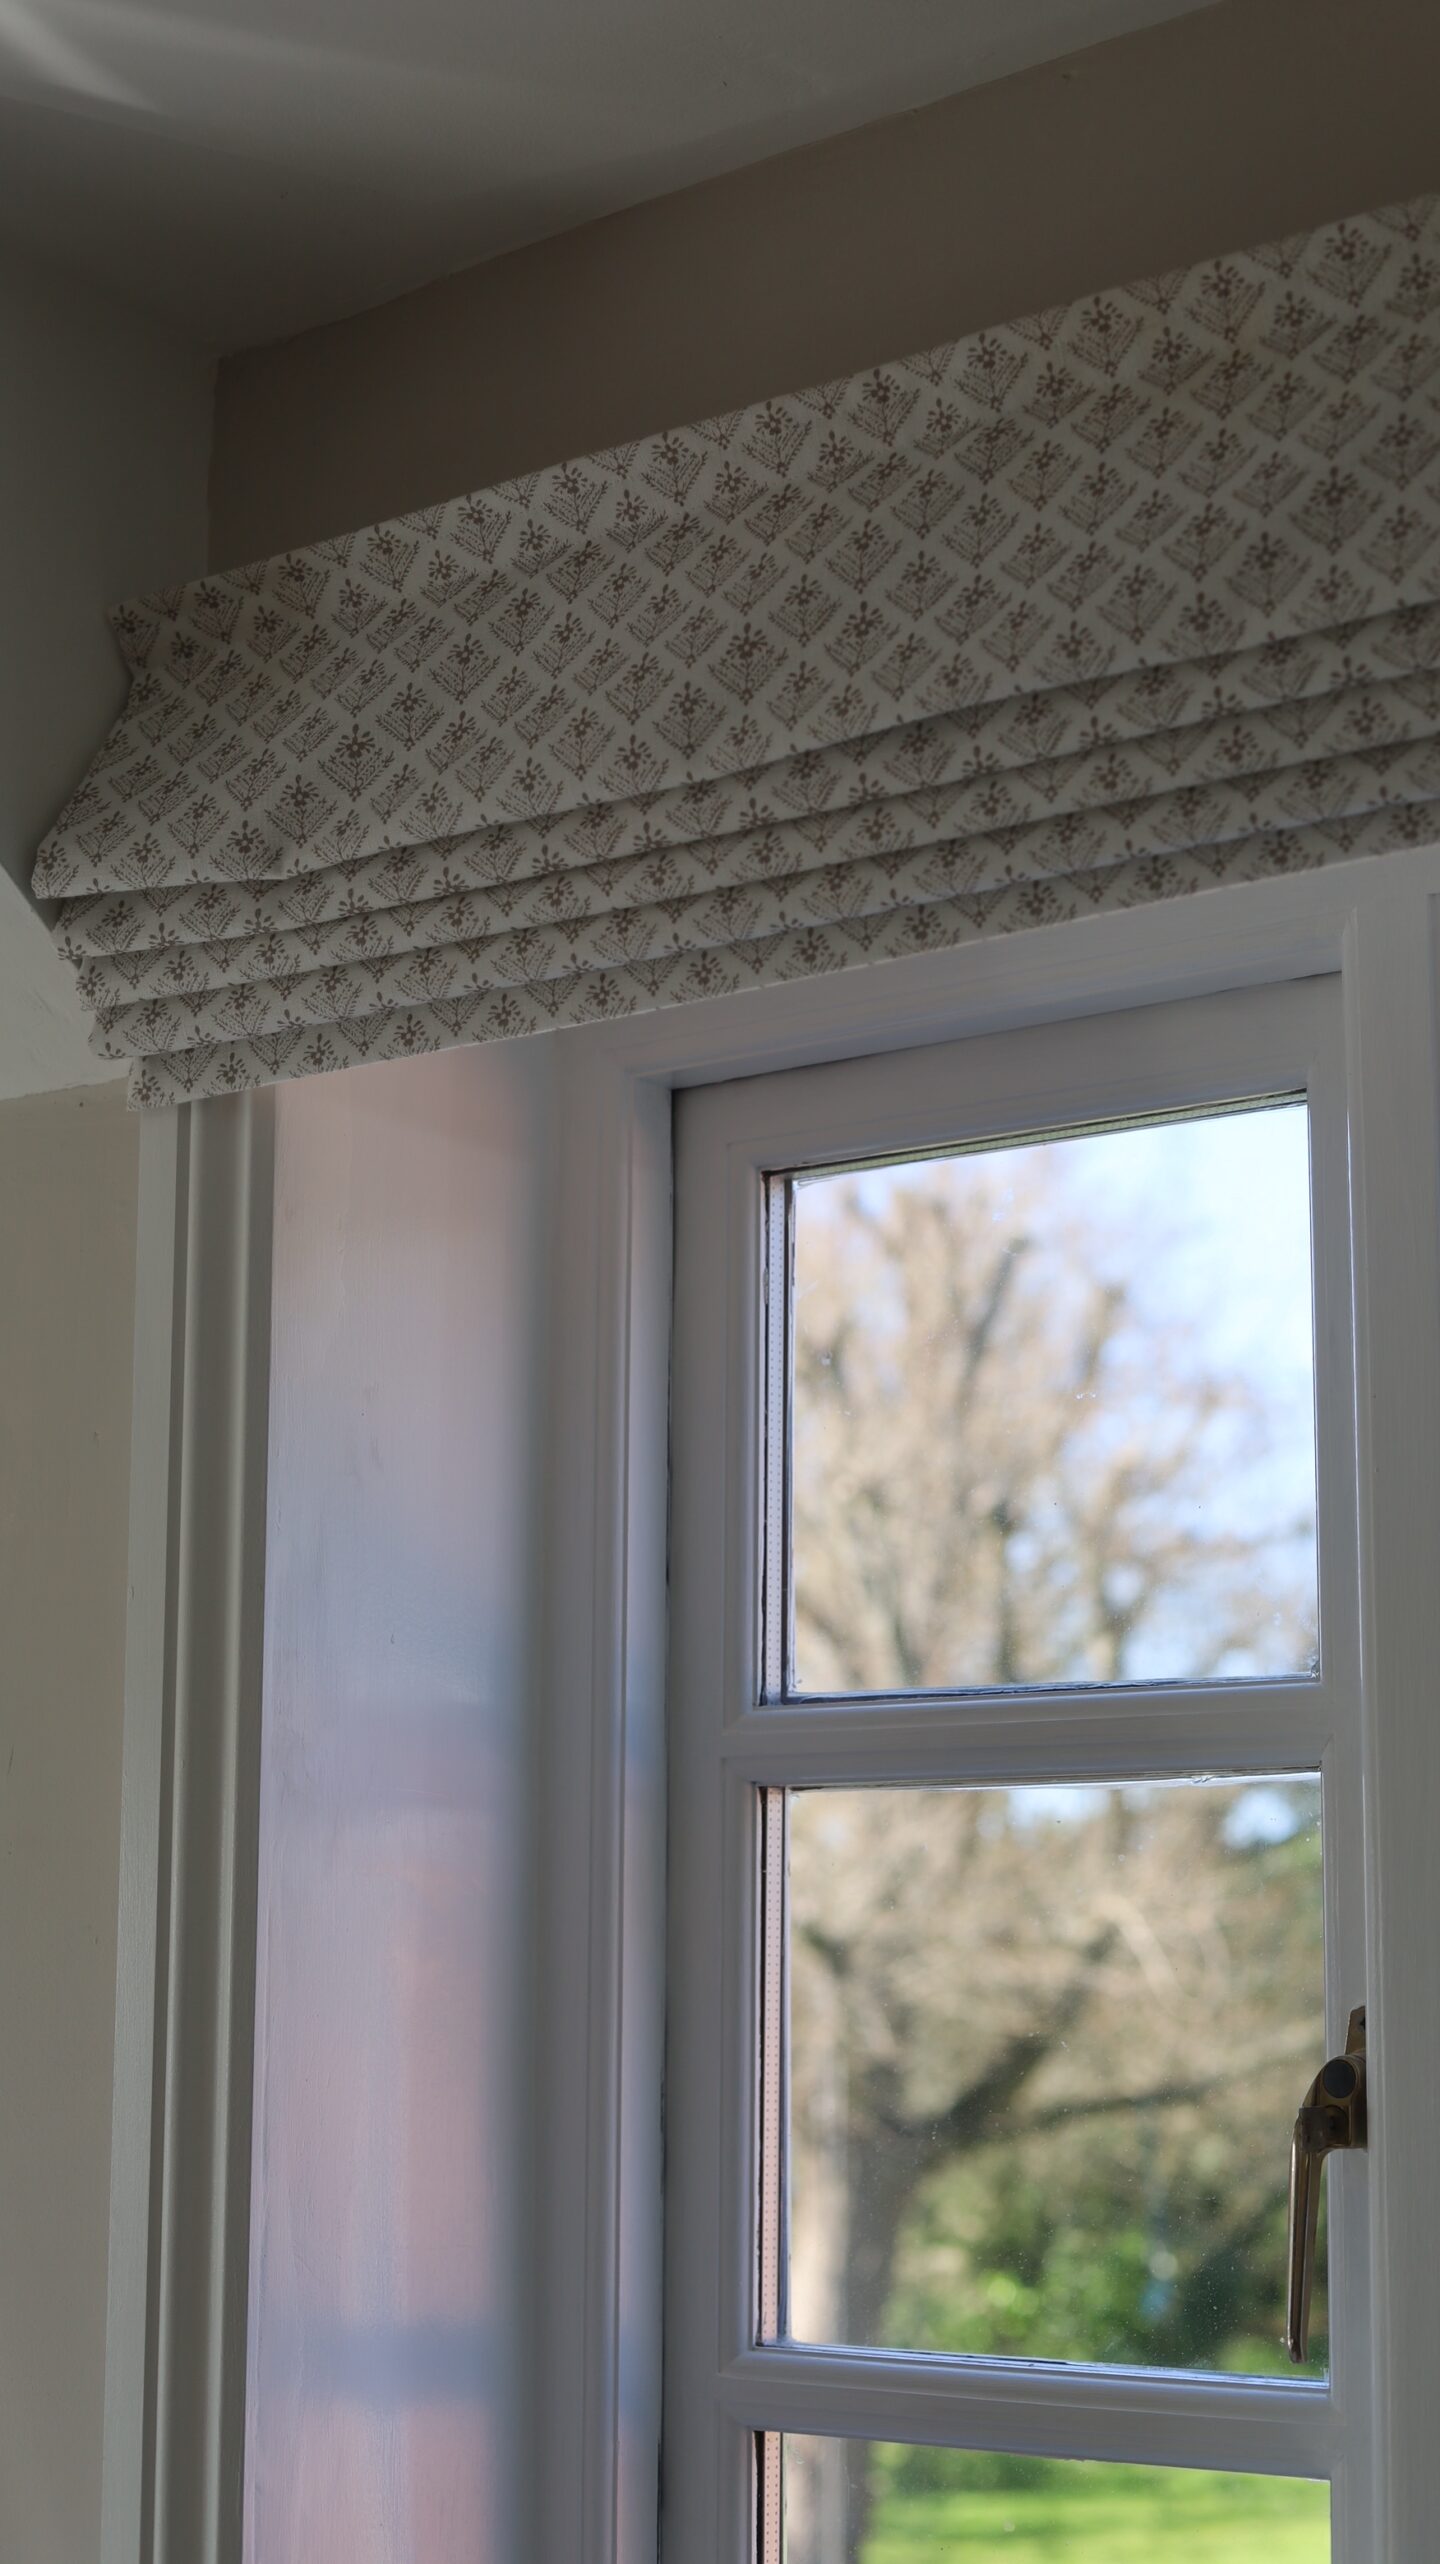
I went with roman blinds in here, more to add some texture in here as we aren’t overlooked so privacy isn’t an issue. These were made to measure due to odd sizing & after ordering multiple samples from Blinds2Go, I decided to go with the ‘Lady Fern Dark Dove Grey‘* which is simple & elegant yet adds some delicate pattern.
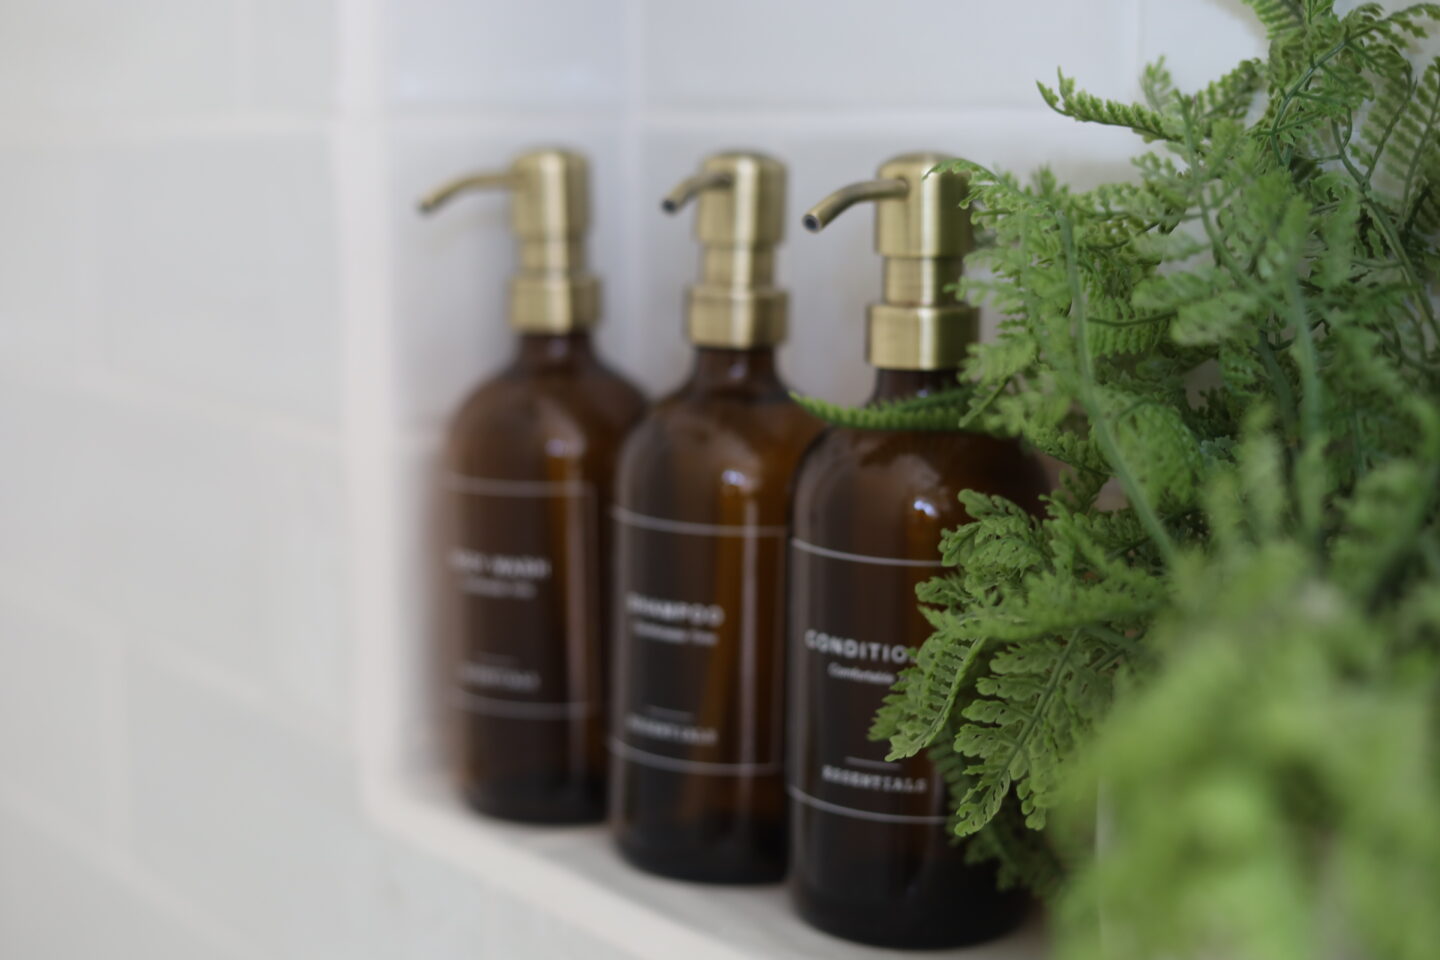
Seeing as I had quite a few tiles left over from the guest ensuite & I absolutely loved them, I decided to use the same ones in the shower area in here. These are the ‘white rustic metro tiles 300×100‘ from Walls And Floors which I thought were so reasonably priced at £19.95 pm2. They are textured which is very forgiving when installing & also adds texture for a more rustic look. I used Mapei white grout which worked really well with the tiles for a cohesive look. Again we did a little built in nook for all those pesky bottles of lotions & potions…but of course made pretty with these amber bottles with brass tops from Paper & Ink*.
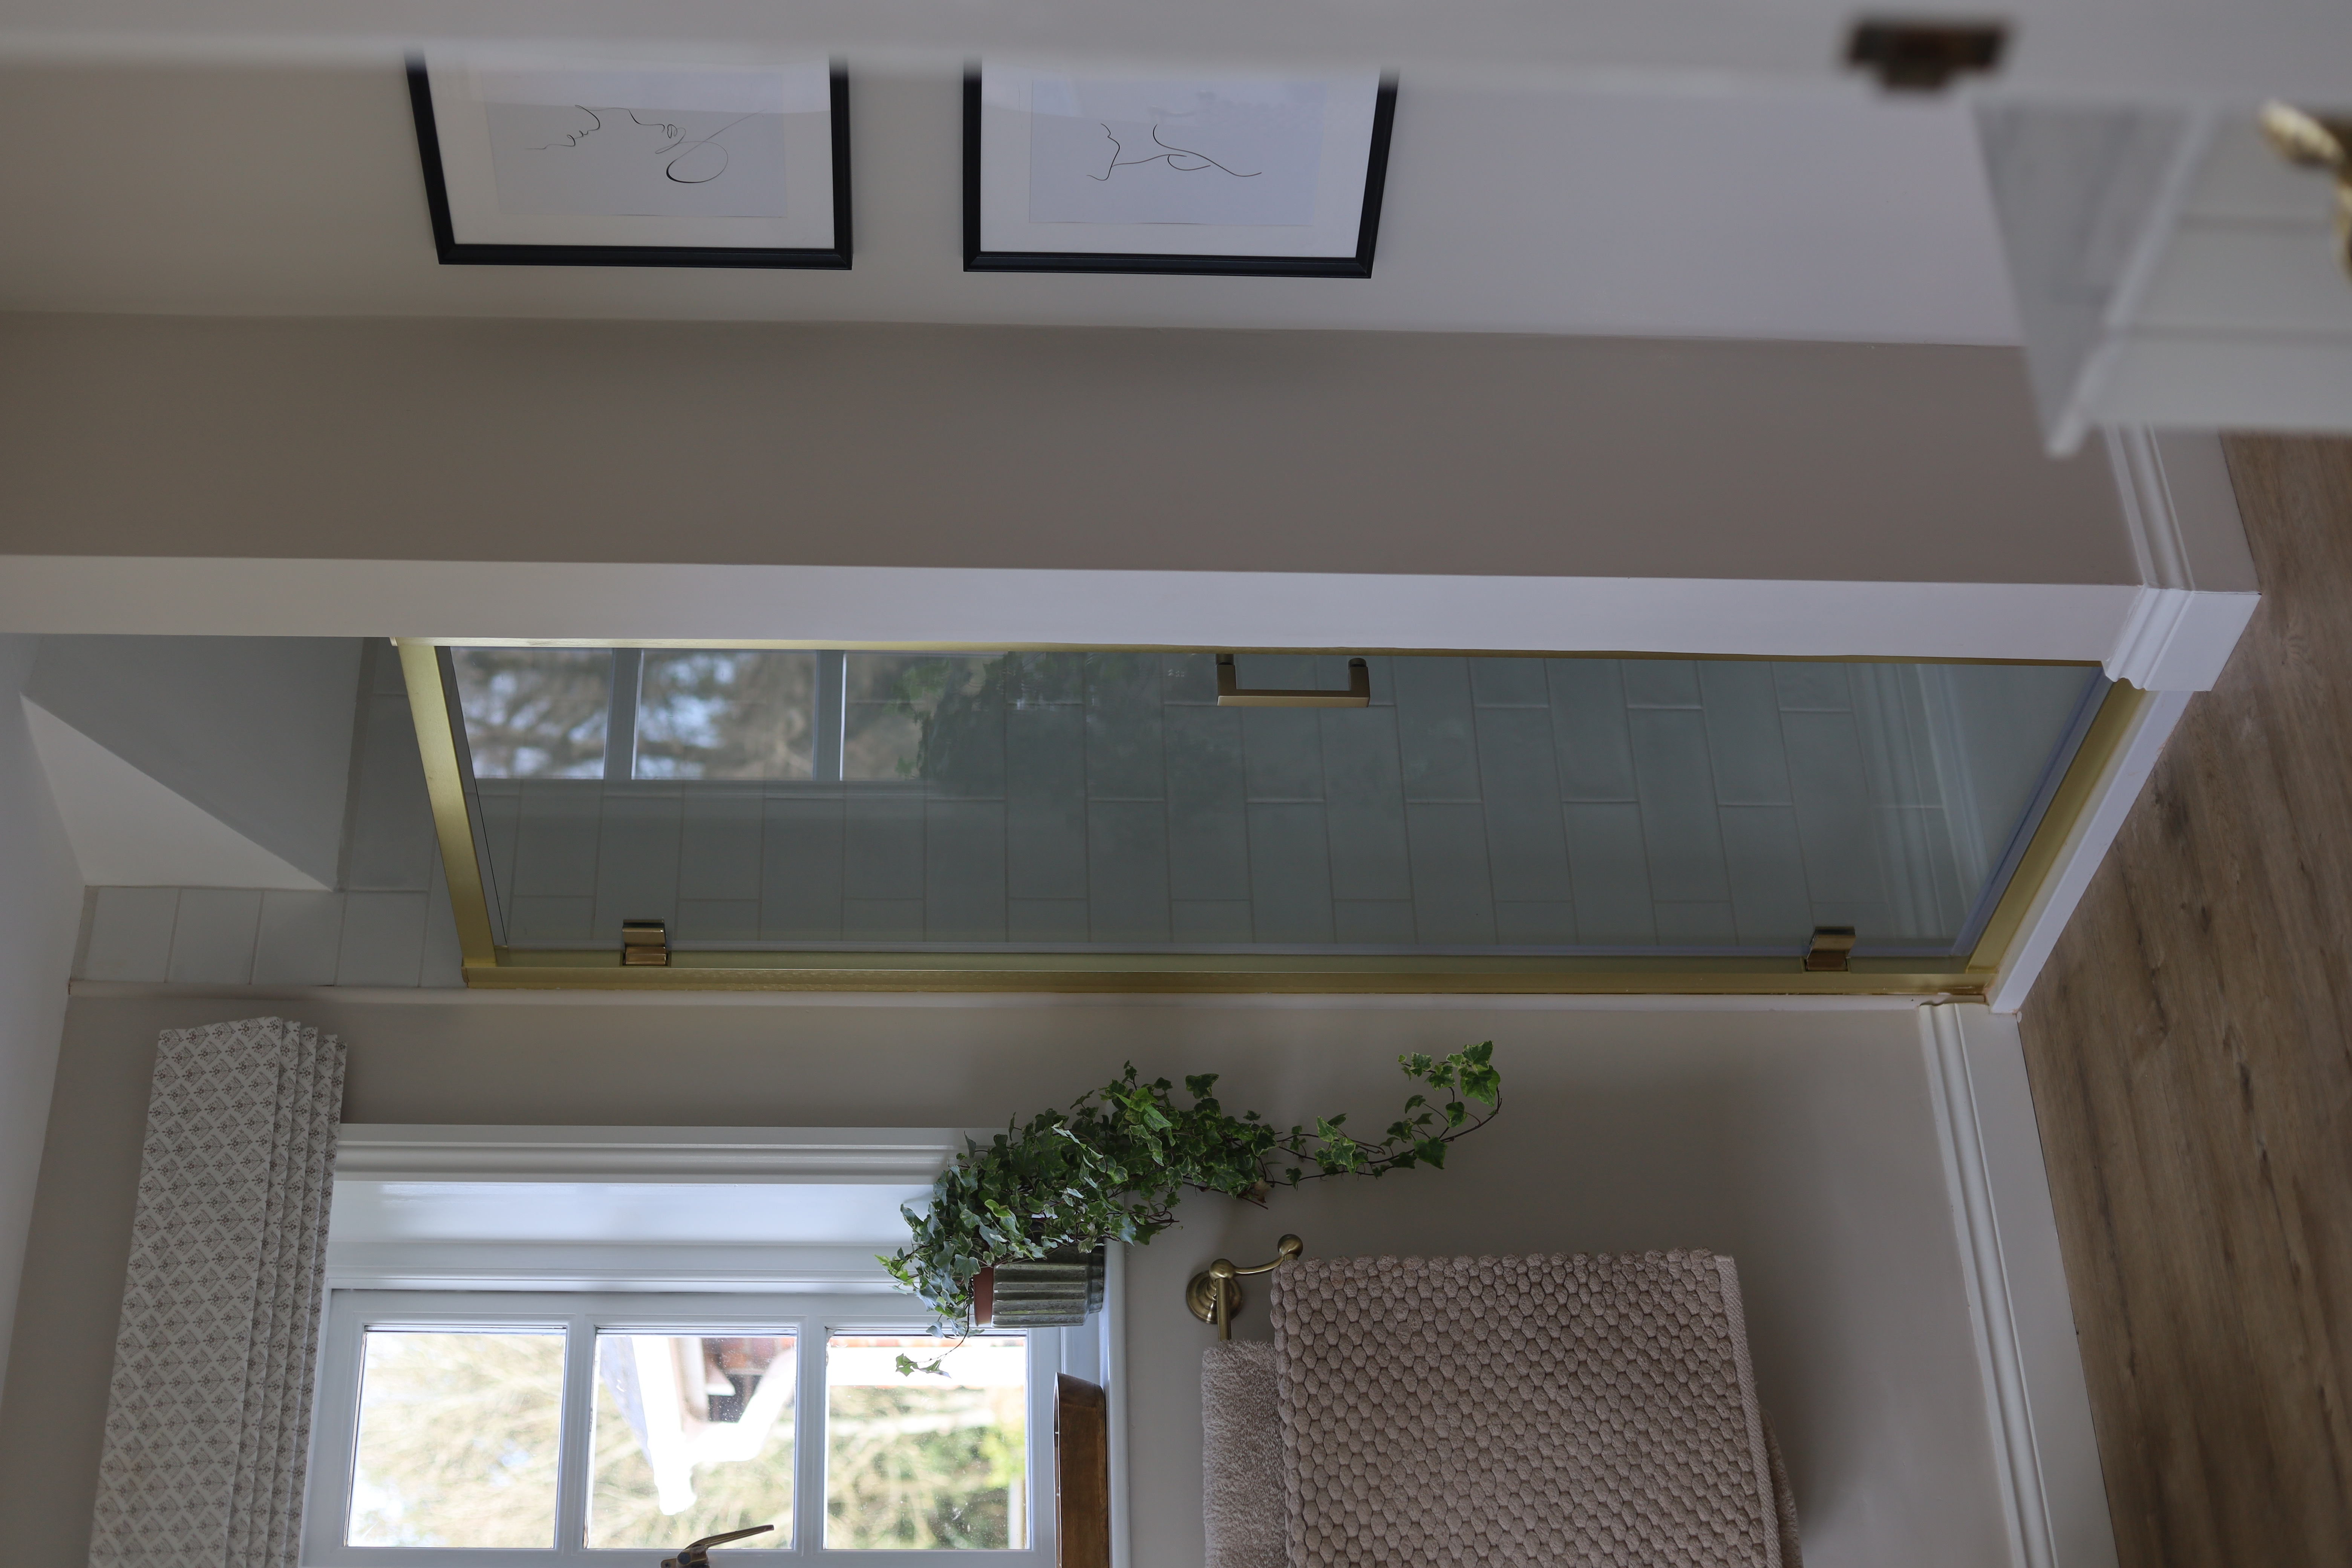
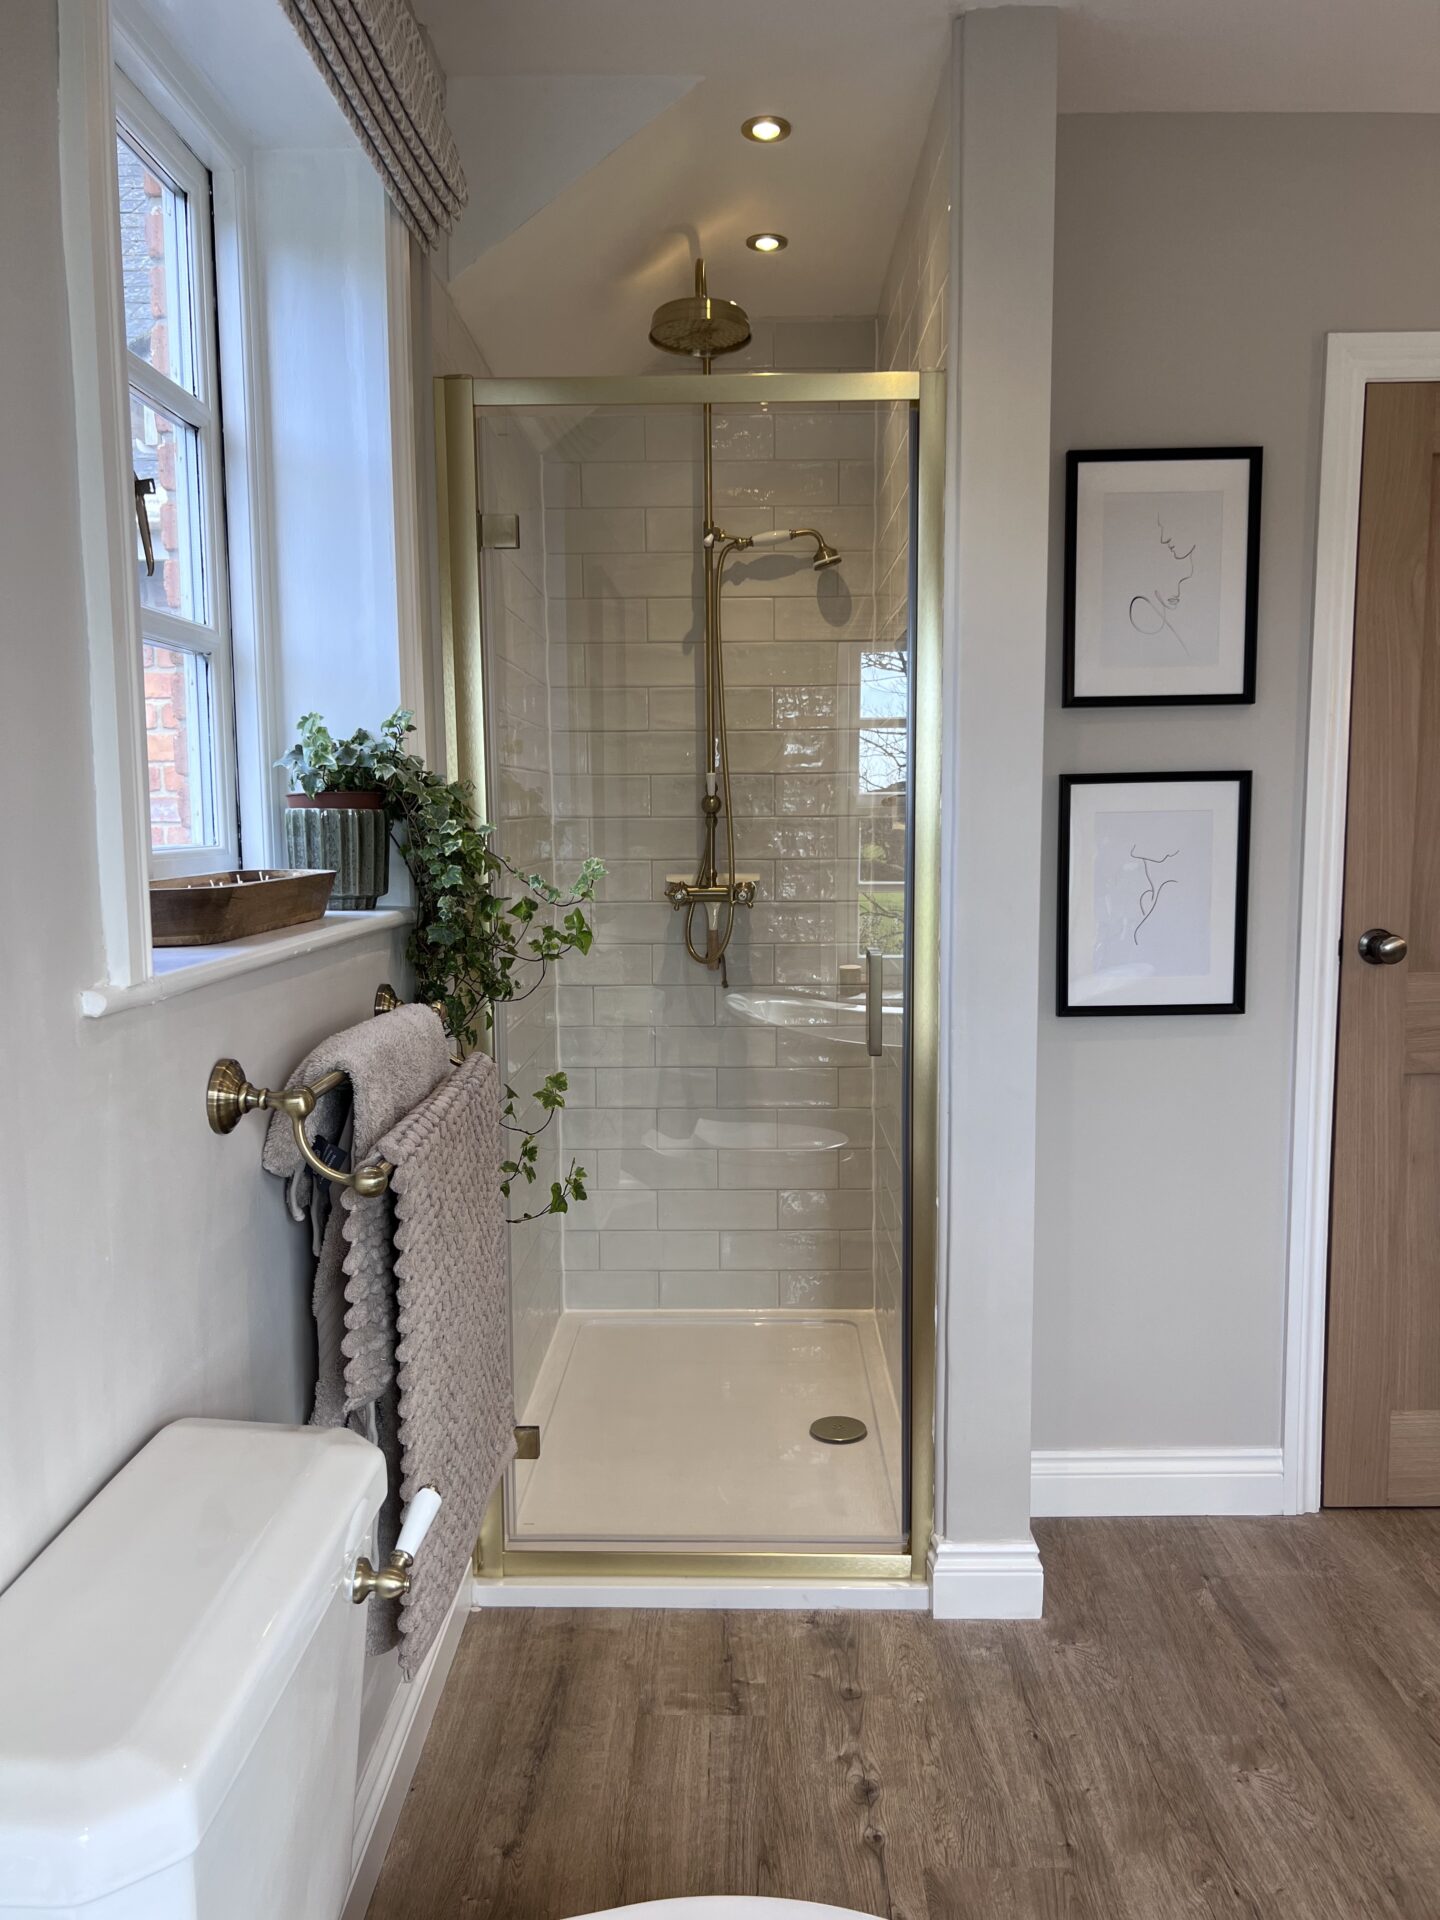
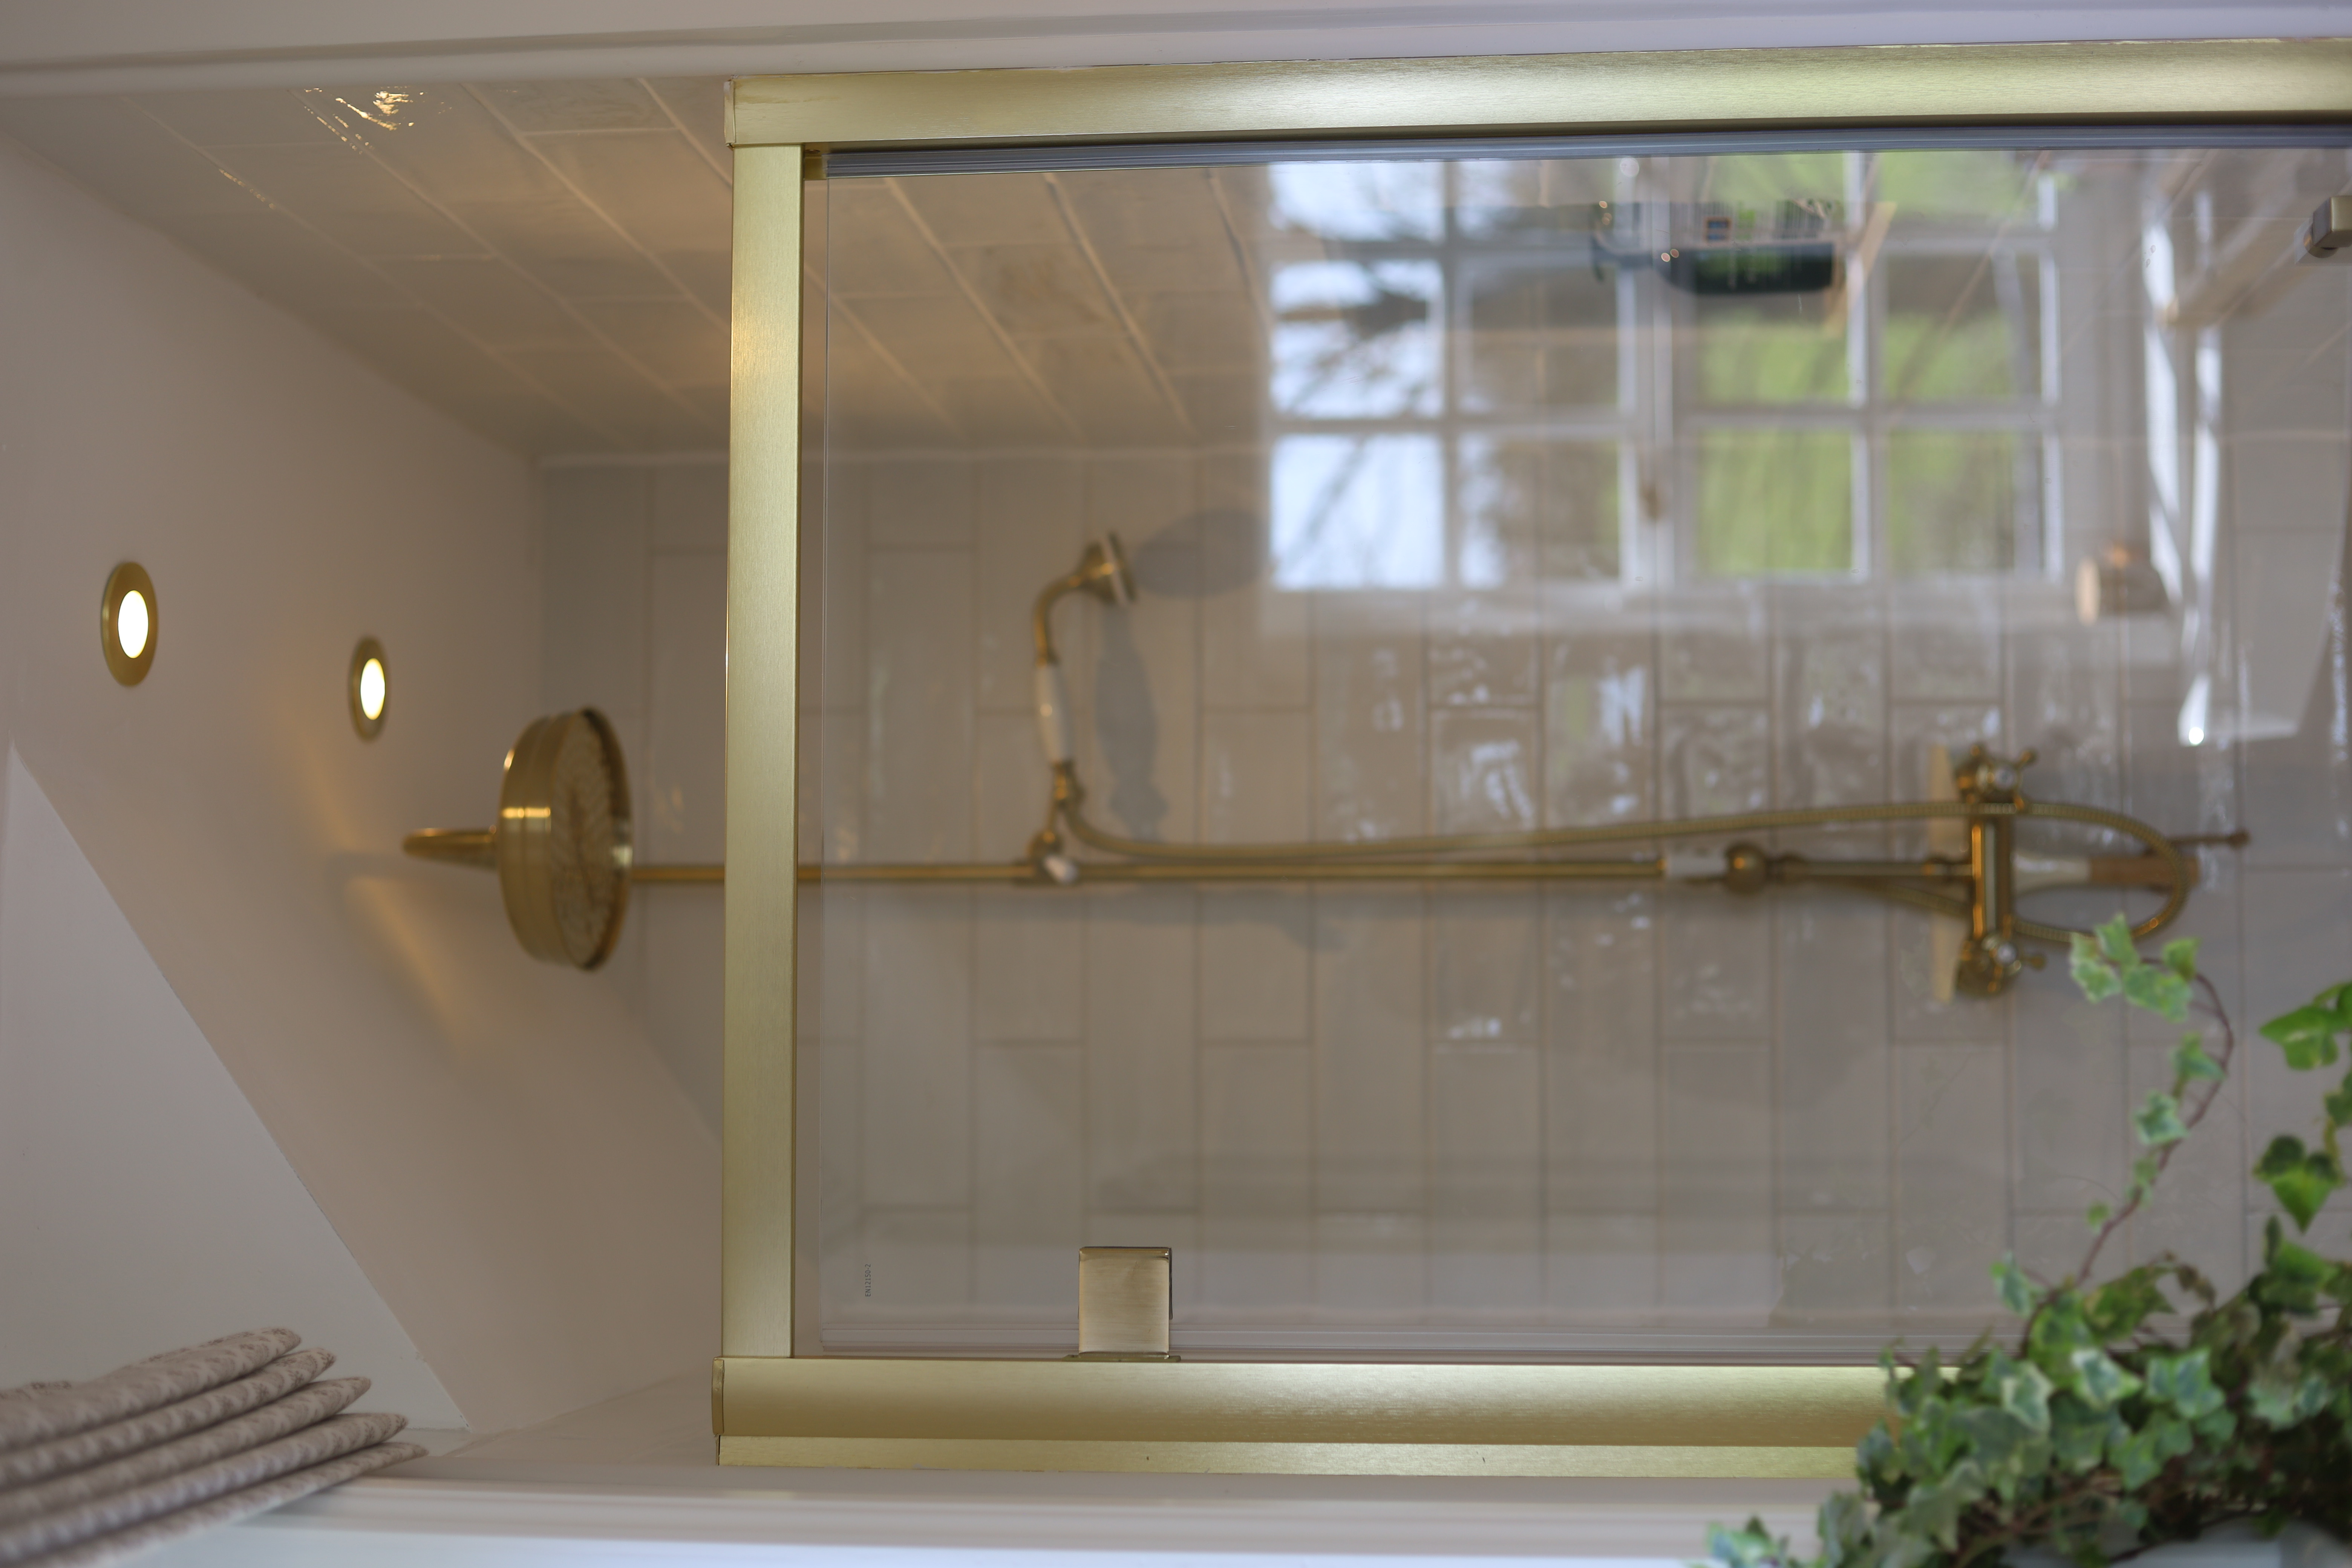
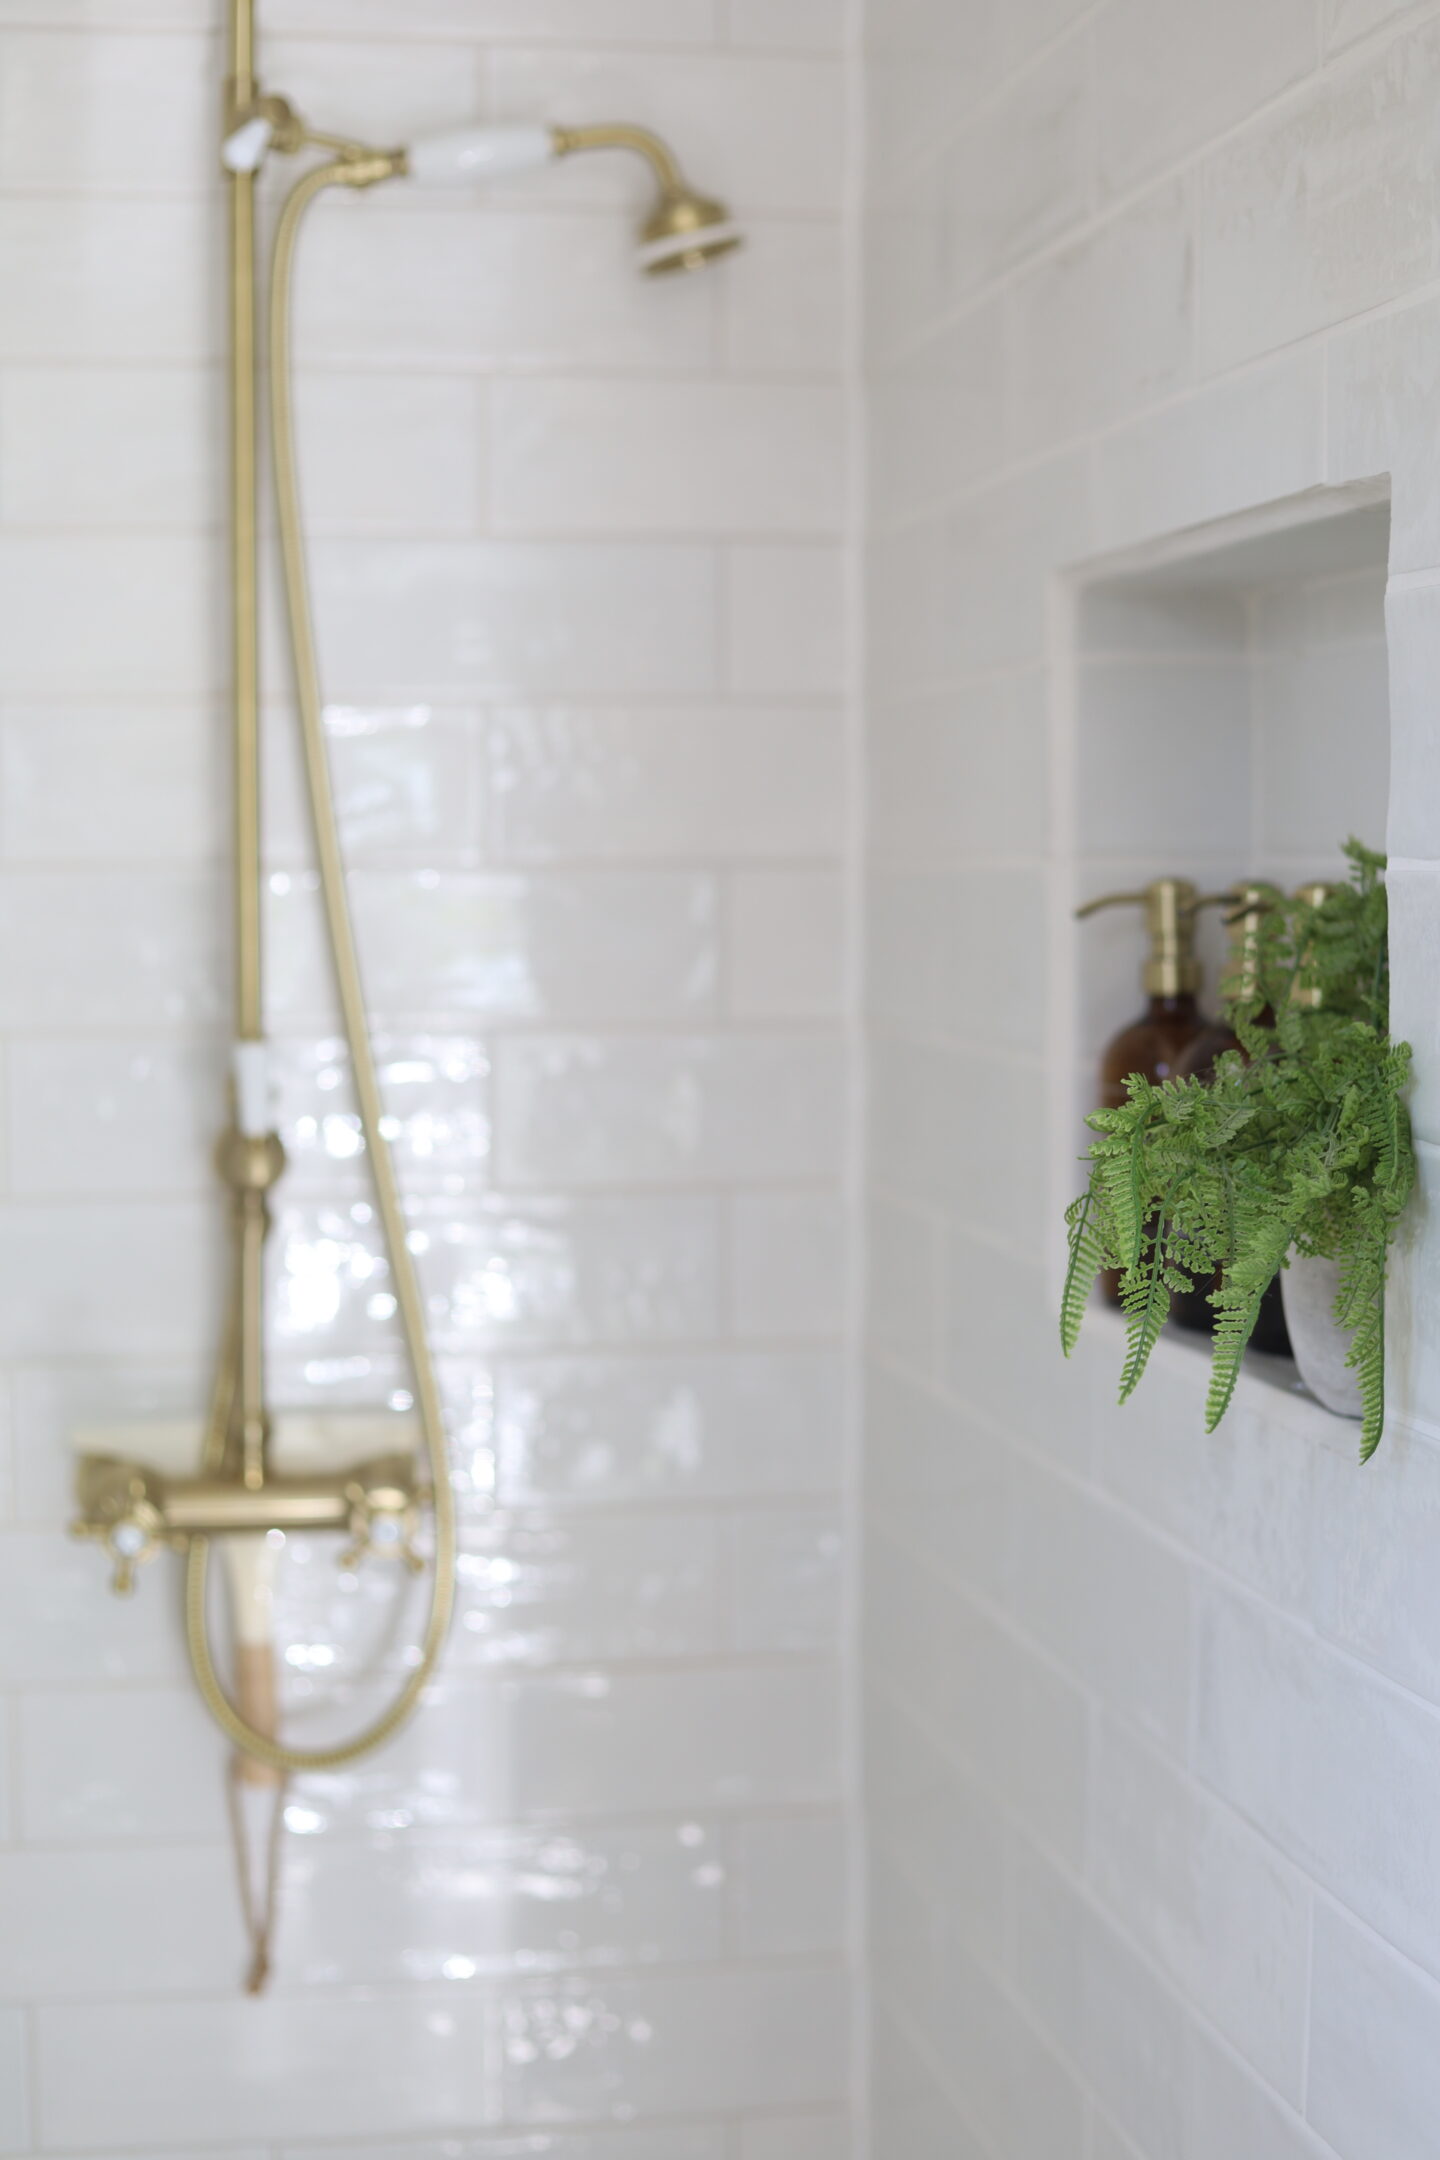

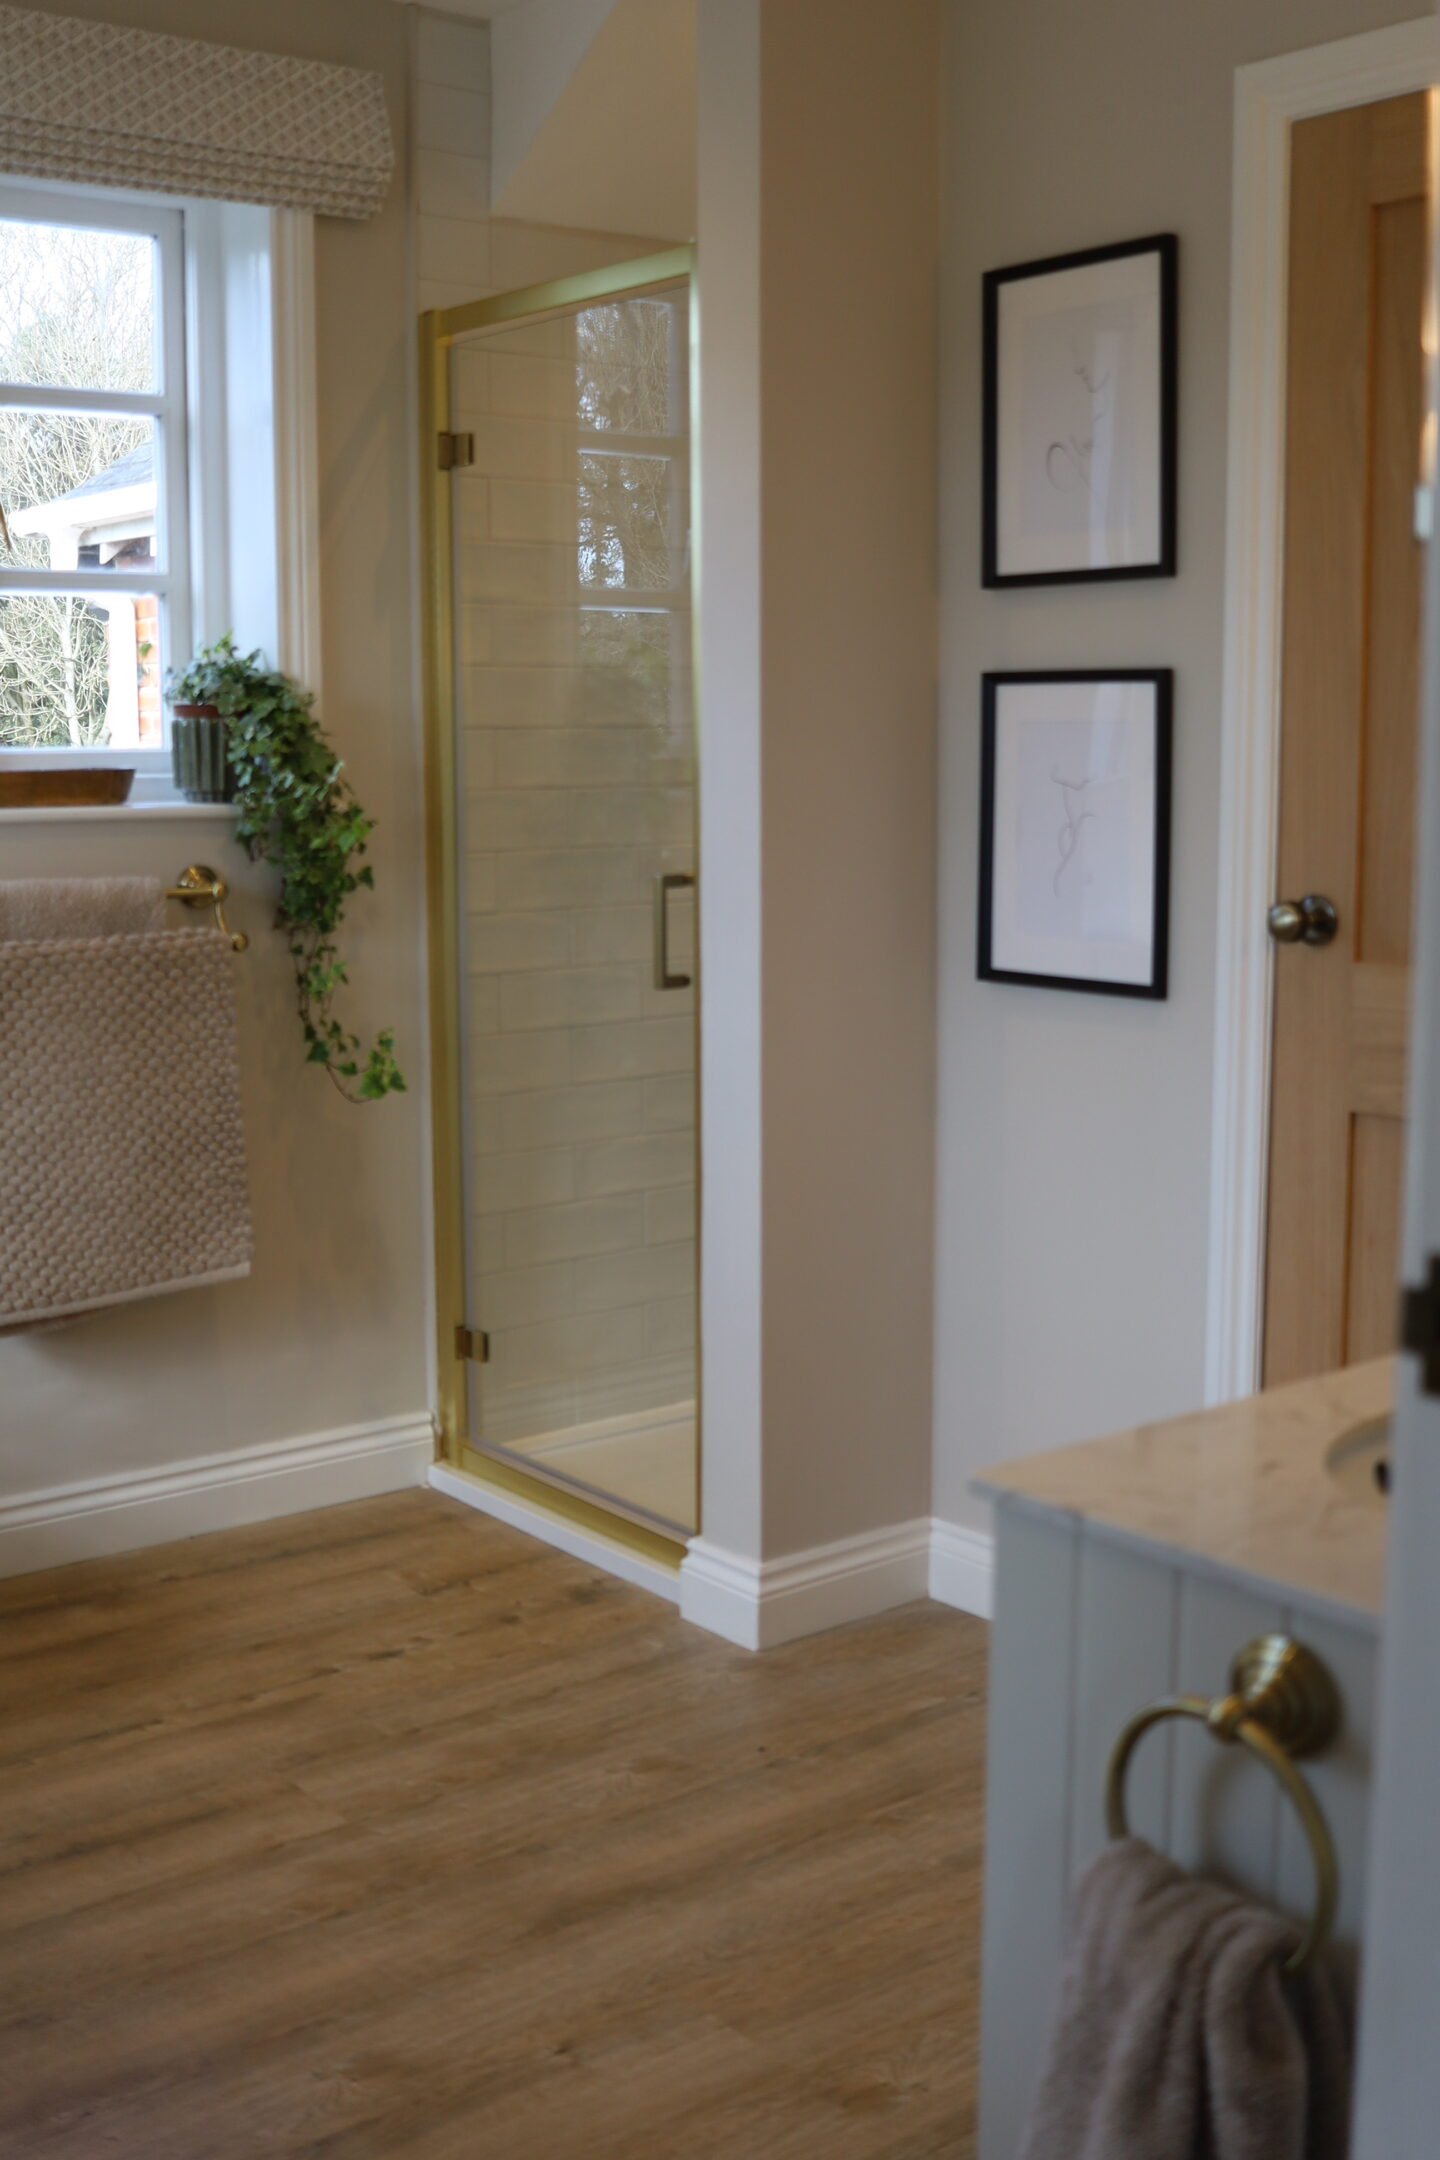
The brushed brass shower is by Hudson Reed* which is the same as the one used in the guest ensuite too, however I found it along with a few other items from a seller on Ebay called WeLoveBathrooms at a much cheaper price & couldn’t fault their customer service with delivery in a couple of days. I also got the hinged shower door*, shower tray* (1300×800), toilet*, shower waste trap* & brass toilet flush* from them.
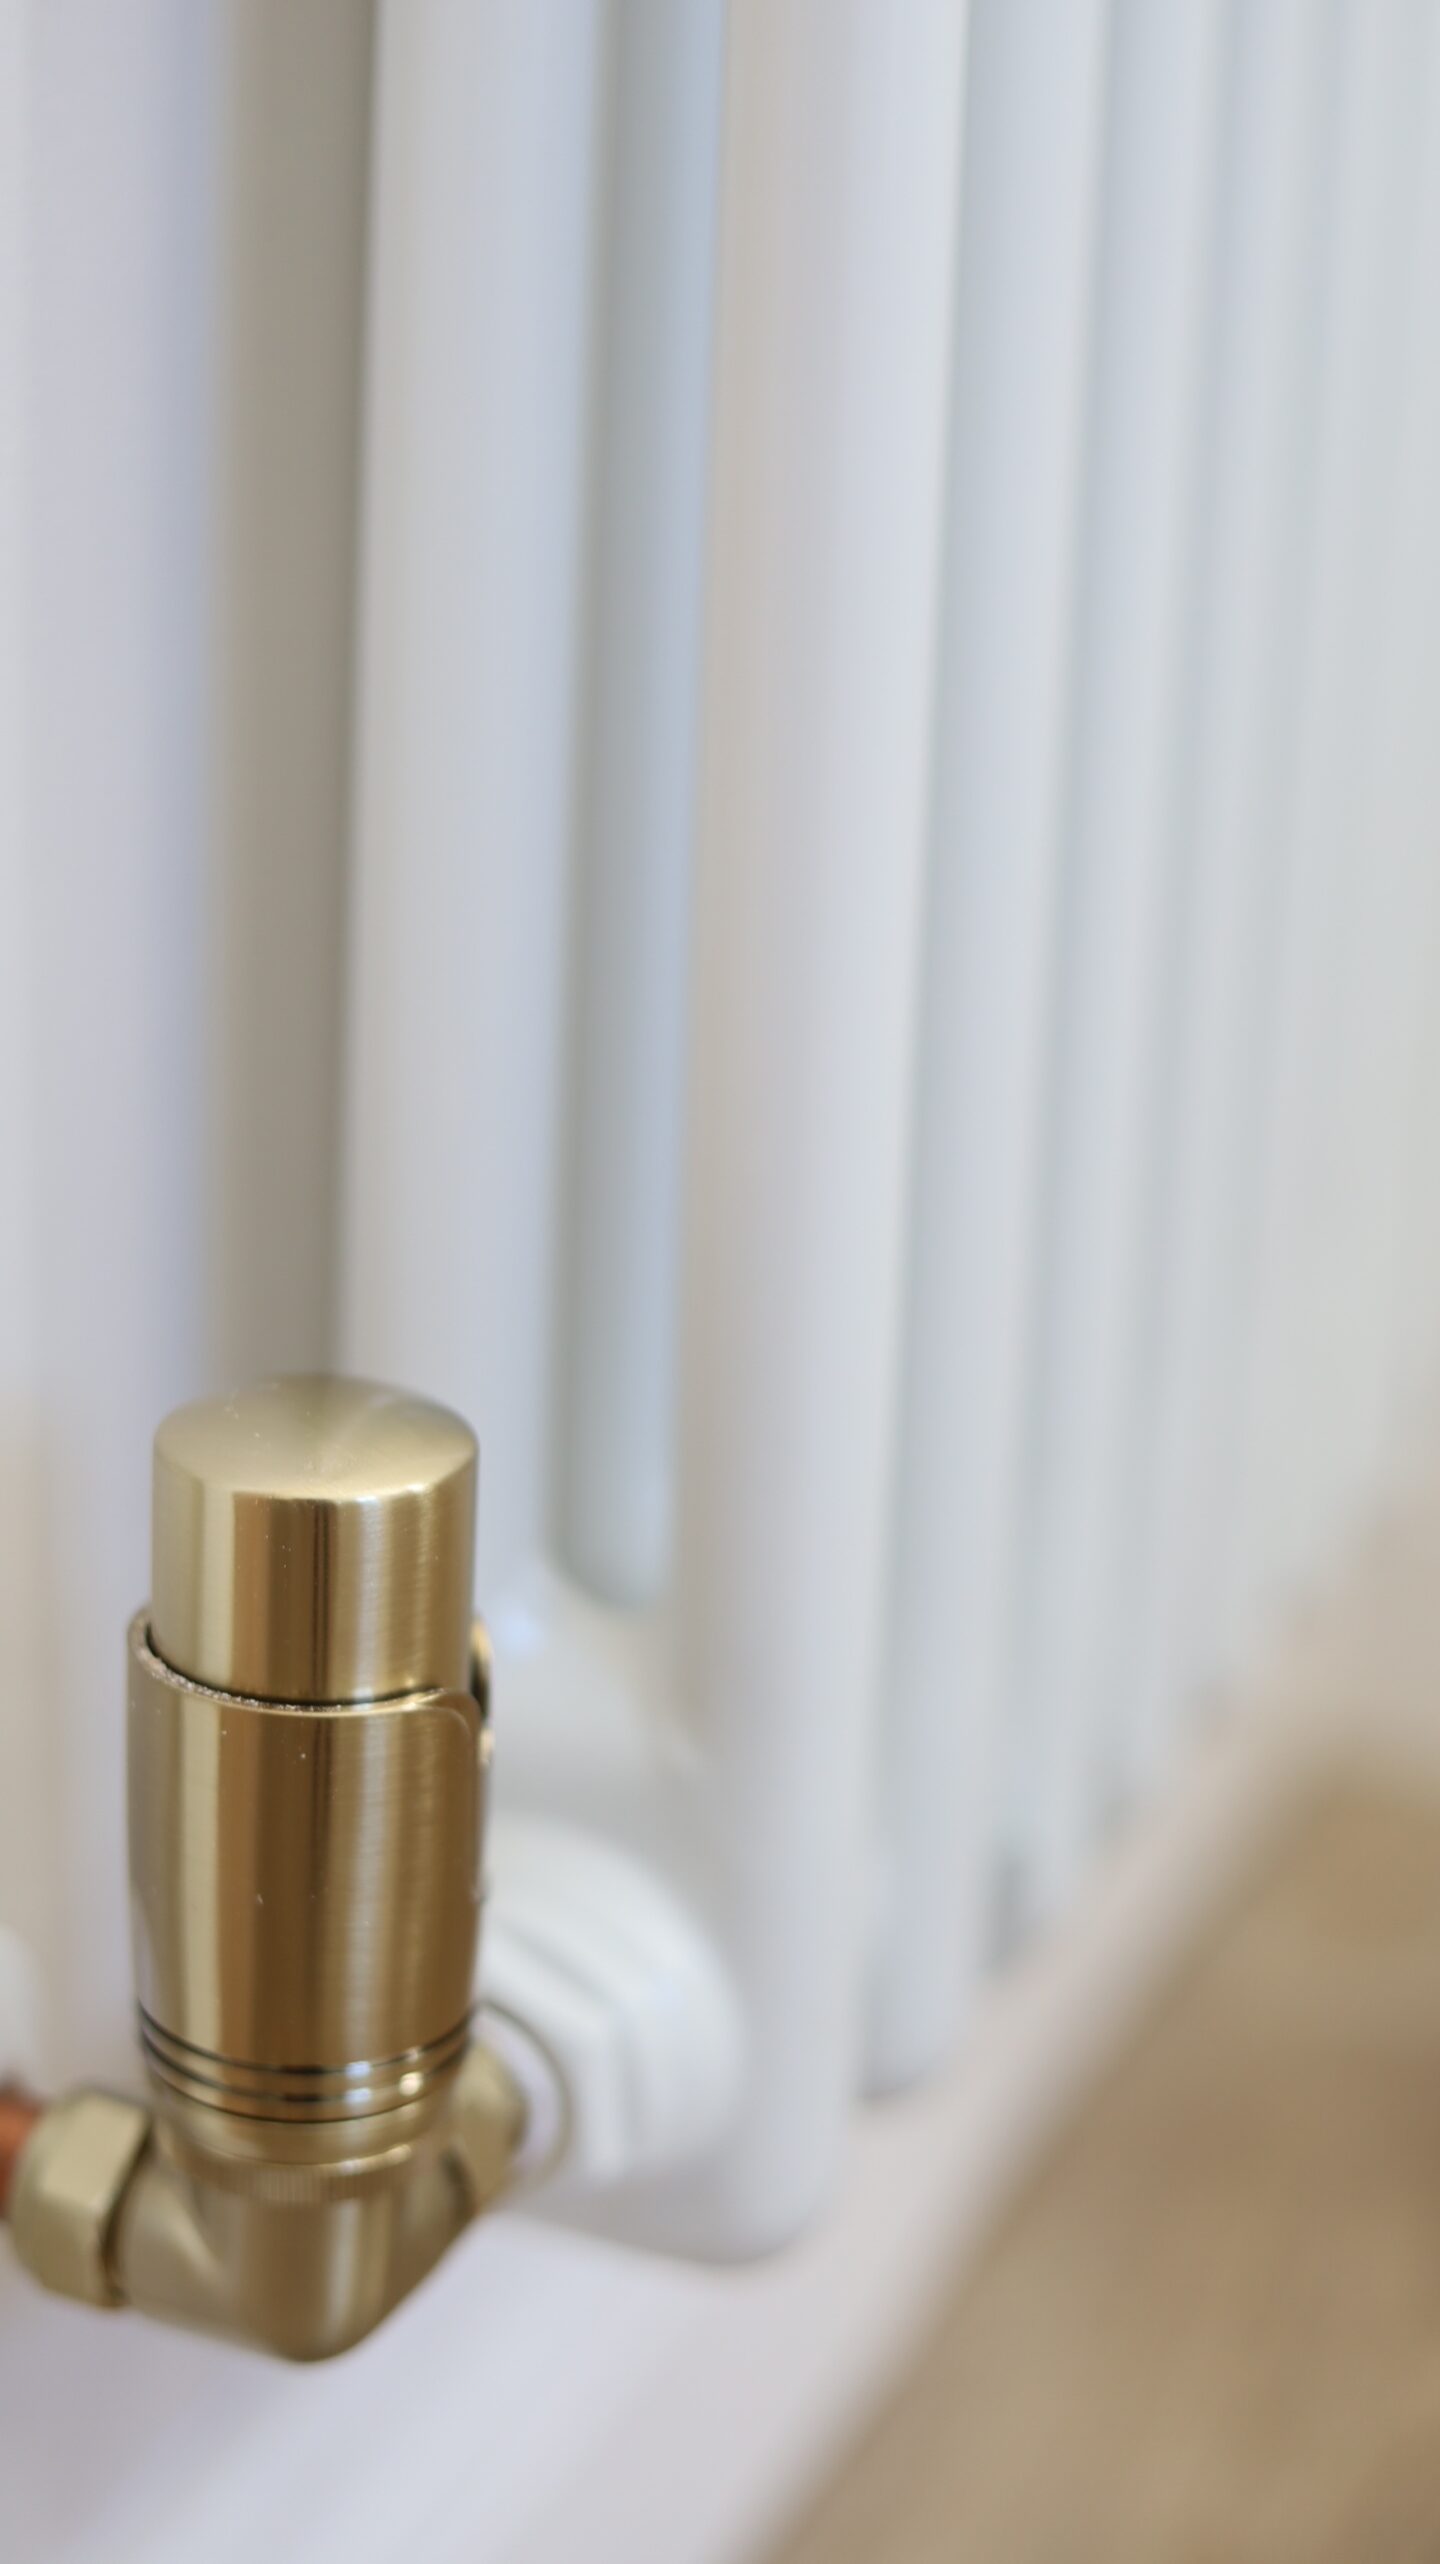
The radiator was replaced with a tall column radiator* in keeping with the traditional style. This again was from Ebay in size 1800×470 but from another seller. The brass radiator valves* were also Ebay here.
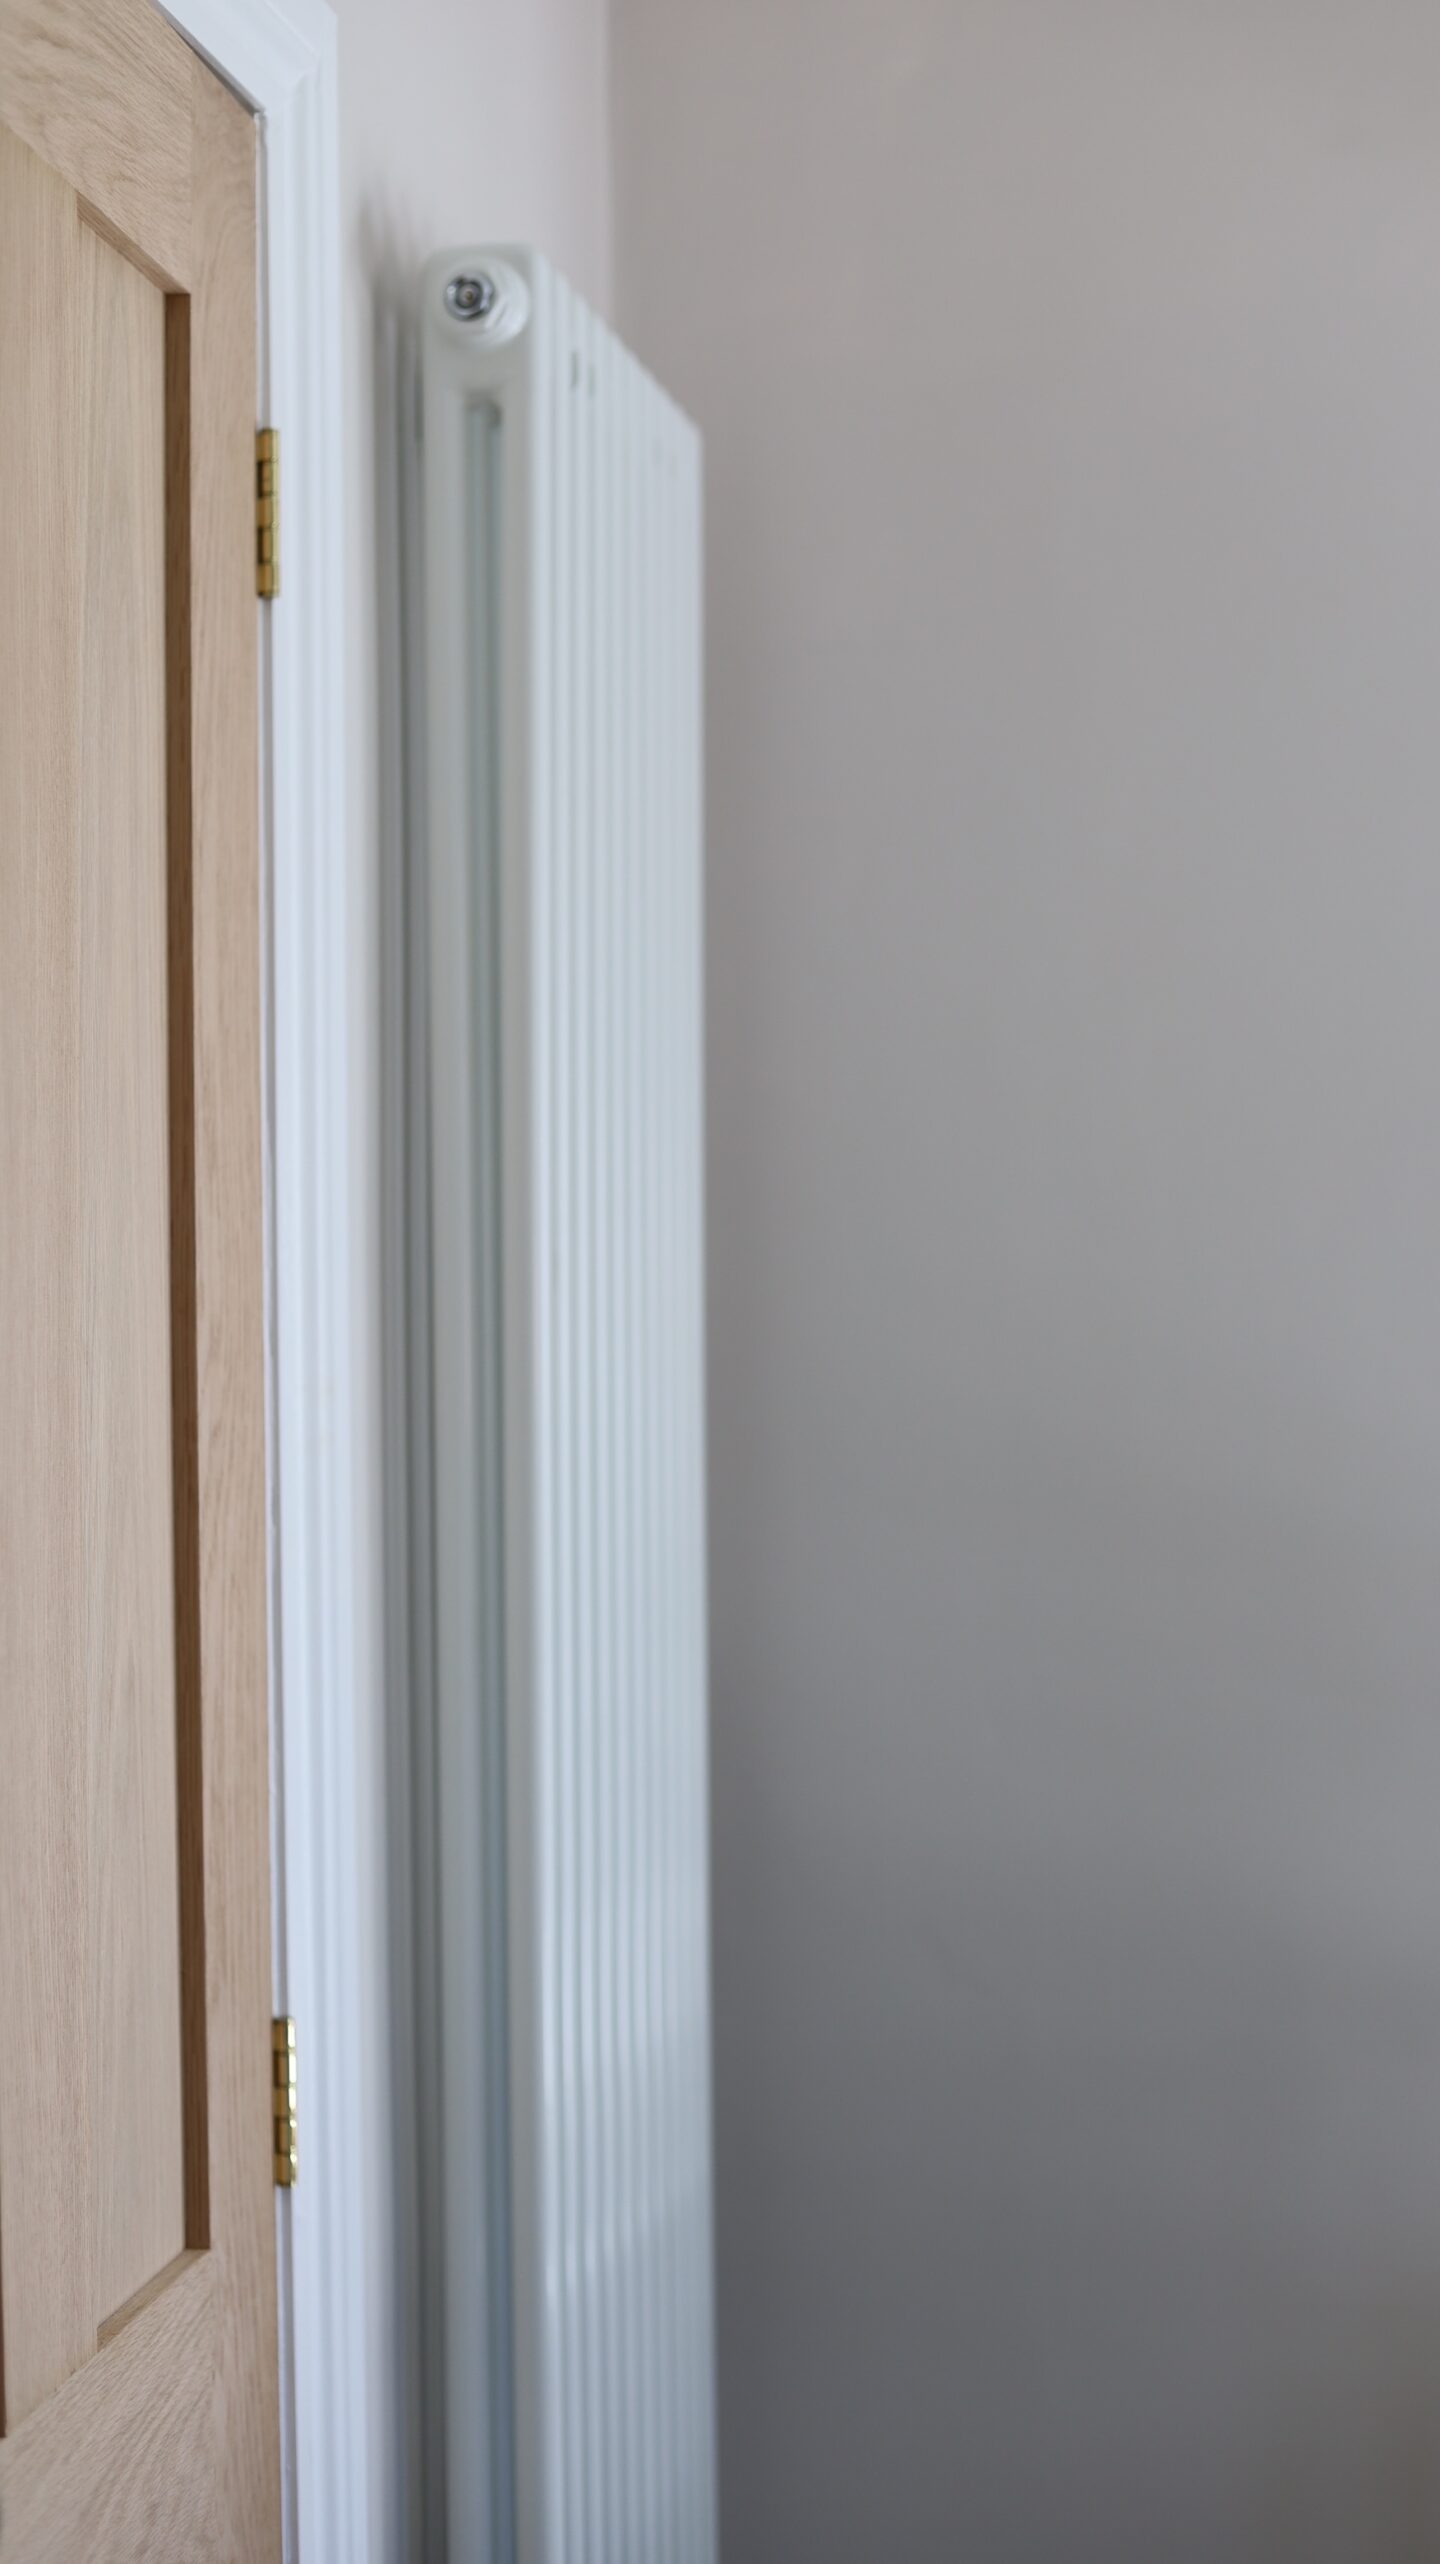
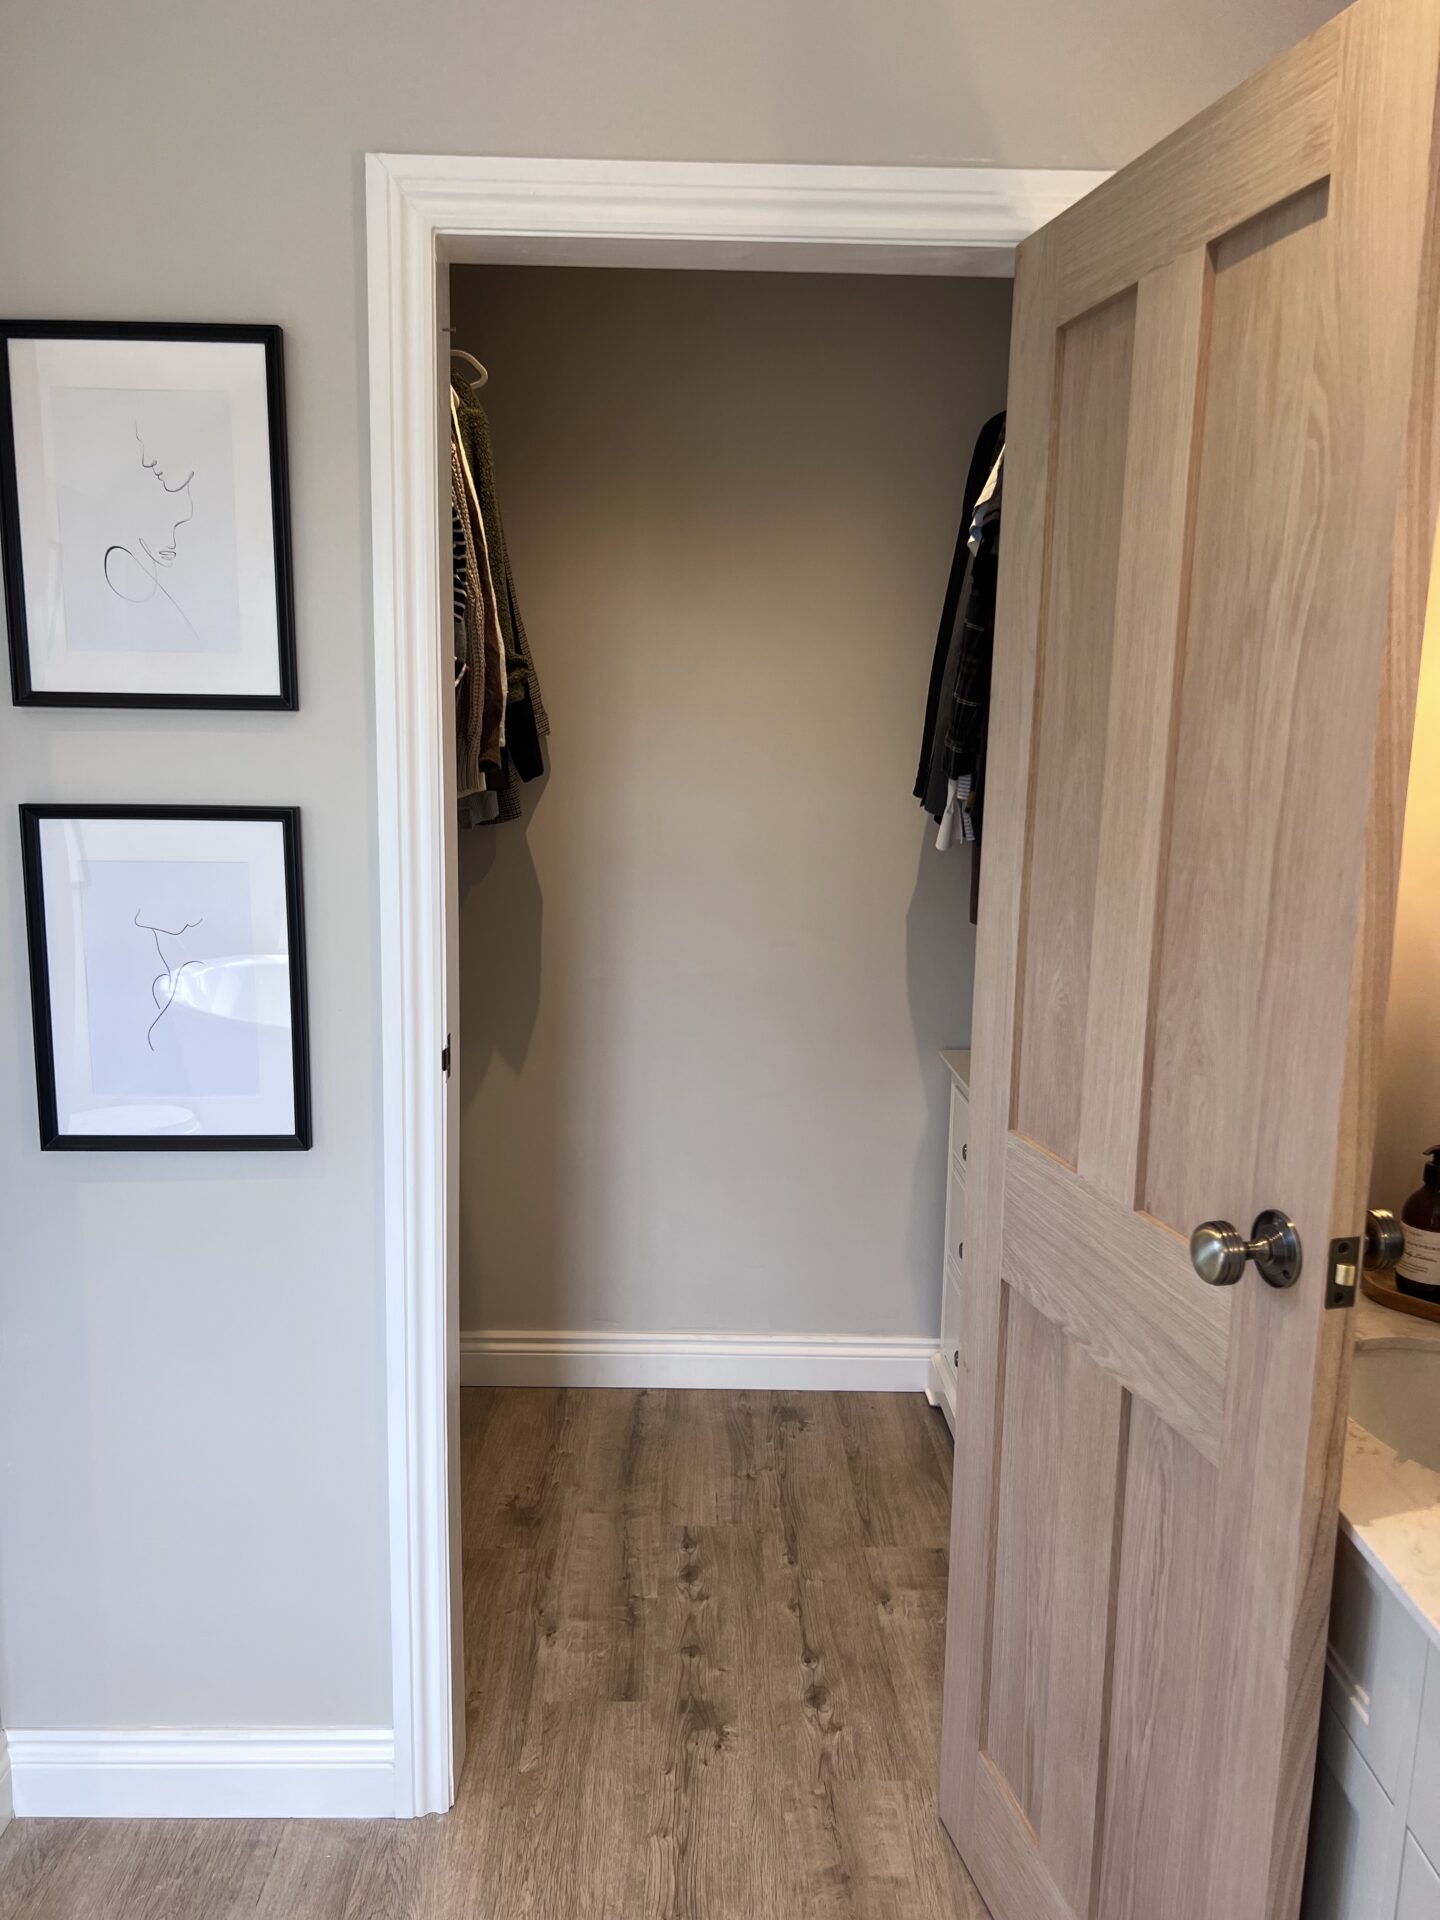
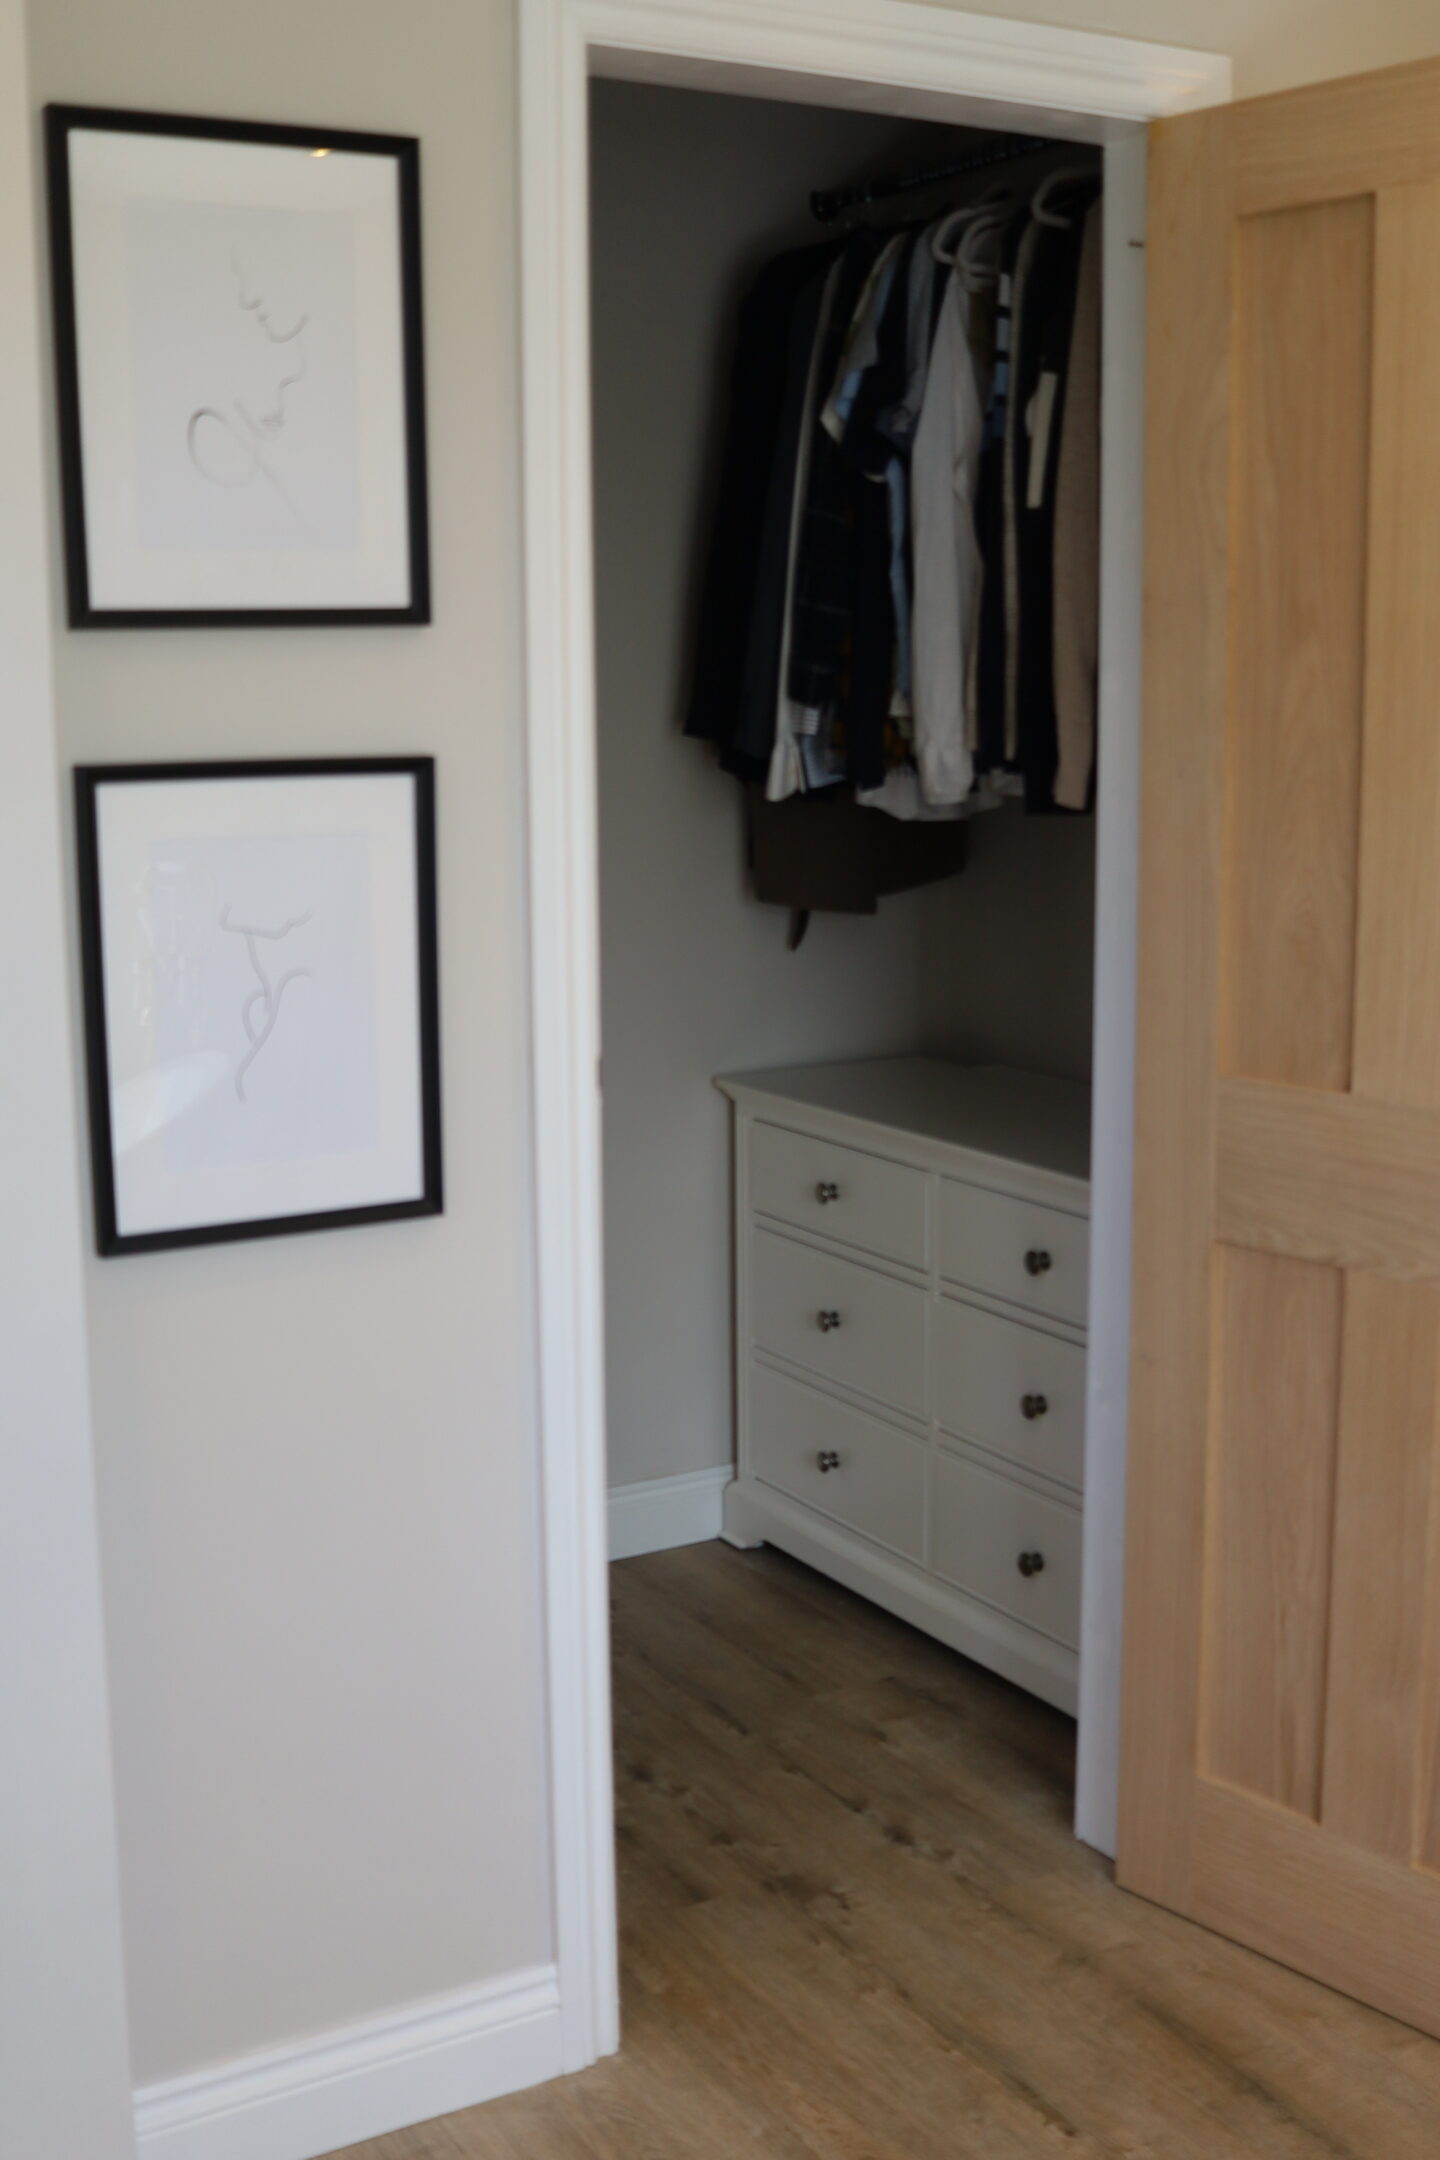
The doors were replaced with LPD London Oak panelled doors which we’ve used throughout the house.
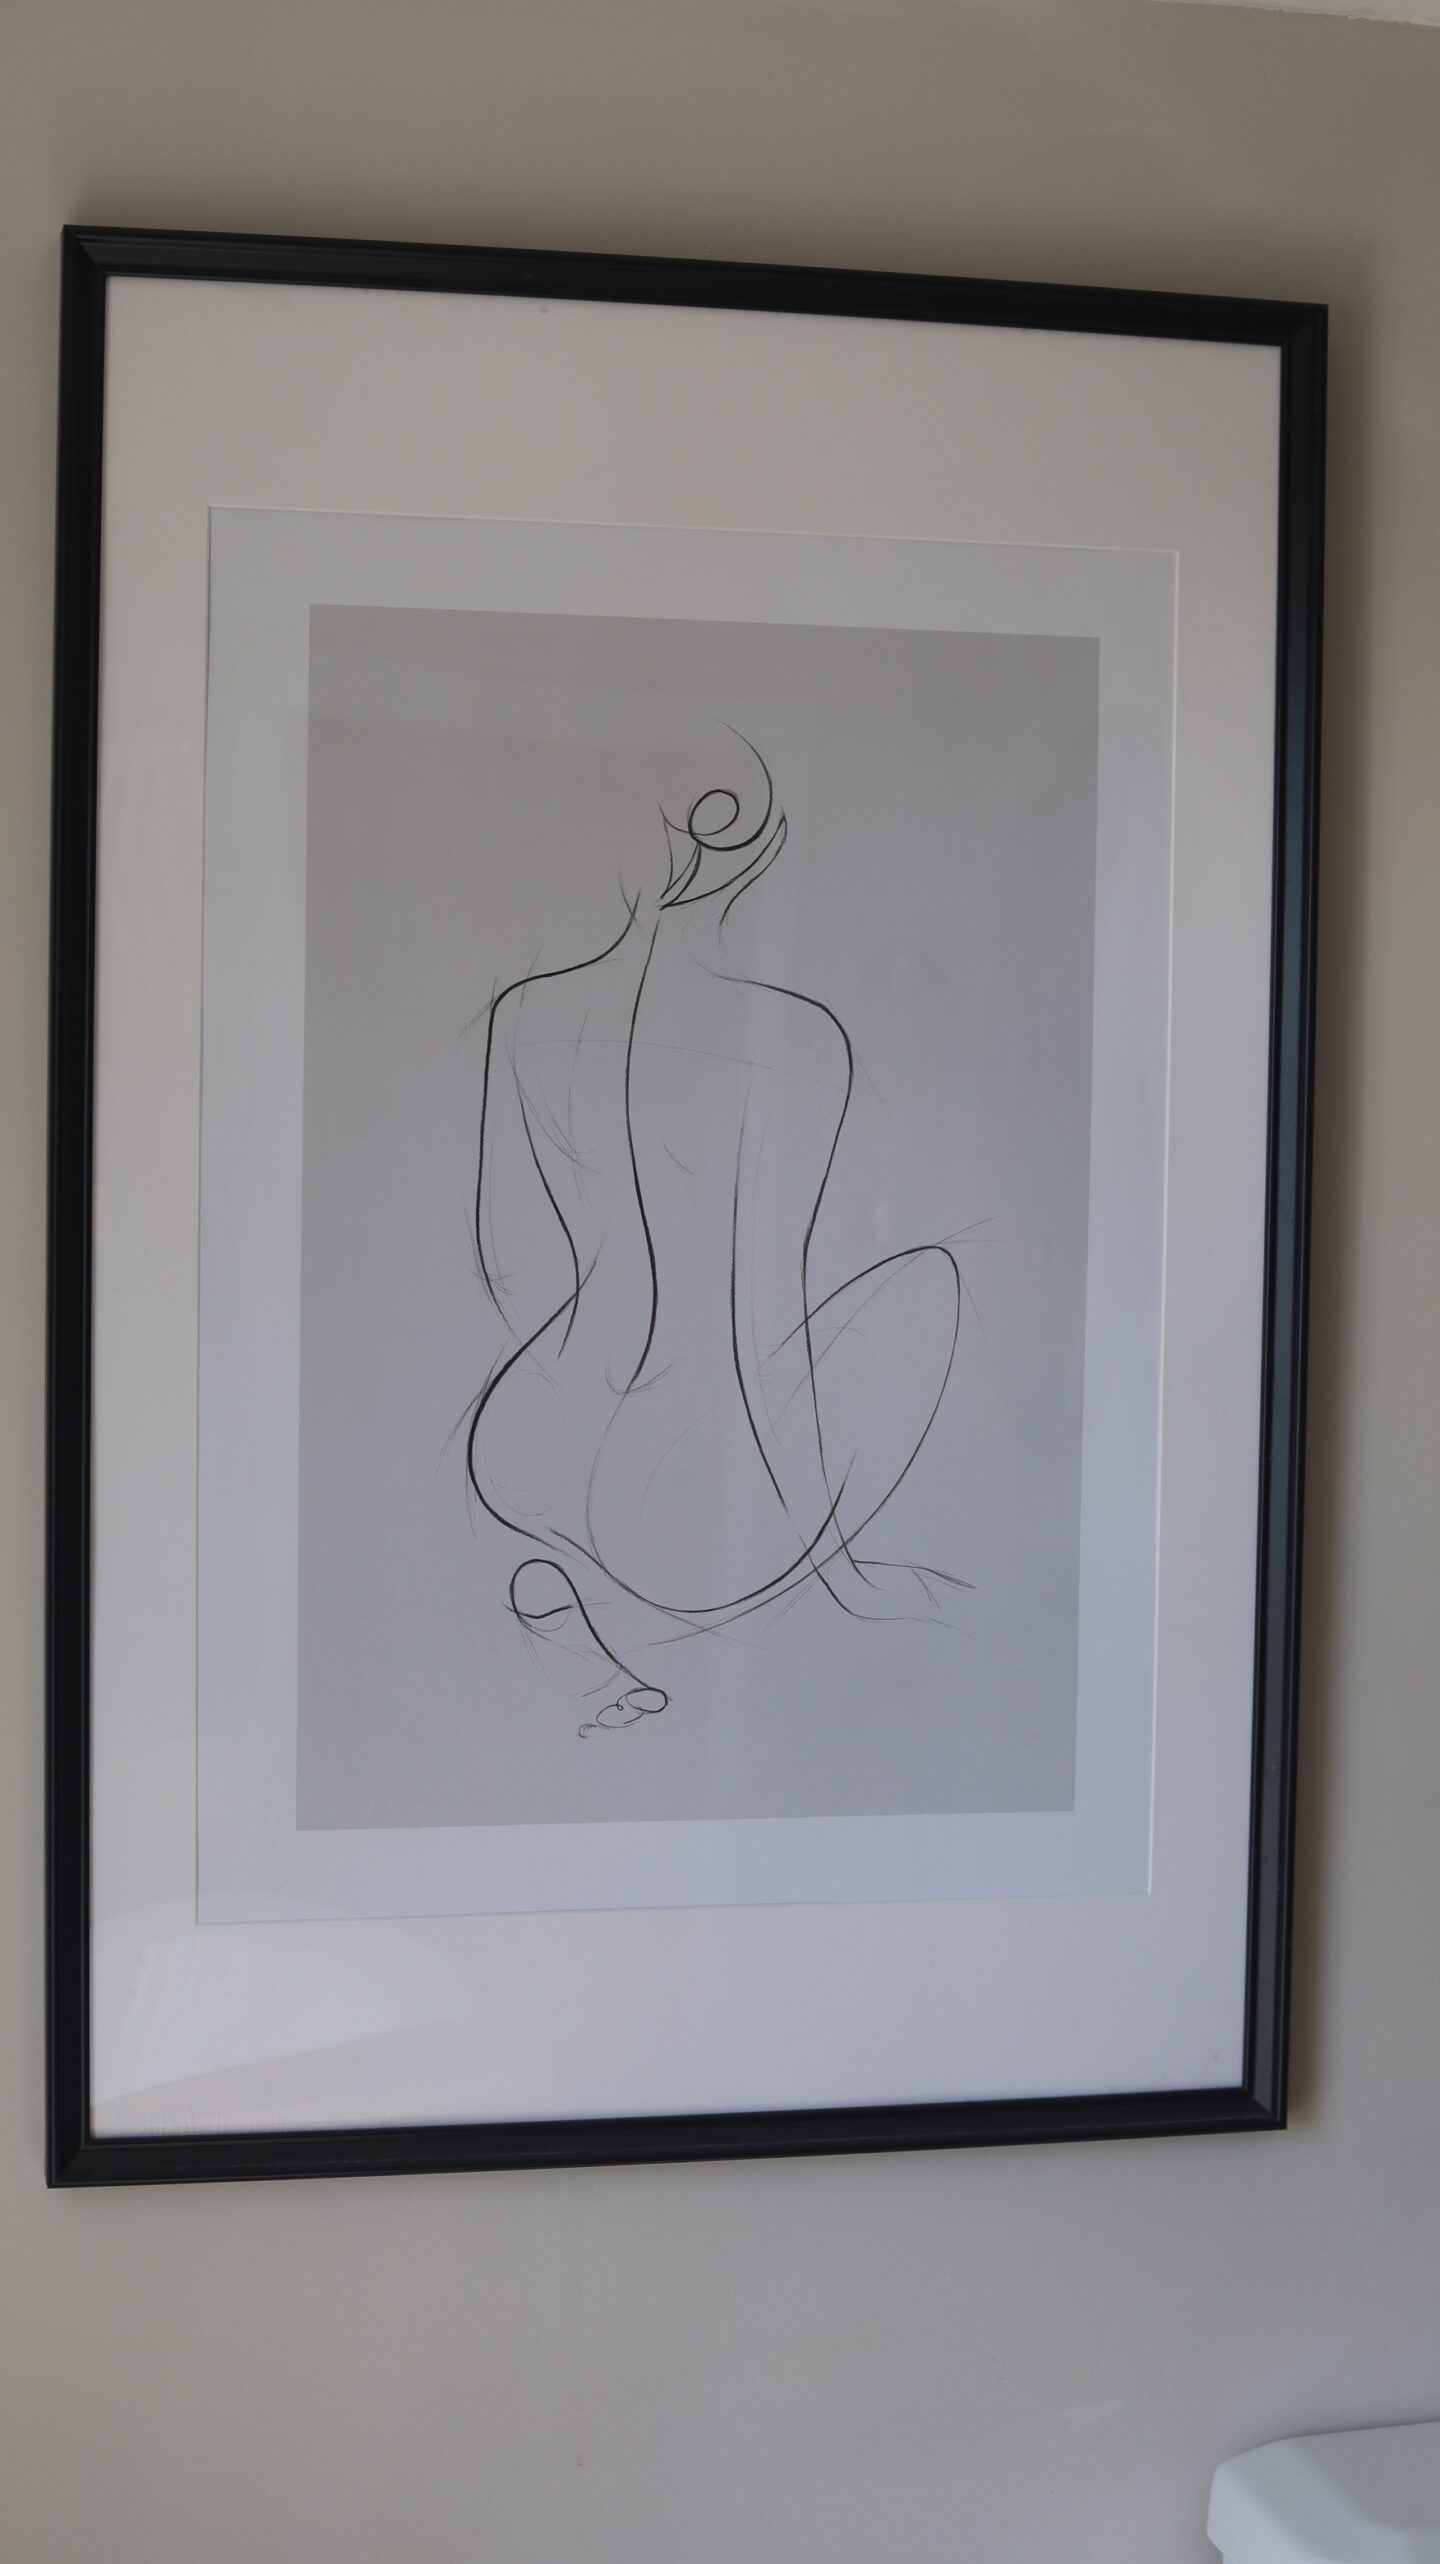
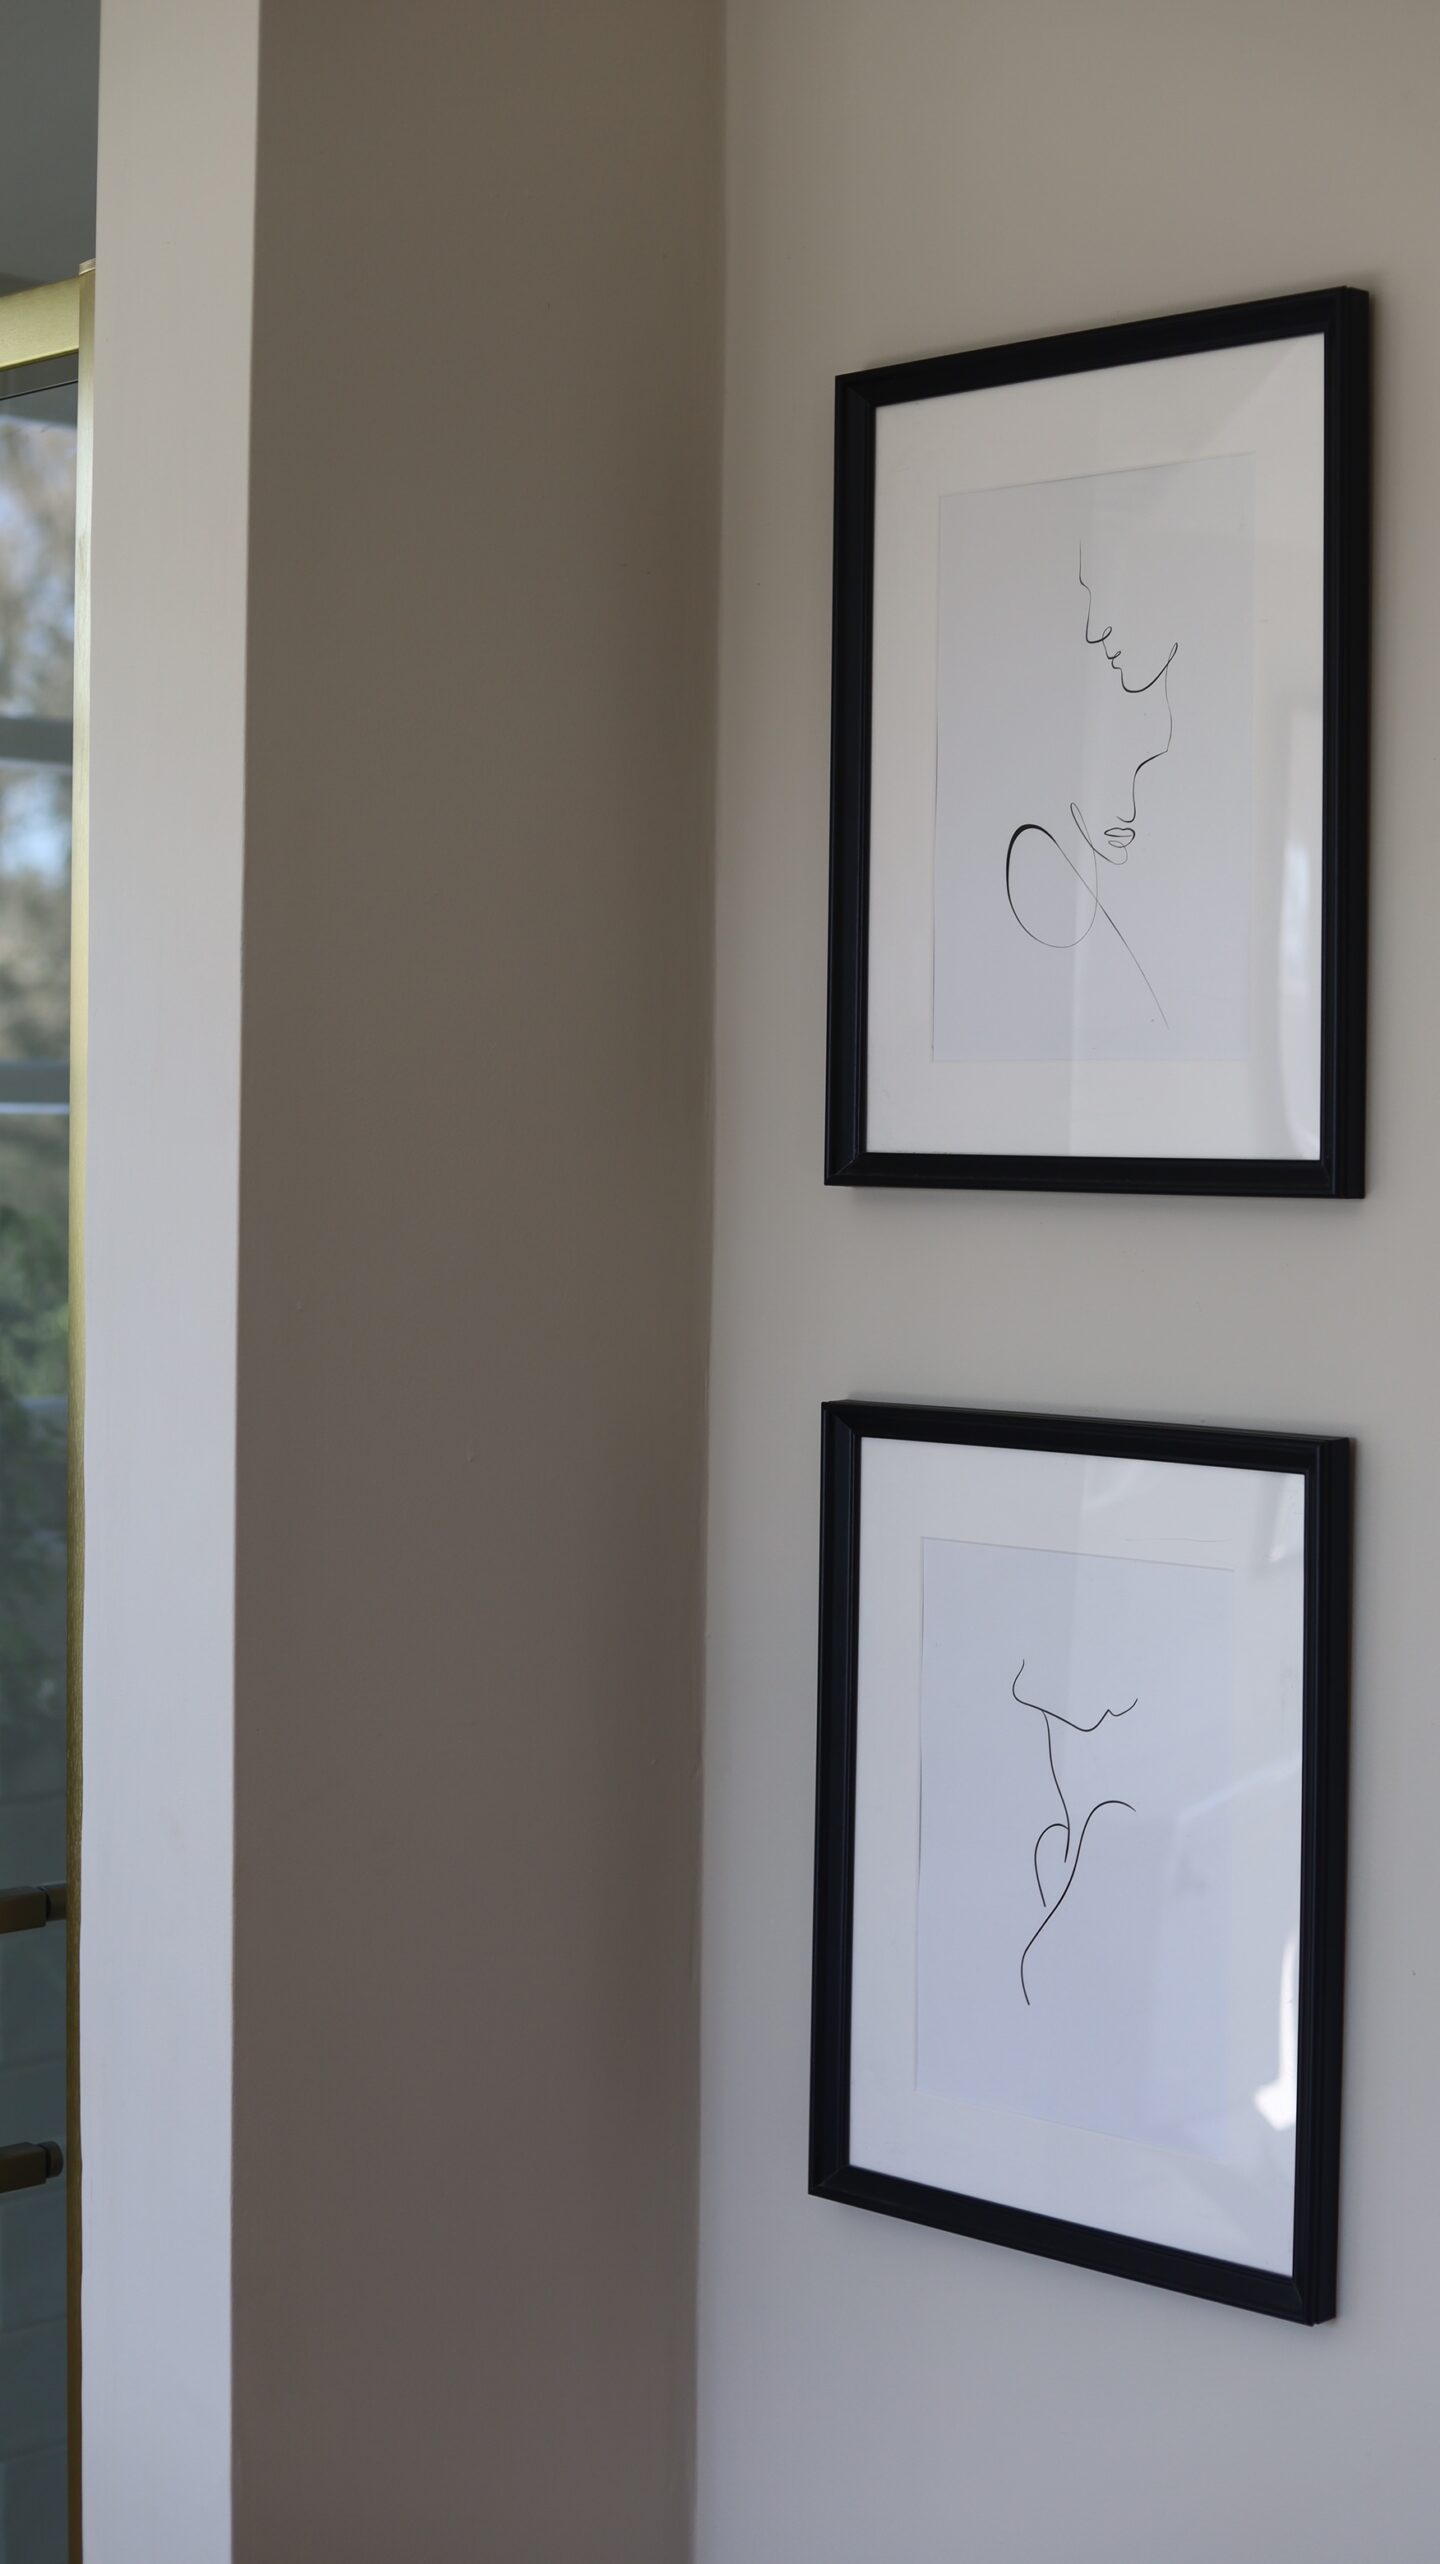
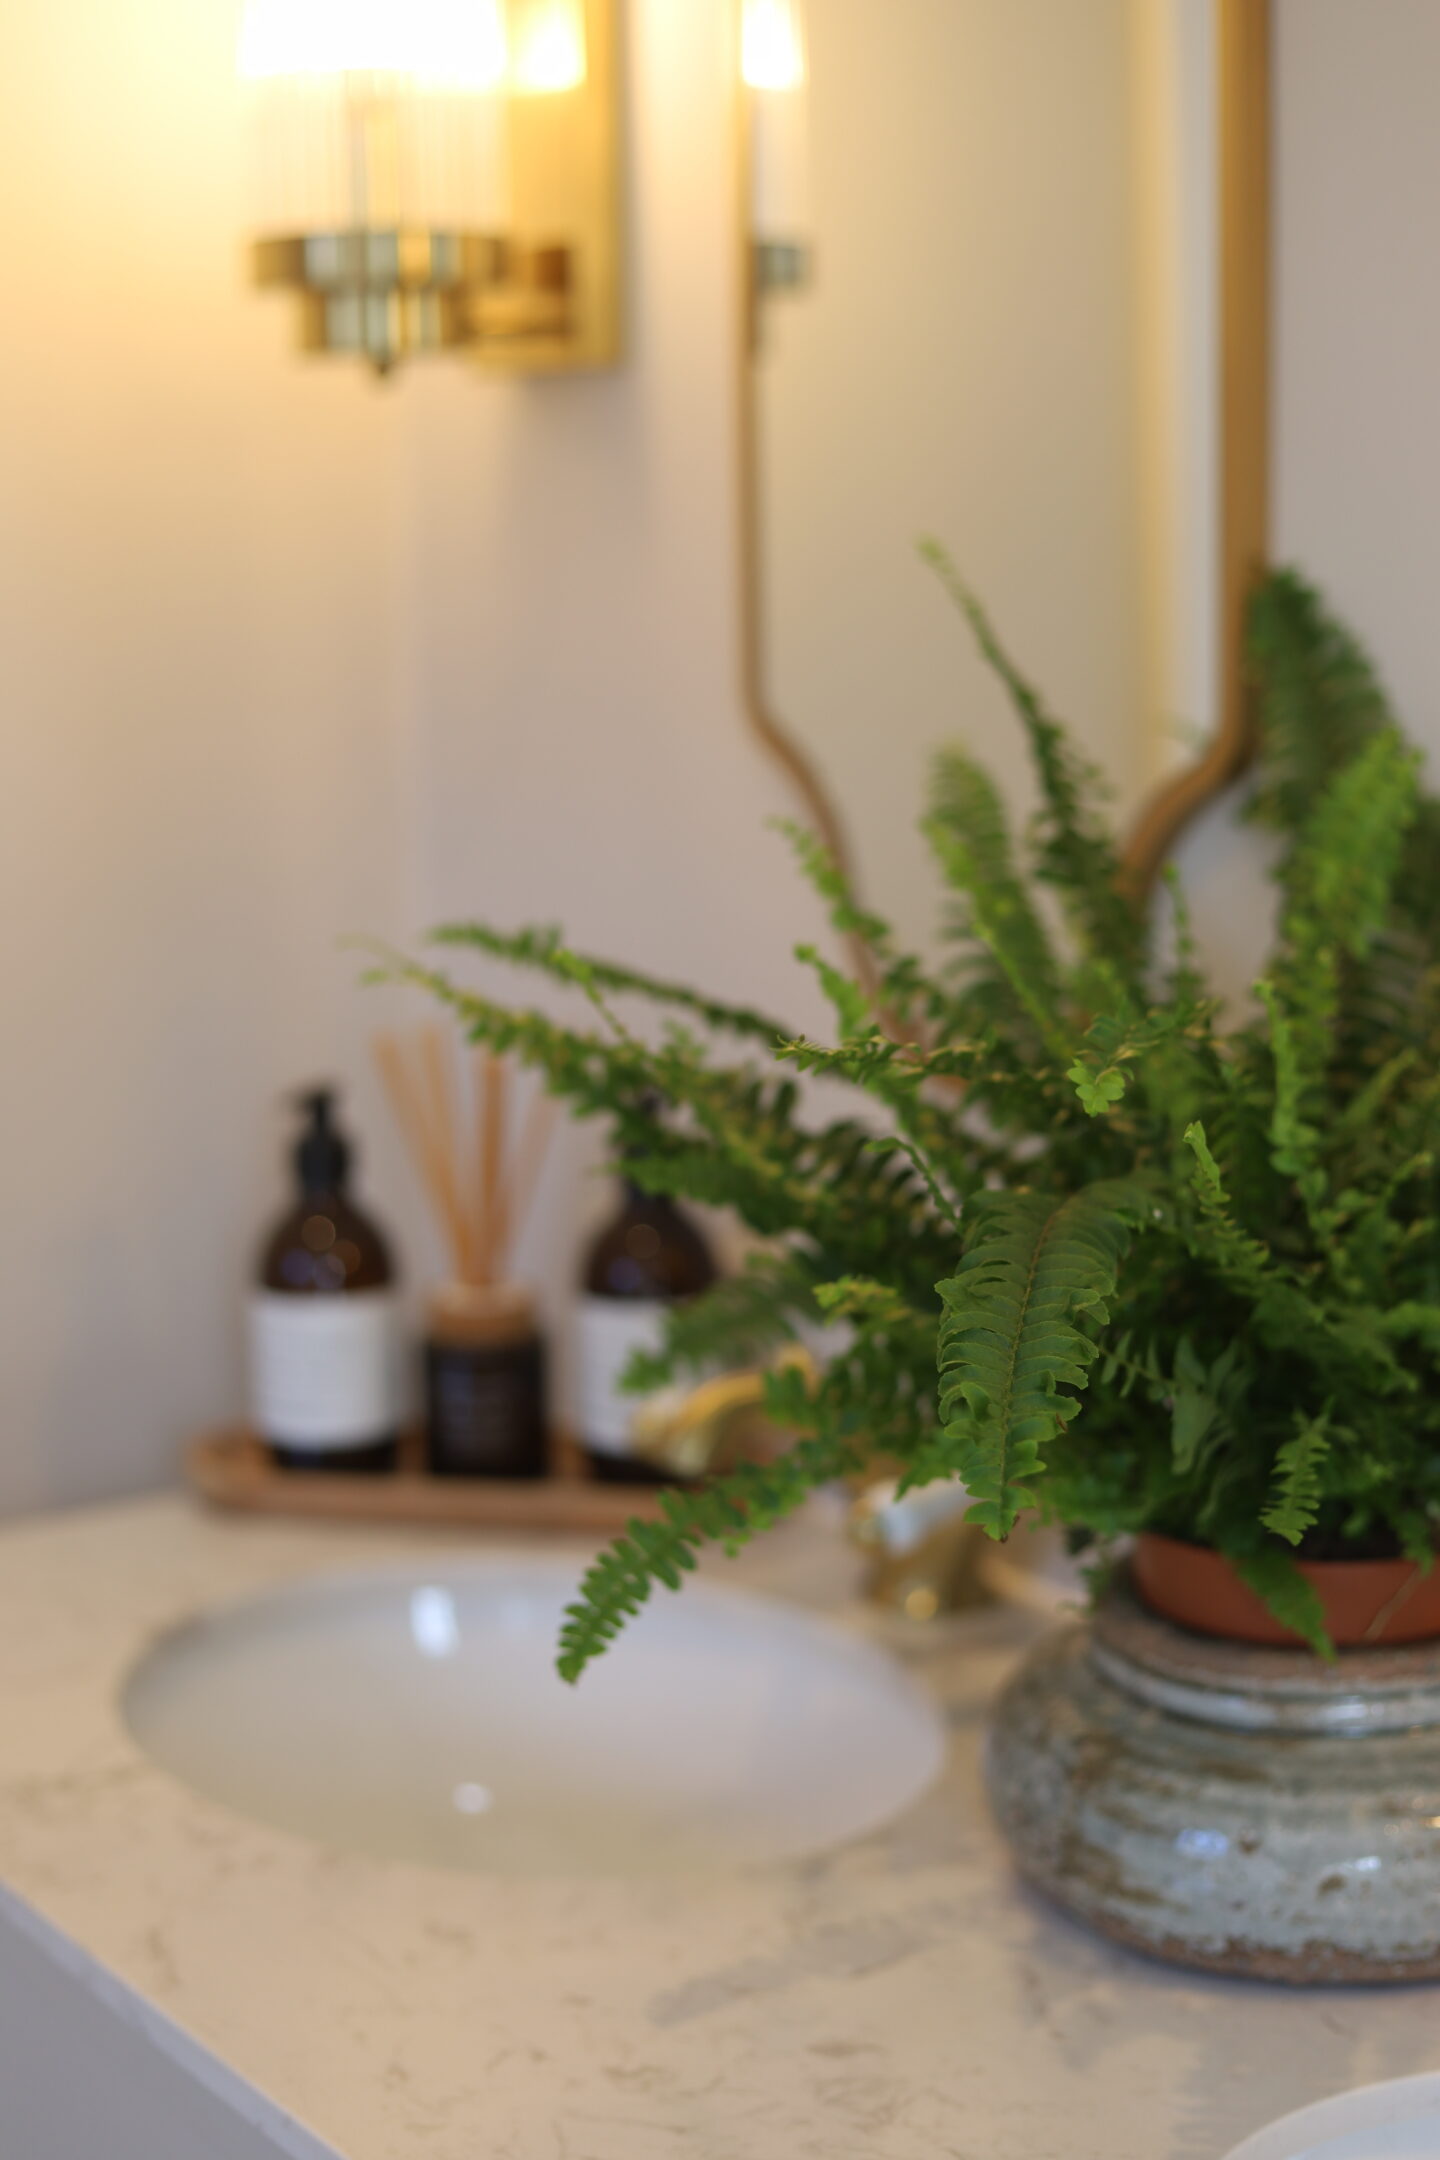
Finishing touches include art work which were actually in our bathroom at Baylyn House & I recovered from the loft. These were from Desenio* & the large one is still available called ‘Sketch Lines No2‘. Along with some plants, candles & bits I already had.
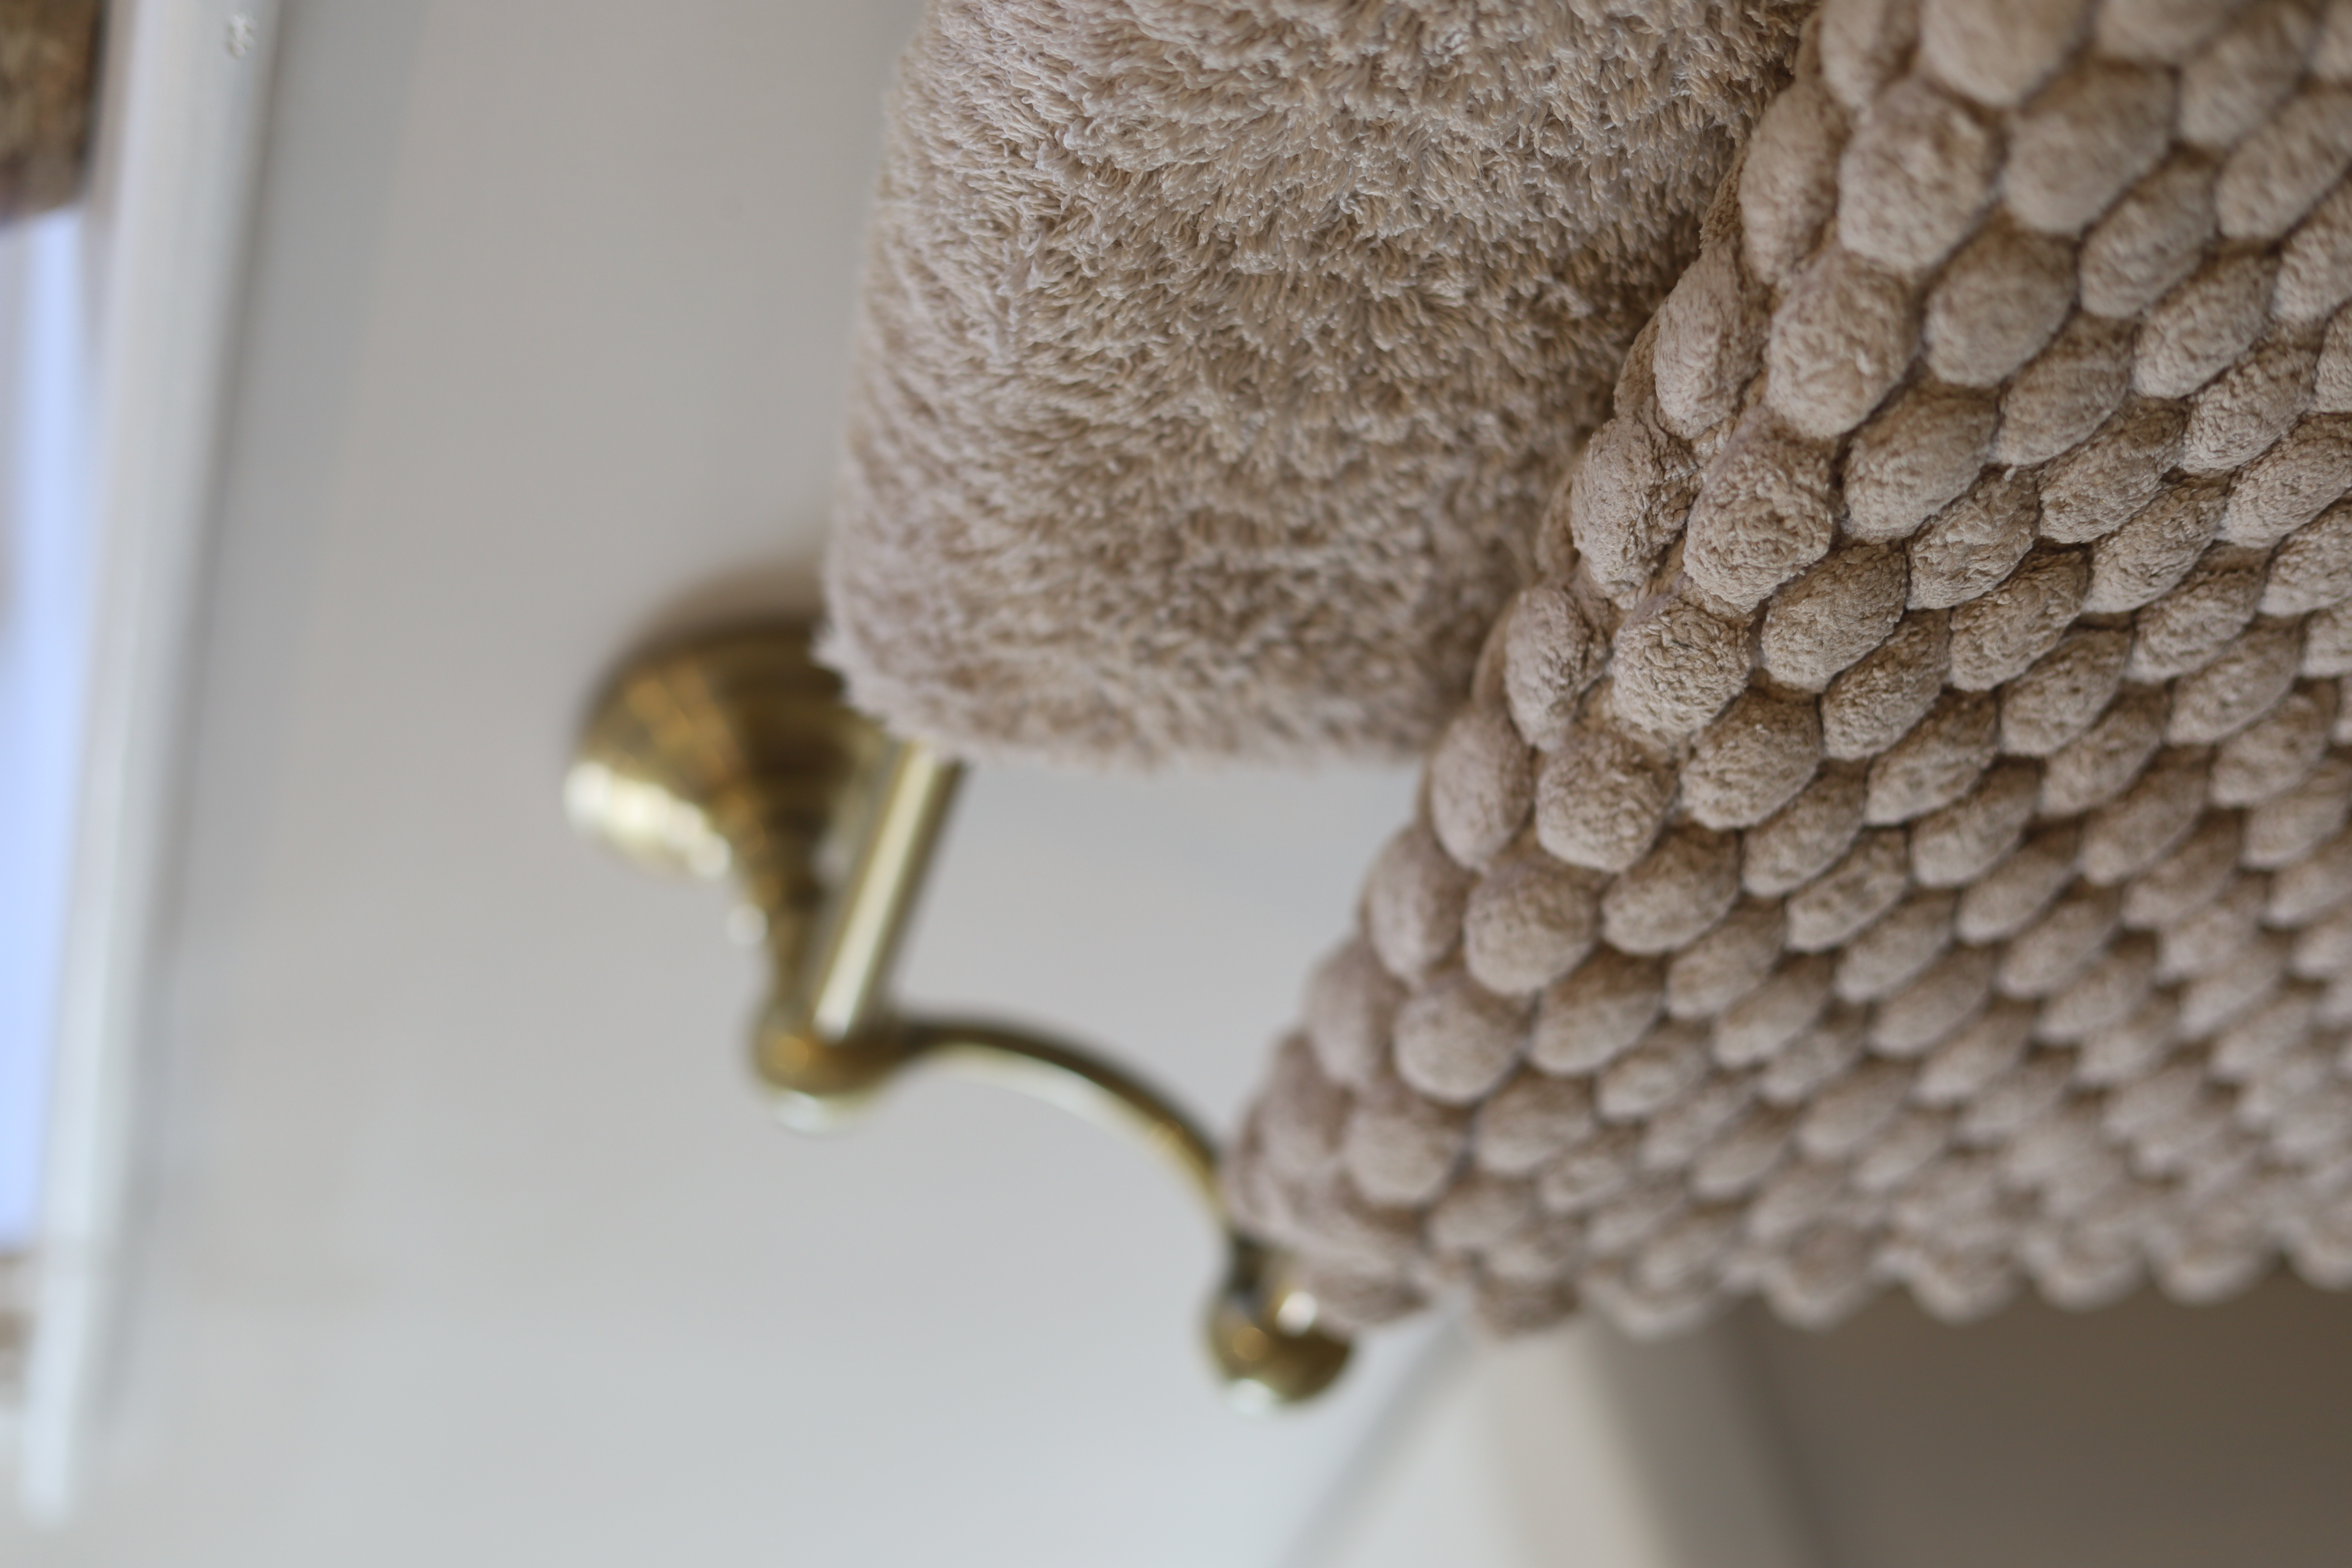
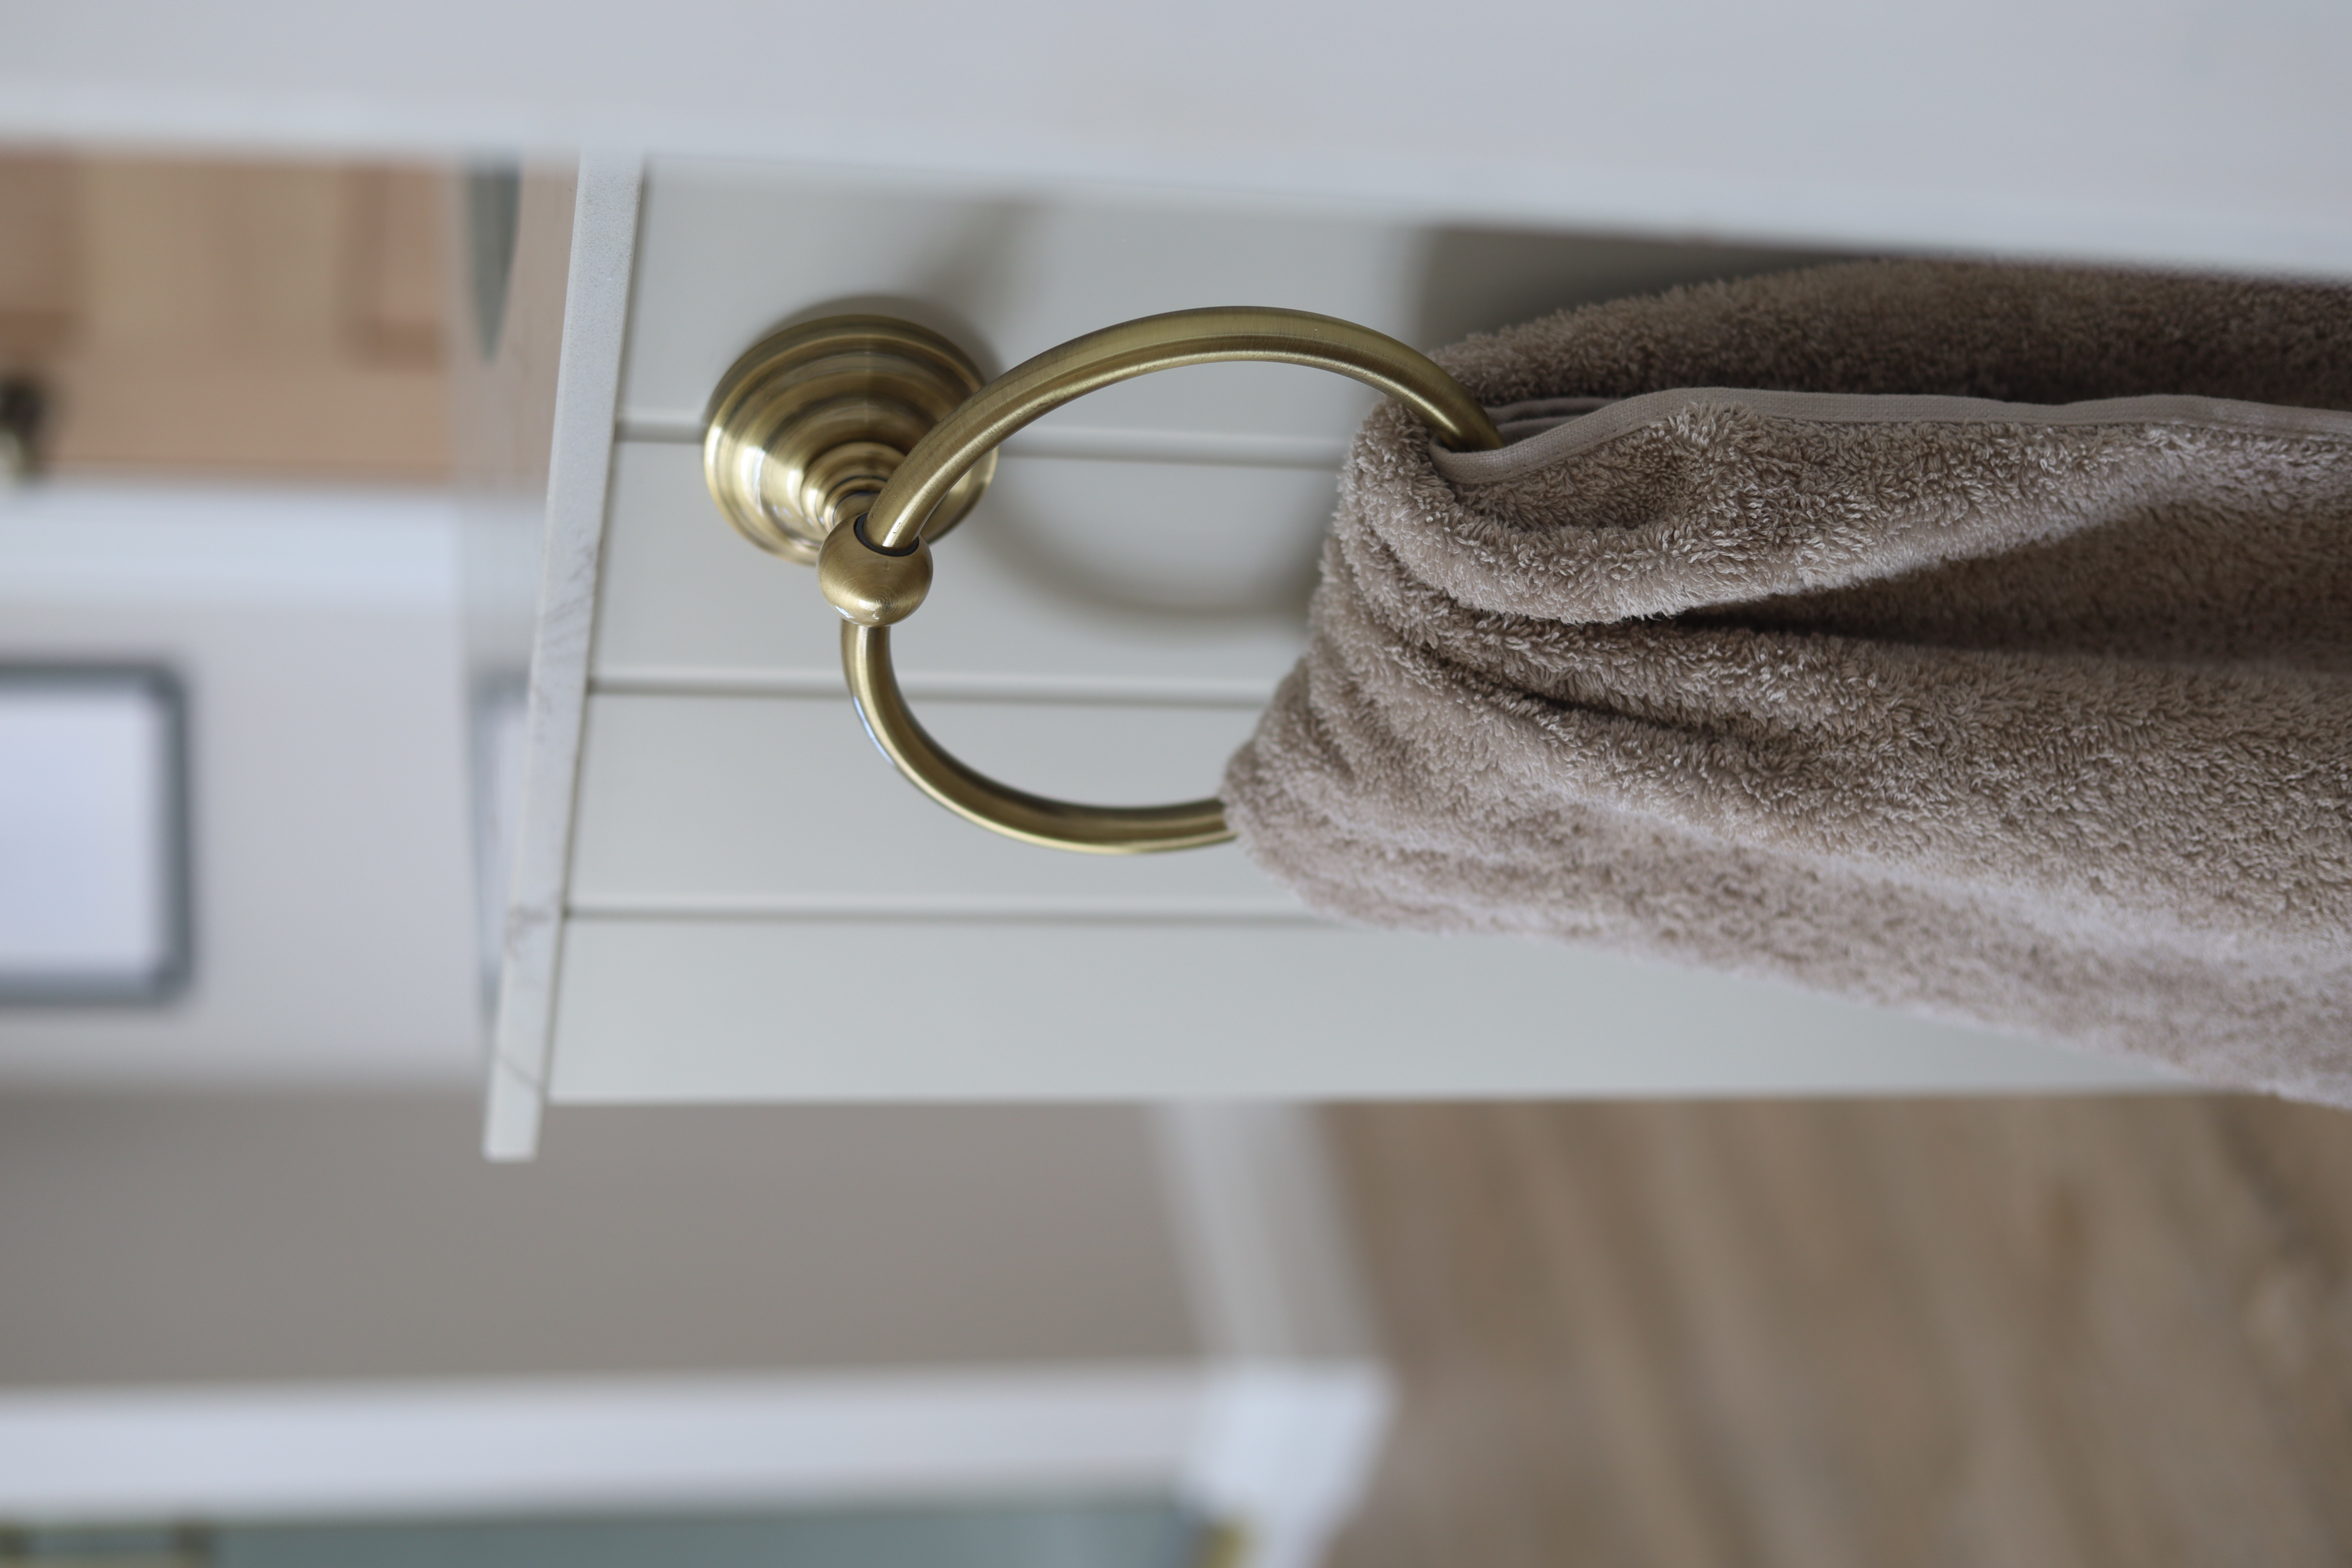
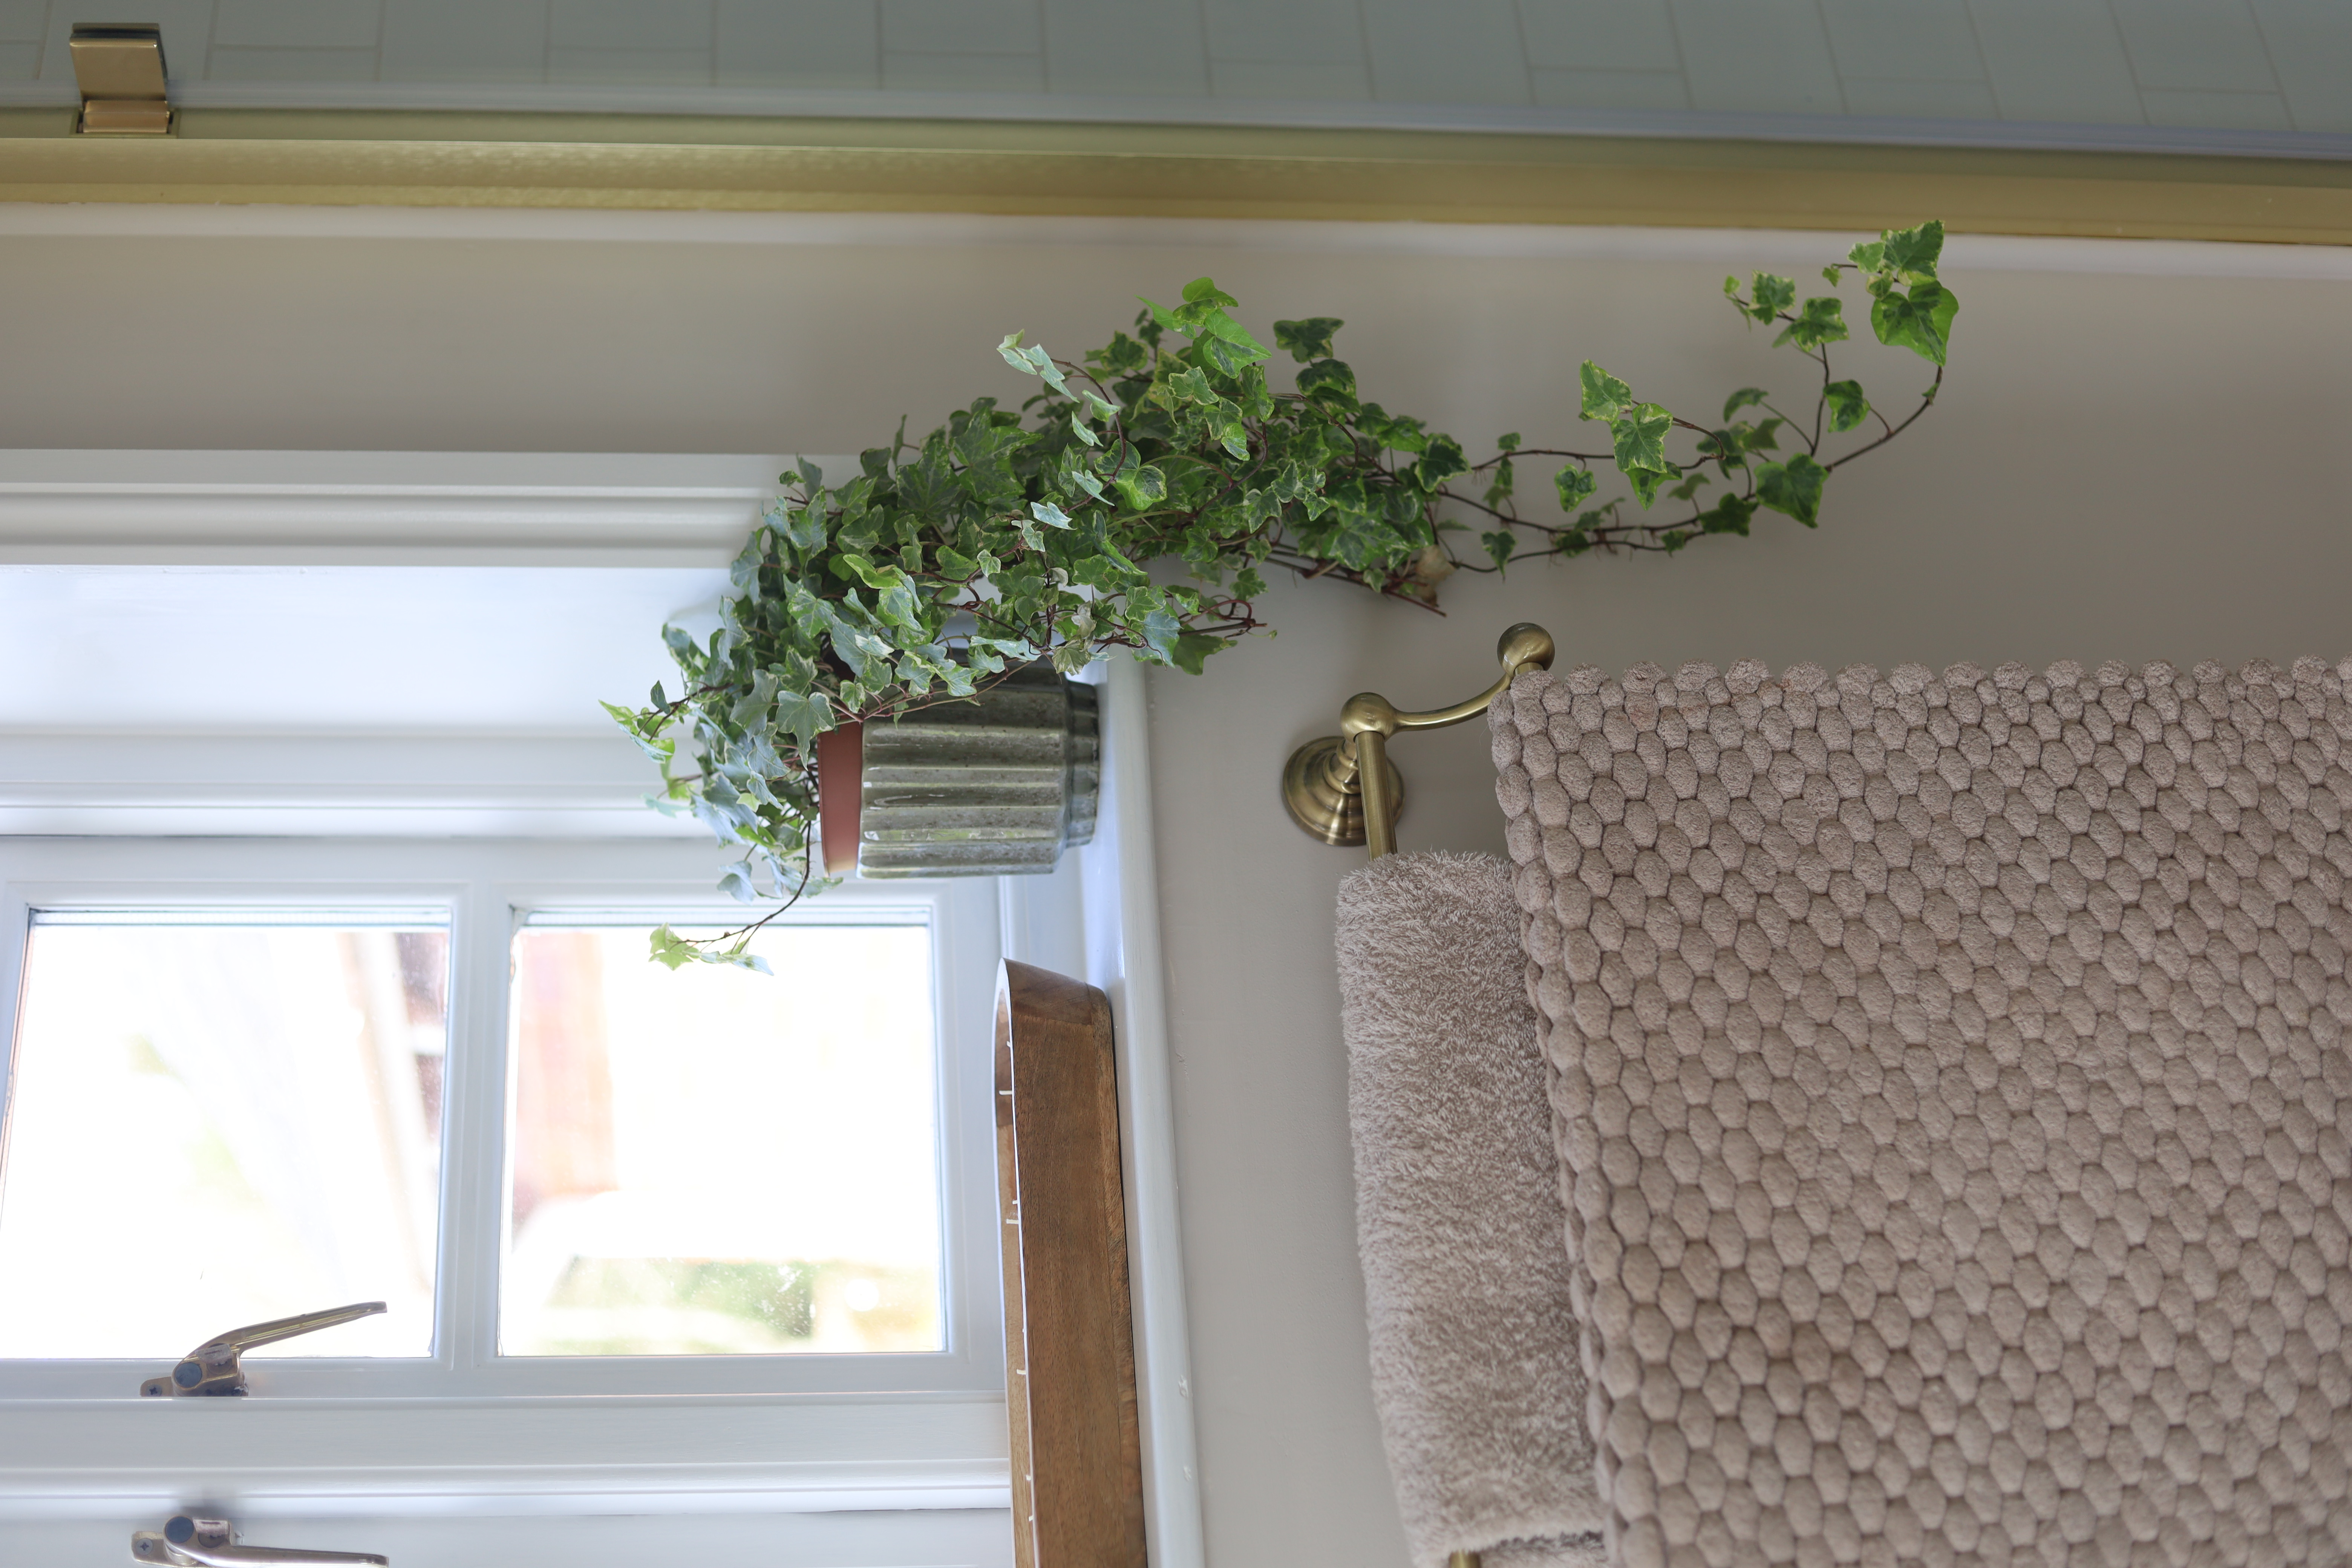
I did pick up a double towel bar & ring from the Victoria Plum sale before they went in to administration so unfortunately now unavailable. The bath mat* & towels* are Dunelm.
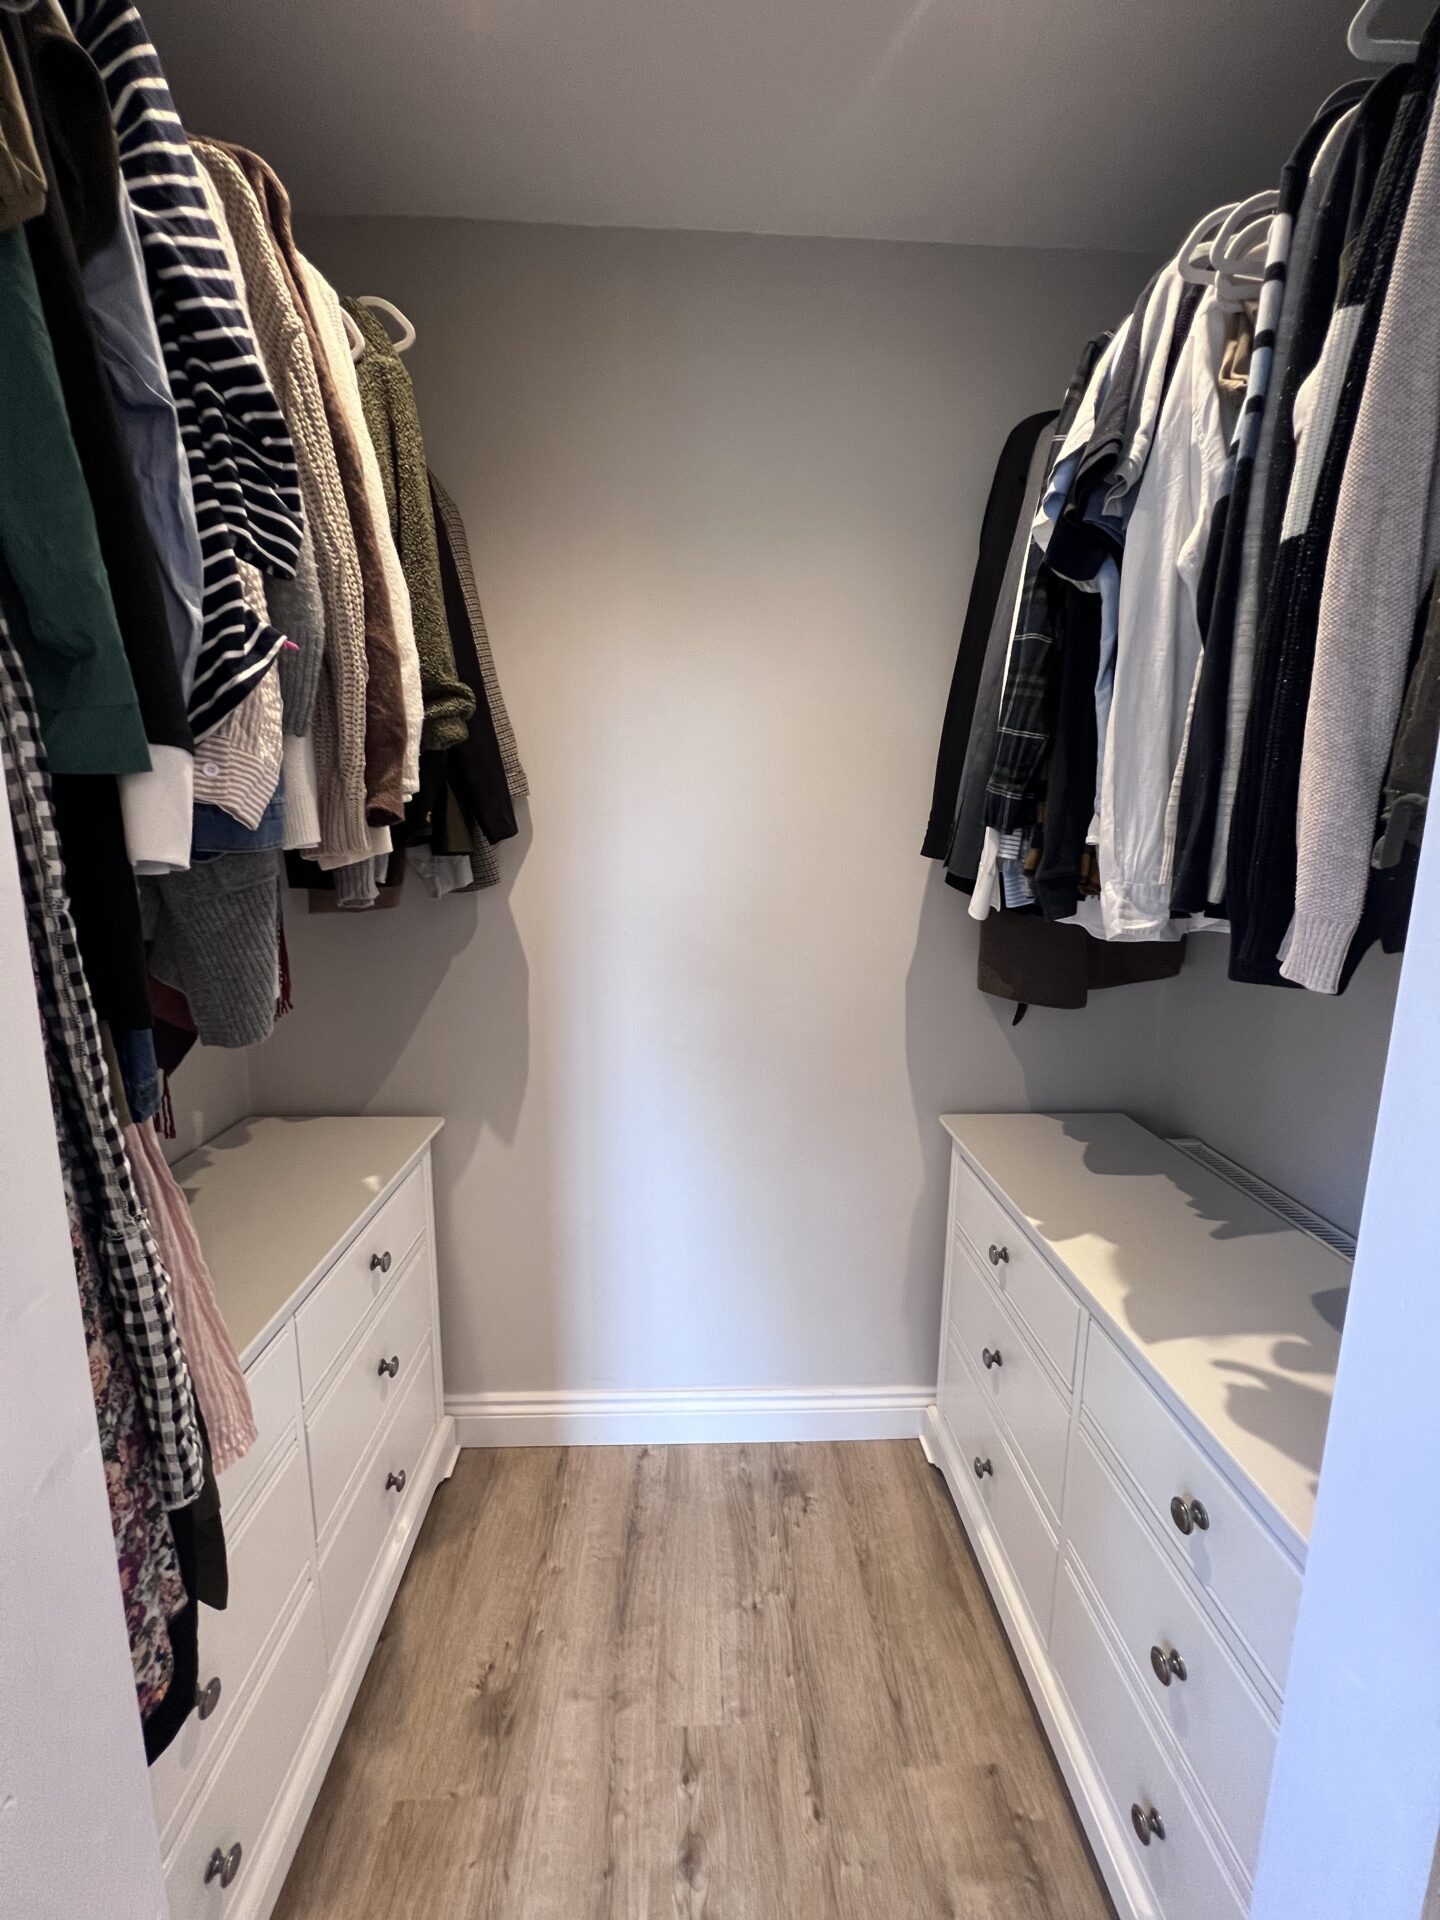
Finally over to our walk in wardrobe area. We built this to perfectly fit our two chest of drawers in, then popped this pole* above for hanging space which fits our clothing on, his & hers either side.
It’s safe to say we are all enjoying this space now & I love nothing more than lying in the bathtub for a soak whilst looking out across the fields.
Love,

*This post contains affiliate links along with gifted items
Beautiful, well done
Beautiful renovation. Thanks for linking the items you bought as I’mstartinga bathroom renovation soon! . Enjoy soaking in that fabulous bath. X
I’ve loved reading this blog immensely and found it so helpful and inspiring! Your ensuite is stunning. Charlotte, you really are very talented! Such a capable girl. Well done you. You deserve your beautiful home so much!
Absolutely beautiful and gorgeous did you paint the bath x