
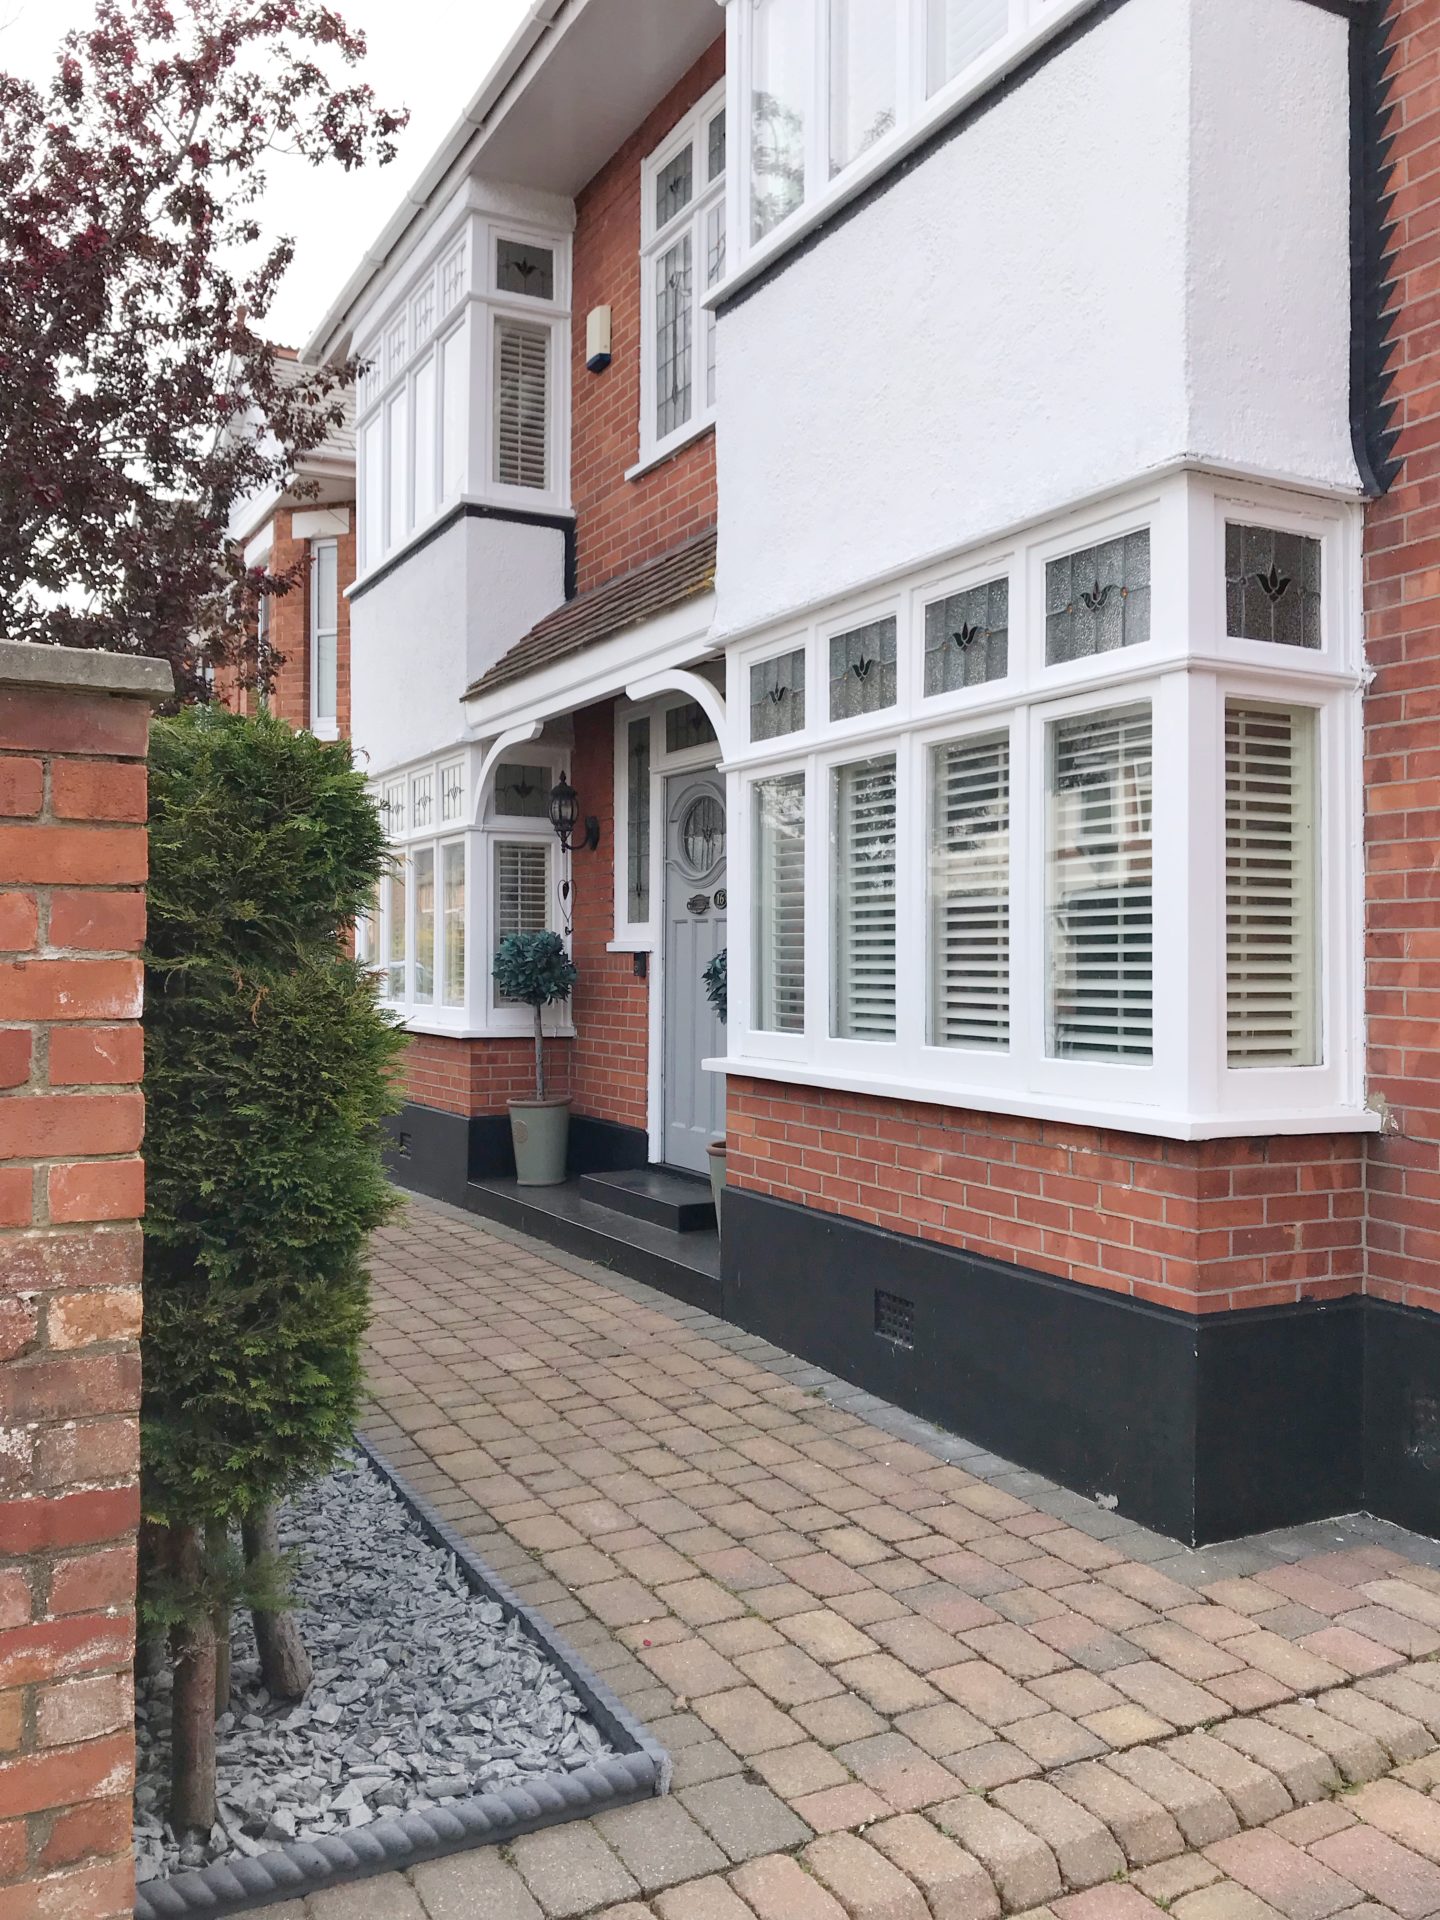
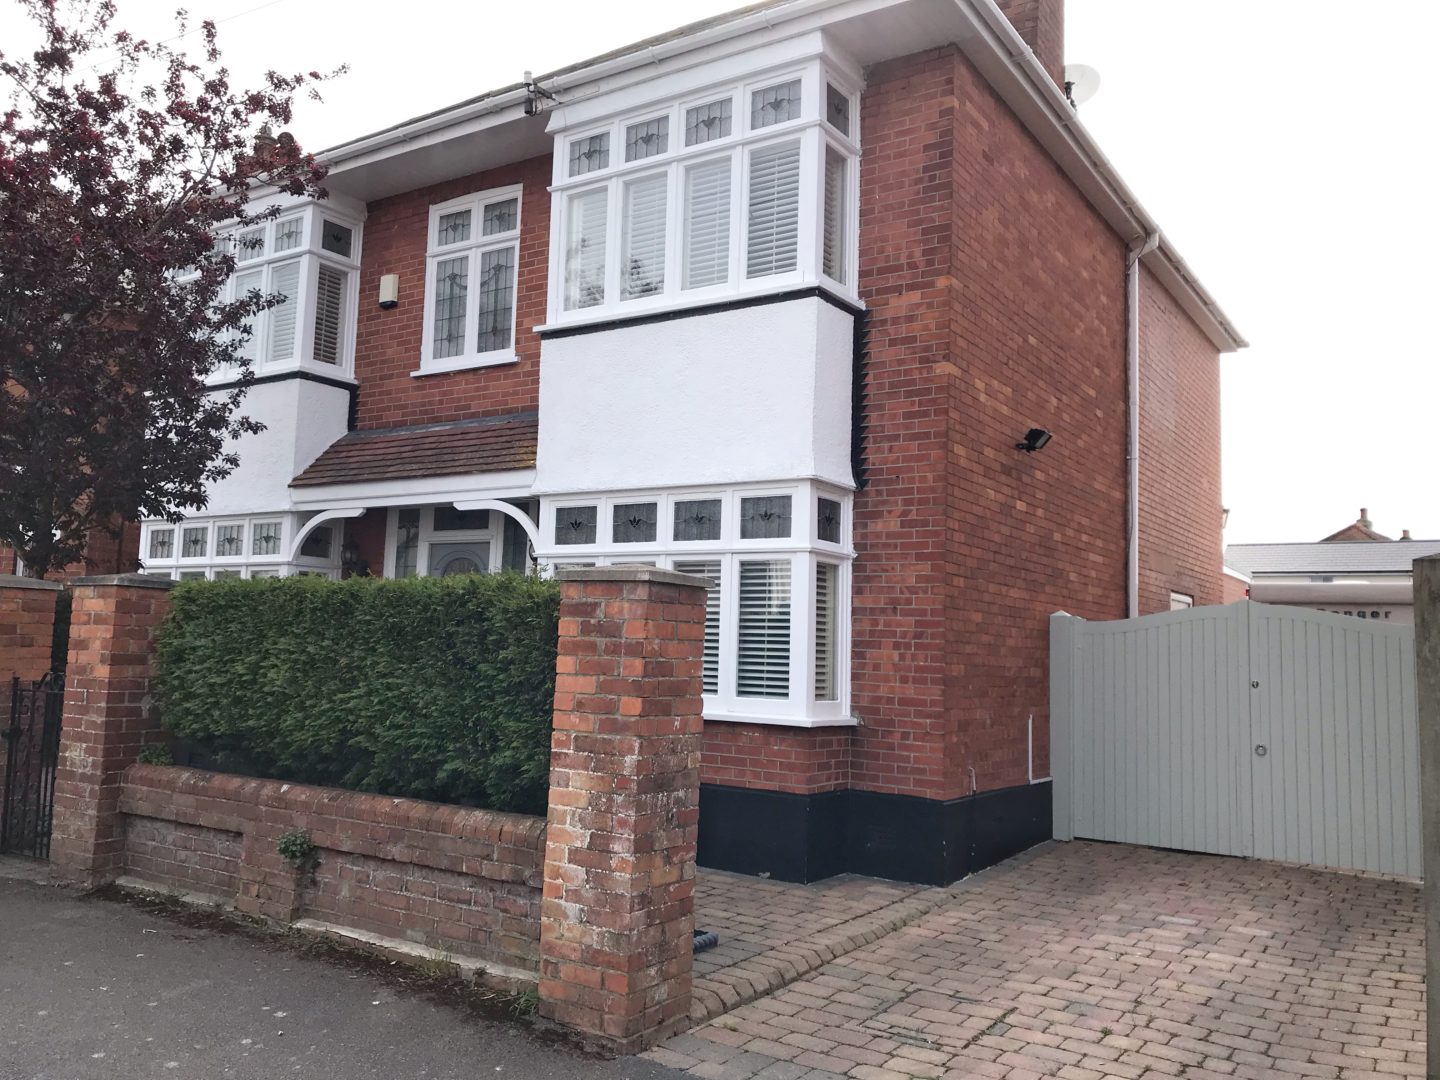
Over the past month or so, we’ve been on a bit of a mission to restore the original windows of our 137 year old home as they needed some TLC. Seeing as I don’t do things by halves, this ended up turning in to a bit of a bigger project & we ended up revamping the exterior including having new driveway gates fitted & giving it all a bit of a makeover.
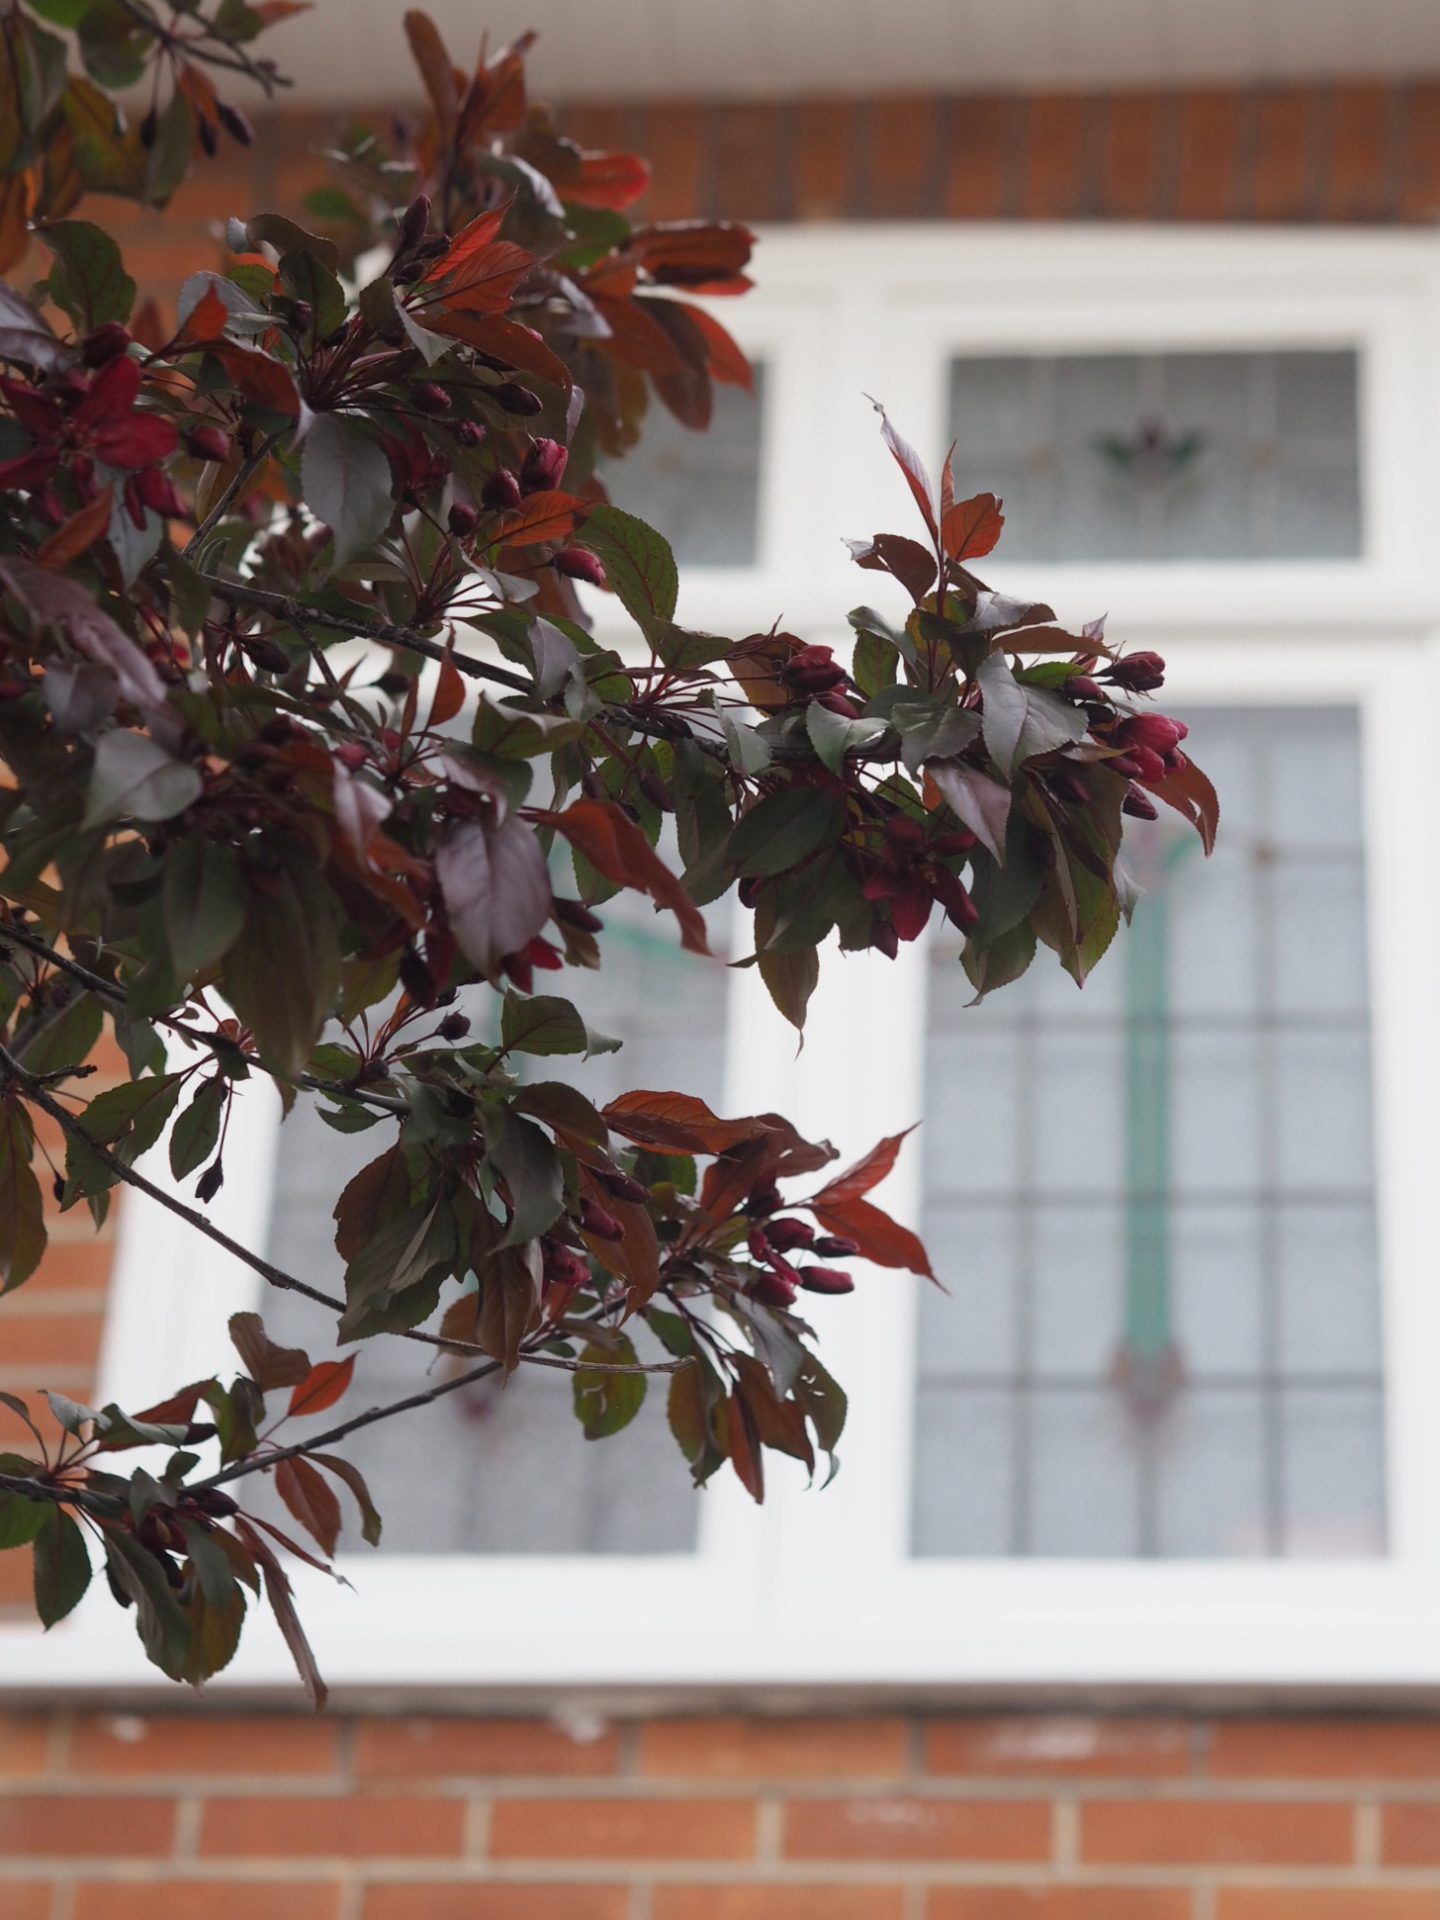
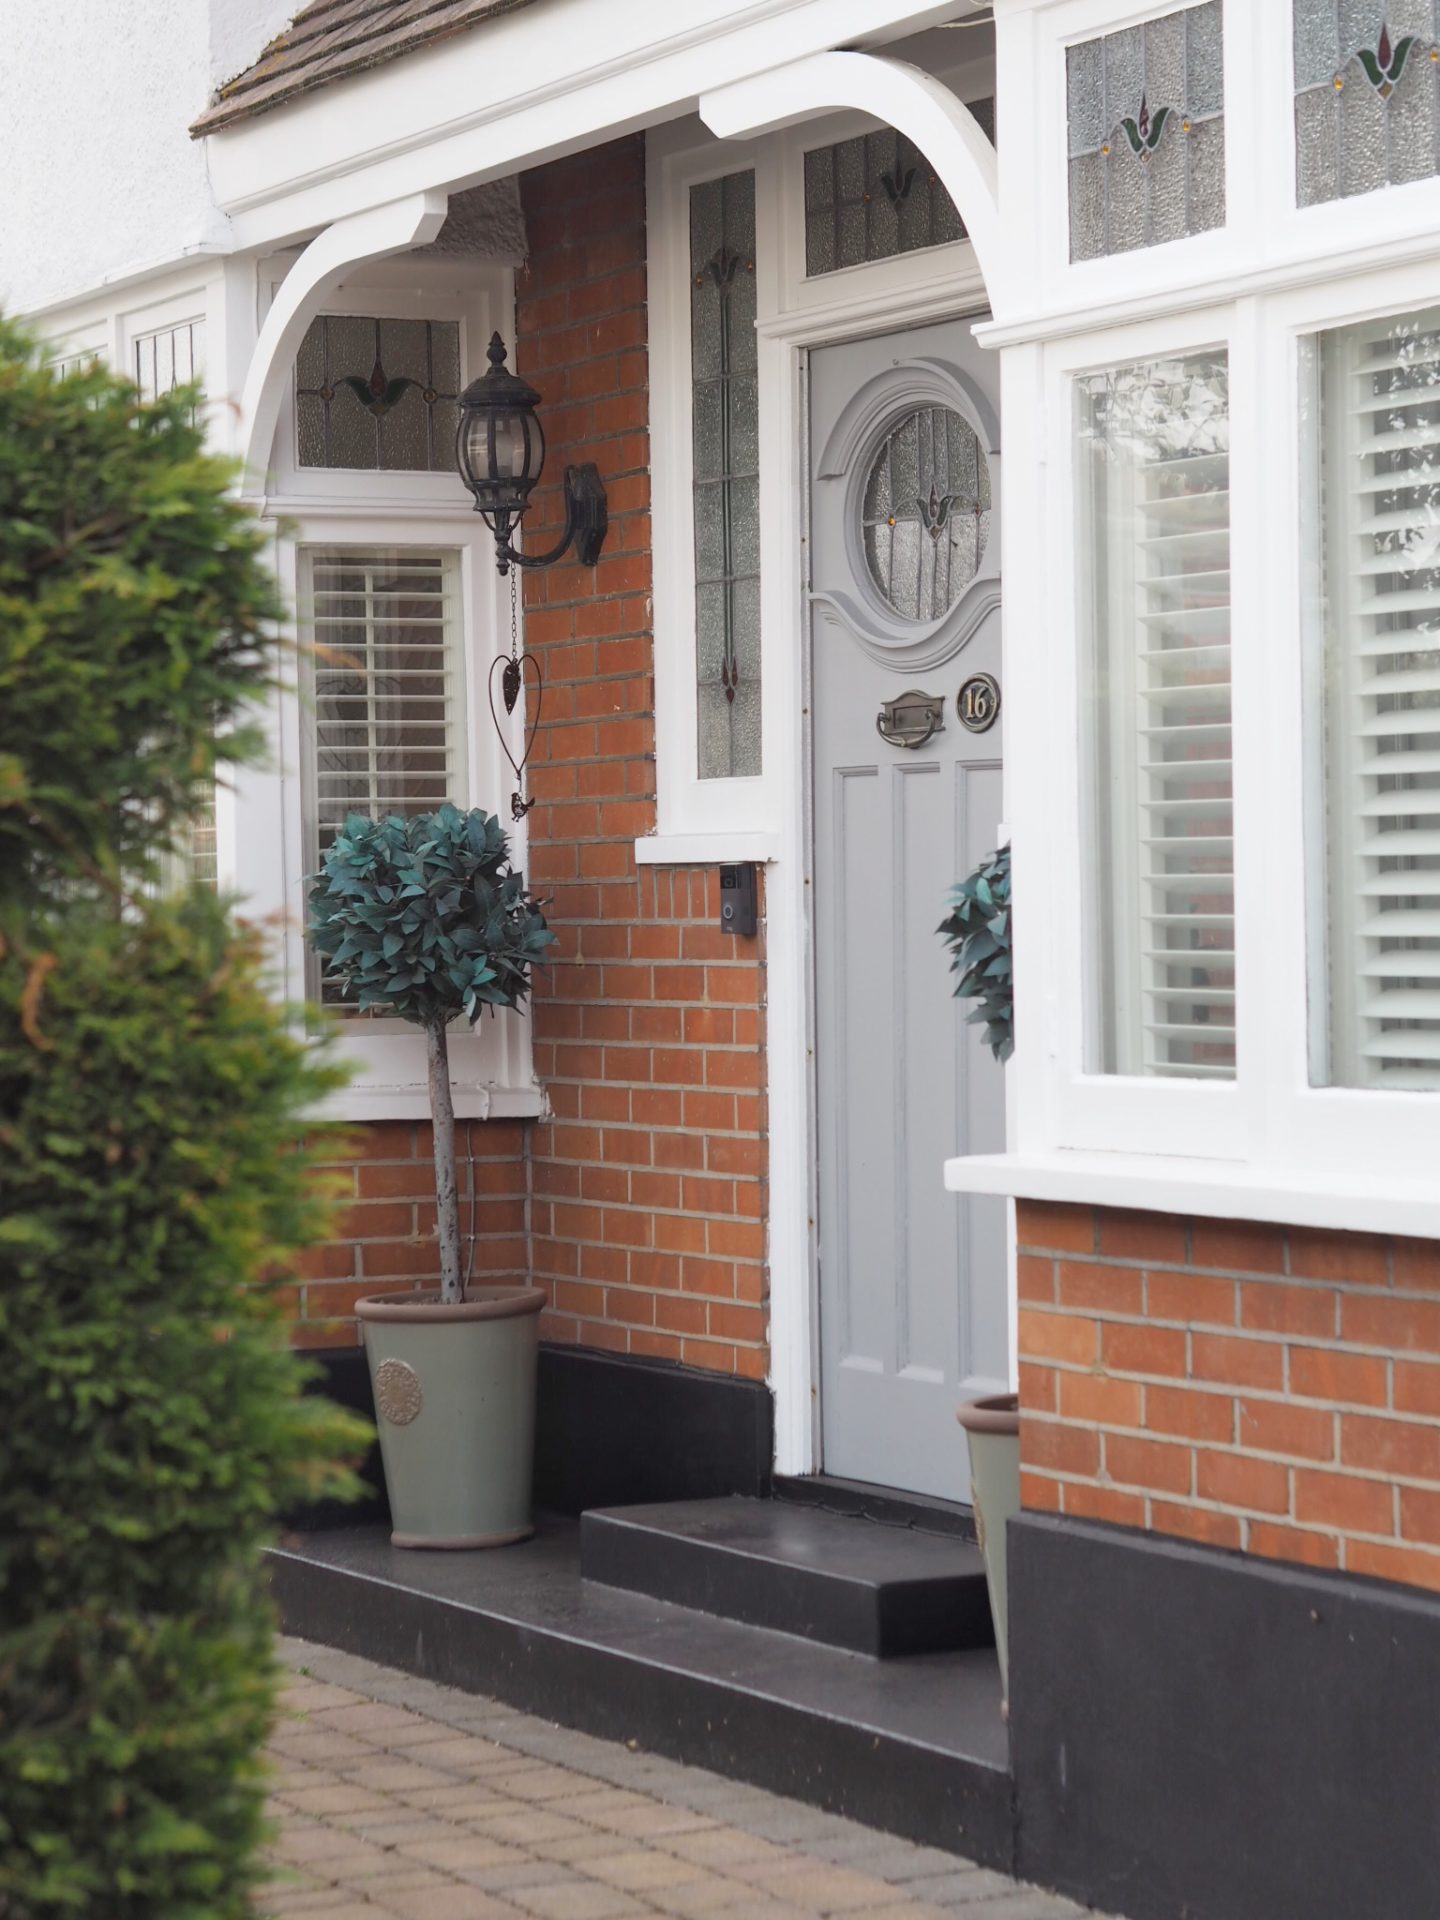
The beautiful Victorian double bay fronted stained glass windows were one of the things that had me head over heels in love with this house 4 years ago. They add so much character & no matter what, we knew we had to bring them back to their former glory.
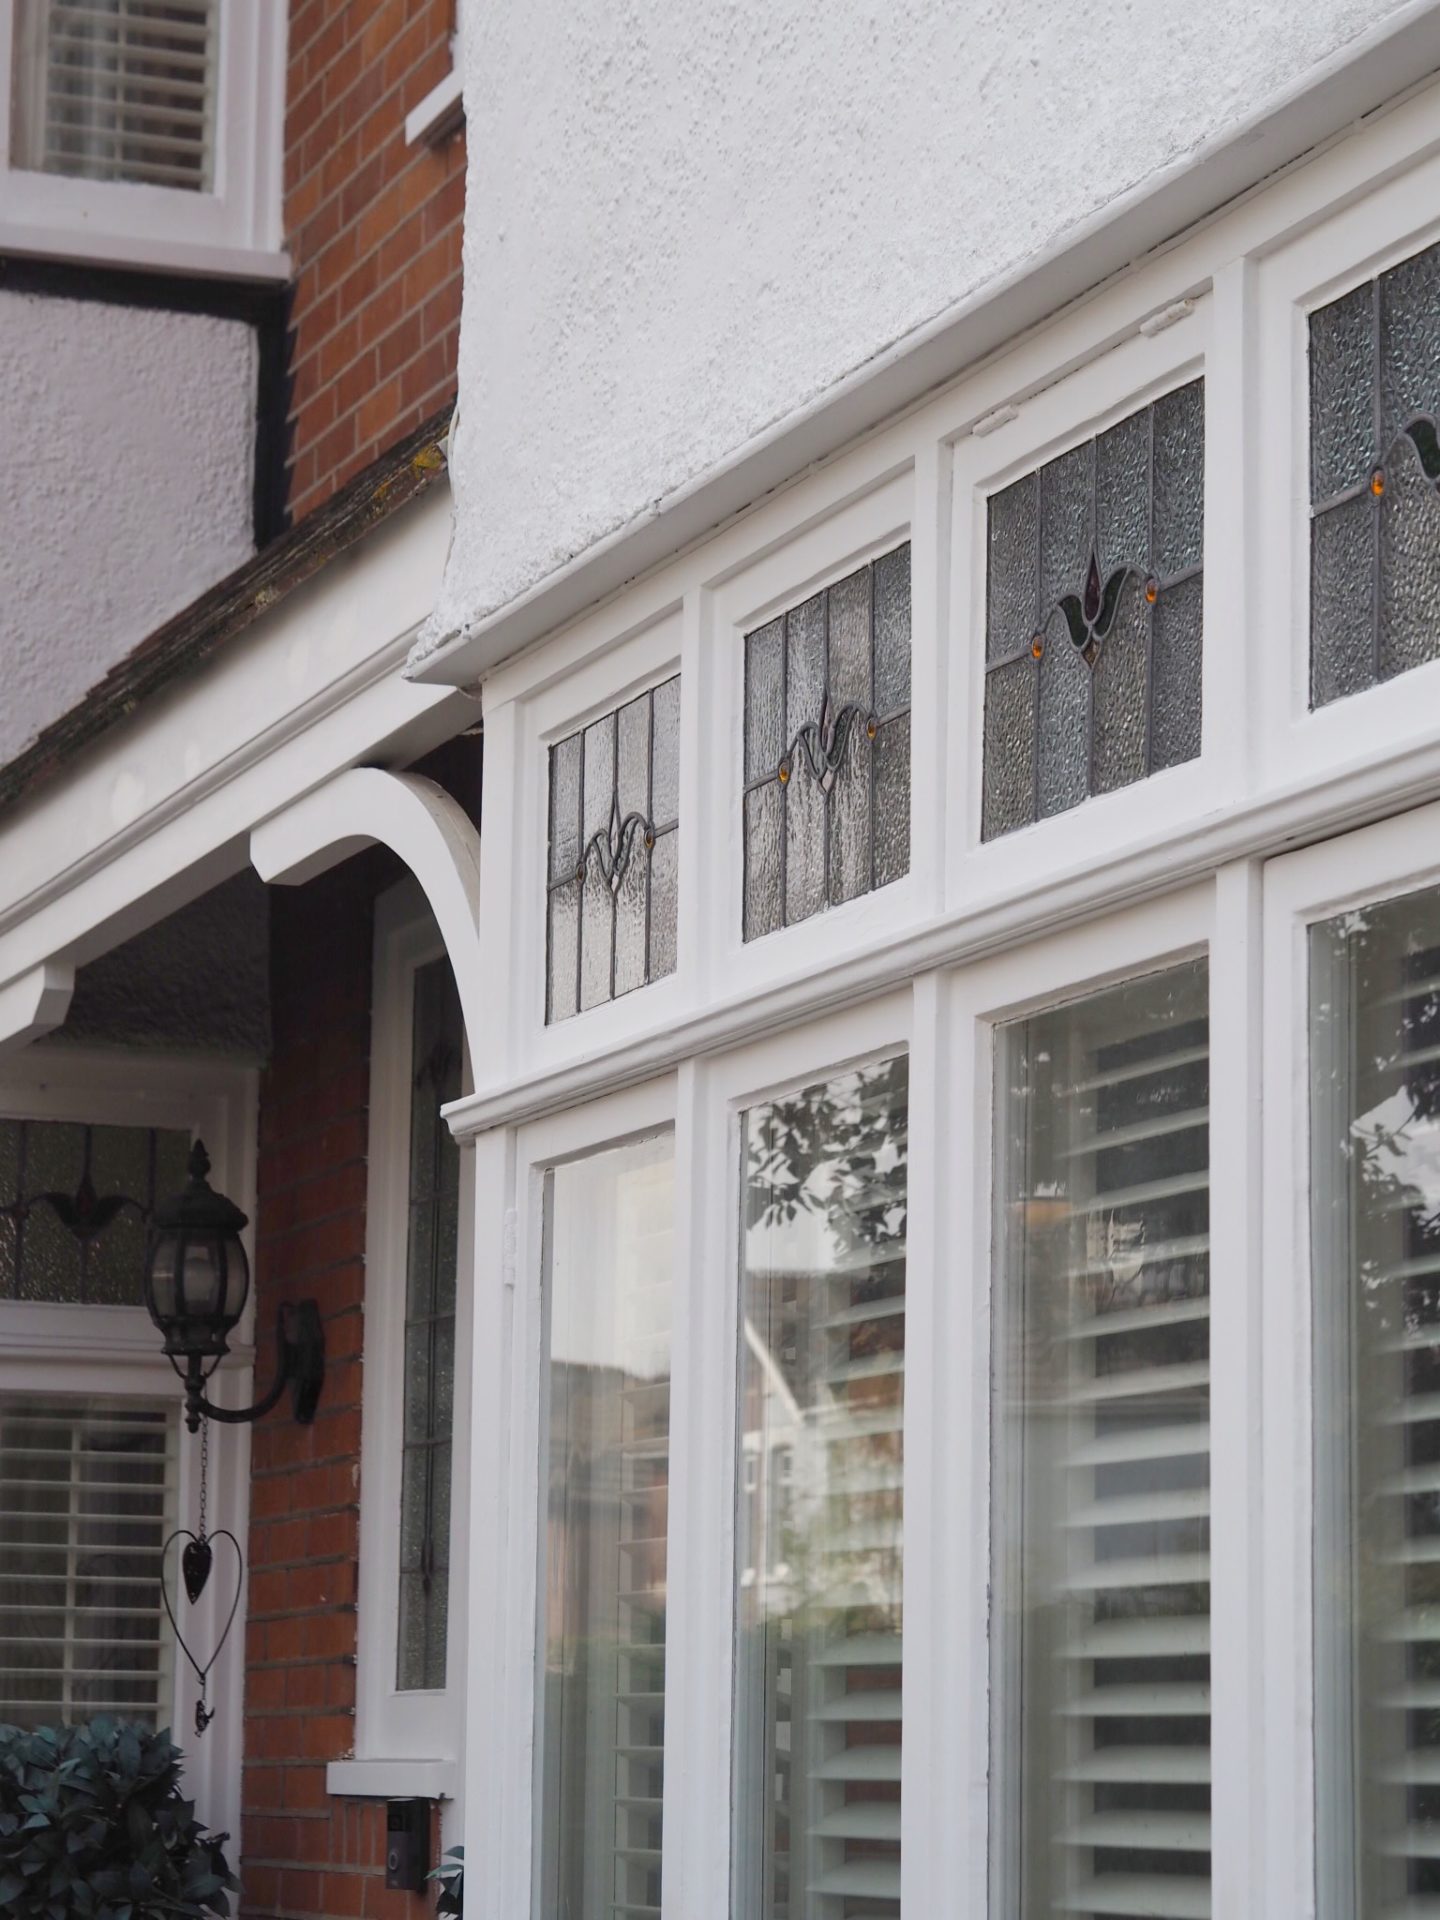
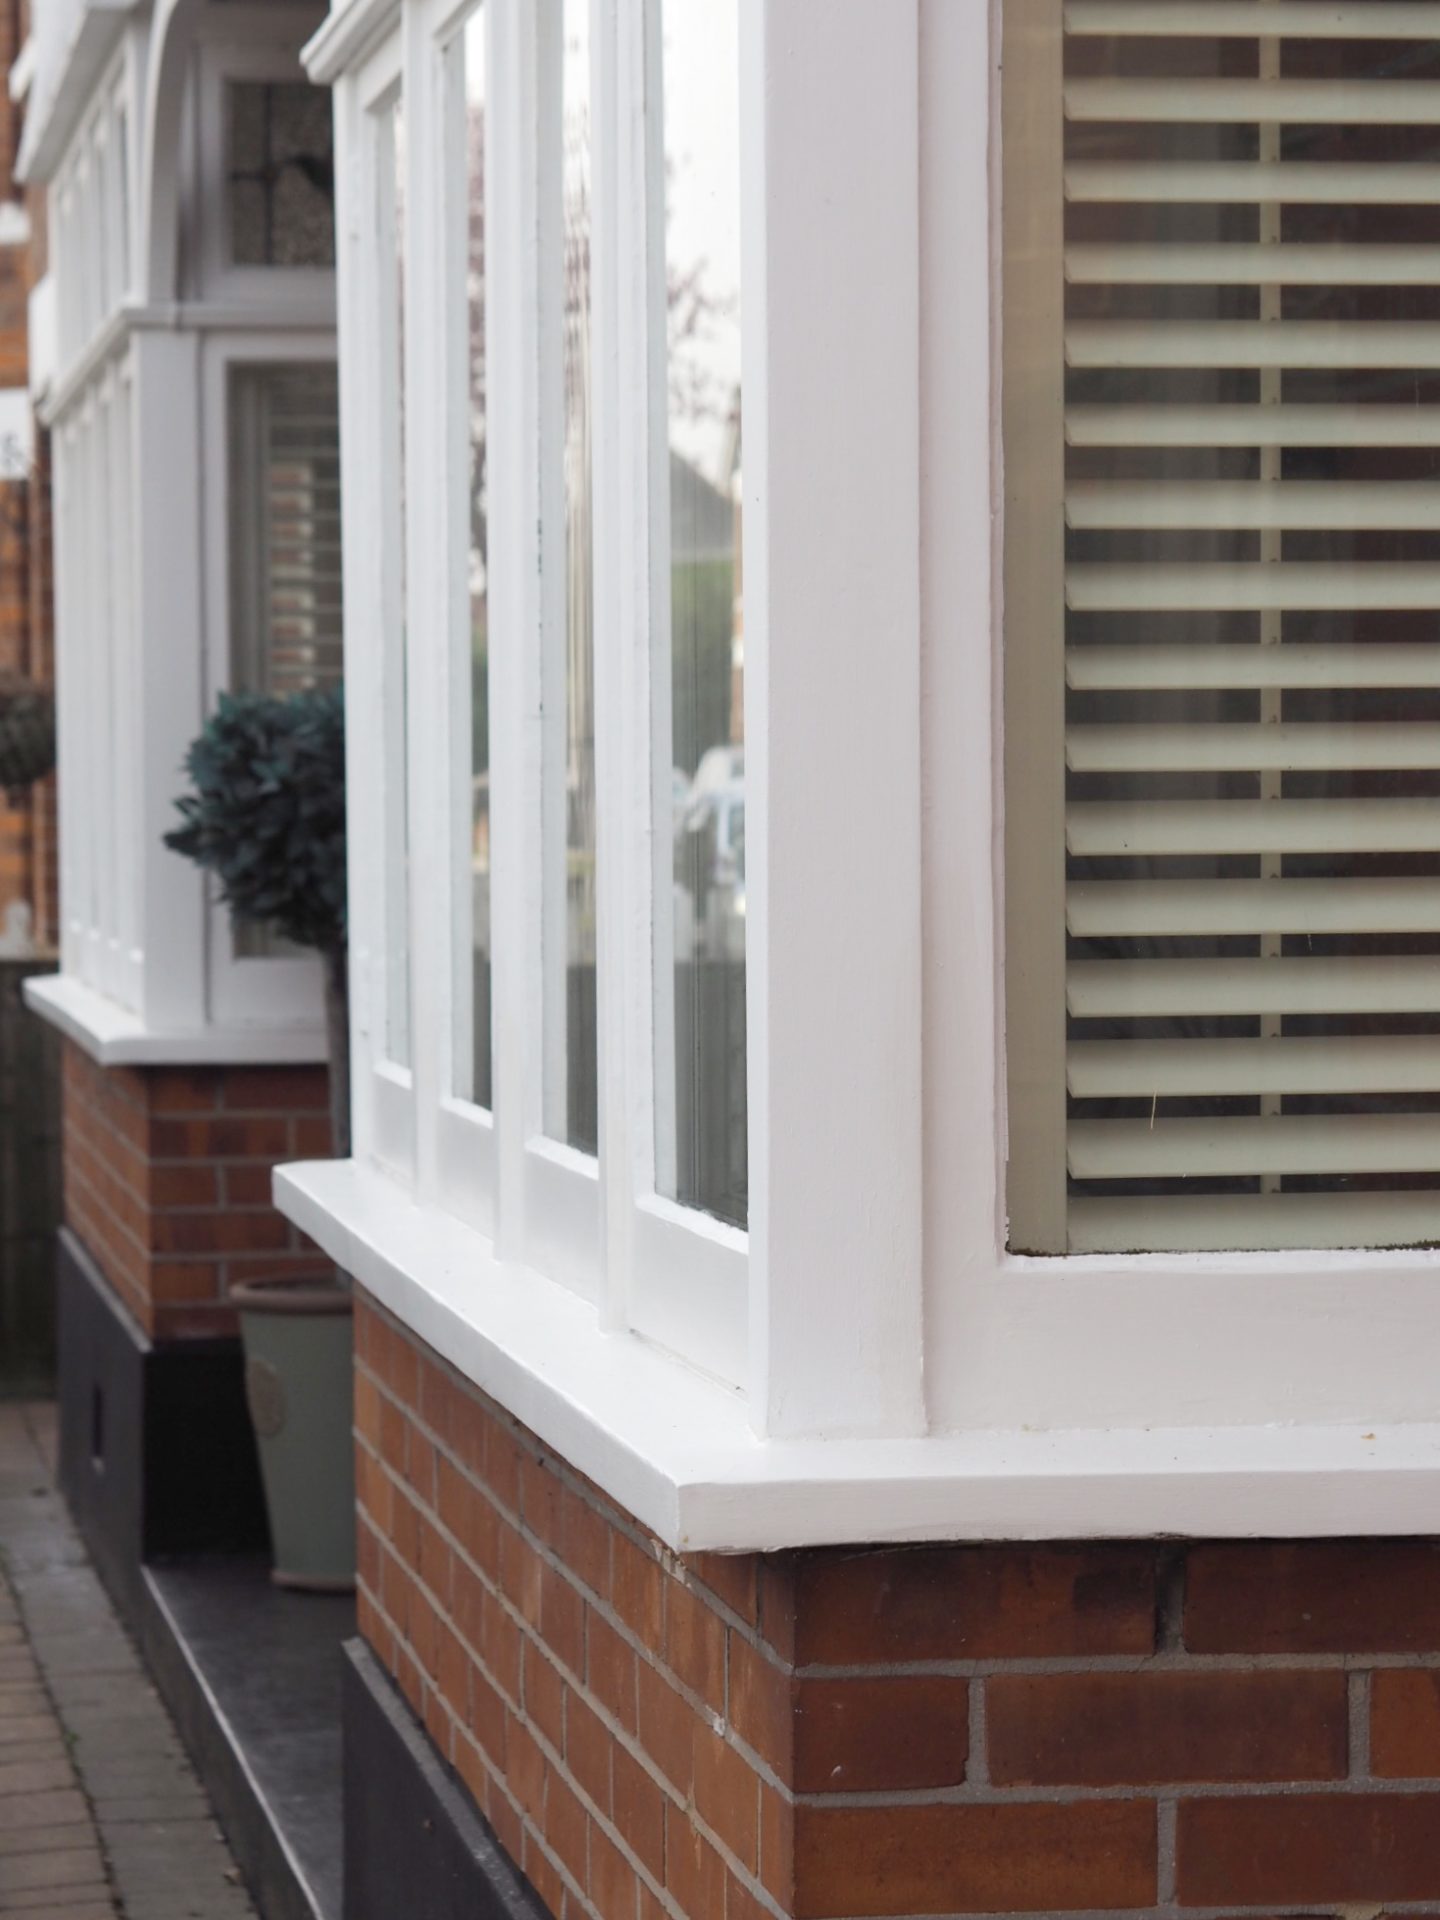
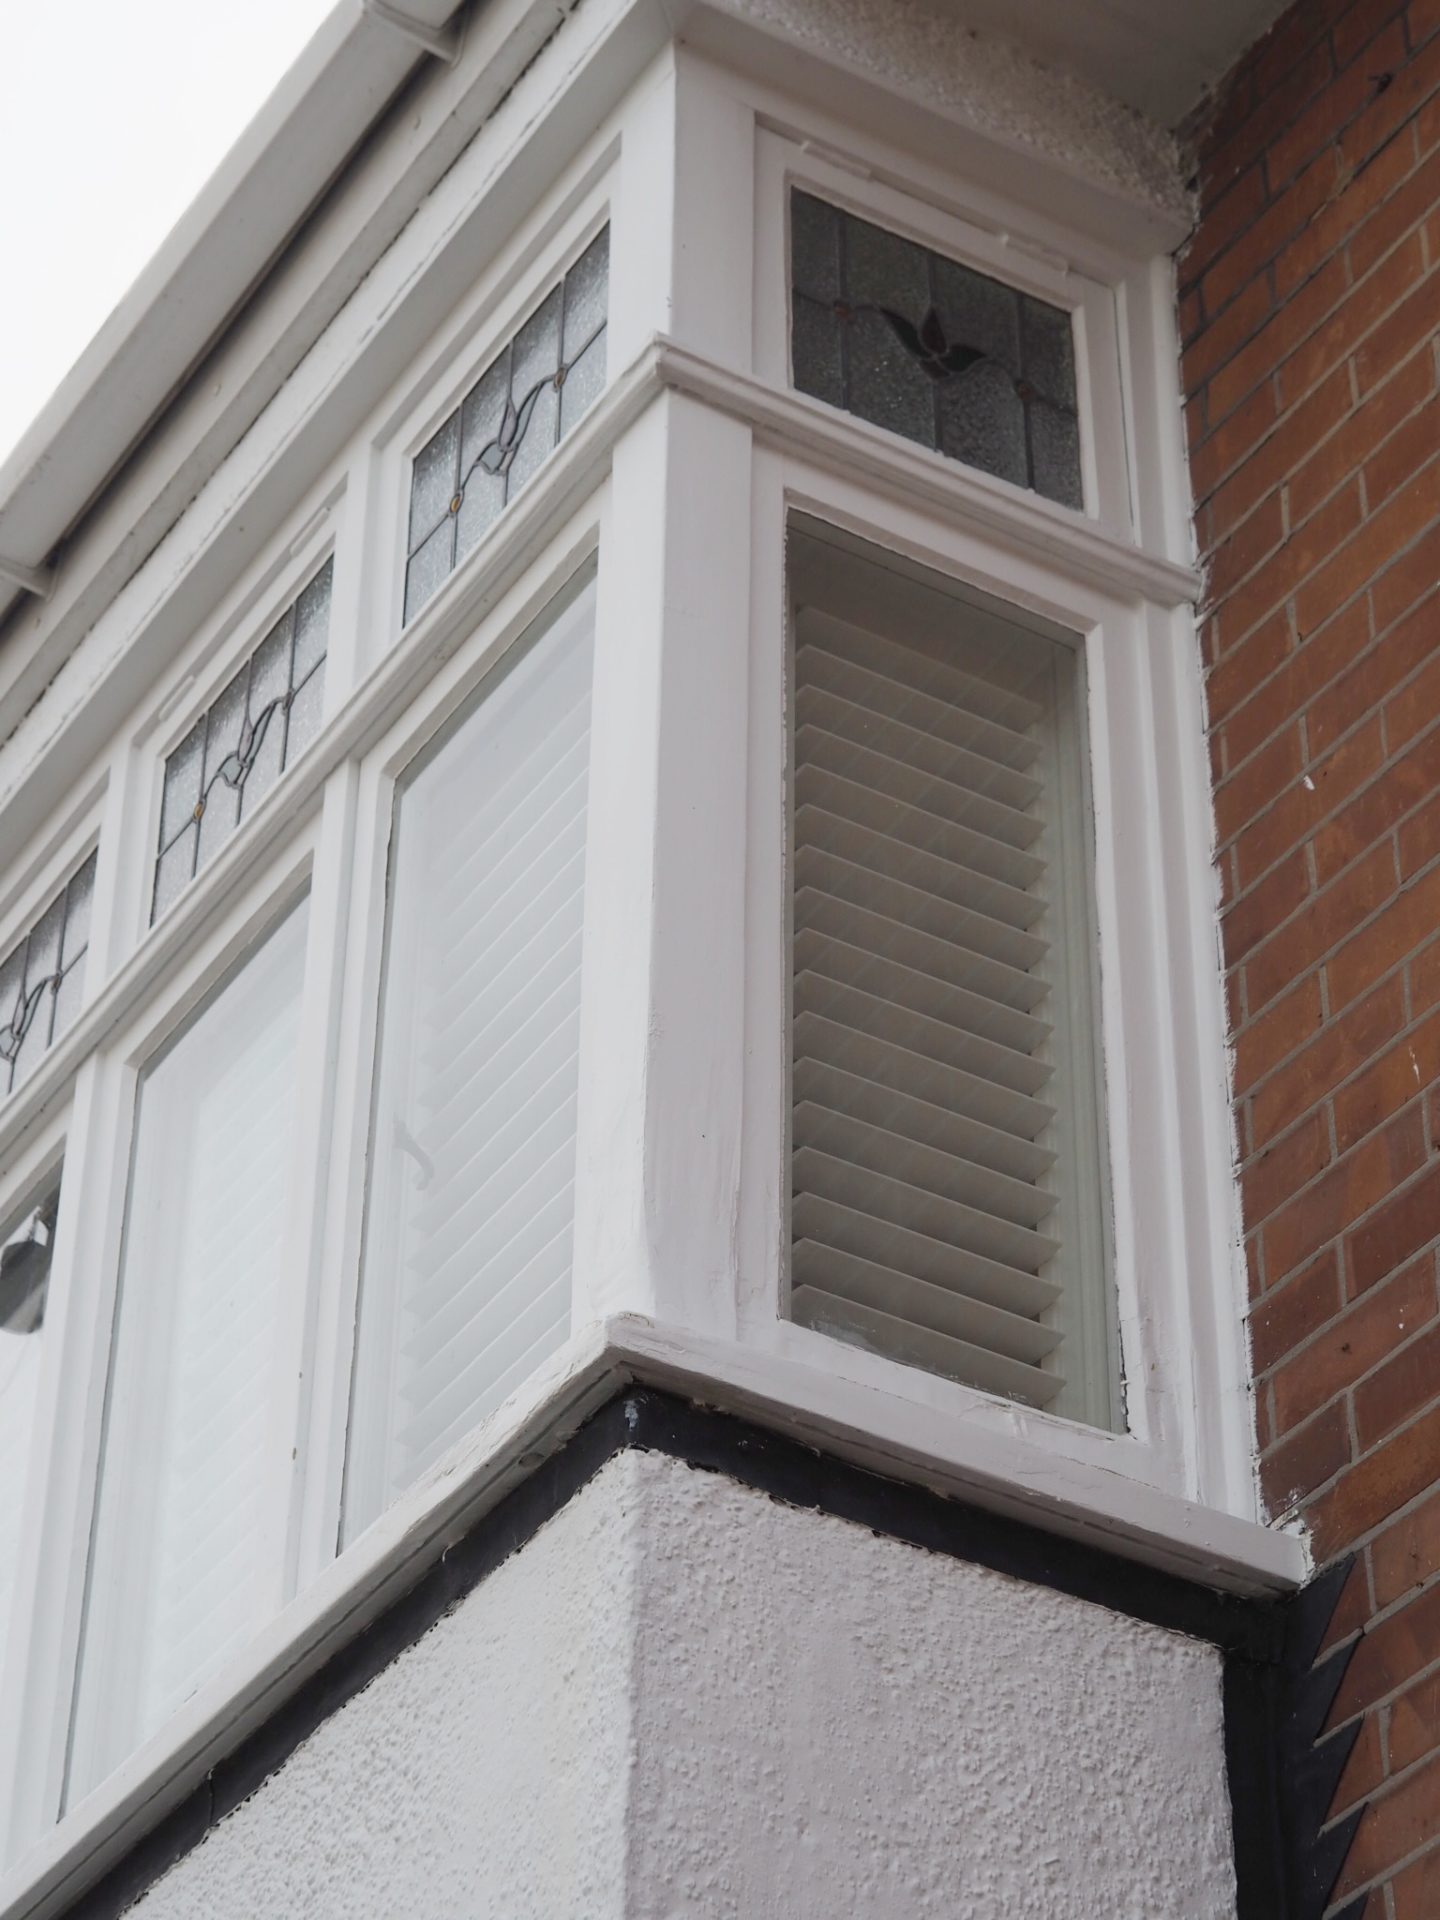
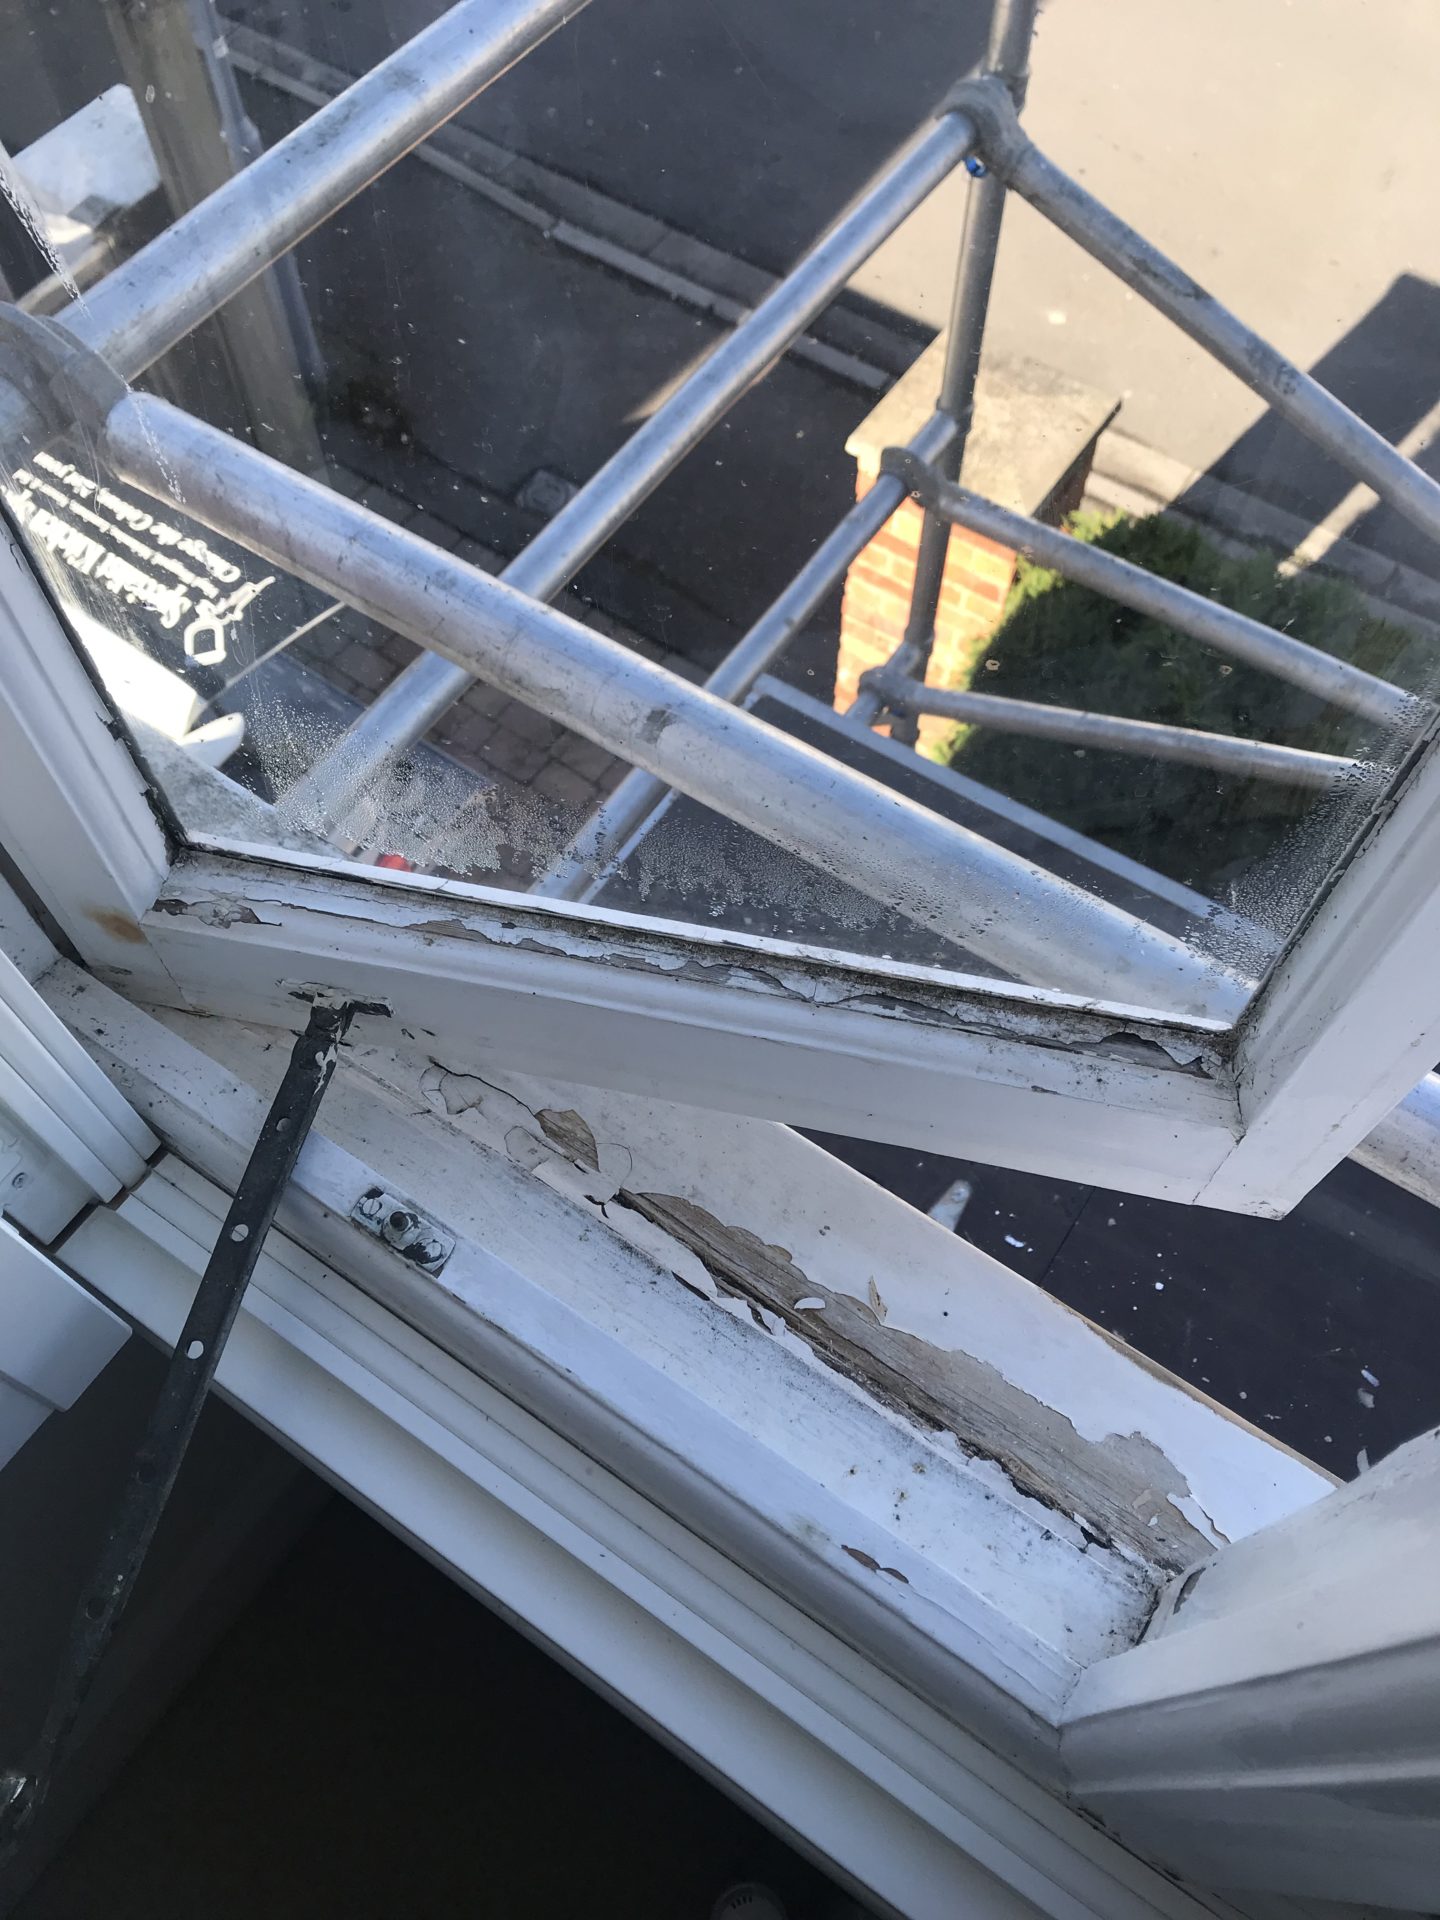
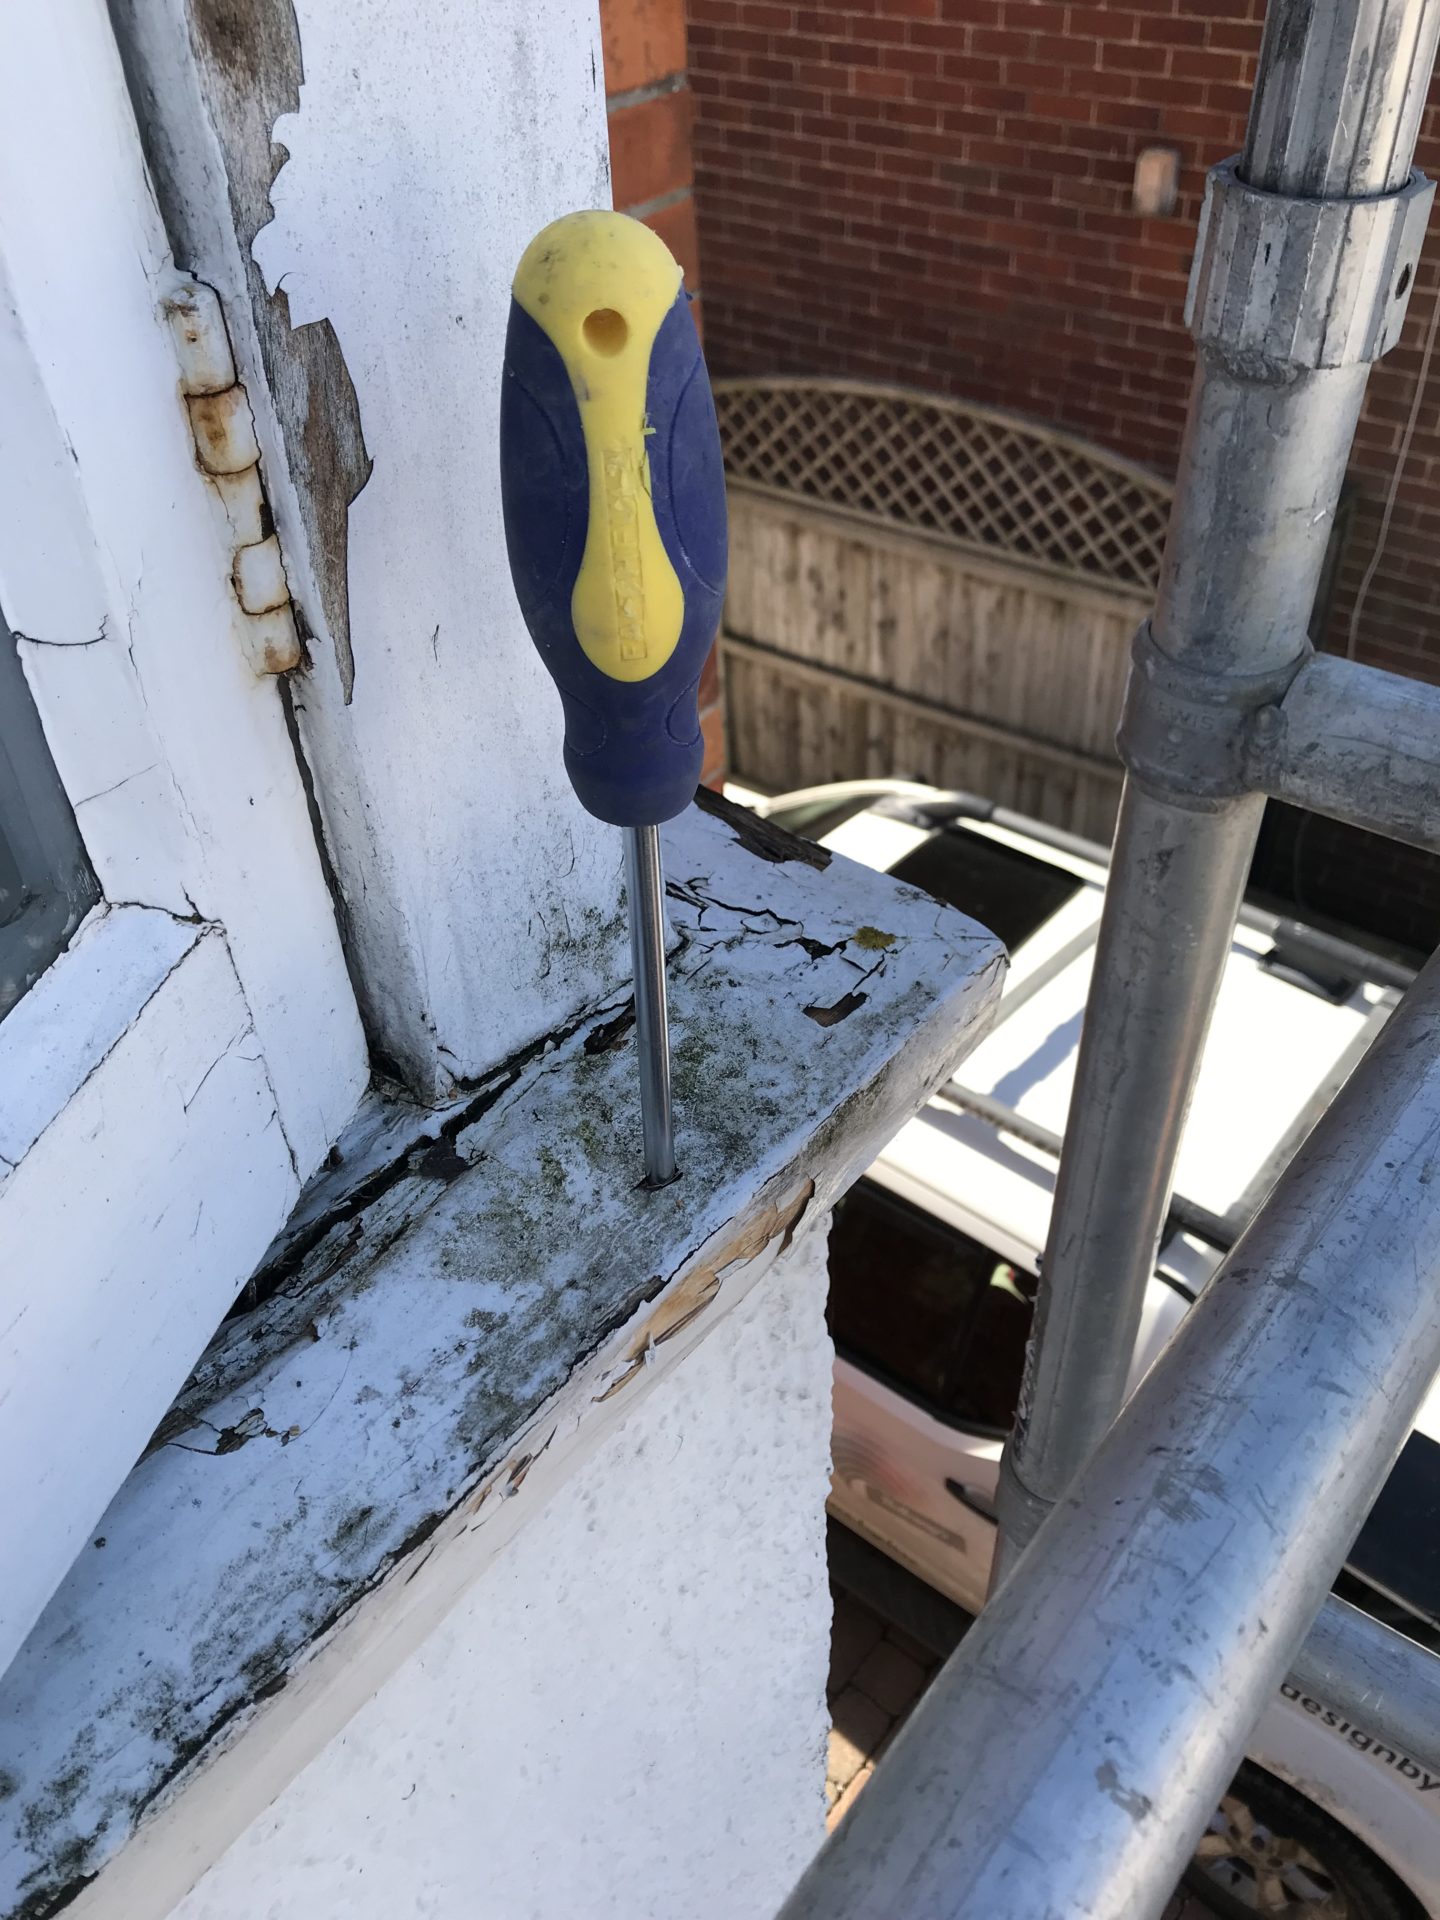
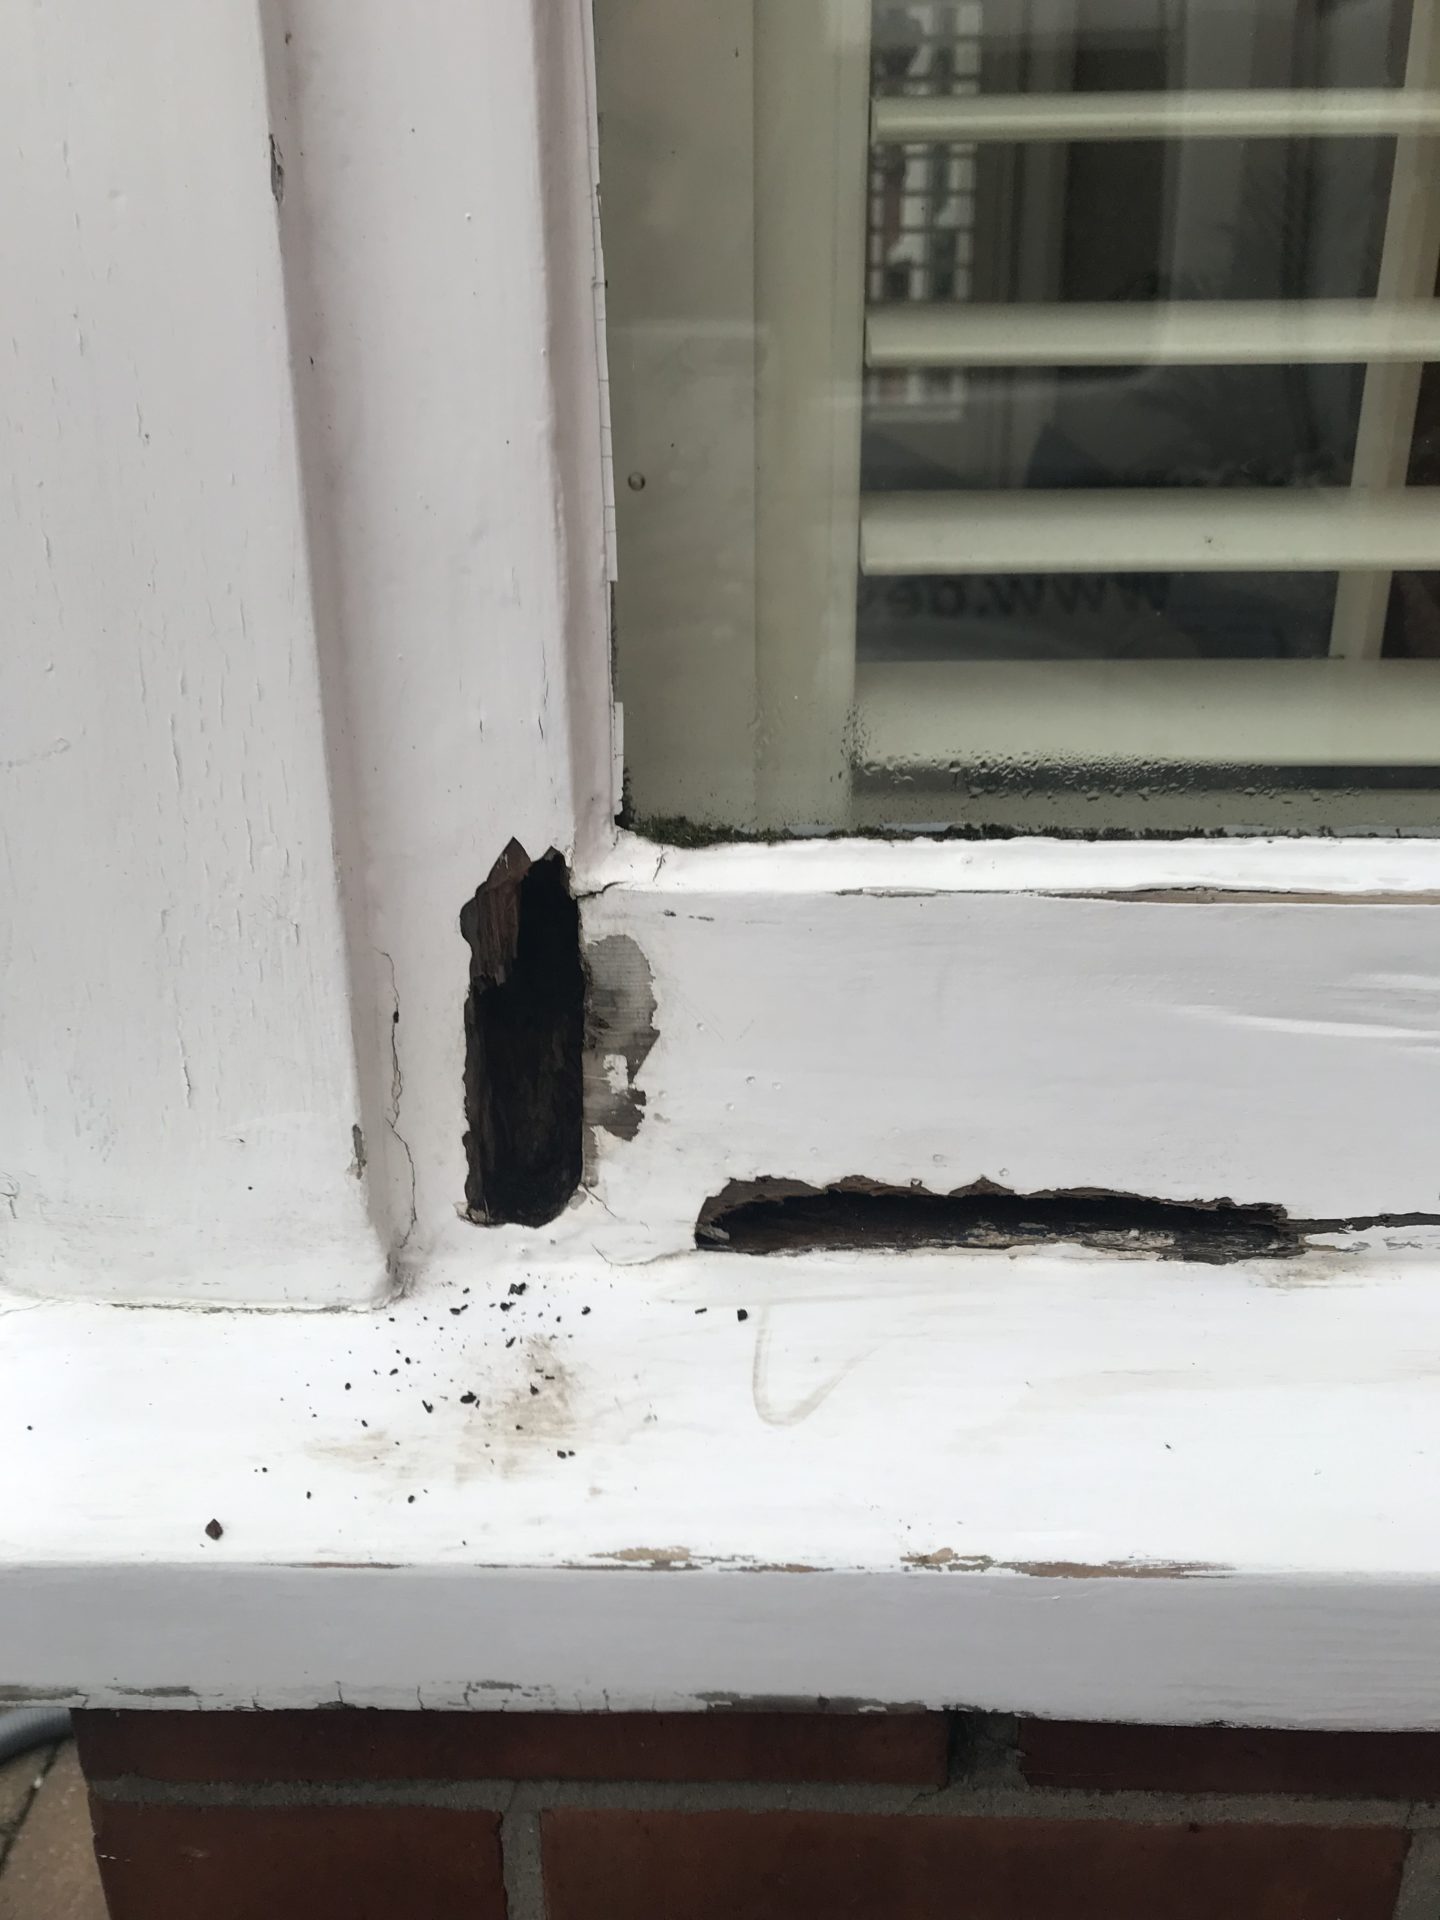
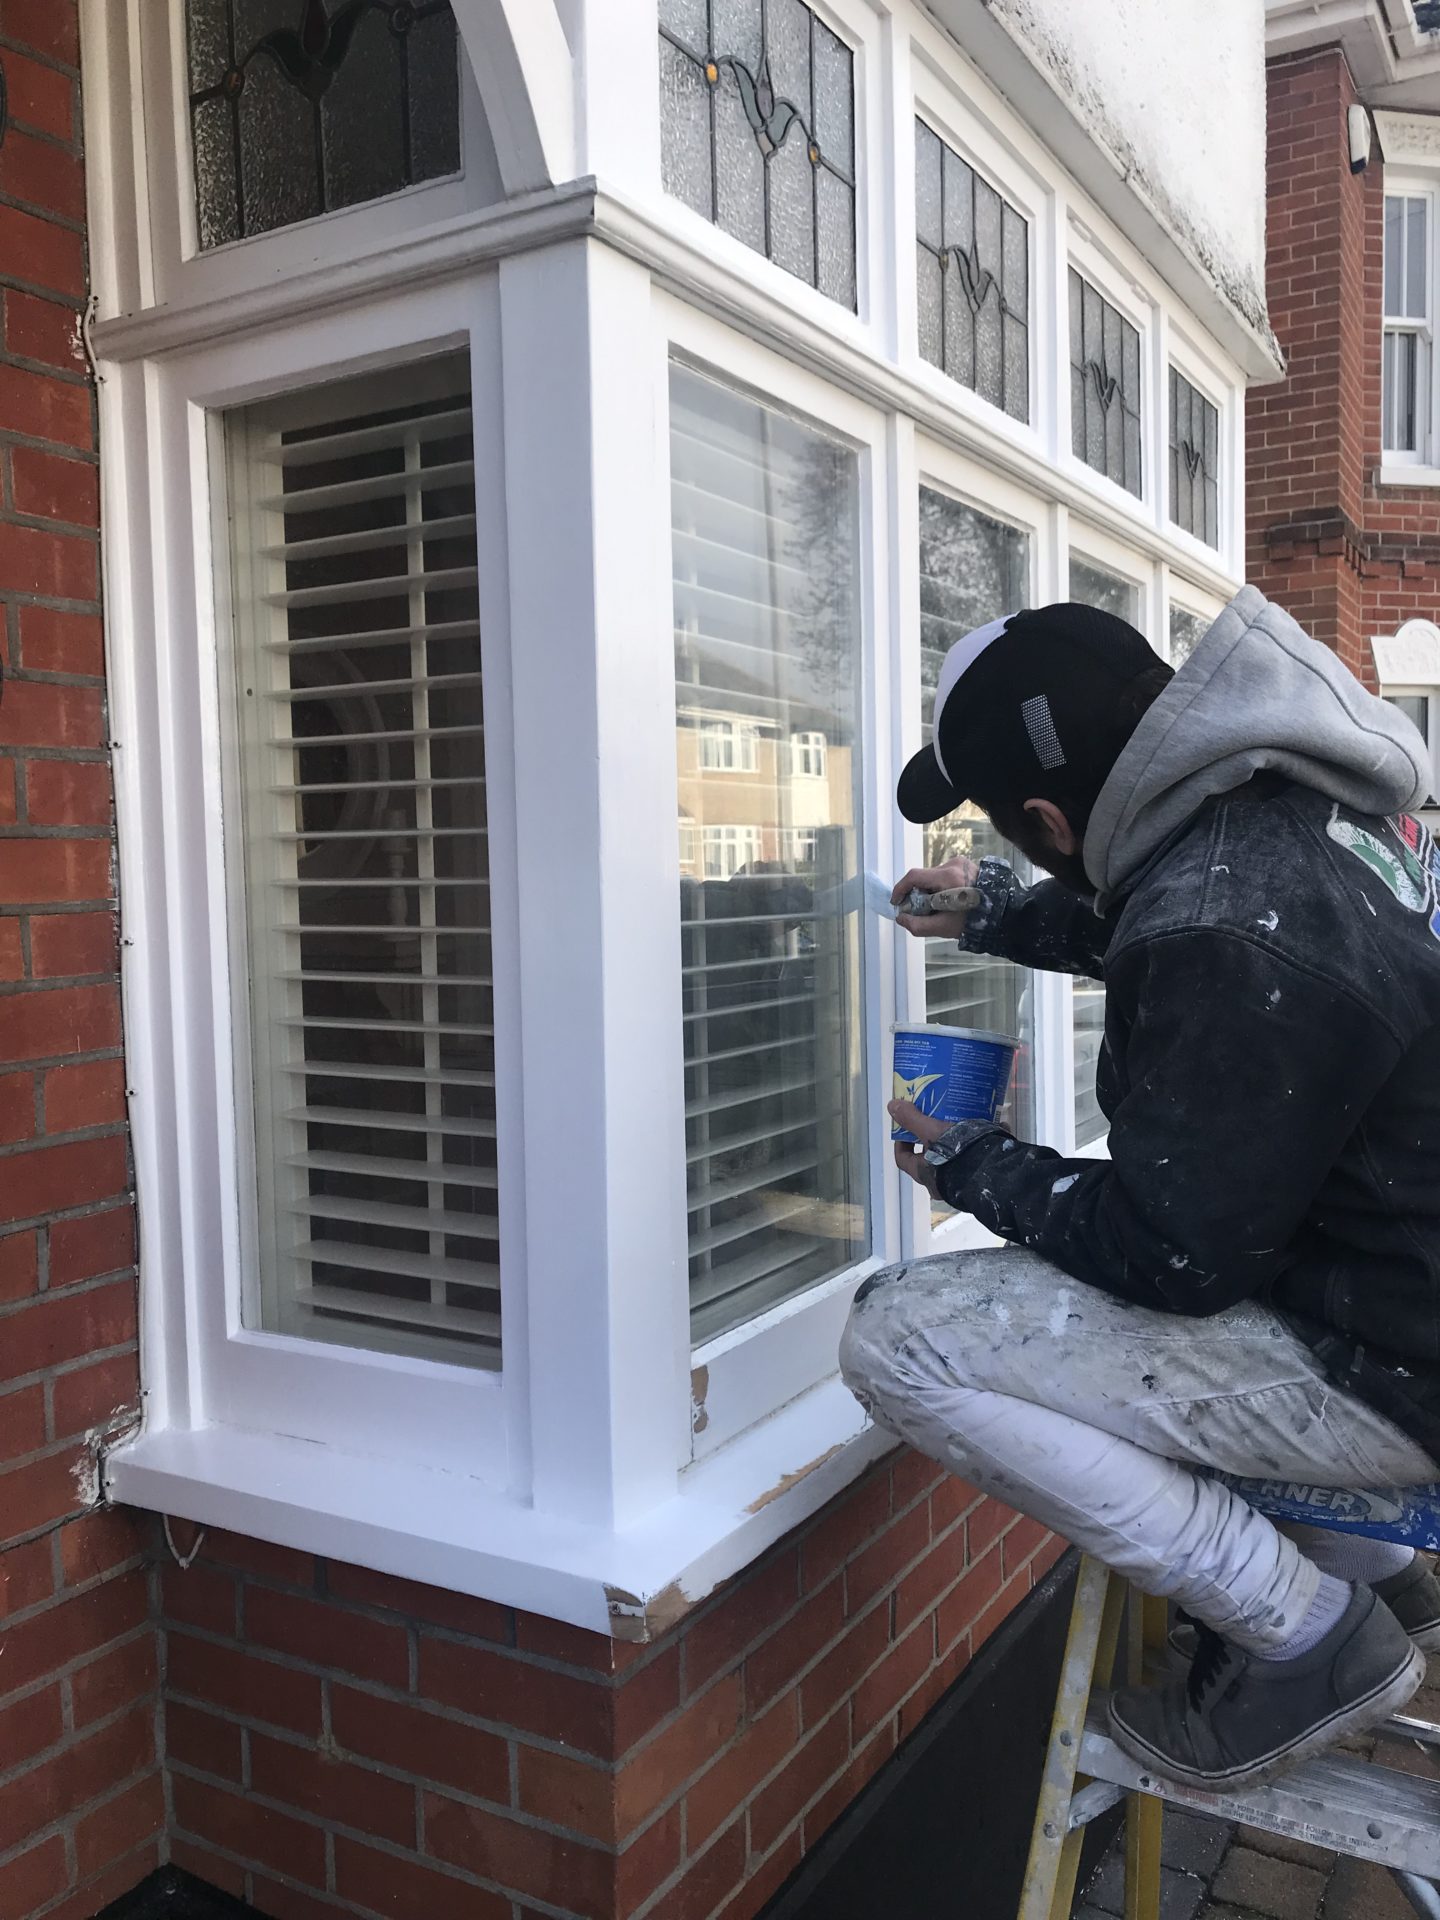
After a lot of research, it was decided that the best solution to restore old original wooden windows was to basically strip them back, scrape out the rotten wood then use Repair Care & a good lick of paint.
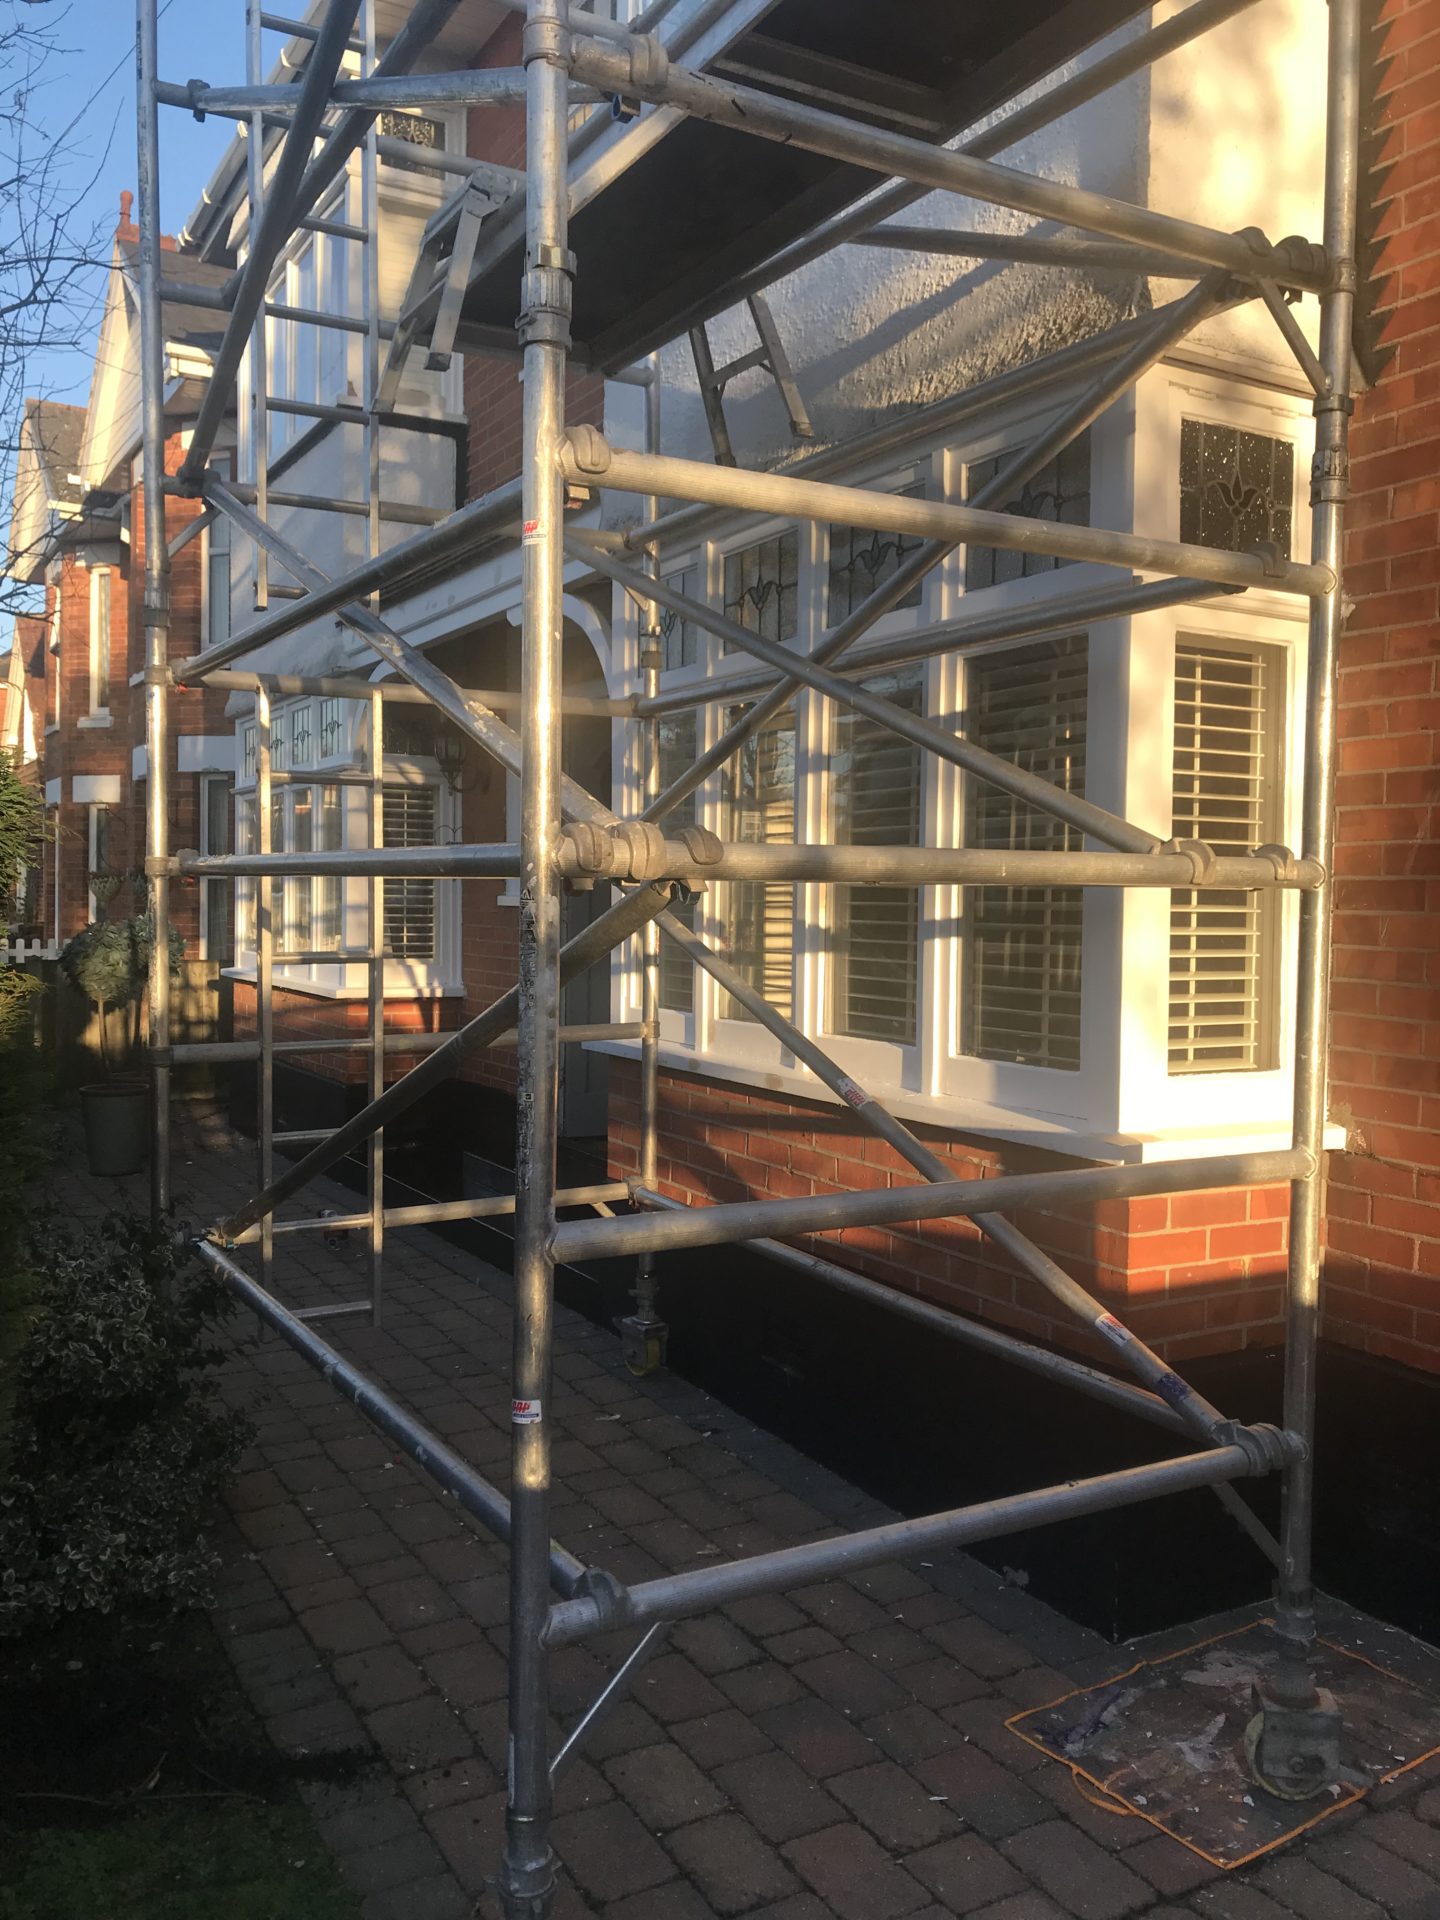
This is a DIY job but with it being super cold (& I’m petrified of heights) there was no way in hell was I getting up a ladder or scaffolding to the top windows!) so we called in the experts to do the job.
Tom started by sanding back the wooden windows. After this was done he then stabilised the wood to stop any damp spreading which also hardens it then pumped the Repair Care product in & let it set before sanding it back. I completely underestimated the amount of this we’d need though & at £25 a tube, it cost a small fortune but a LOT less than a carpenter would have charged to replace all the windows & this should keep them going for another 20 years or so.
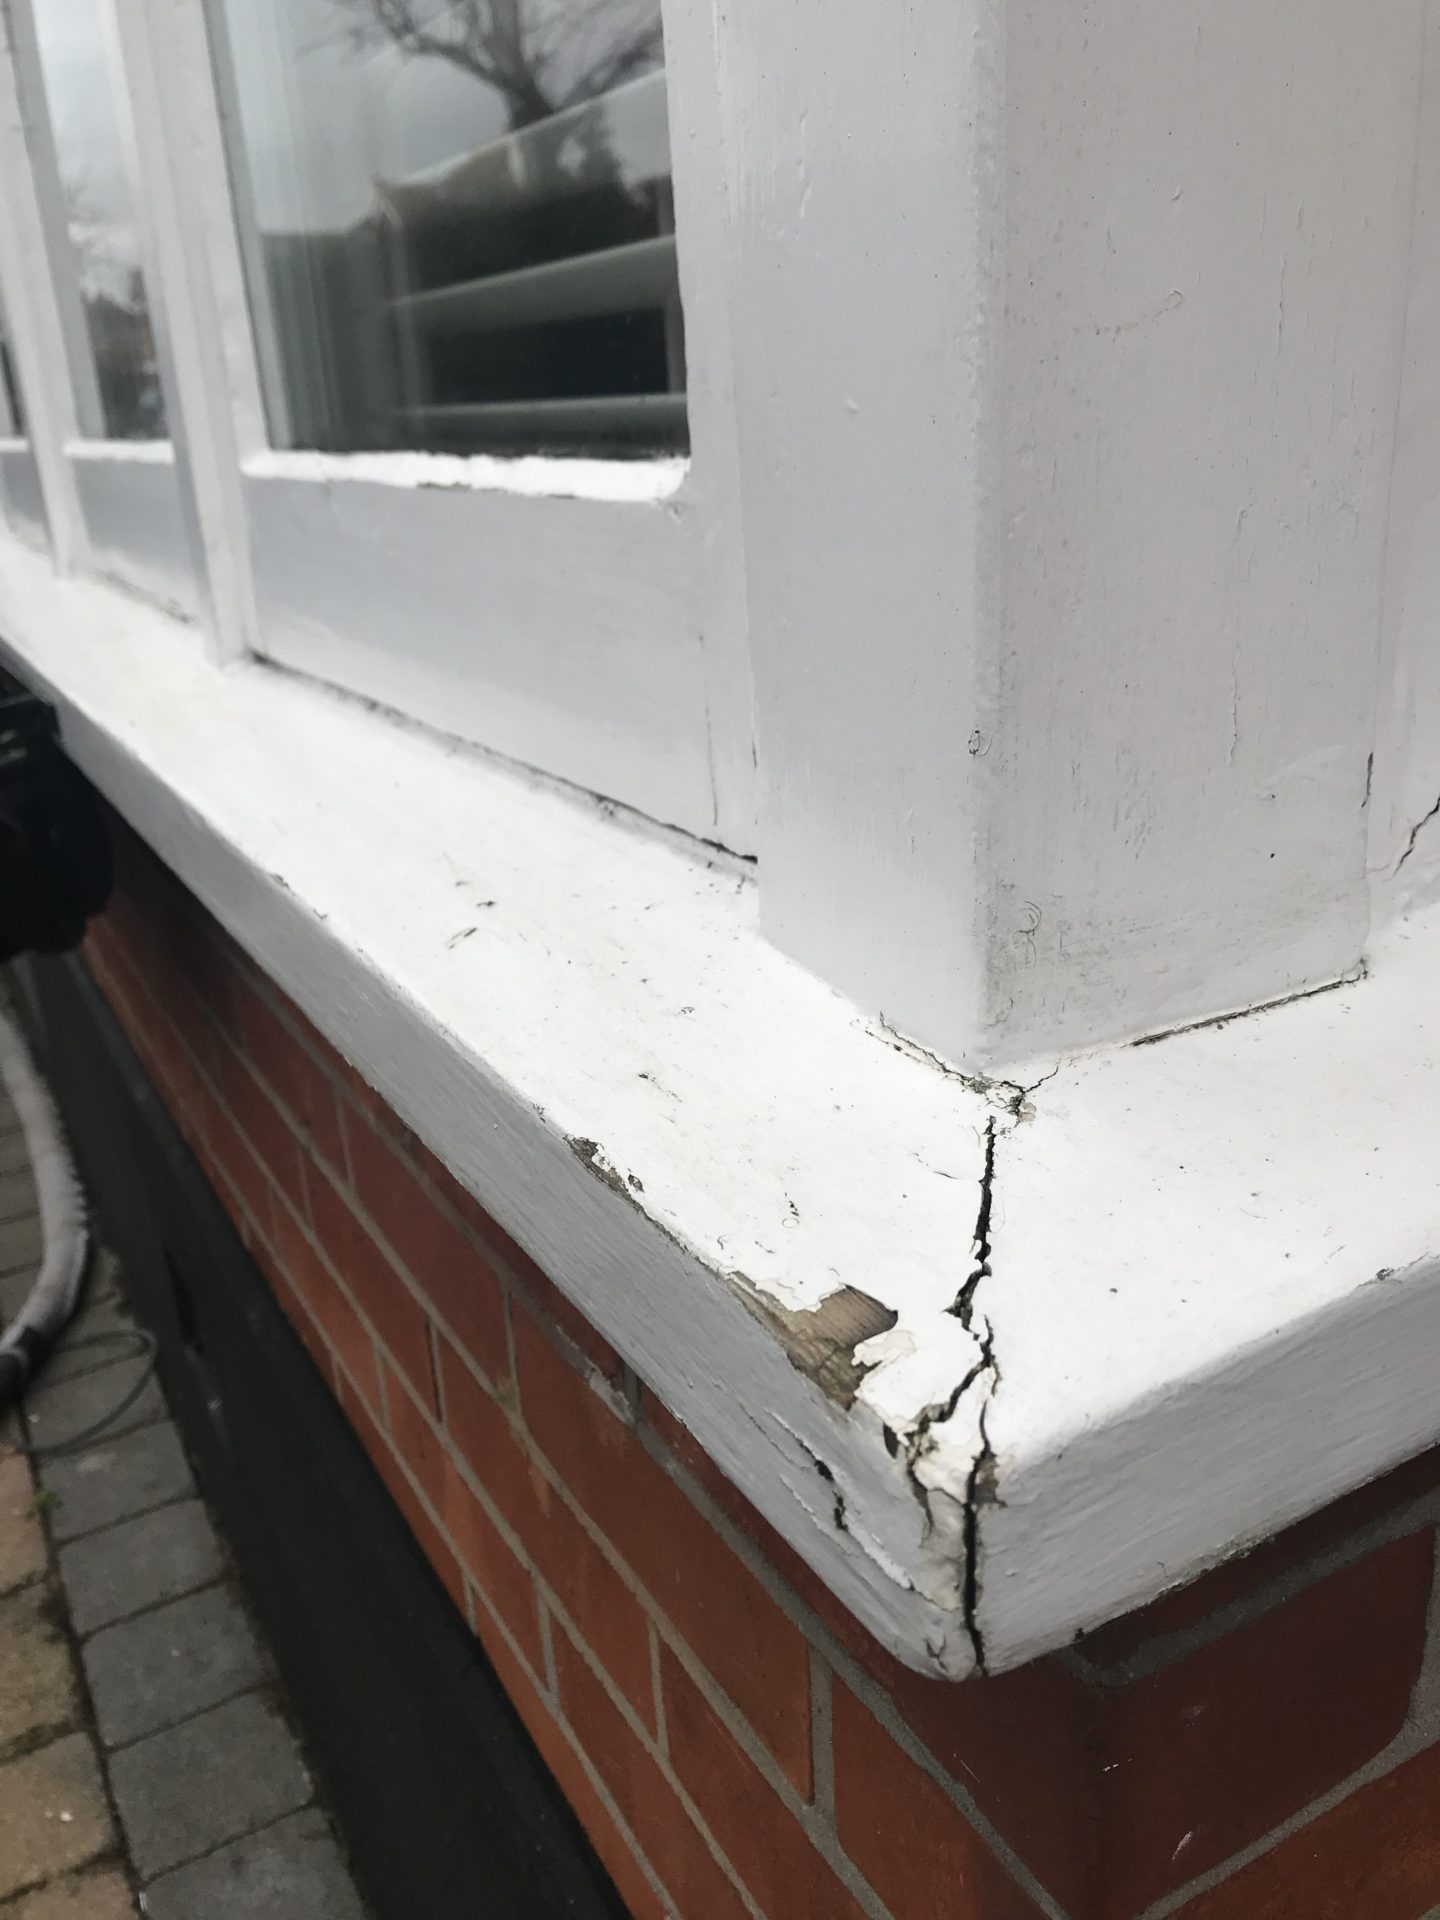
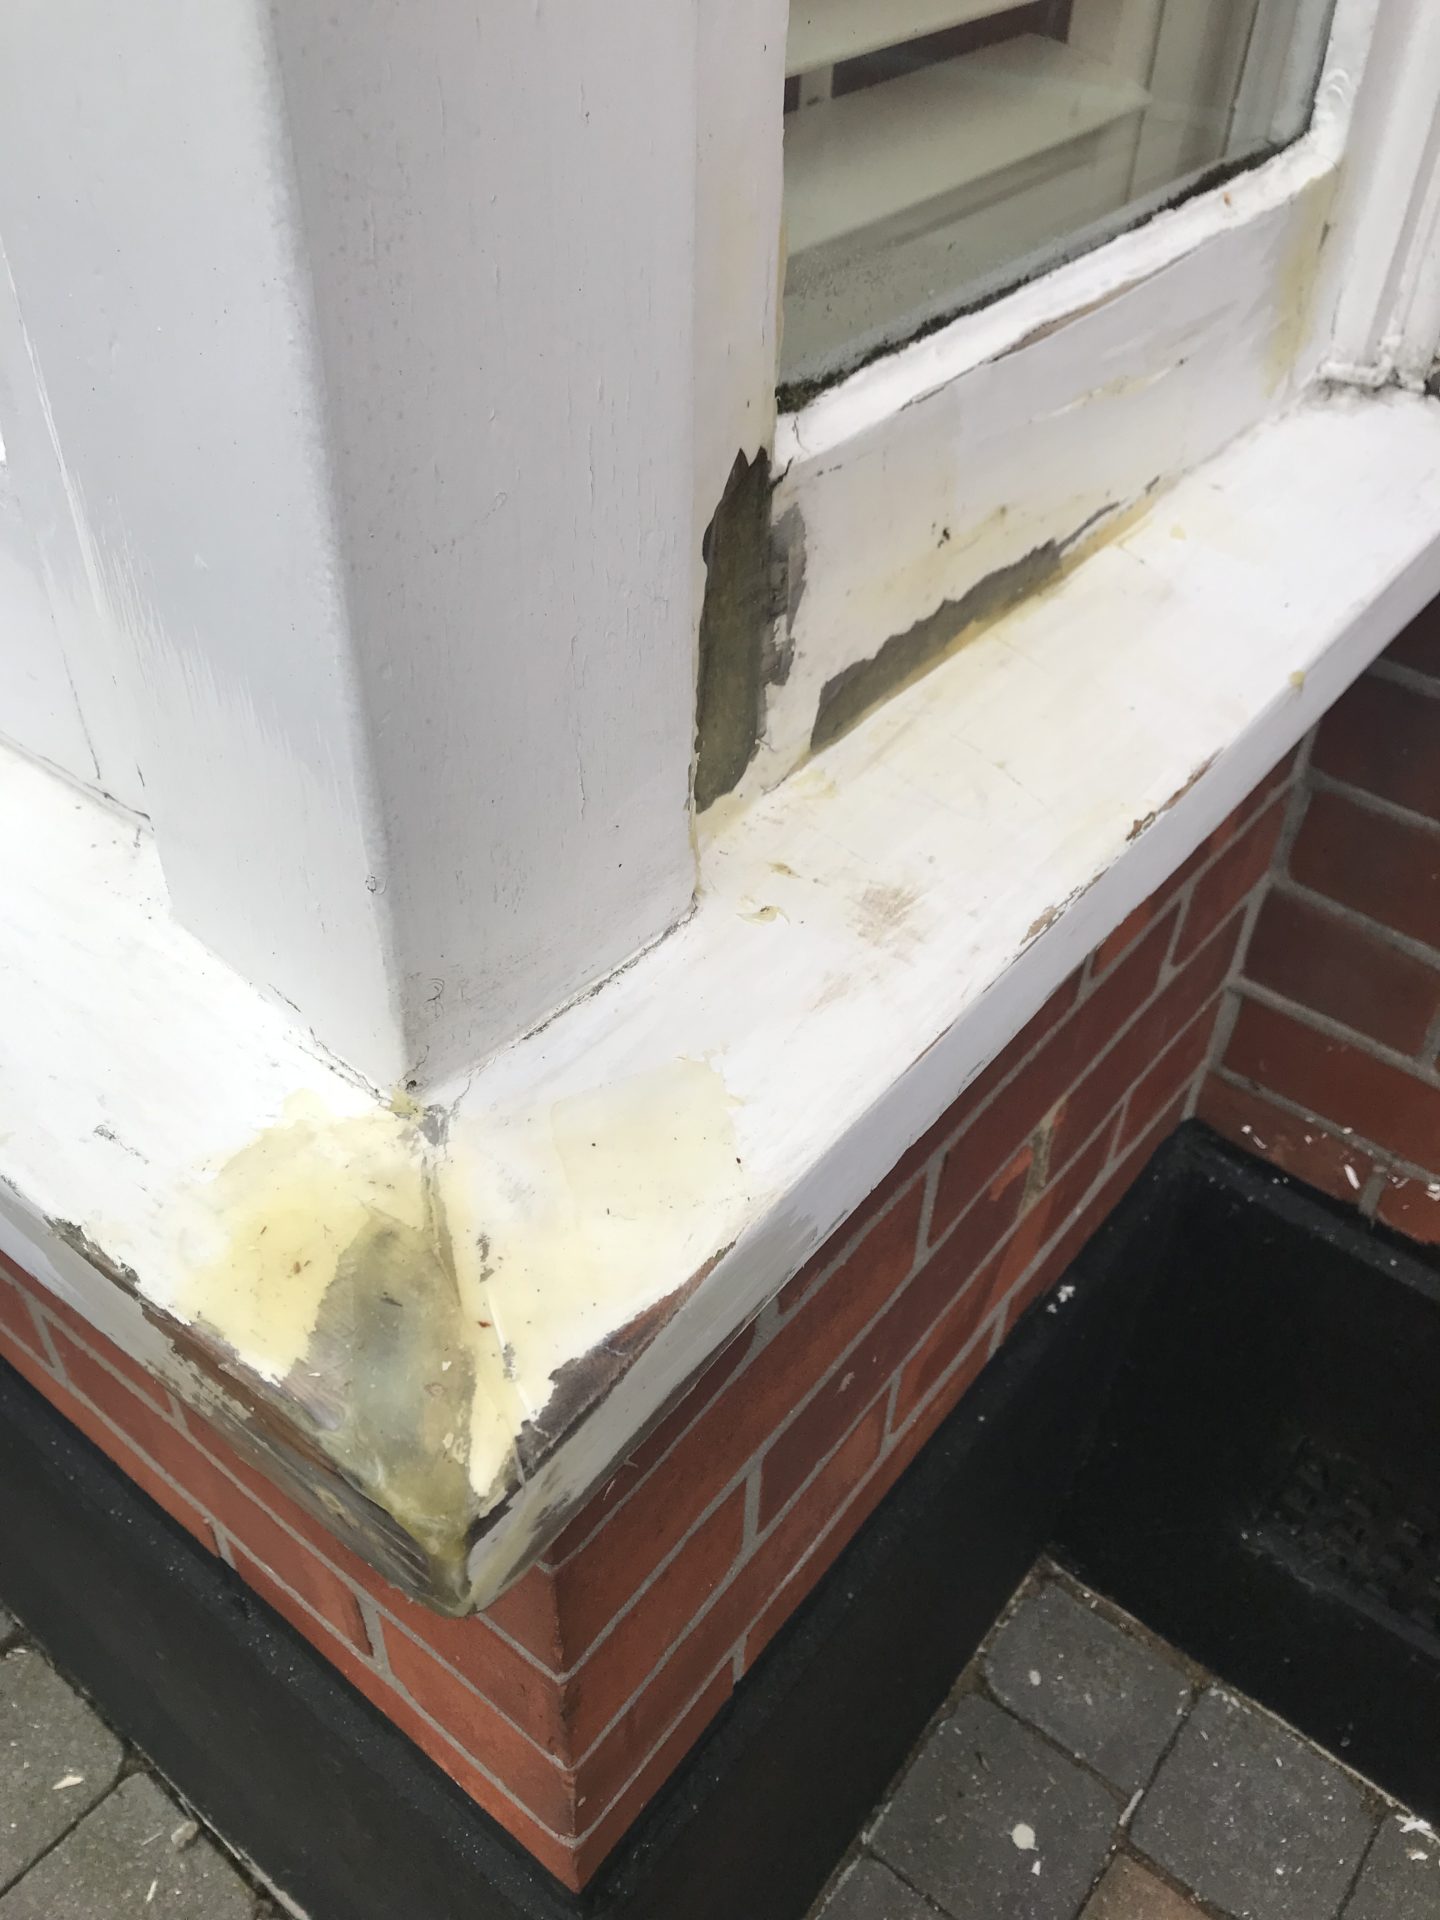
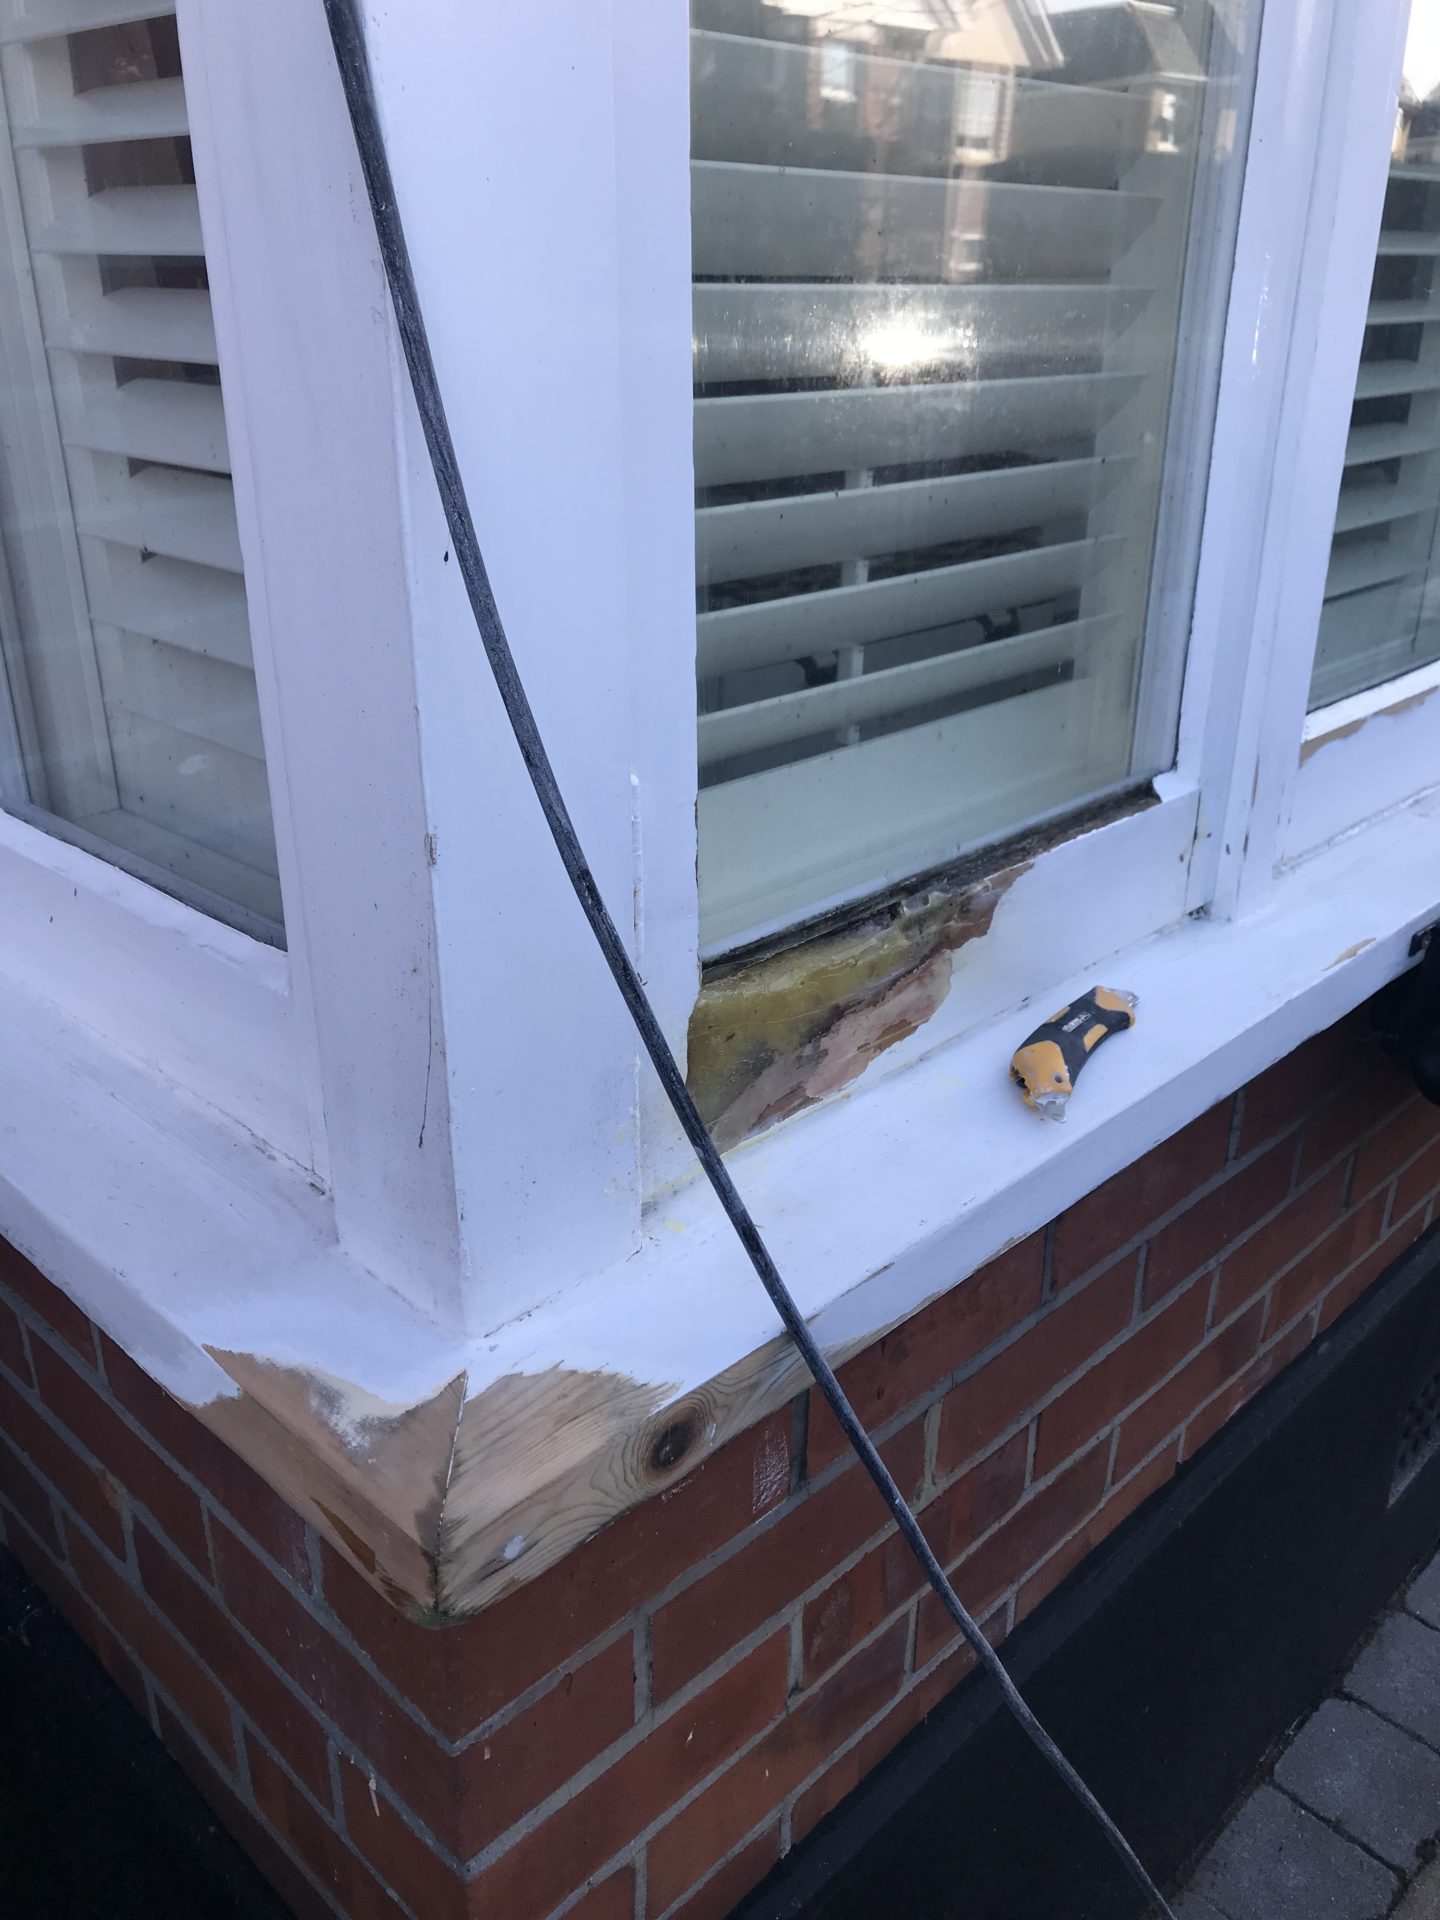
Then it was giving them a lick of paint using All Coat. Although this paint is self priming, we did get the areas which had had lots of Repair Care on grinning through so I’d recommend priming before. We also had the masonry in the middle painted which was looking a big grubby & instantly made a huge difference.
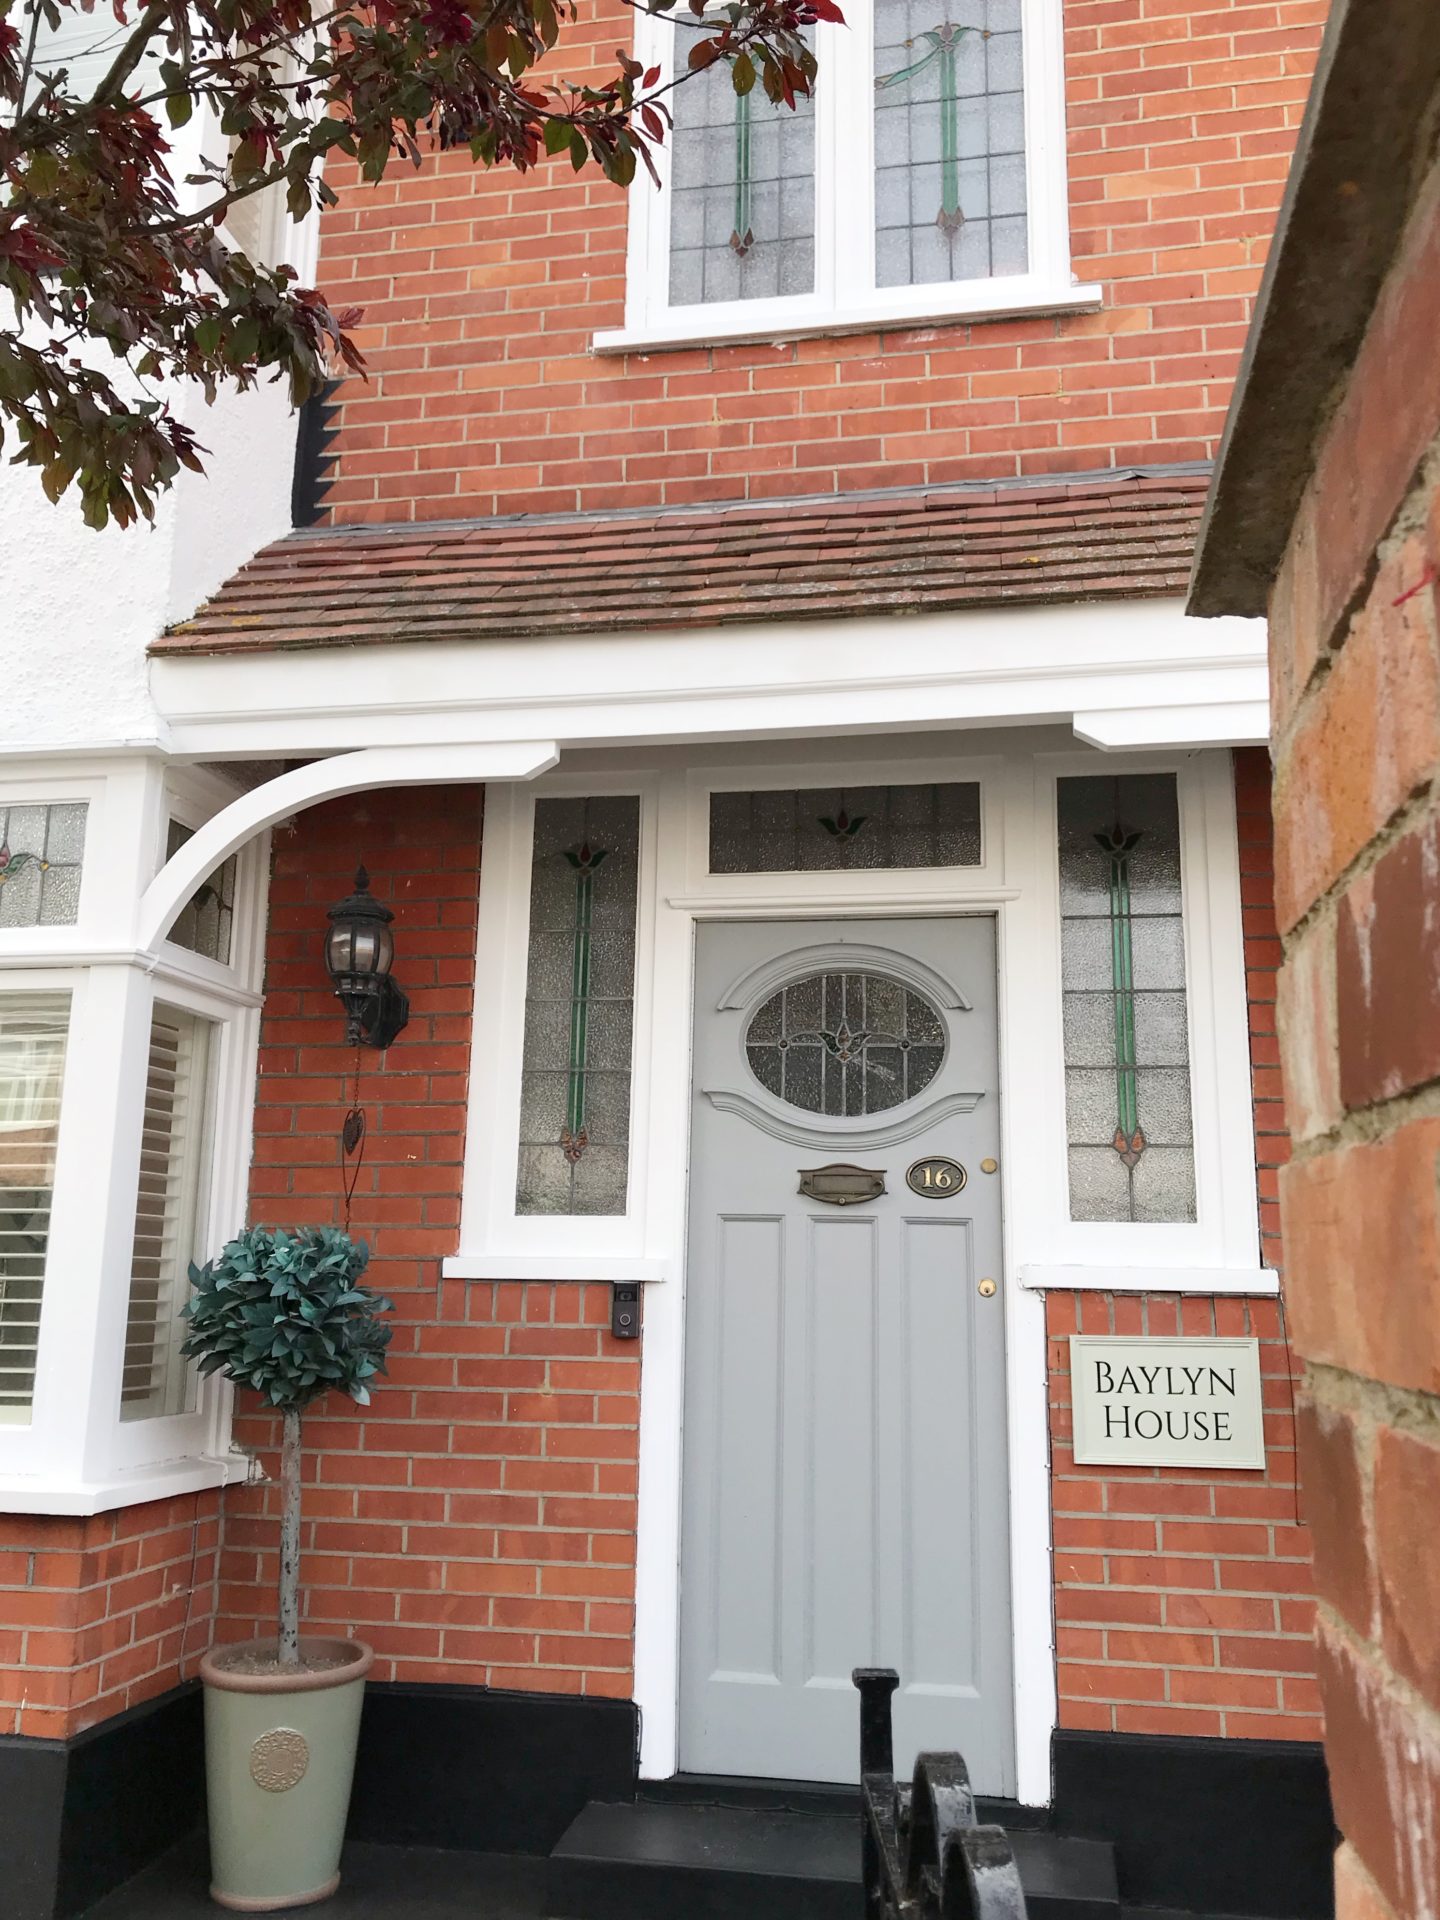
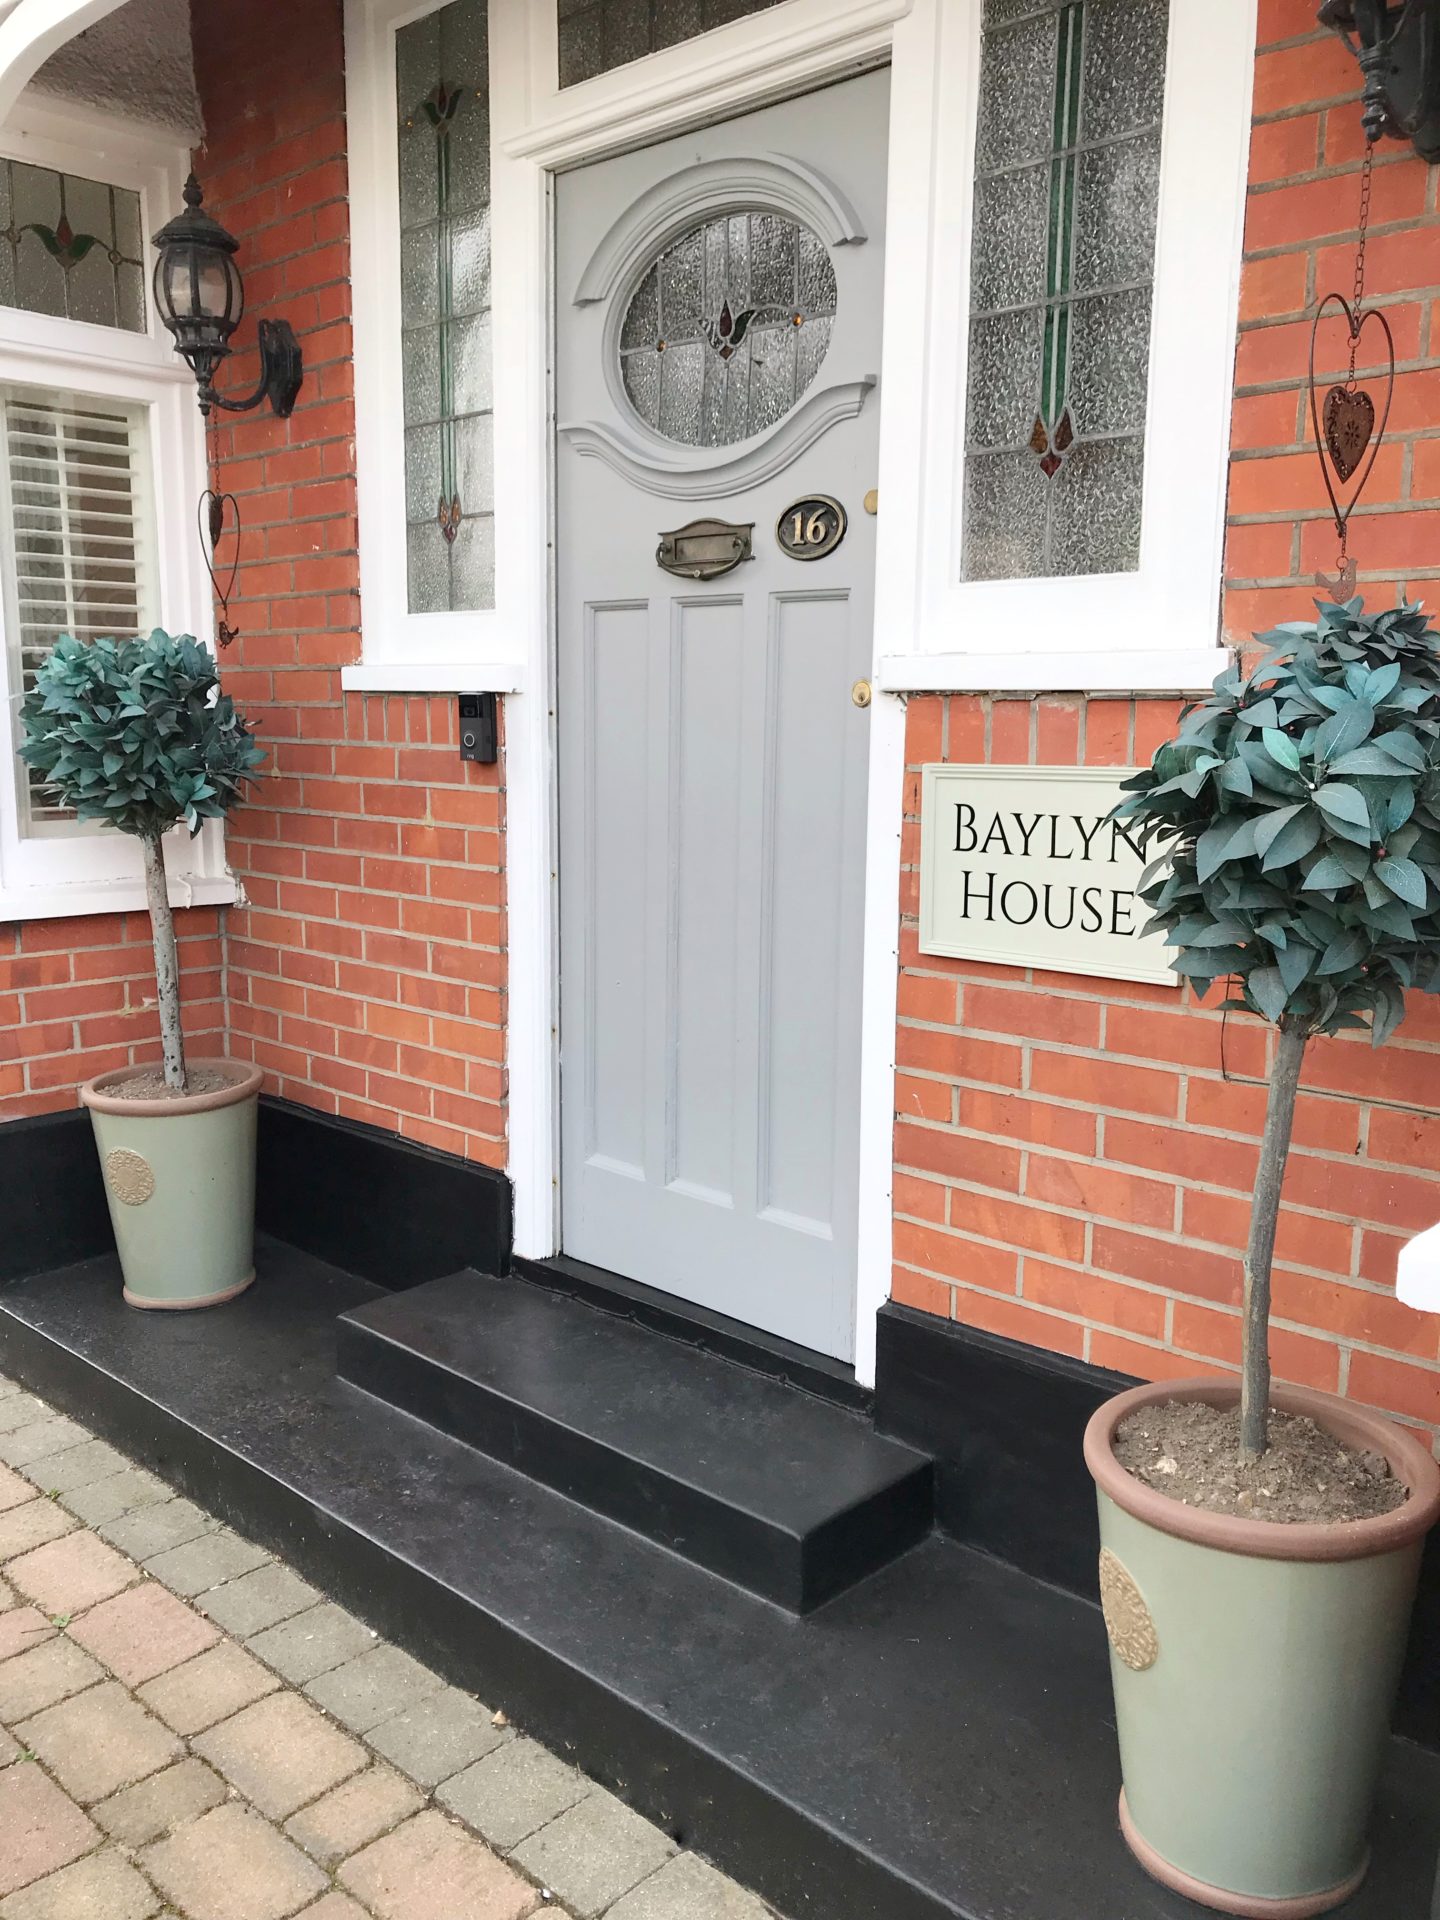
With the windows looking so much better, it highlighted the rest of the front & so I started by repainting the door step which was looking a bit sorry for itself. I used Johnsons doorstep paint in black.
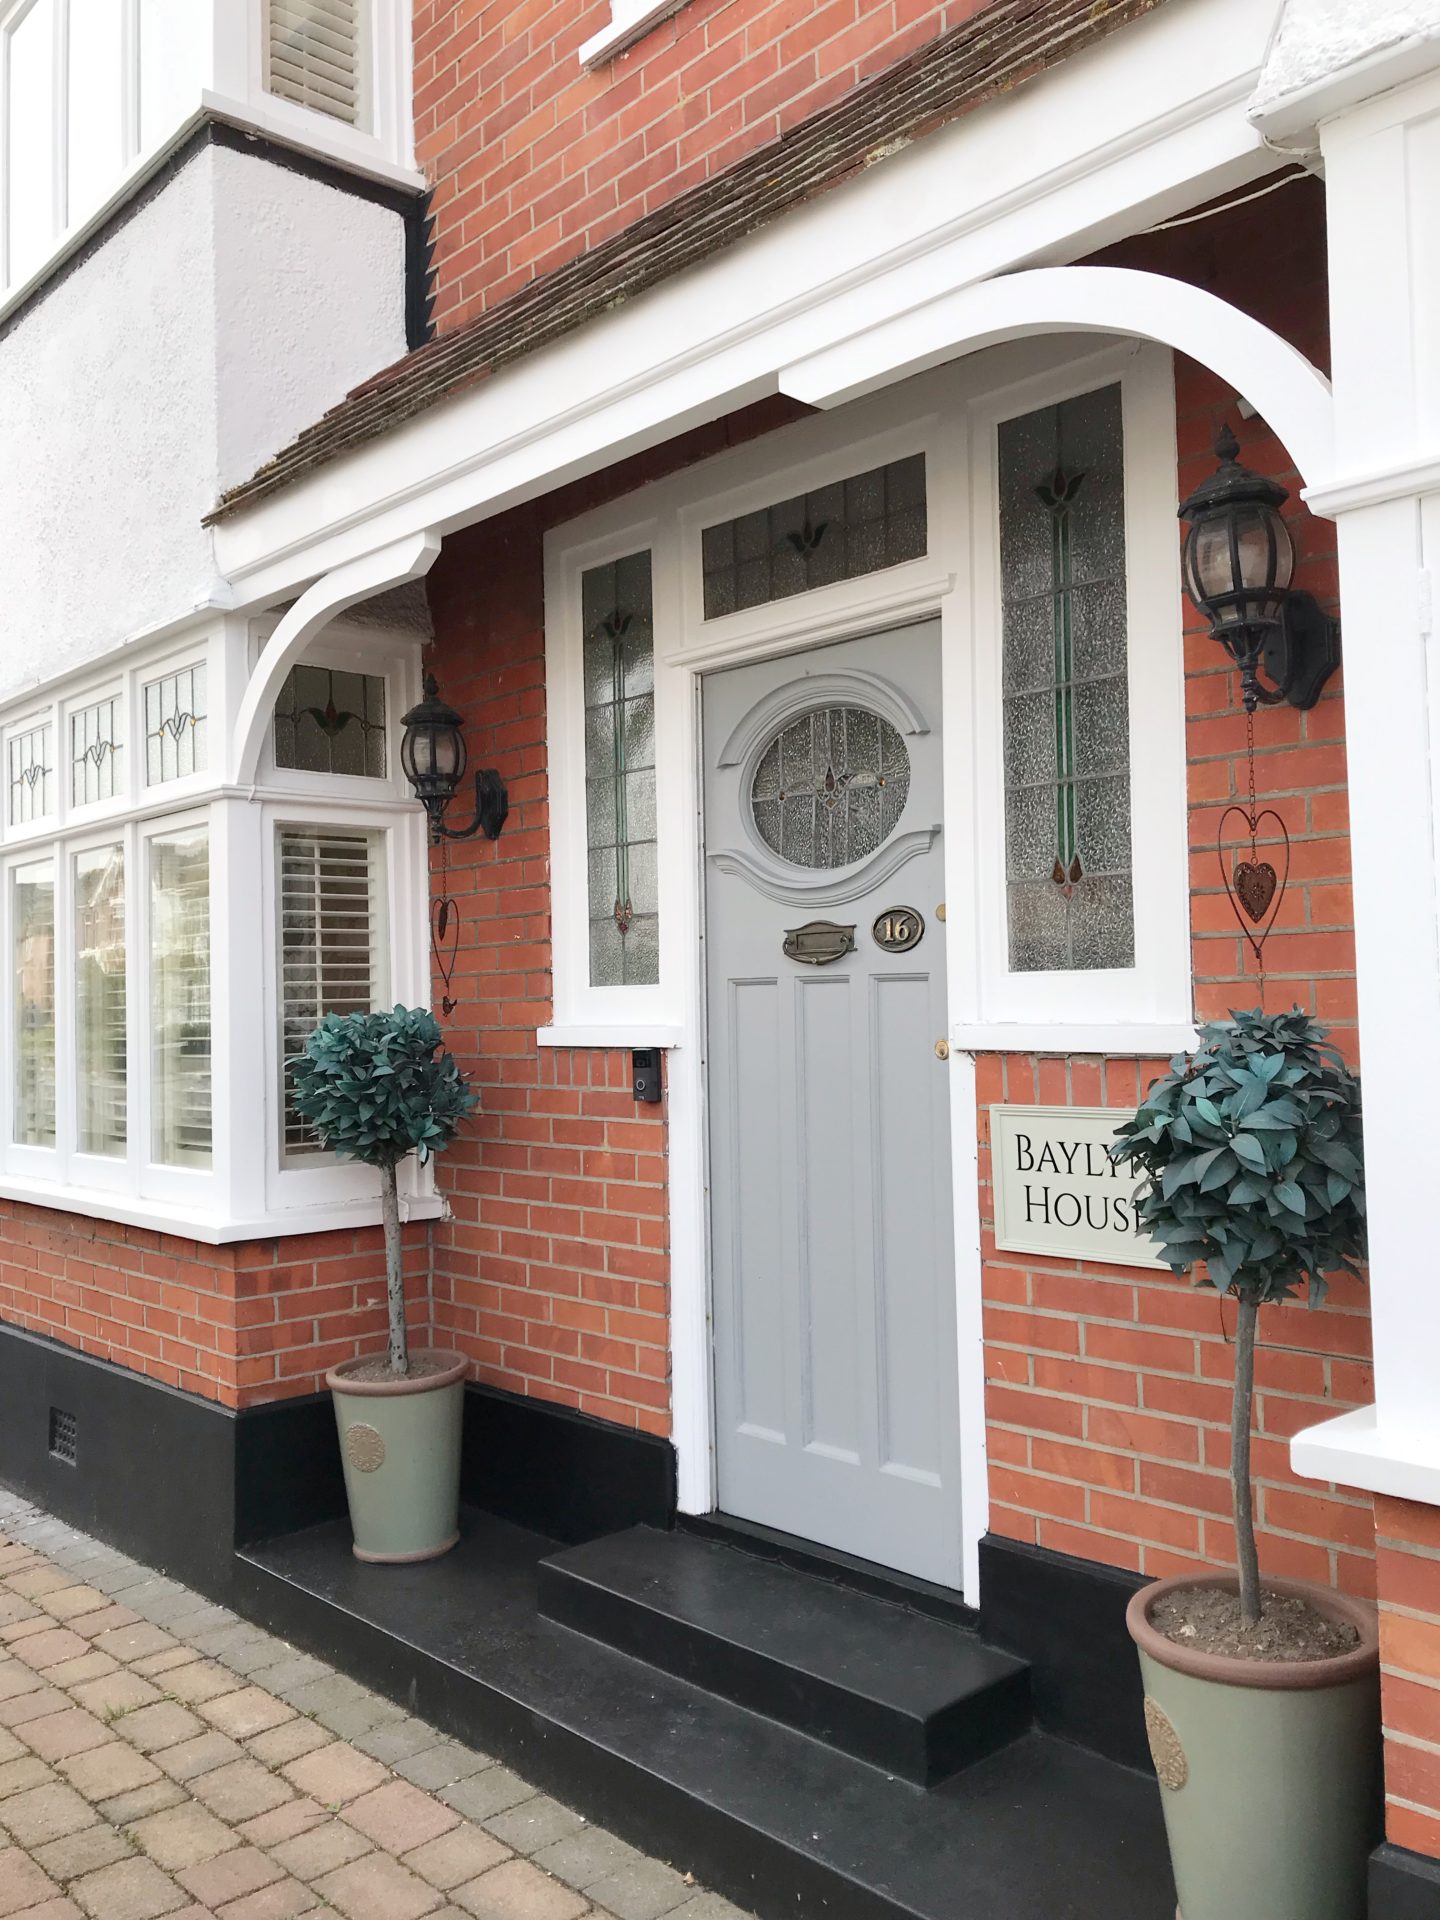
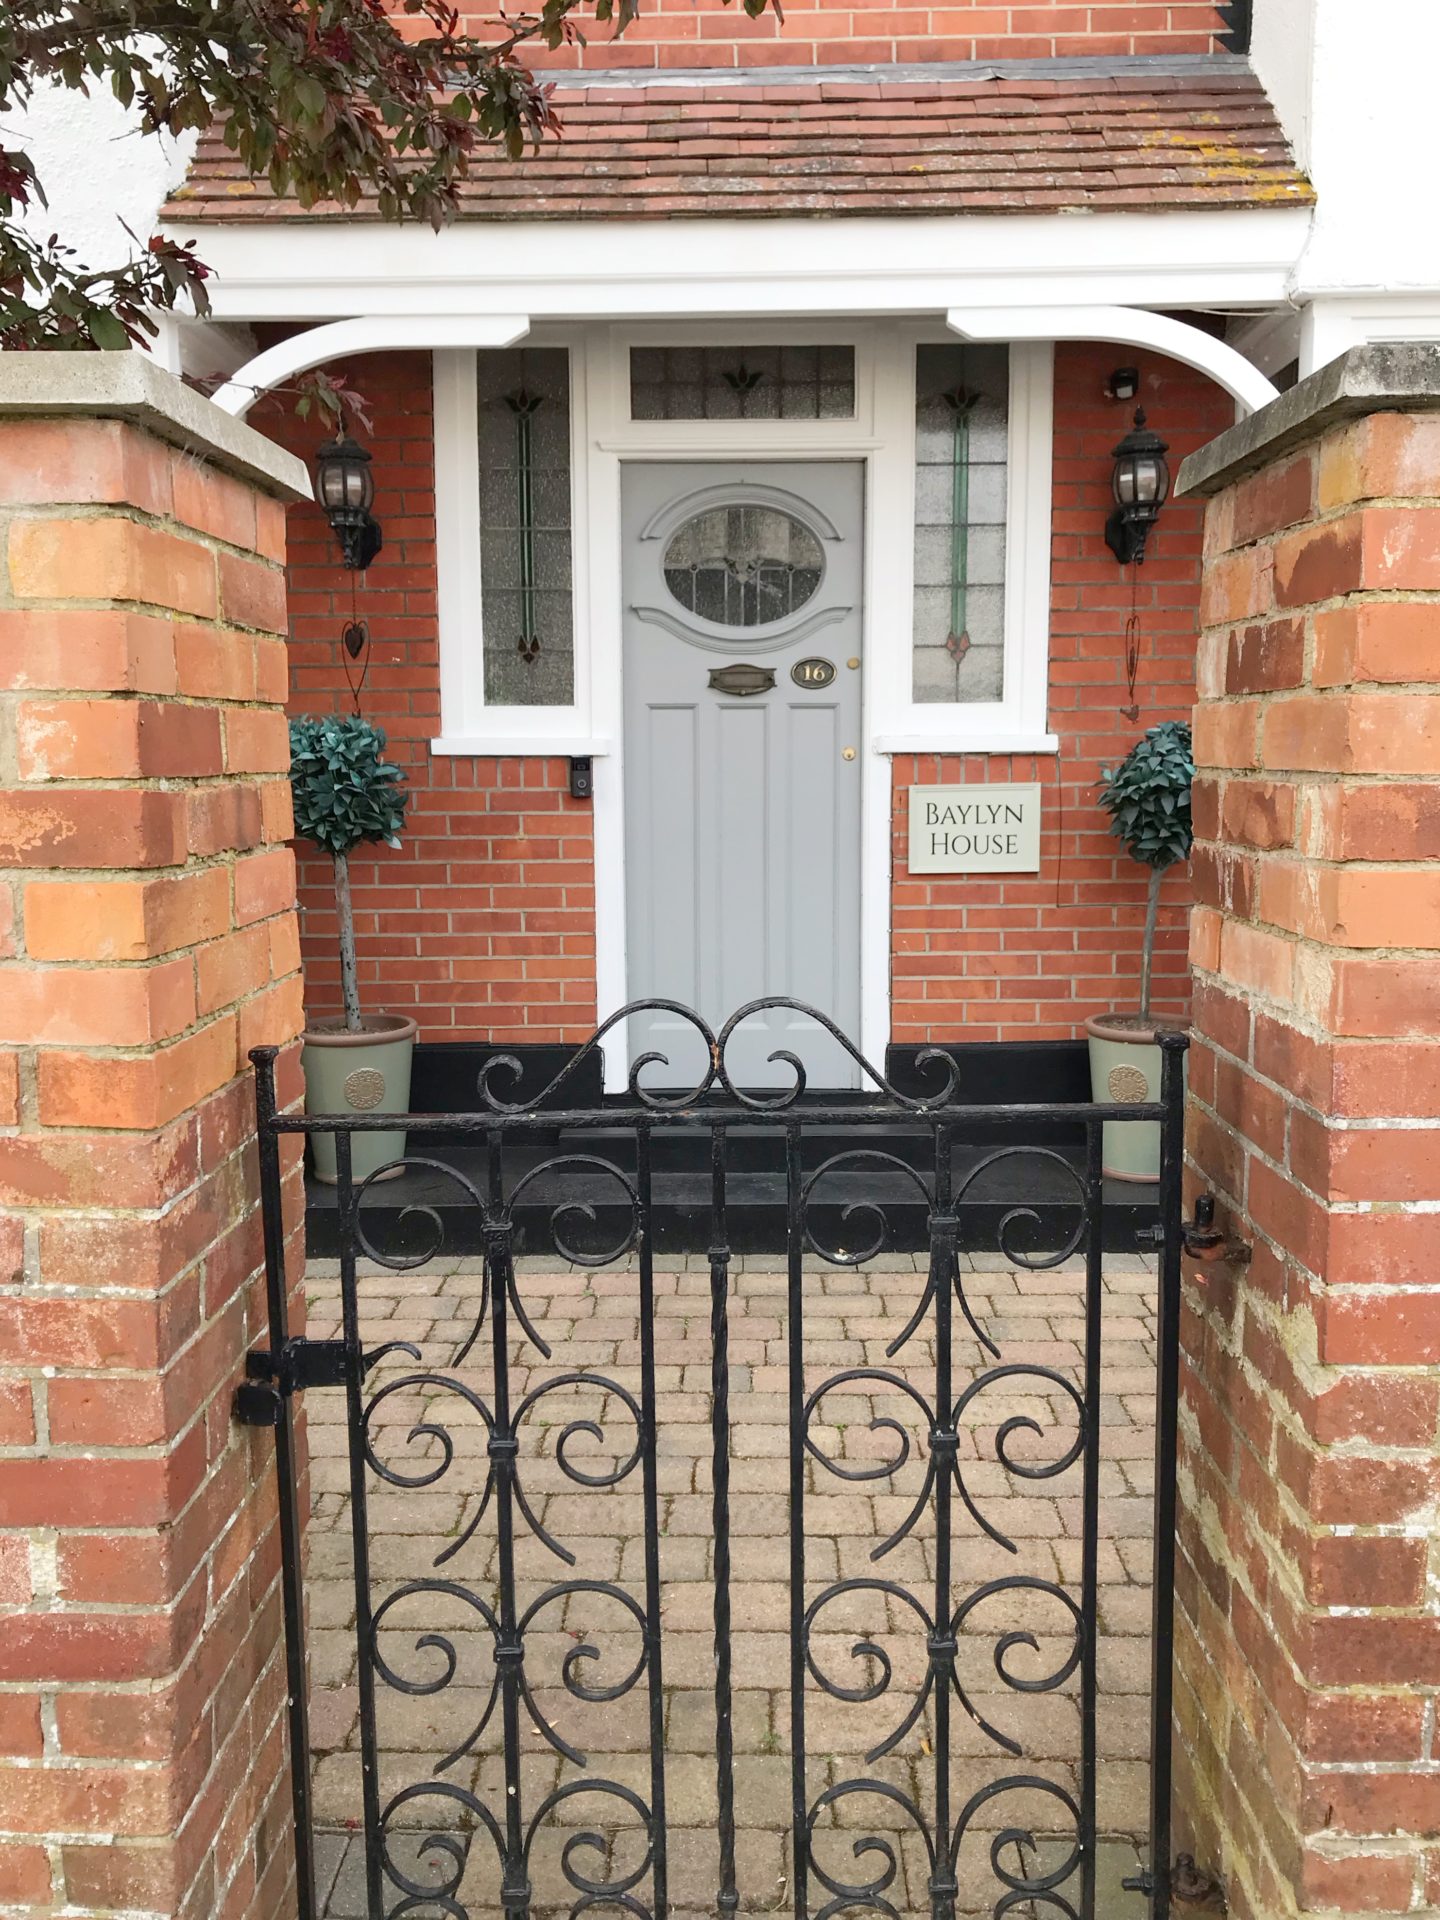
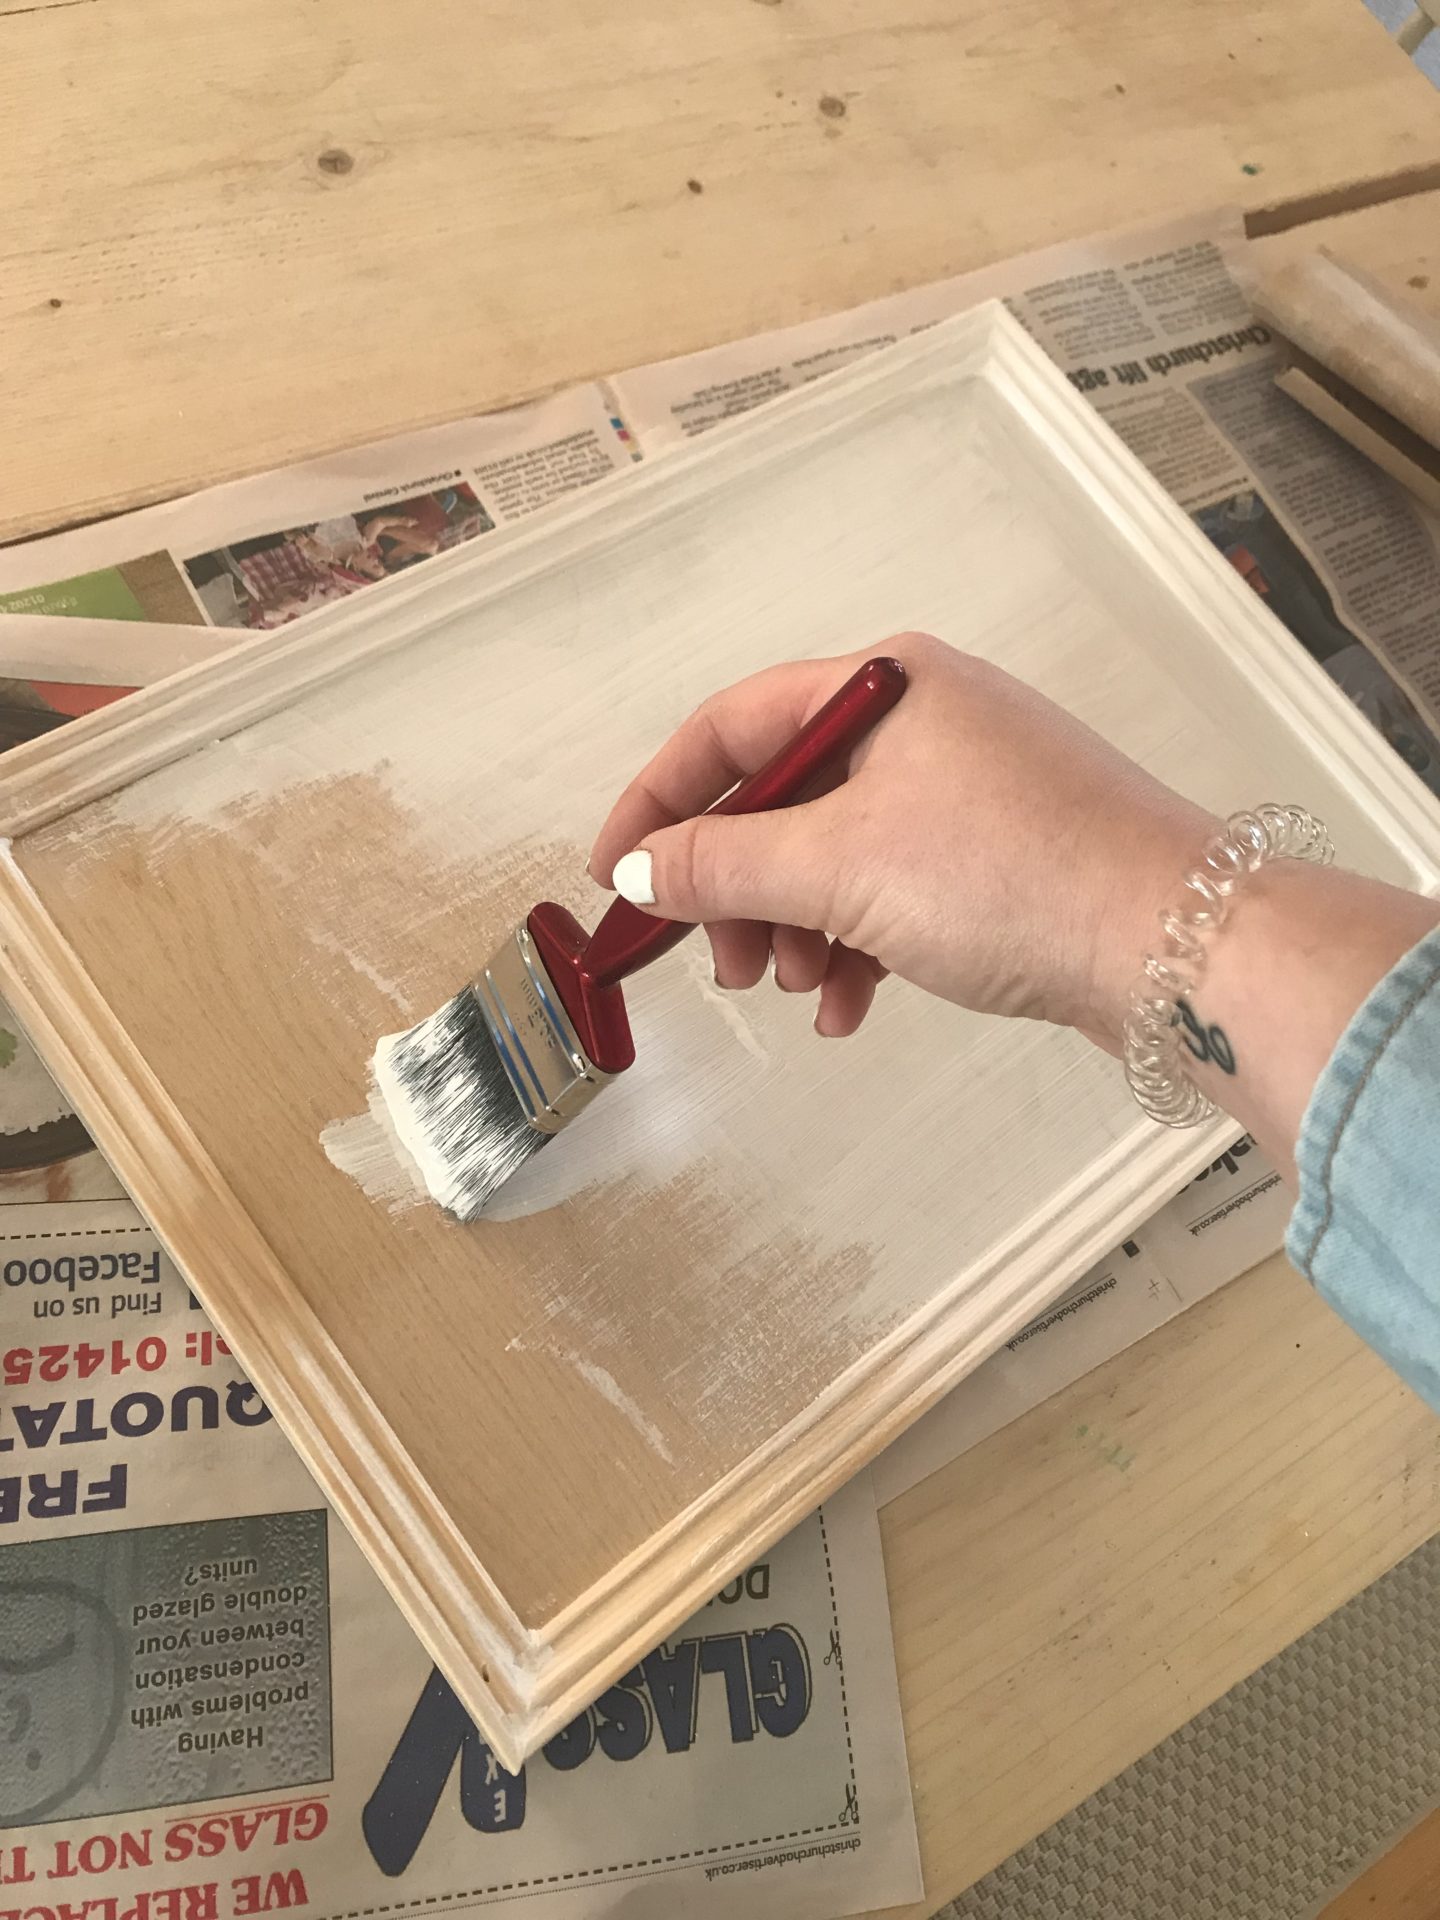
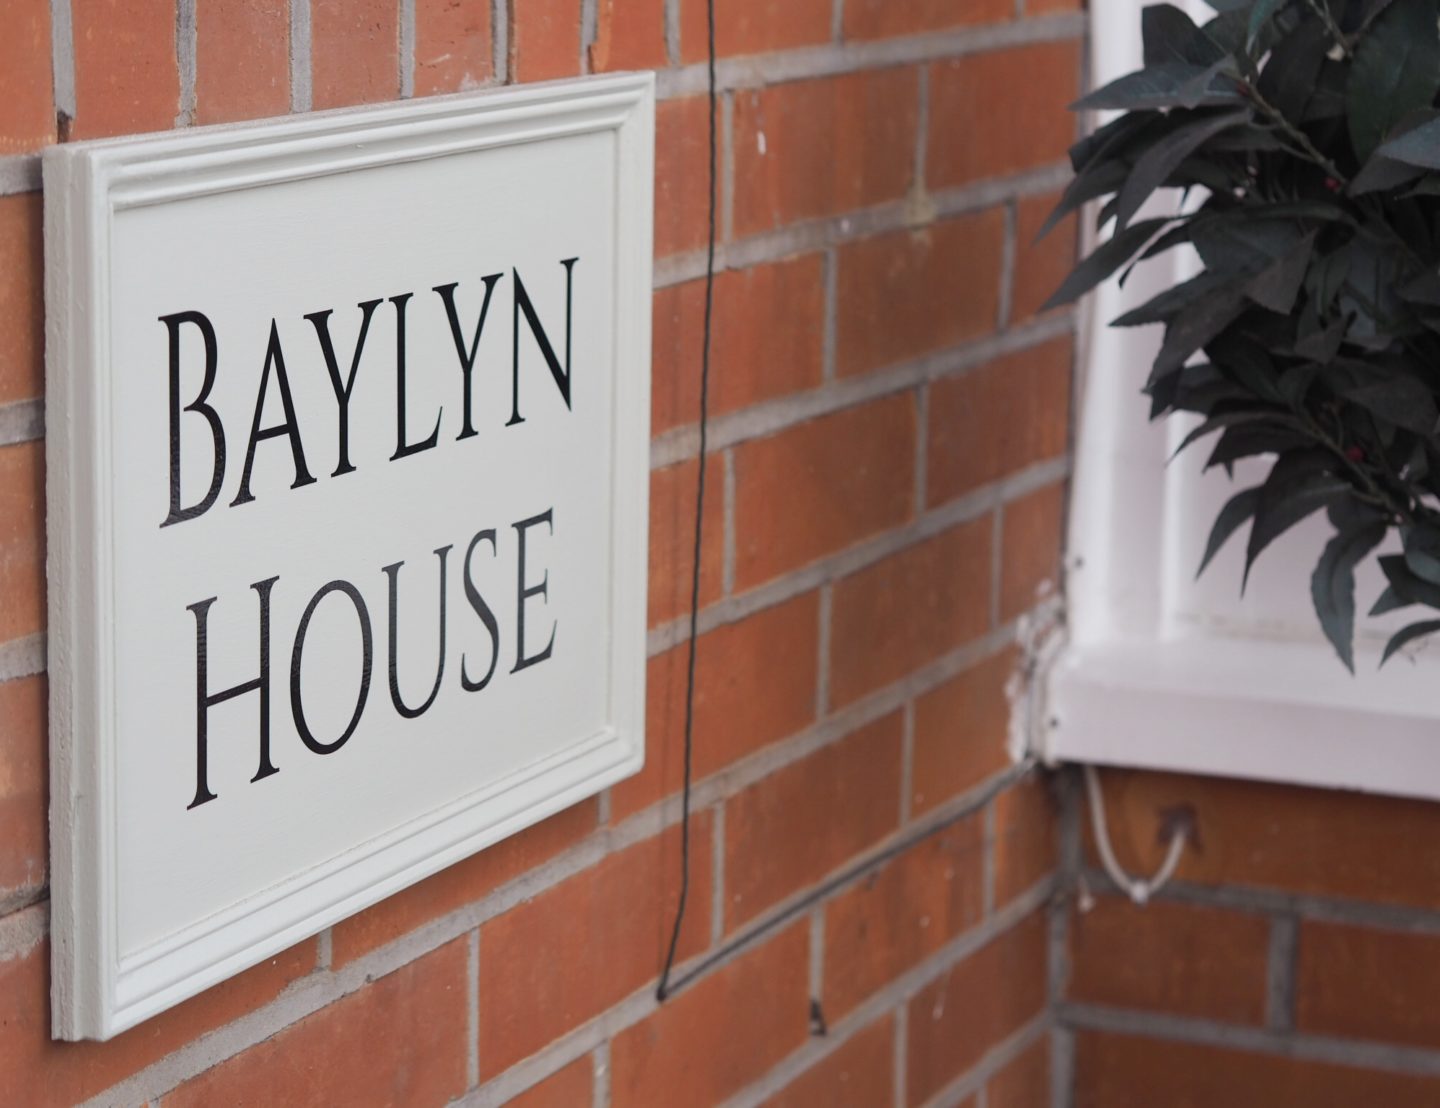
I was inspired by a picture on Instagram of a house sign (the company unfortunately have stopped making them so I decided to take matters in to my own hands!) & went to buy an off cut piece of wood as well as some edging. I mixed up my own colour using some exterior paint in the shed (F&B Vert de Terre with Stony Ground – so lets call it ‘Vert de Stony’…) & my lovely brother in law over at @twf_signs was tasked with doing the wording. I am SO over the moon with how this turned out, it cost me a grand total of £6!
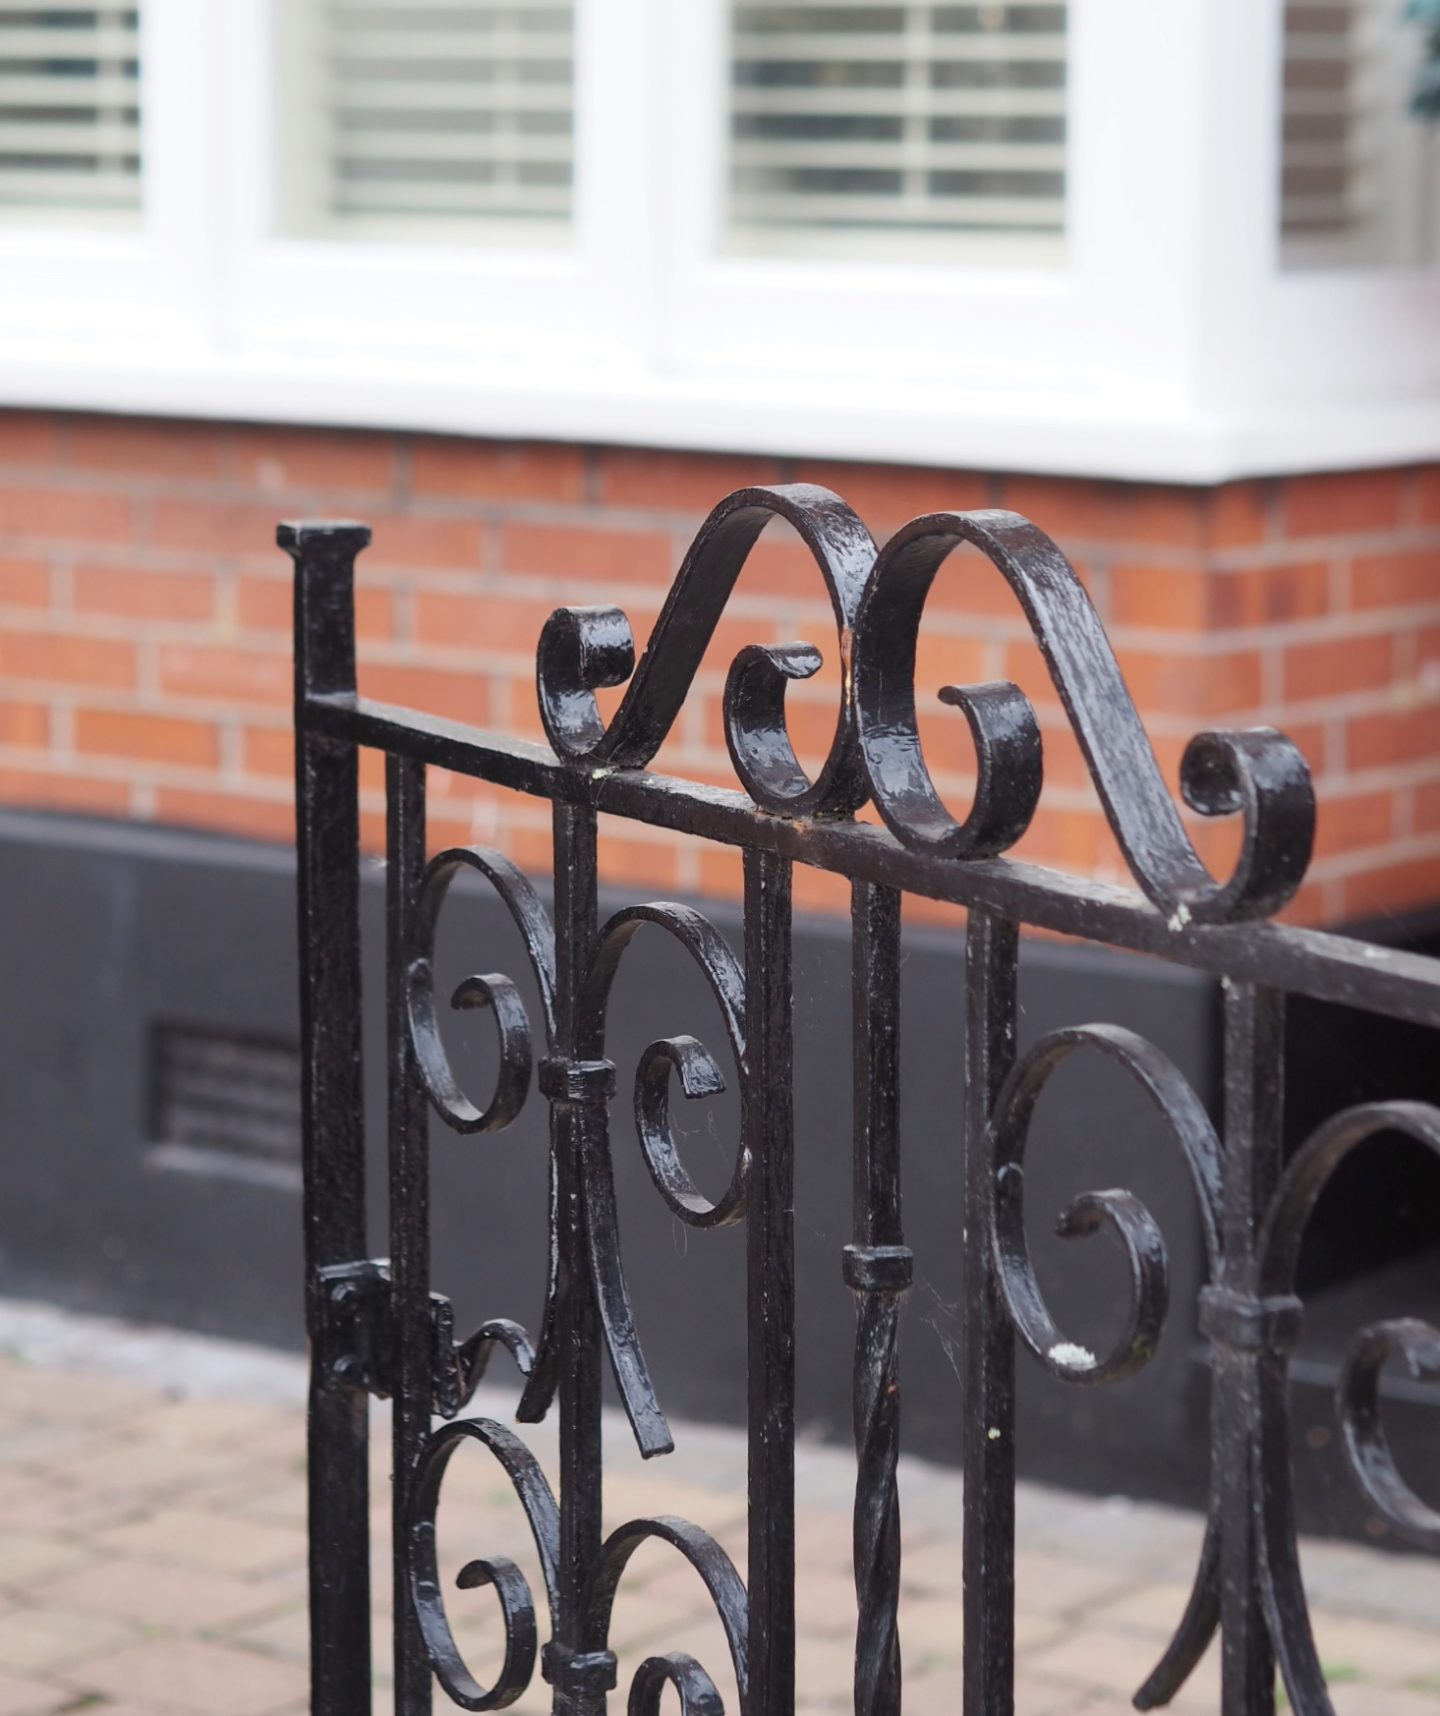
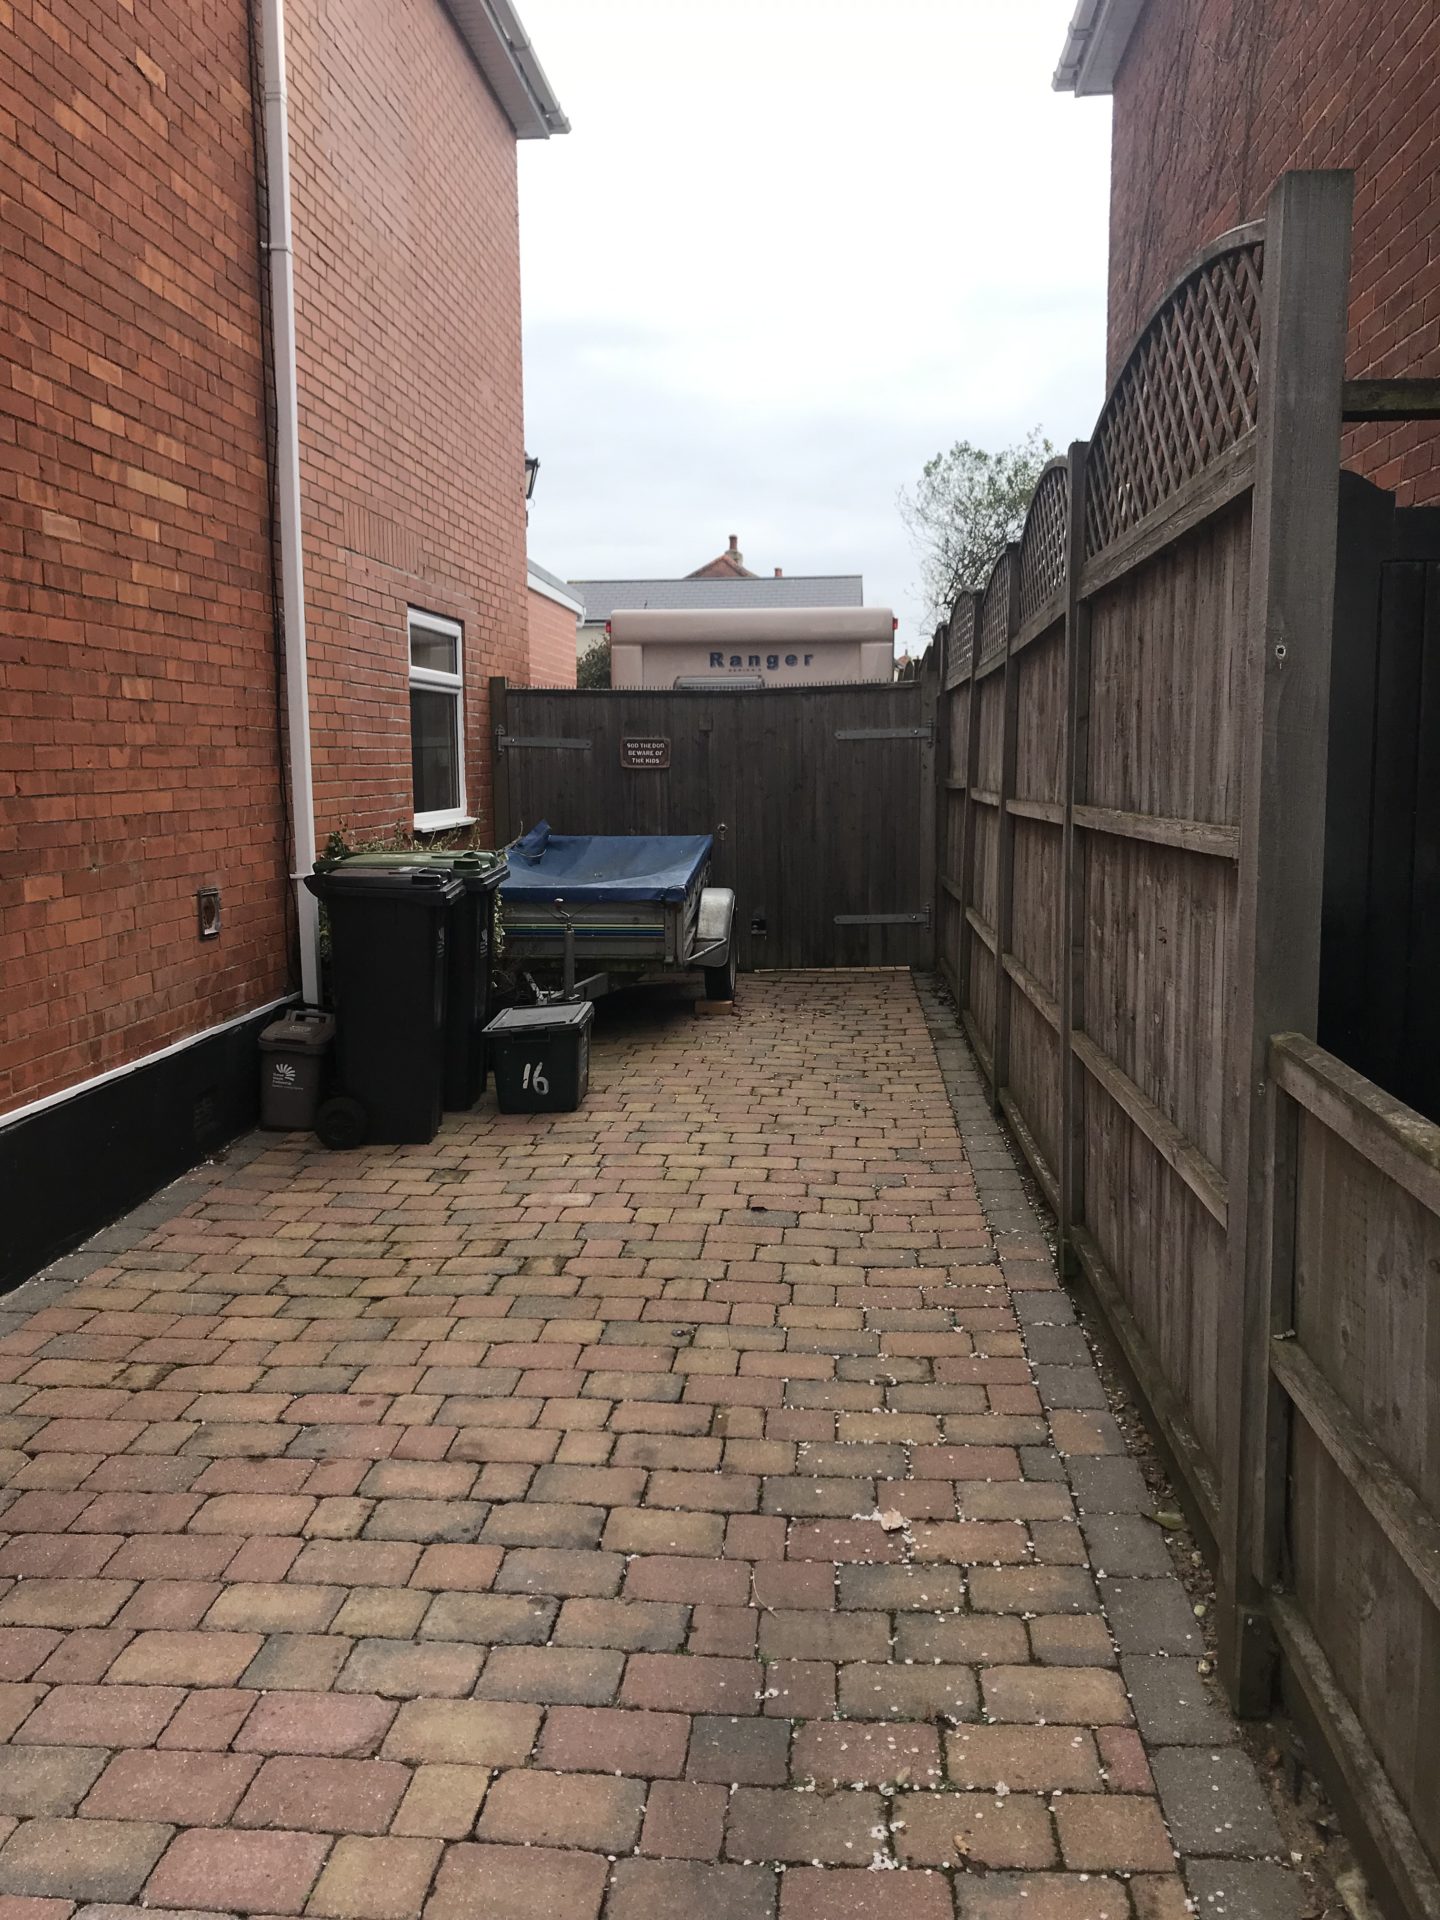
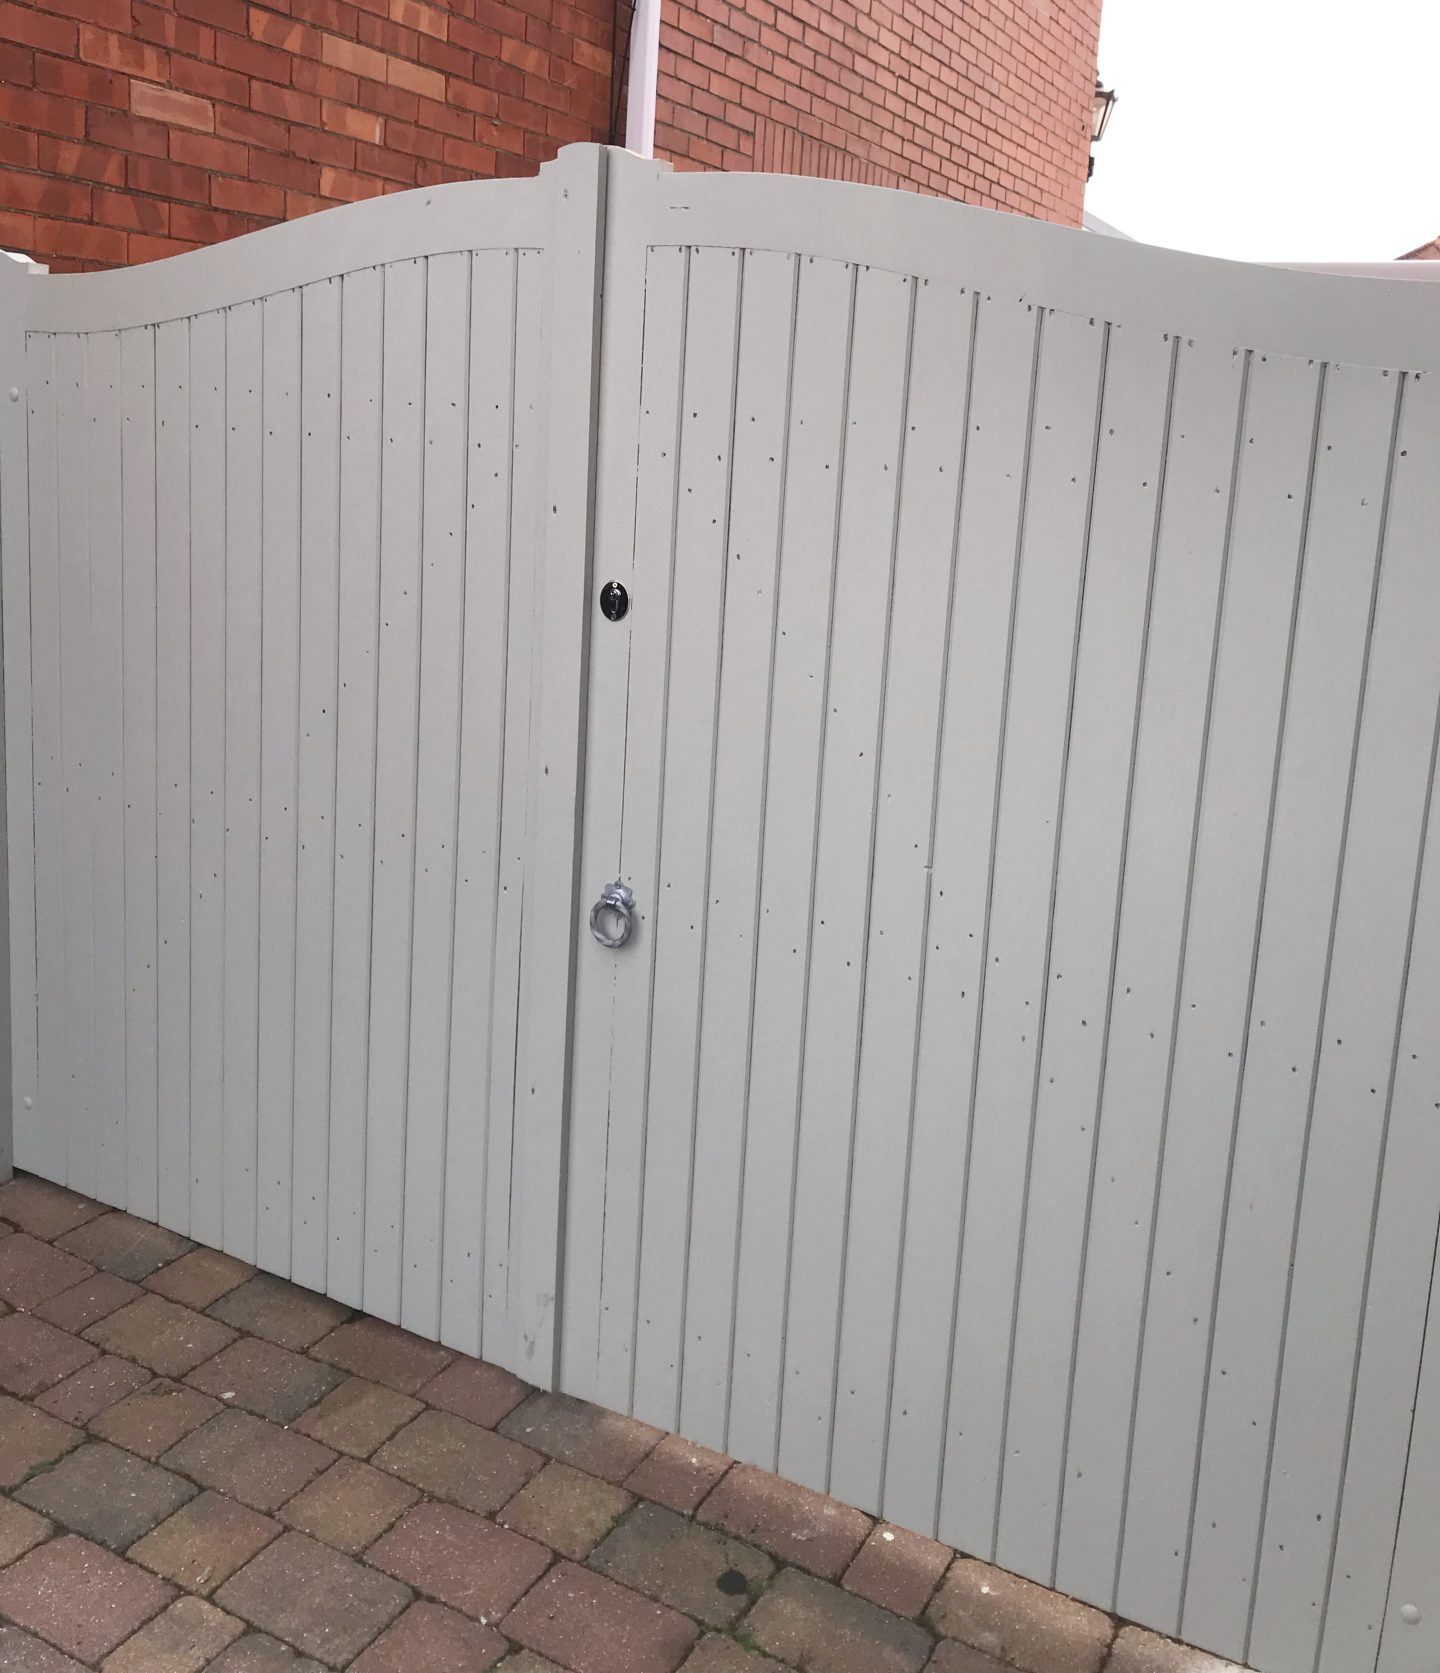
Our driveway gates had seen better days & were dropping in the middle making opening/closing difficult. We only have 1 car so didn’t need the long driveway & with the new addition of the caravan, we wanted these moved forward so decided to invest in some new ones who were done by Liam from Bournemouth Fencing. This adds extra security & they look so lovely. I painted these using All Coat mixed up to the same colour I mixed up on the house sign from @decoratingcentreonline *this paint was gifted.
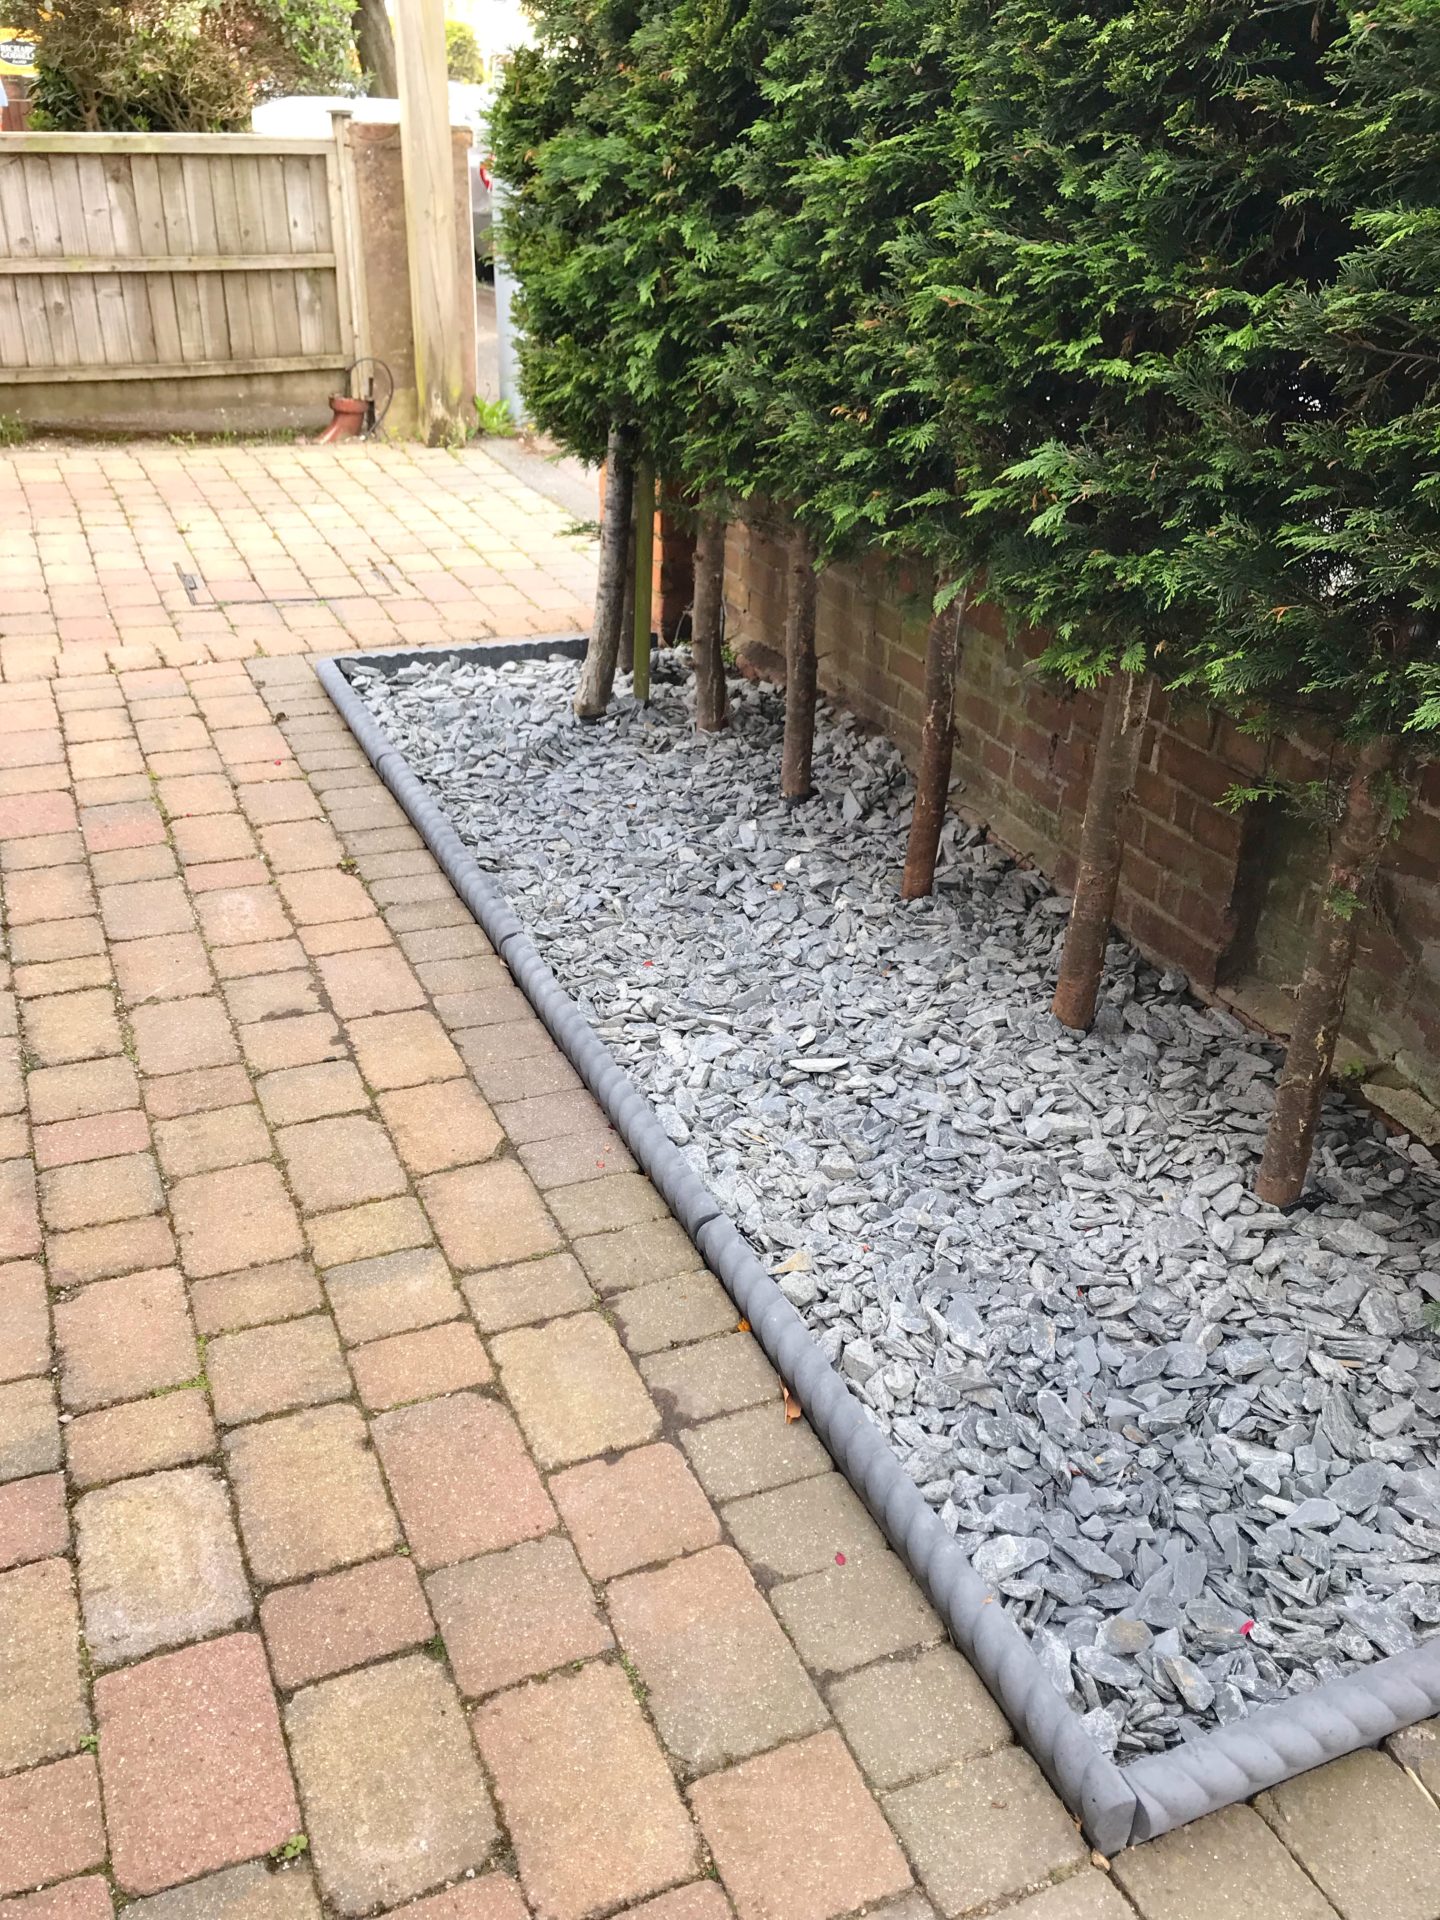
Finally, I decided to pull up the half dead plants along the front & finish it off with some stones. After putting down 20 bags of white cotswold stone chippings, I stood back & realised I didn’t like it so these got taken back up & replaced with black/grey slate chippings & finished off with rope edging, both from In-Excess. I’m super pleased with how this finishes it all off!
The block paving could do with a bit of a pressure wash but I’m really happy with how it’s looking & hopefully it will keep this beautiful old house going for a many more years yet….
Love,
Hi Charlotte, love your blog. Can I ask, what size louvres are your shutters at the front of your house?
Many thanks