
Wall panelling is the perfect way to transform or liven up your walls. Original is obviously the best option but if you haven’t been blessed with period features then this blog will give you the low down on how to achieve a country look on a budget.
Panelling can be a great option if you’ve got dodgy walls that need plastering as it covers the area so can actually end up saving you money. However if you’ve got a damp problem then this will need sorting out before you fit the panelling so it doesn’t start rotting the MDF or wood.
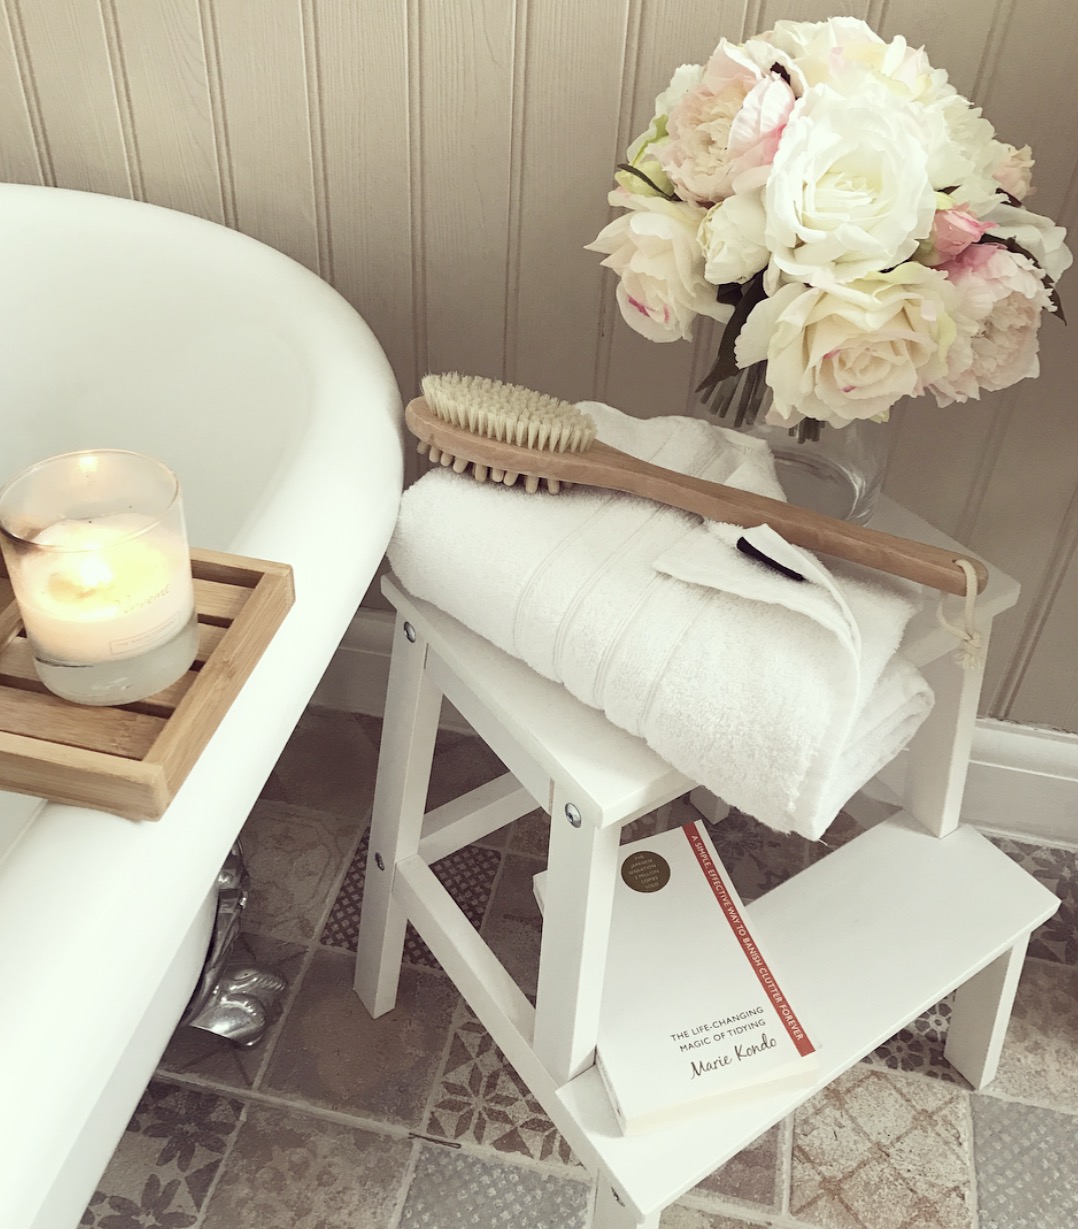
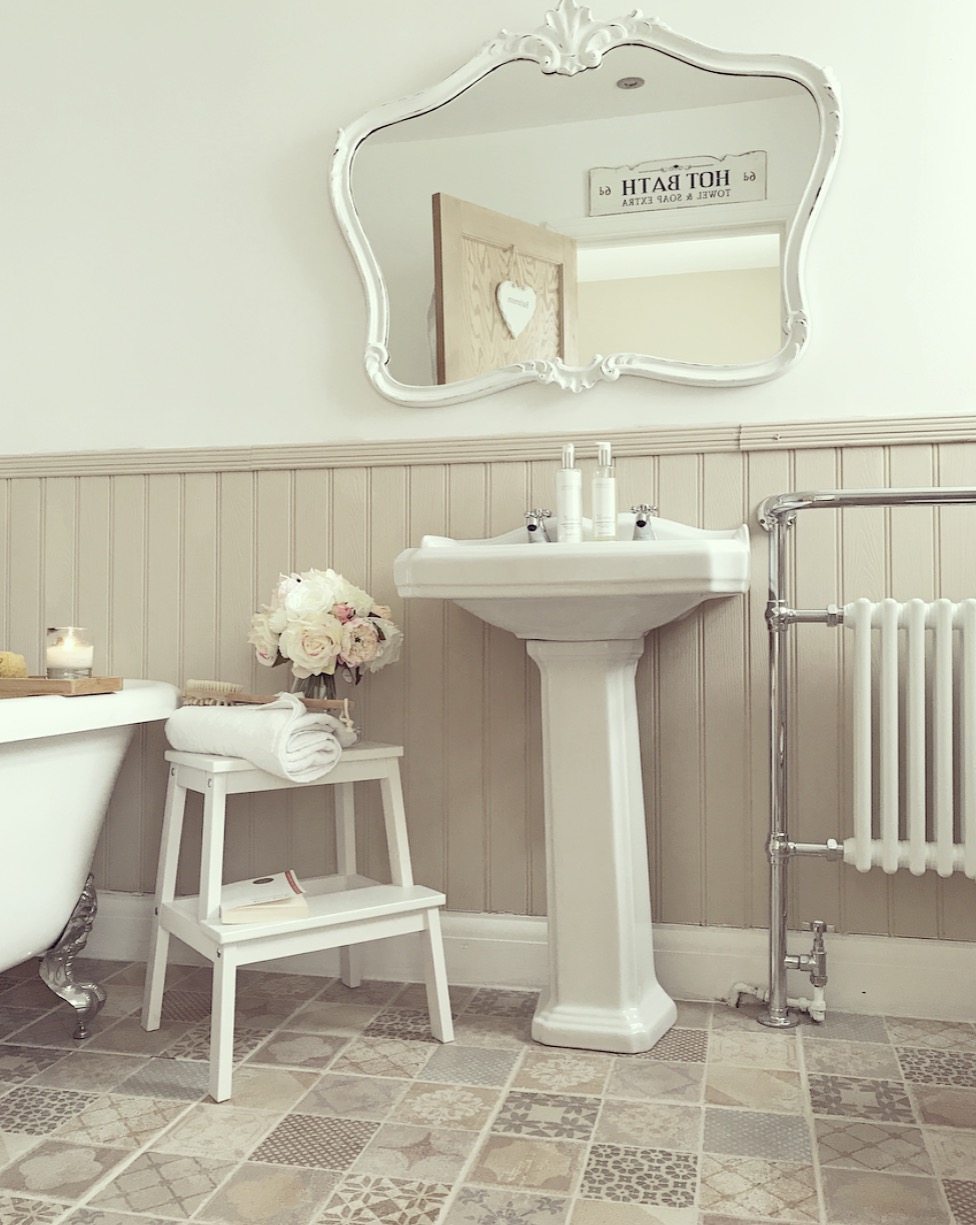
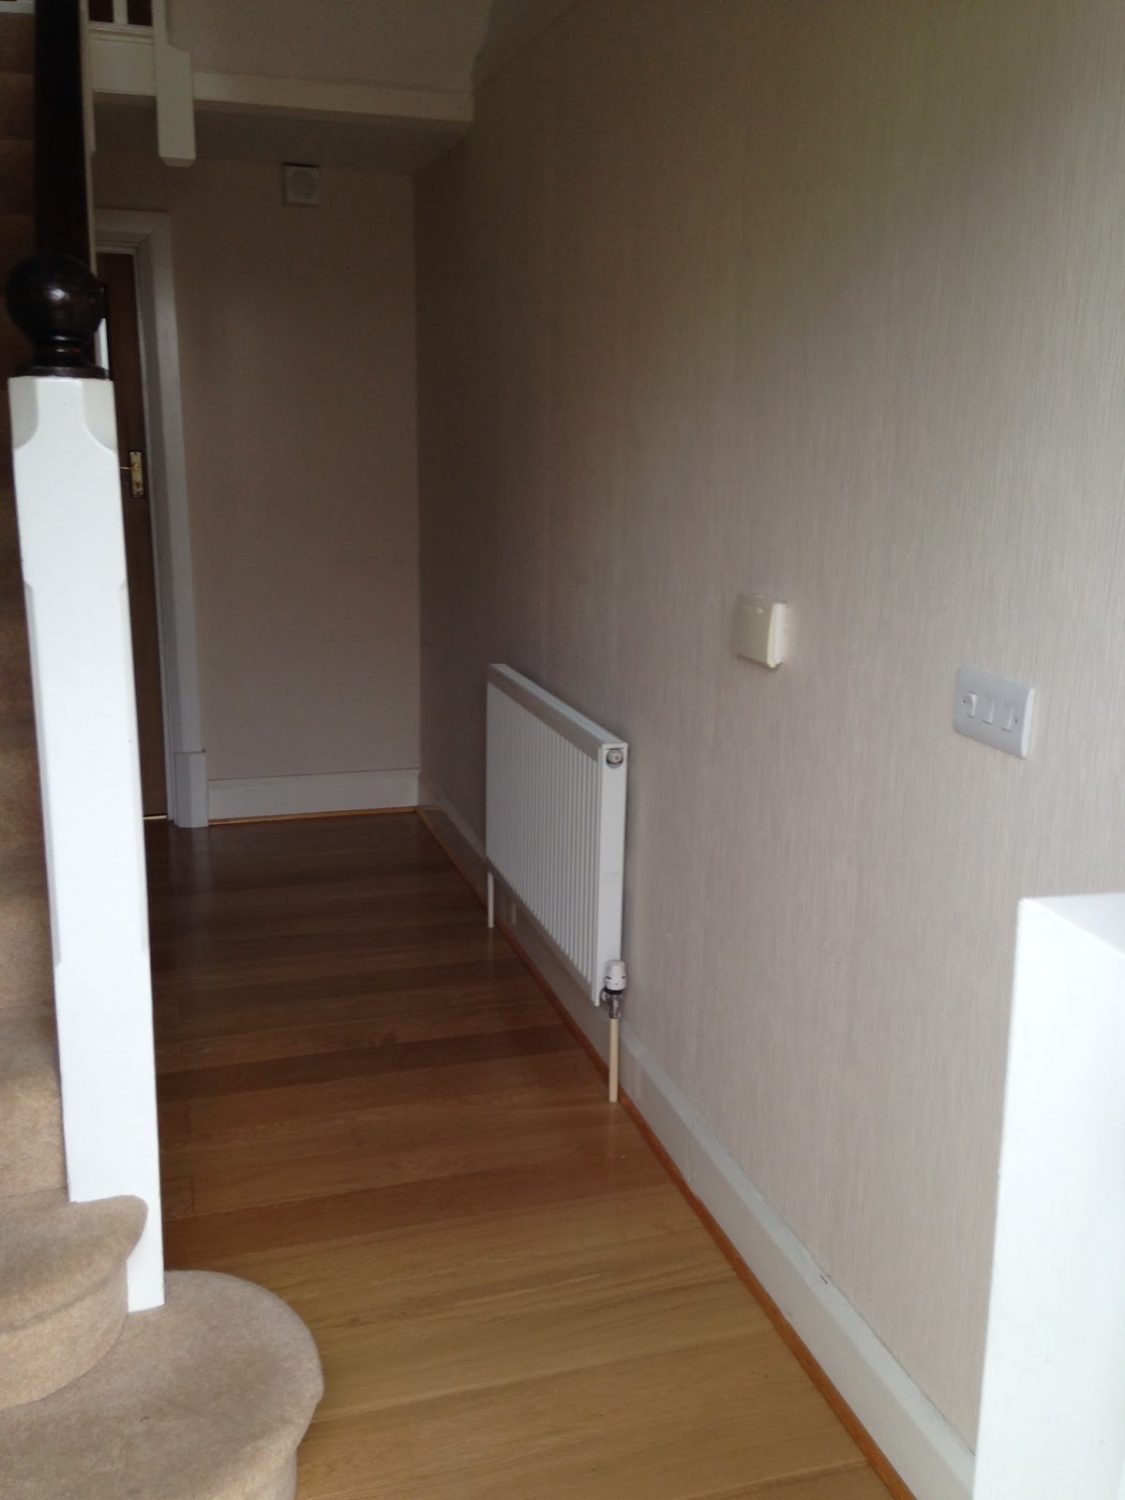
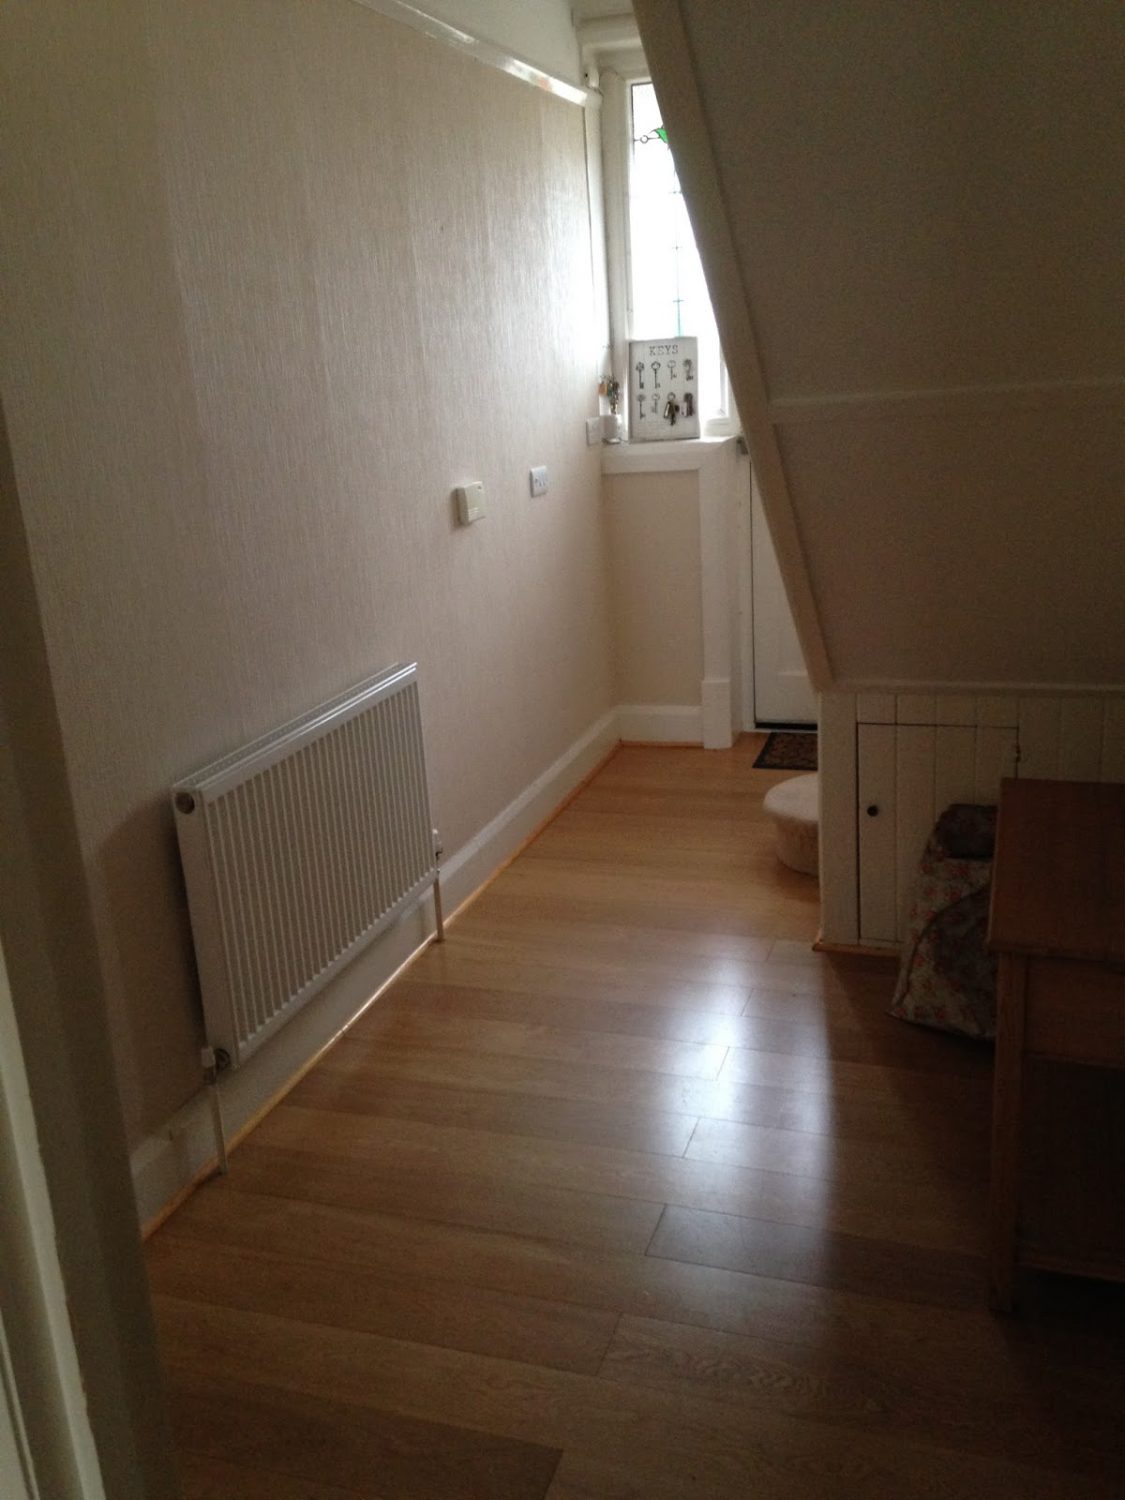
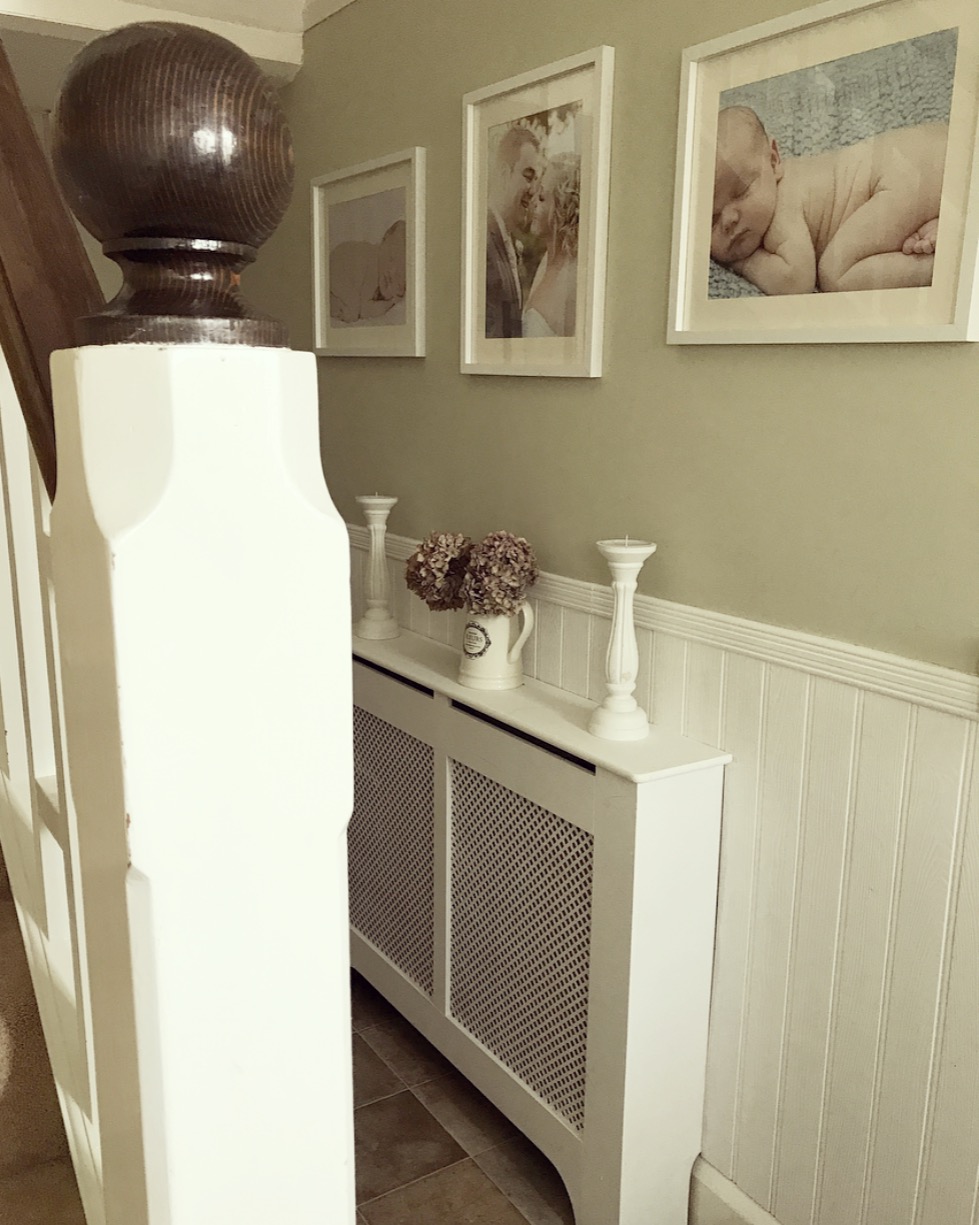
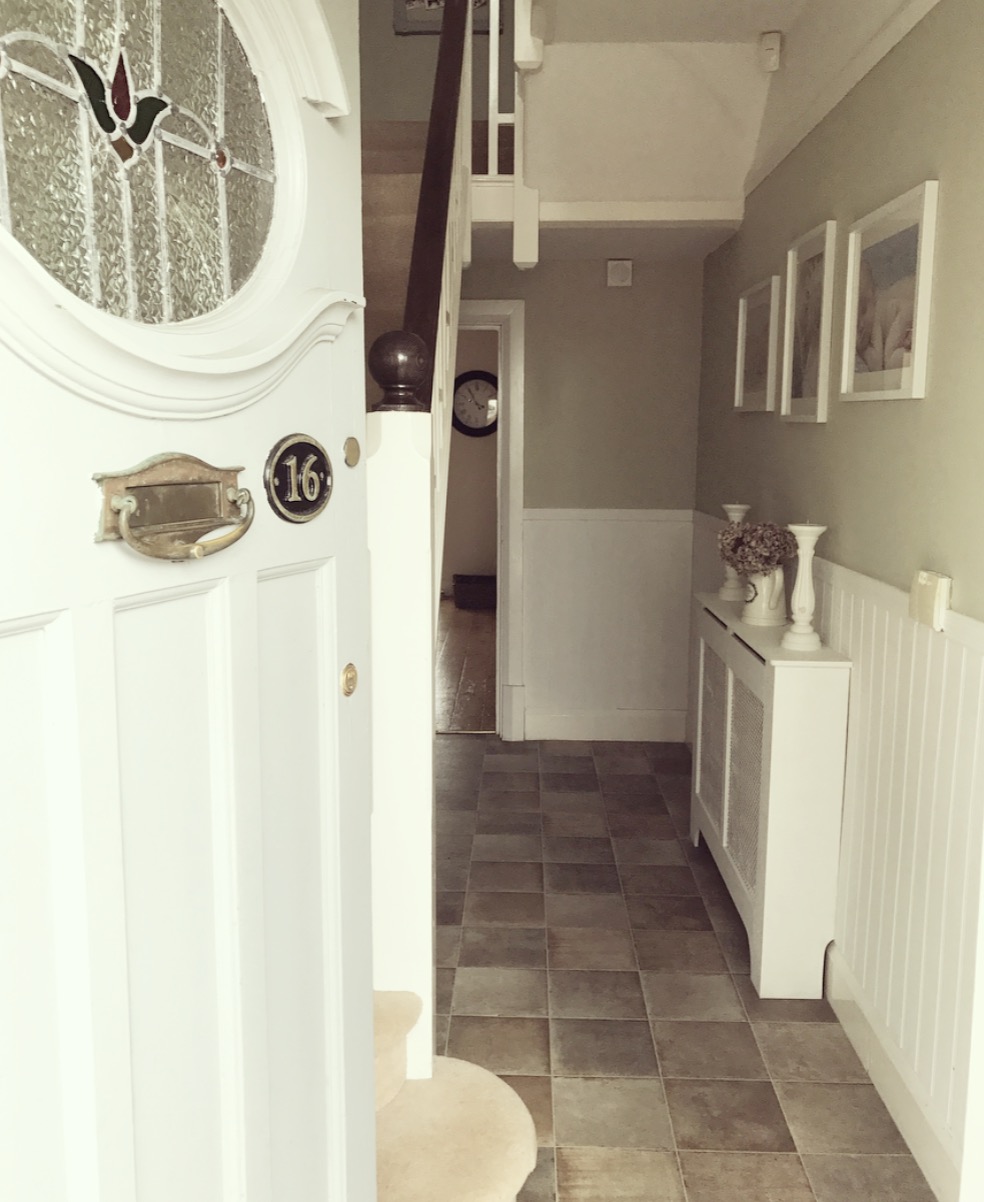
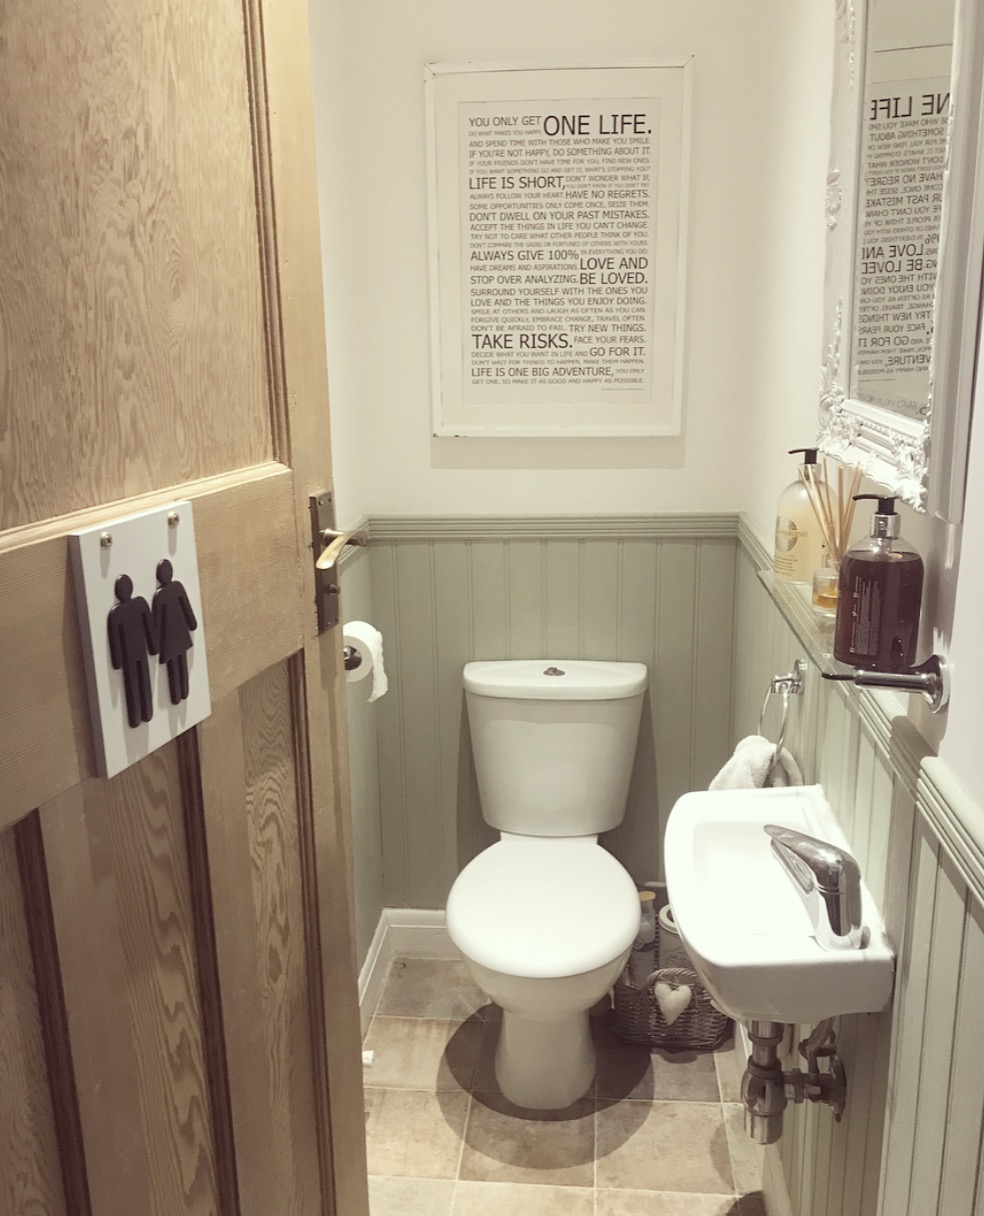
I chose to fit wall panelling in our hallway & downstairs WC & ensuite bathroom, both times using ready made tongue & groove MDF panelling like Tongue & Groove Primed MDF Wall Panelling or Homebases EasiPanel. The traditional way is using batons & wooden beading however as we paid a handyman to fit these (the hallway was done when I was 8 months pregnant when we first moved in to Baylyn House & were desperately trying to complete as much as we could before we knew a newborn Rory would engulf all of our time!) it ended up less costly to go with this option.
Look at these before/after shots –
To fit the ready made & primed wall panelling couldn’t be simpler, you basically stick the panels directly on to the wall using super strong Wood Glue then finish with beading at the top. It’s the perfect solution for a DIY novice however if you’ve got a bit more time on your hands then the traditional route is relatively easy too.
If you want to go down the traditional route then follow this simple guide –
- Measure your wall & decide how far up you’d like your panelling to go, usually you’d go to dado level height which is approx 1/3 of the way up the wall or about 36″ from the floor. Panelling sits on top of skirting board so take that in to consideration.
- Secure 3 wooden batons to your wall horizontally, one at the bottom, one at the top & one in the middle making sure to use a spirit level to keep them straight.
- For the traditional tongue & groove look, fix your wood directly in to the wooden batons using either super strong wood glue, panel pins or screws (but be aware these will be seen!).
- When you’ve fixed all your panels finish it off with wooden beading along the top which will hide the cut ends.
- Finally, you’re ready to paint so make sure you use a good quality undercoat & primer before using the right type of paint for the job (especially if you’re fitting in a bathroom, you can get Moisture Resistant Tongue & Groove Wall Cladding Panel Panelling
) by reading my guide on paint types here.
It’s completely transformed the rooms if you look at the below ‘before & after’ pictures as well as given back some character to otherwise plain rooms.
Alternatively, if you want to create the look without as much DIY or commitment then Wood affect wallpaper with a dado rail can give off a similar look.
Have you used panelling in your home?
Love,
I love it!! I’ve been trying to convince my husband that panelling would look good in our hallway. Can I ask (may be a stupid question) does it also run up your stairway, onto the landing area of the house?
No it doesn’t – it’s just along that wall! It would have cost a fortune doing it all upstairs too as the landing is really big. I was worried it’d look strange but don’t think it does 🙂 x
I’m currently persuading my husband to do this in our bathroom, such a good timing post! I thought topping it with a peg rail or a slim shelf rather than traditional dado might be a good idea? Hopefully we will get pregnant soon and it’s the family bathroom (we have our own ensuite), I had ideas of hanging up towels and being able to tidy away toys etc. Do you think it’s a good idea or will I spend my whole time giving myself bruises on the jutting out bits?
Laura
Hello! This looks amazing & we are planning our bathroom ATM!! Do you have it on all 4 wallss in the bathroom? Ours is L shaped…
Thanks x
Hi charlotte. Can you tell me what paint you used on your ensuite wood wall panelling please?
Hi I love the colour of your bathroom panelling am doing my bathroom at the minute and would like that color paint. Many thanks Frances
It’s Wilko’s own brand paint in ‘Coastline’ x
Hi Charlotte can you tell me where your bathroom mirror is from ? Thanks Frances
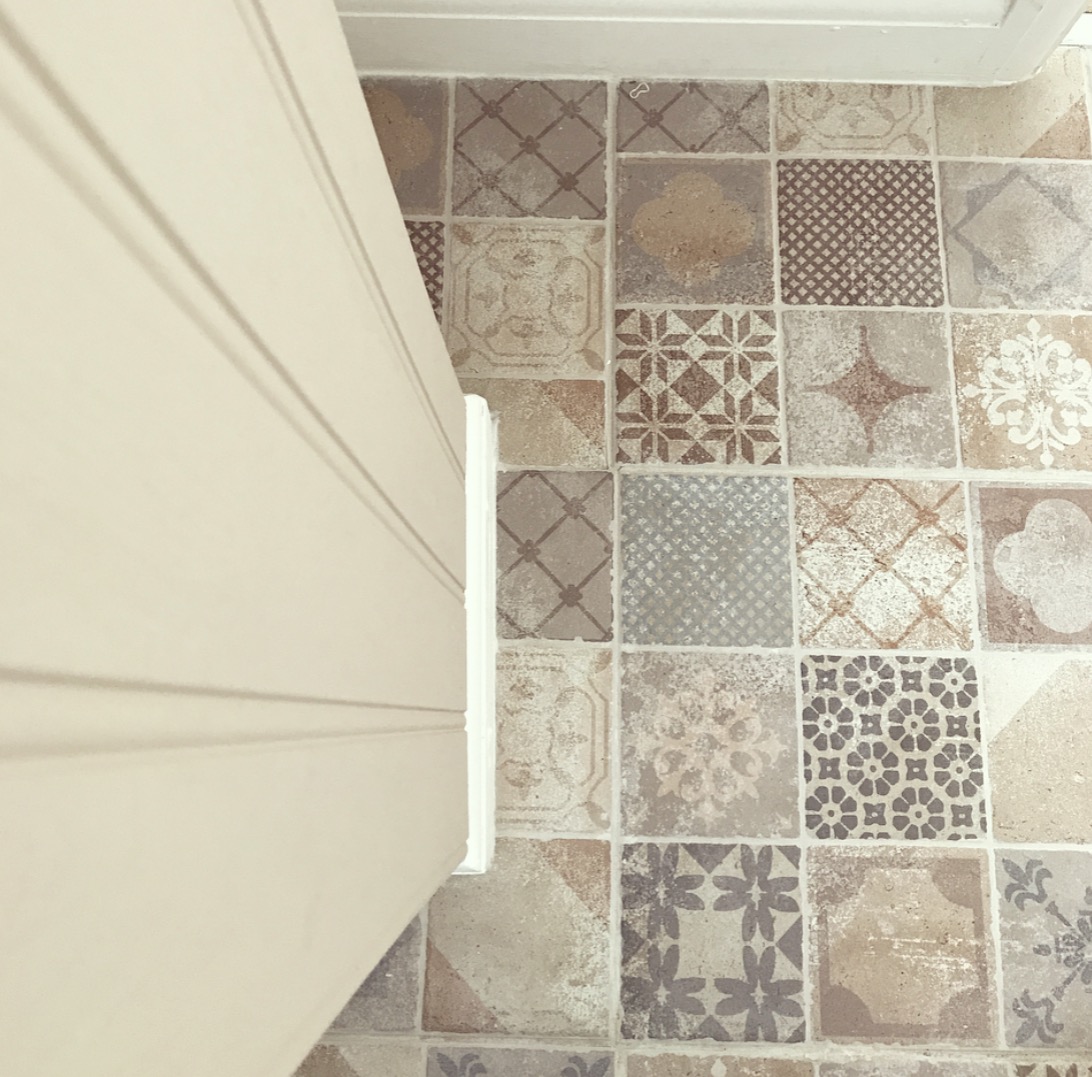
Hiya Charlottethe Wood Panelling is Wilko Coastline but what Colour is the Top Please? Also what are the Bathroom Tiles Called and where are they from Please
Hiya, what colour is your hallway paneling please? And which brand of paint?
Many thanks