
I use my trusty slightly battered Iphone 5C to take every single one of my Instagram photo’s – I do own a camera however to be honest, I don’t have a clue what I’m doing with it….something i’d love to learn though.
We’re all guilty of a good old Instagram filter to make my photo’s look better. Usually it’s to make those bags under our eyes disappear or that mountain of a spot fade in to the background however I rarely post selfies, so for me, it’s just to make my home look a lighter, brighter & a bit more ‘Instagram-worthy’.
So, I’m going to guide you through what I do with every single picture. I do normally follow this exact procedure & it takes about 10 seconds to make a picture go from a bit glum to bright & beautiful. I know a few of you have requested this post!
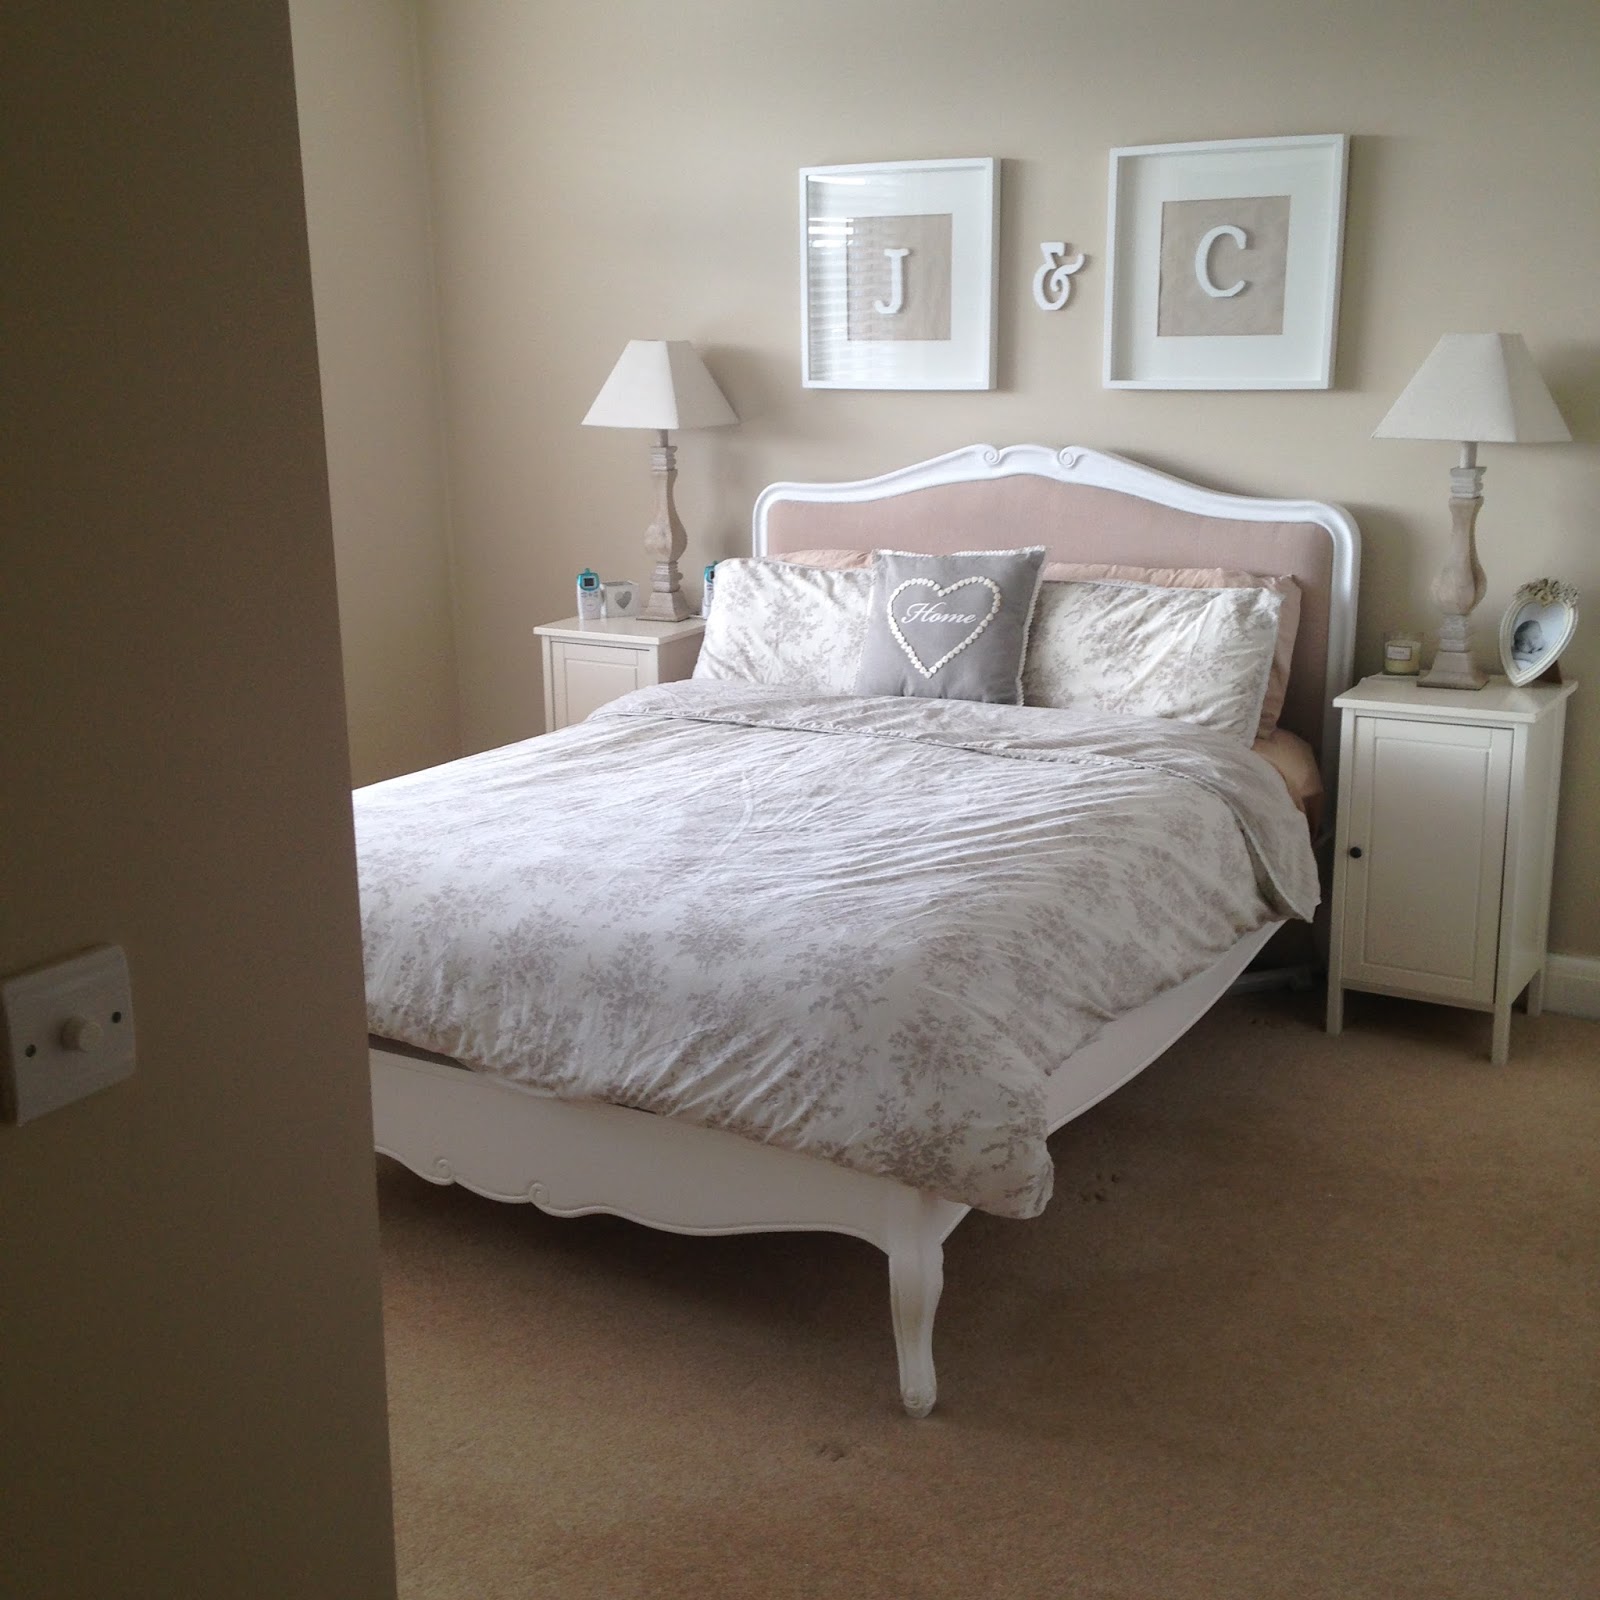
Here’s my original photo – nothing that wrong with it BUT it could look a whole lot better
First of all I apply the Valencia filter. To me, it’s by FAR the nicest filter & i’ve even removed all the others off the page because I never use them. I only use this one or no filter at all depending on the lighting.

Secondly I click on the spanner icon on the right hand side, this is more ‘advanced’ filtering.


Finally I go through & post it as well as writing a description & hashtagging depending on the contents of the picture.

Love, Charlotte x