
Anybody that follows me on Instagram will see how often I decorate. I am the type of person that is never quite satisfied, grows bored quickly & enjoys change…much to my husbands frustration as he comes home to a completely stripped/re-tiled bathroom (yes I really did decide one day a couple of years ago that the en-suite in our old house needed a change, so took it upon myself to bash off the tiles then retile & paint all whilst he was blissfully unaware at work).

Over the years I’ve picked up several brilliant hints & tips which has helped me on my quest to the perfect home, or at least for a couple of months in my case.
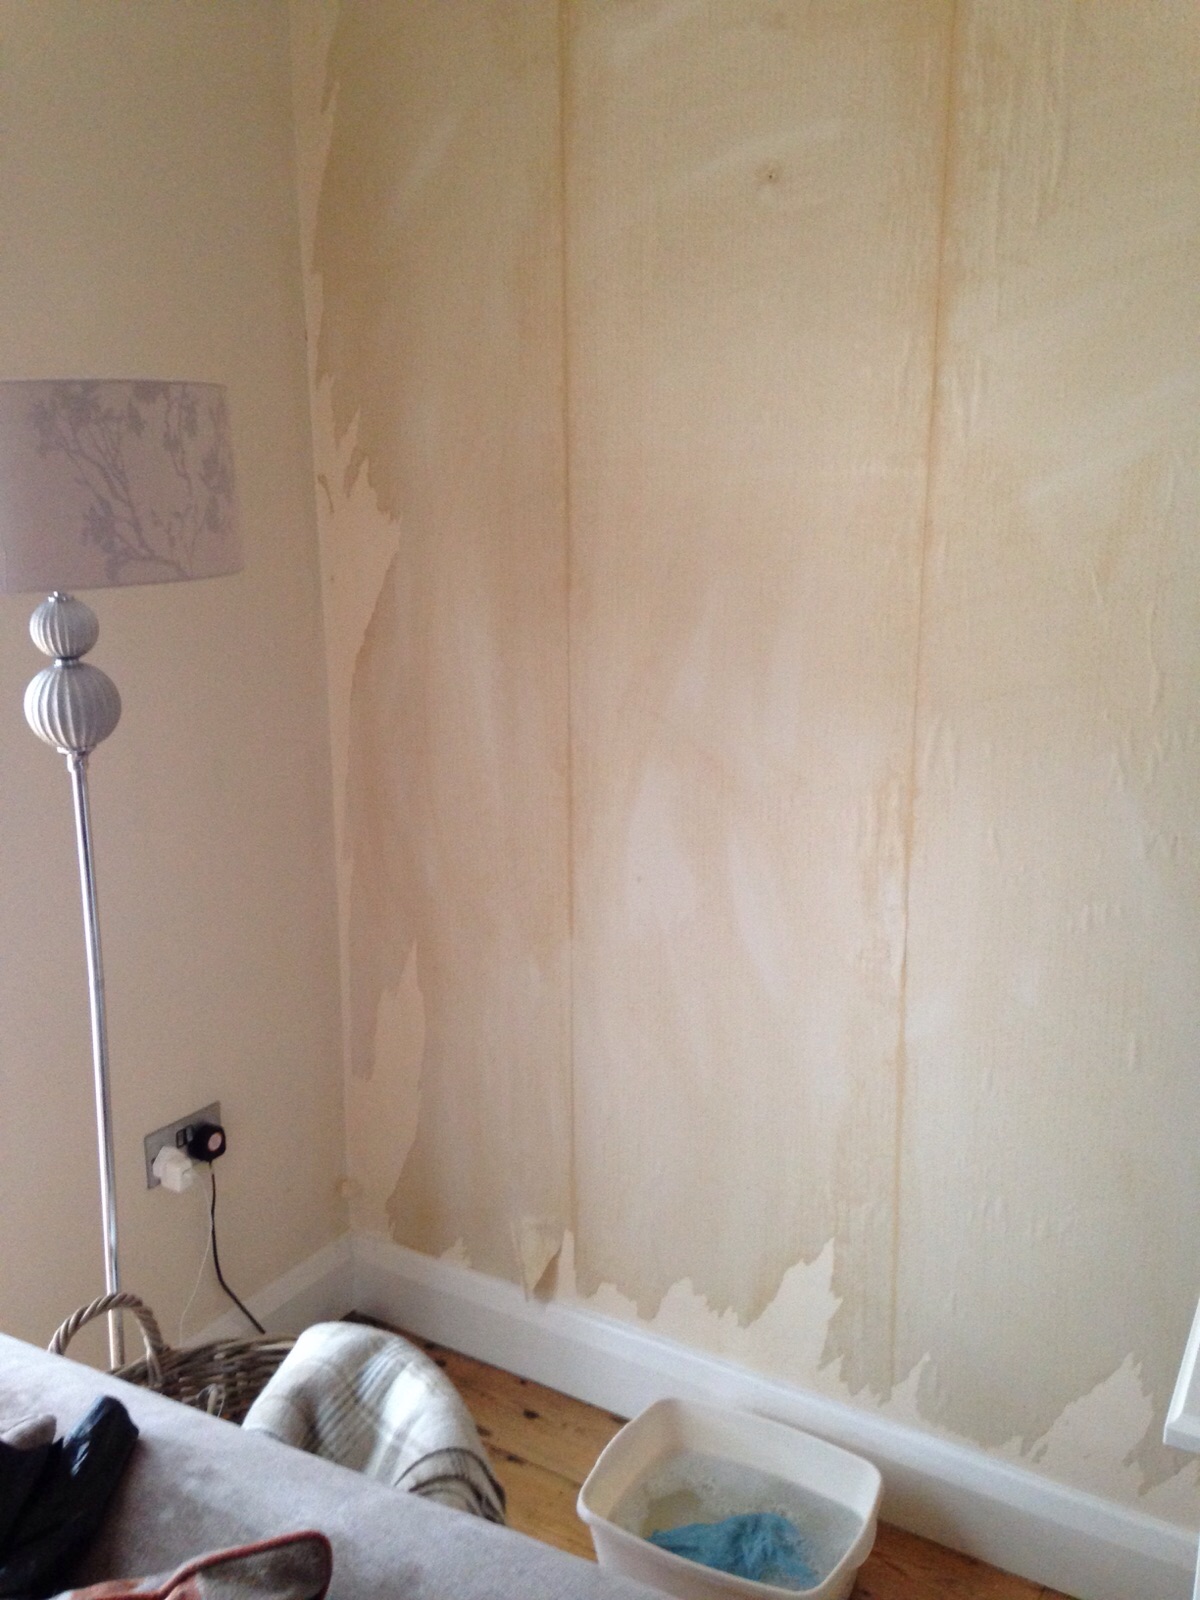
- Proper preparation prevents poor performance –
This is something my mum banged on about 24/7 when I bought my first house & just wanted to slap on the paint & be done with it. Unfortunately in doing this, the finish really isn’t ideal & you’ll end up regretting it. Make sure you scrape, sand, patch & fill every hole & imperfection. Use a fine grit sandpaper to lightly sand all walls before you start painting to make sure an even/flat surface is achieved.
- Paint finish –
Matt, gloss, satin, eggshell, silk, sheen? These can all be very confusing. It is basically all about the ‘sheen’ level (so how shiny they are). For more information on this, see my ‘paint finishes explained‘ post.
- ALWAYS shake/stir the can of paint –
Paint is all about pigments. If you use a stored can of paint thats had a while to settle you’ll find that it would have separated into pigment at the bottom (thick & gloopy) then binder at the top (more watery). It’s so important to make sure that these two parts of paint are mixed as otherwise you’ll find the further into the can you get, the richer the colour. Ultimately this will leave you with a room that started in one colour & finished in another.

- Cleaning brushes –
Water & chalk based paint such as emulsion can be washed easily with warm soapy water, however oil based is the bain of my life & requires a bit more work. Because oil-based paint contains a chemical drying agent (whereas water dries by evaporation) it also requires chemicals to remove it from any brushes or rollers used.
Alternatively, if you haven’t finished with your ‘tools’ then i’ve always found the best way to preserve them until the next day is to brush off as much excess paint as possible then wrap in cling film, trying to make sure as much air is disbursed which usually lasts for a few days as it stops the air drying out the paint.
OR buy cheap brushes (but beware of stray bristles!) & just chuck them away after use like I do as i’m super lazy.
- Invest in a good quality primer & undercoat –
Primer is used to seal unpainted surfaced to stop the covering coats from sinking in so for use on porous surfaces such as wood. It also stops stains grinning through so if you don’t do this well & are painting dark pine for example, you may see the orange tinge appear once you’ve finished. Brands like F&B will suggest a primer on their website depending on your chosen top coat colour as each have a slightly different tone.
Undercoat is applied on top of primer or straight on to walls if you are painting over a dark colour. Not only does it save money in the long run (as you’ll use less of the main colour) but it also helps with paint adhesion so reduces any peeling.
- Use the elastic band trick –
I saw this on pinterest a while ago & absolutely love it. Usually people will wipe excess paint off their brush on the side of the can which then dries & can fall into the paint meaning it’ll probably end up on your wall leaving a blob, plus it makes the lid hard to put on. Simply put an elastic band over the entire can then use this to wipe your brush on.

- Cutting in –
I am absolutely shockingly bad at this. I have no patience at all & tend to rush it which isn’t the way to do it at all even with a nice steady hand. If this sounds like you then the best investment is masking tape to create the perfect straight lines. When it comes to peeling it off, blast a hairdrier at it for a few seconds before removing so it doesn’t take half the paint with it. If you are painting things like mirror or glass then it’s easy enough to scrape the paint off afterwards.
- Protect your floor/furniture –
Nobody wants paint splatters all over the floor. I keep old bedding & curtains to reuse time & time again. You don’t need a lot, just enough to cover where you’re painting then move it around with you.
- Don’t stop & start –
Always make sure you finish a wall before you move on to another. To get an even finish it’s so important that you work your way around a room bit by bit so you don’t give some bits 5 coats & others 1 without realising. I always make sure I cut in around a room (corners/skirting/ceiling) then immediately roller it to make sure the brushed & rolled paint blend in together…or get my husband to roller whilst I cut in.
- Overloading your brush is not a good idea –
It pays to be patient. Unfortunately this is a trait my husband has when painting but it almost always leads to brush marks, splattered paint & an ugly finish. When using a roller it should be able to roll around freely rather than skid over the wall.
Do you have any hints & tips that I haven’t picked up on? I’d love to hear!!
Love, Charlotte x
I don't suppose you could recommend products/methods for painting a roll top bath tub could you? I'm about to get the keys to my new house any day. It's a gorgeous Georgian property with original features. It really is the dream house bar the roll top being red! Not bad when that's my only complaint! Haha. It probably won't get done immediately as I have furnishings to think about etc and it's quite a big house. But I really would like to switch the red out for a grey/sage-y green at some point. Red is just too bold for my liking! Any advice you could provide would be greatly appreciated! Thanks! Lora x