

I’m a huge fan of upcycling furniture. The majority of items in my house have been bought second hand & have been bought back to life with a bit of TLC. Not only does this save a huge amount of money but you also get the sense of pride knowing that a previously unloved piece of furniture has now changed from an ugly duckling to a beautiful swan.
My favourite paint to use is Annie Sloan, i’ve been using it for about 5 years now, long before it became the ‘in thing’. This is available in several local stockists (my one is about a 5 minute walk at Thomas & Lucia in Christchurch luckily & i’m most definitely a regular there) but you can search here for your local store or order directly on the AS website.
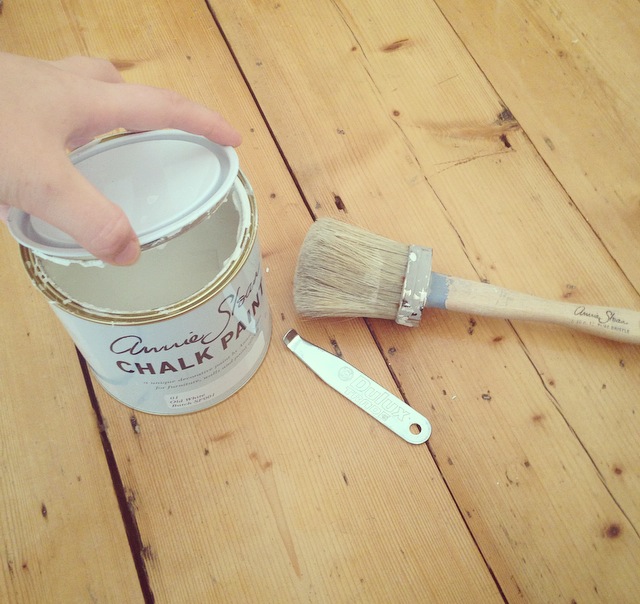
A 1L tin costs £18.95 which is expensive compared to other brands, however it does seem to go on & on. The most brilliant thing about AS paint is that is requires absolutely no prep work at all. Normally, as you’d see from my DIY Bathroom Unit Makeover usually prep work involves sanding, priming, undercoating & so on which takes a lot of time & also requires £££ to buy these extra paints/sandpaper. It is also quite thick so I normally find that it only needs 2 coats even on dark woods, plus, with it being chalk paint it is perfect for those shabby chic projects as a quick sand gives it that rustic worn look.

I recently bought a bedside table for Elsa’s room off Gumtree for £3 (yes I know its No Spend September but I sold a few bits so had some cash….so it totally doesn’t count. I’ll be updating you all on how I got on, or didn’t get on in some cases, on 1st October), so decided to show you a quick tutorial.
Step 1: Find your chosen piece of furniture. I love local sites rather than Ebay as you tend to get things a lot cheaper plus it’s easy to collect something than arrange a courier for larger items. I look at Gumtree & the Facebook buying/selling sites every day for bargains. I came across this awful orange pine bedside table on Gumtree for £5, but after texting the lady managed to barter it down to £3 then went to pick it up one morning after dropping Elsa off at nursery.

Step 2: Choose your Annie Sloan colour. Personally, I use AS ‘Old White’ as I find it to be a lovely warm white without being too yellowy like ‘Original’ or too white white like ‘Pure’. The only other actual colour that i’ve used is ‘Paris Grey’ which I loved, but i’m not a huge fan of bold colours so that’s as adventurous as i’ve been. To see their colour range click here.

Step 3: Paint! Literally, it’s as easy as that. Crack open the tin & slap on the paint. No preparation needed (apart from possibly wiping it down if it’s dirty obviously). I normally put 4 cans of whatever I can find in the cupboard, usually baked beans or tinned tomatoes, underneath the legs so I can reach the bottom without getting paint on the floor or it getting half stuck to newspaper when dried. I use the AS official bristle paint brush (£28.95) which is brilliant as it tends to take me a lot less time than normal brushes, however obviously any old paintbrush will do.
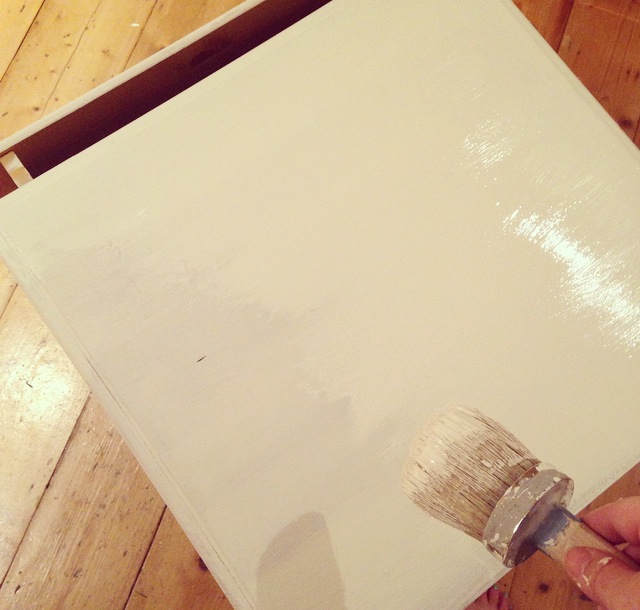
Step 4: Once dried, paint again. This is usually enough coats I find however obviously it depends on the piece of furniture your upcycling & the overall look your going for. If you feel like it needs another coat then wait for it to dry & give it a 3rd coat.

Step 5: Distressing. Now I decided not to do this on this particular item as I felt it wasn’t the overall look I wanted to go for, also with it being a 2.5 year olds bedroom, it’ll probably get a bit bashed up within a few weeks so she can do the distressing for me. What I normally do is use a low-medium grade piece of sandpaper to go round the areas that would naturally be worn away over time; think edges, handles & so on. You’ll find it sands really well due to the chalk based consistency rather than water or oil. Some people do this AFTER step 6 however I always find it easier this way round.


Step 6: Seal with AS clear wax. This is £8.95 for 500ml but again, it does go on & on & on. To apply simply ‘massage’ it into each section but be careful not to use too much. It will be wet/gloopy feeling until it dries harder to protect the item. I use an AS official wax brush (£29.95), however they are expensive & you don’t necessarily need one until your planning to do a lot of up cycling so i’d use an old microfibre cloth to buff it in if you don’t have the brushes.
It’s as easy as that!


You’ll be able to find tons of Youtube tutorials on how to do this which i’d really recommend watching before you start 🙂
Love, Charlotte x
I can't believe your posts don't get more comments! Been following you on IG for a while and love your blog, big thanks for this post! I've always dismissed the idea of upcycling furniture because of all the sanding/prepping I thought you had to do but I love this Annie Sloan stuff! All my bedroom furniture might get this treatment 🙂 xxx
Love this post! I've been upcycling for a little while but only small things but now I've bought an old vintage wardrobe and was looking at buying a tin of AS and reluctantly putting it off but seeing this has made me get my ass in gear and get on with it 😀
xx
I think a lot of people on IG don't have google+ accounts so don't comment 🙁 my posts always get TONS of views but hardly any comments…or people say what they want on the IG post.
Good luck Annie Sloaning – you'll be hooked in no time, then all the unpainted wood in your house will be targeted x
Hi Charlotte, I've been following your blog and insta page for a while. Absolutely love your taste in decor. I had a go at upcycling my pine dressing table last year and I used a satin paint. I've decided I don't like the finish and planning on doing it again with chalk paint. Do you think I would need to sand the paint off or just paint straight on to it?
This is a timely article, as I just noticed today how the shoes I'm wearing could use a sprucing! Thanks for the advice – we have some shoe care items in our front closet, but corralling them like this makes so much sense that it's silly I haven't already done it! check my blog