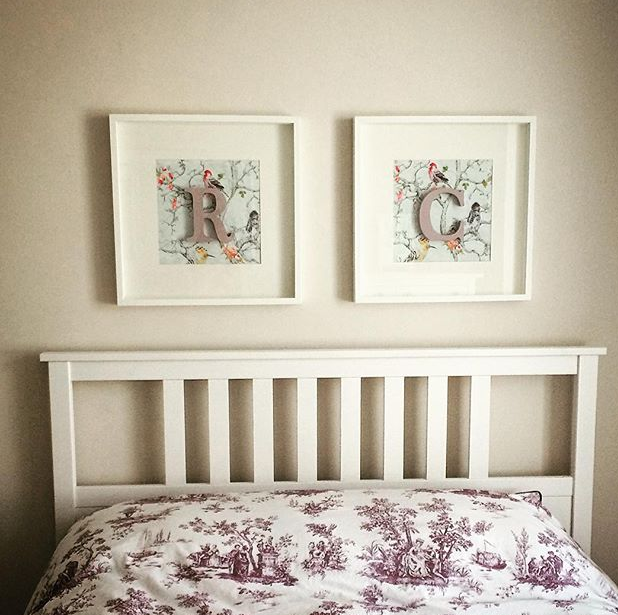
So a few months ago I did a blog post tutorial on how I made my beautiful bedroom framed monograms – to see the original post click here.
I’ll let the creative geniuses below take over (click on names to view their Instagram pages) –
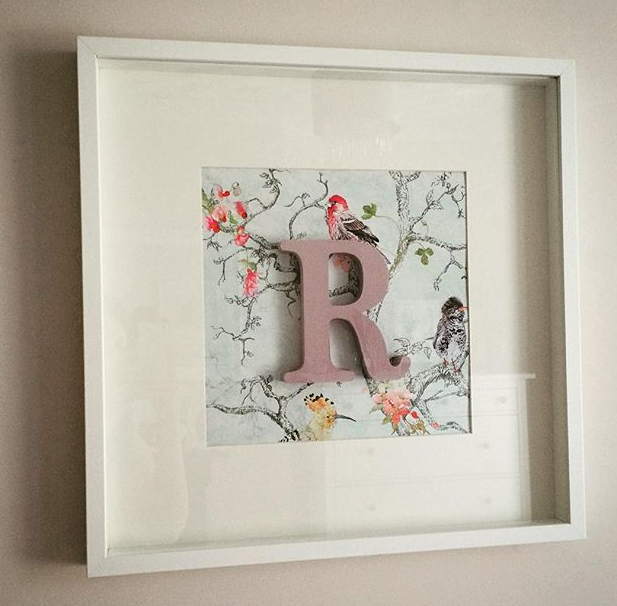
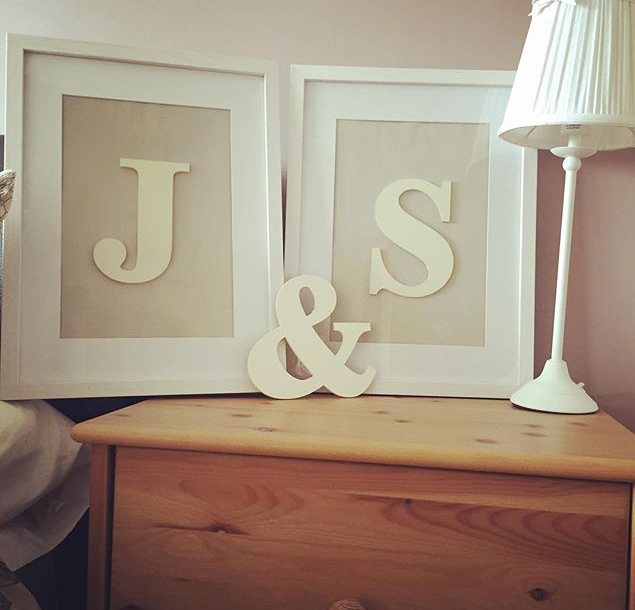
I bought the letters in plain wood from eBay (and the hessian) and the same frames from ikea. I painted up the letters then assembled using glue and double sided tape.
It was easy to do and I loved the result so much I made a set for two of my friends as gifts afterwards.
People comment on them all the time because they are so unique and I would really recommend anyone to have a go at making them!"
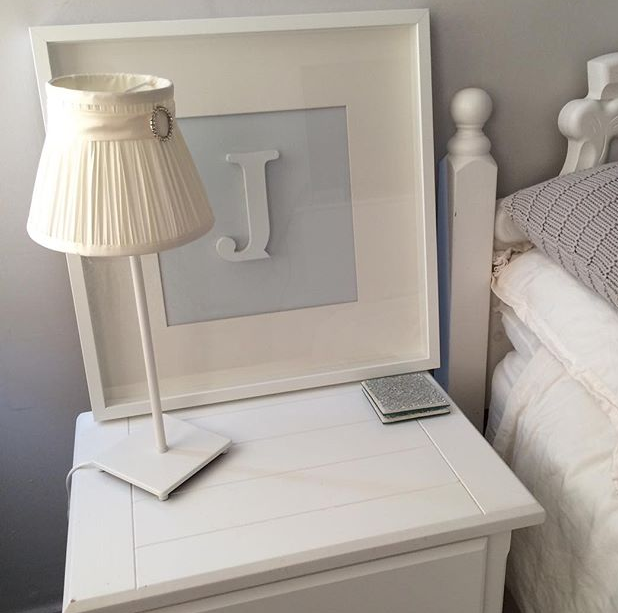
@lollystevens – “I started following Charlotte’s Instagram about 4 months ago. I happened on it through a mutual friends followings. Straightaway I loved the page. The style is right up my street. I loved the snippets of daily life…..food, kids things, house stuff etc. I quickly found myself becoming a stalker when I decided I needed the monogram pictures. Thankfully another stalker asked for me. At this point I saw there was a blog. This took my stalking to a new level.
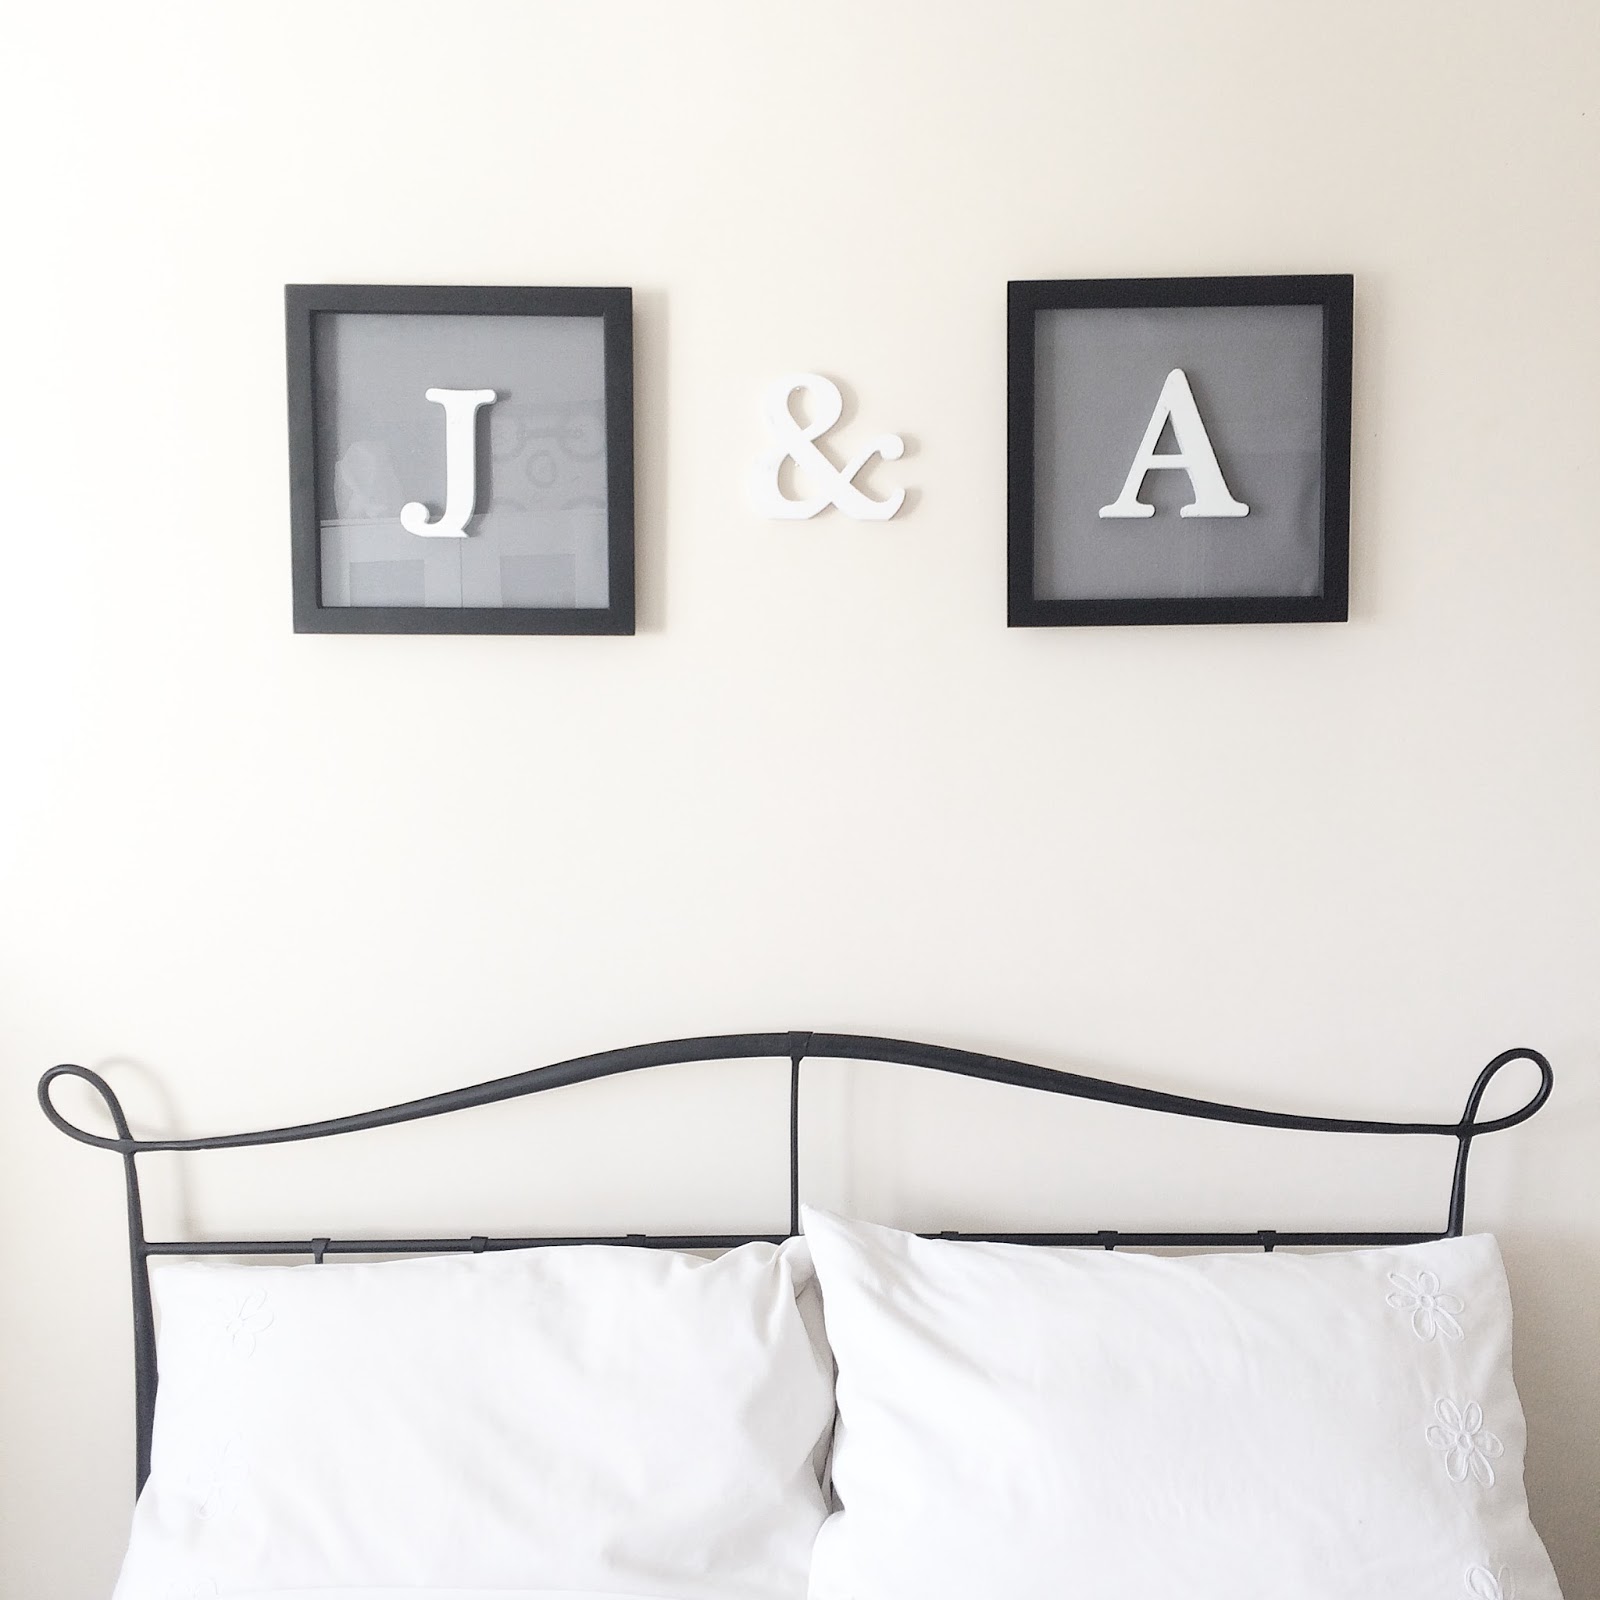
A few weeks later I assembled the items I needed. I painted my backgrounds Dulux Soft Stone to match my room and I used Super Glue instead of a glue gun (I'm lazy like that). It was very easy and complete in a couple of hours with drying time. Its so effective in my bedroom. I'm thrilled. Several friends have commented and have assumed its NOHS as per my usual style.
I thank Charlotte for her blog and her interesting page. I just wish she would come and overhaul my living room"
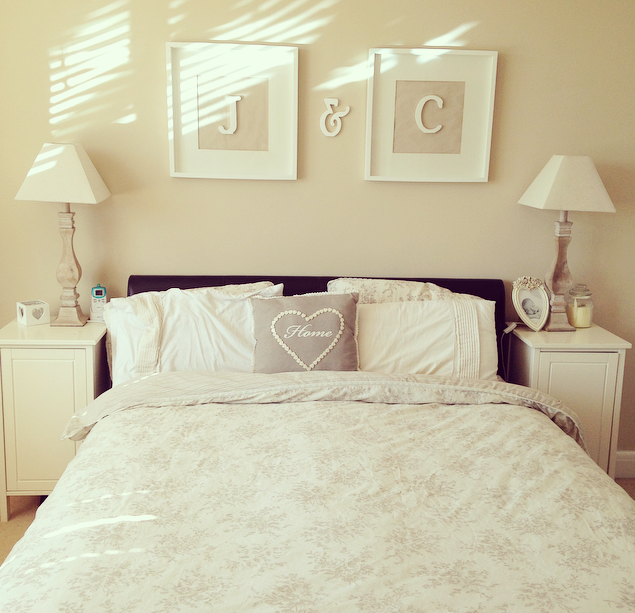
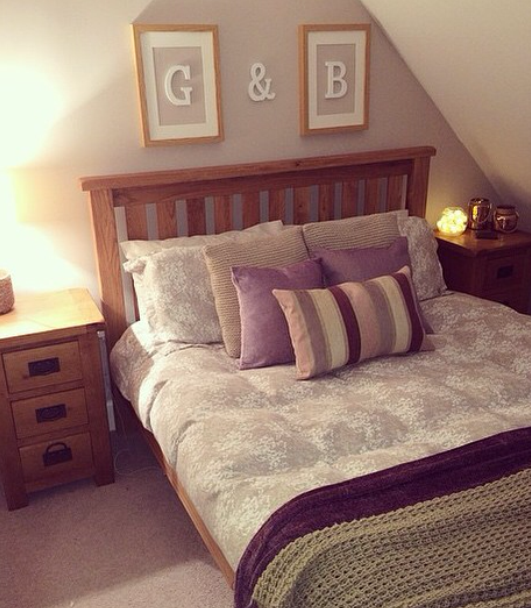
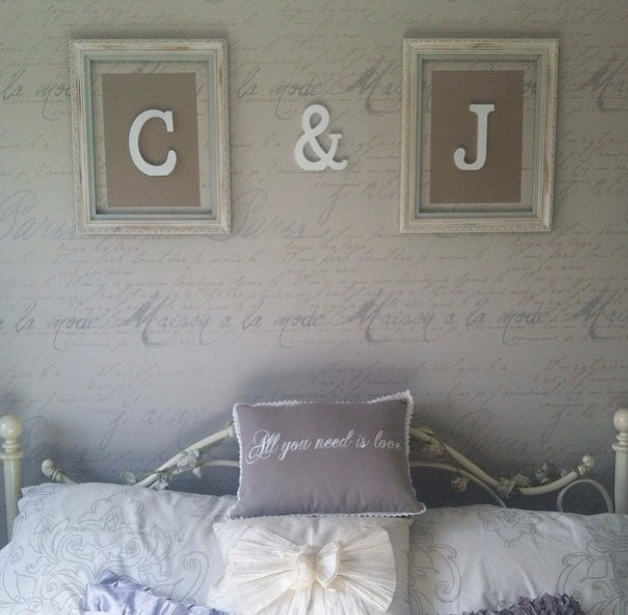
@clareradders – “I was really struggling to find something to put over our bed that wasn’t a cheesy wall decal. These were really simple, unique & cheap to do!”
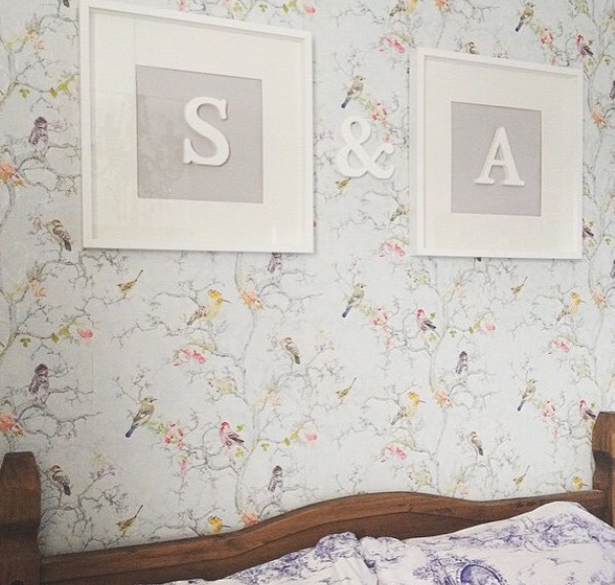
@lolaslittlepalace – “I found your tutorial really easy to follow. I ordered the letters from the same eBay seller you used, although I didn’t get a chance to get to IKEA this weekend so used some different frames from Hobbycraft which didn’t have a mount and I’m contemplating whether to buy some to add it or leave as is…! I used grey fabric as the background simply because I had some spare fabric which was the right colour so thought I may as well use it up and that turned out well as no paint drying time for that bit 🙂
I think it makes a lovely focal point above the bed in our room and is the first thing your eye is drawn to when you go into the room. I love how it’s also unique and personal and I can imagine that everyone who has made one has created them all slightly differently in their own styles. I made and hung them up in our room whilst the husband was out but luckily when he came home and saw them he really liked them – phew!
@staceyls92 – “I used the same ikea frames and ordered the letters from ebay. The only tricky bit was getting the letters to stick to the paper, I didnt have a hot glue gun but found some super glue which did the job! The tutorial was great, it was easy to follow and I love how they turned out. I always get visitors asking me where I bought them!”
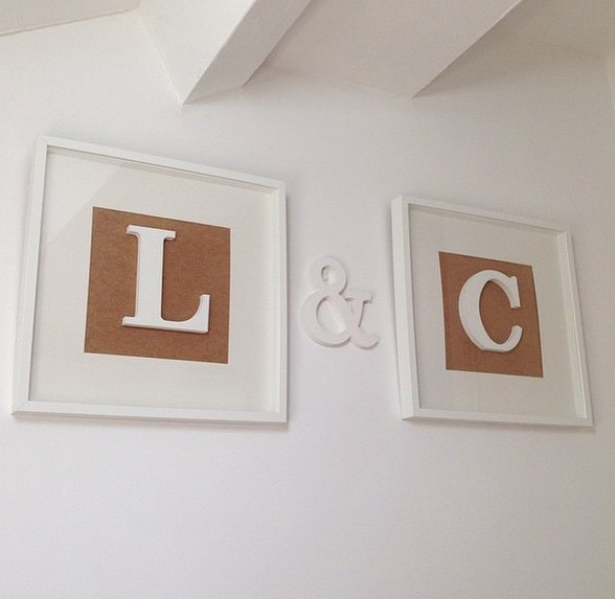
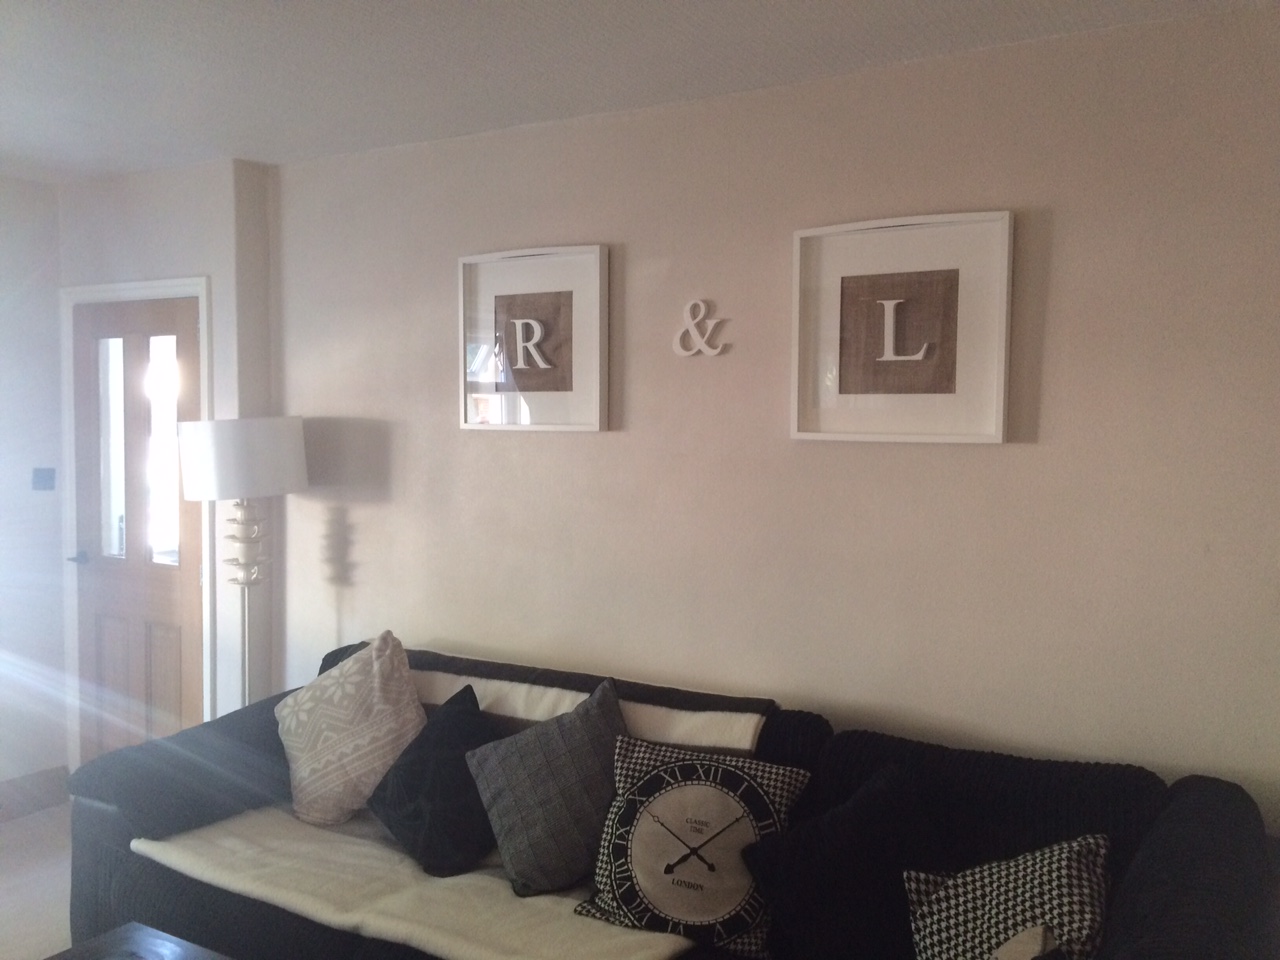
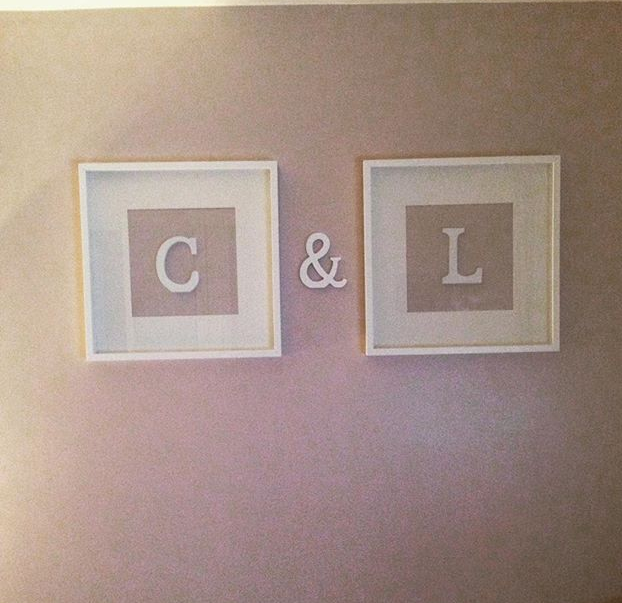
@chloeoliverr – “When I first started following Charlotte, I was mesmerised by all the pretty things she has everywhere around her home so when I read the blog post about how to make these fabulous monogram frames I literally jumped into the car and to Ikea to the frames! There were already mine and Luke’s initials (L&C) in the living room so why not the bedroom hey? Painting the letters was the trickiest bit and im sure i got as much paint on my hands as I did on the actual MDF but a couple of coats later they looker super! From there it’s all plain sailing. I had some super glue dots that I got from Poundland (would you believe?!) and that was how I stuck the letters to the frame. I didn’t paint the back of the frame and still havent just because personally I dont mind the wood look but equally painting would have looked just as good. Well the most difficult and time consuming bit was getting my partner to put them up, typical bloke timescale! Now they are up I absolutely love them, everyone that comes into our home comments upon how lovely they are and after finding out how cheap and easy they are to make yourself they are so shocked and intrigues as to how to do it themselves. You might even catch a DIY bug like I did. Charlotte please keep up with the making and creating and sharing your ideas for us all to see and to everyone thinking about making these No1. DO IT (you wont regret it) and No2. Happy painting and DIY’ing xx”
@jenyoung_xx – “I’ve been following Charlotte for a couple of months now and I love seeing all her photos, when I came across these initial letters I loved them straight away. At the time I was trying to find something for my bedroom wall but not a canvas so it was perfect! I went and bought the frames and paint and orders the letters. It was so easy! And looks fab. I’ve had a lot of lovely comments about them too :)”
@feebreeze – “I came across your page during my early morning feeds with my last born last August. My first thought about you was I need to follow this crazy lady who decides to install a new kitchen a few weeks before getting married! I can’t quite believe how you manage to get everything done with two little ones. I tried out your post ref to the initials. I got the exact same frames only because they were the only ones I could find that held a 3D object. I purchased the exact wooden letters in your listing and omg how cheap for the quality (i’ve purchased a few more since for other things). The paint I used was called ‘teapot’ from the B&Q Valspar range £1 for a sample but was a huge pot. I hope you like my version of the initial frames, I have one the other side and am waiting for them to be hung just about the light but knowing my hubby I could be waiting a while 🙂 Thanks to your page and a few others I have come across some great pages that continue to give me inspiration”.
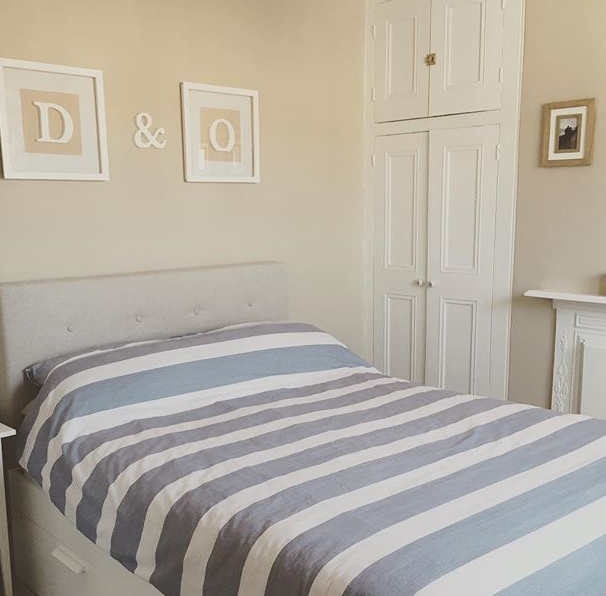
@beth_hodgkinson – “When I first saw the frames on Instagram I instantly loved them! After reading Charlotte’s blog post I loved what the blog said about ‘your side’ and ‘my side’ and the pillow comments! And anything thats personalised for us is welcomes with open arms in to our house. After many reads of the blog post, I decided to give it a go. They were so easy to do, although my boyfriends patience were tested putting them up “no babe, they are not level” was said multiple times! I’ve had so many compliments from friends and family on how lovely they are. They make our cosy little bedroom perfect for us! And my side of the bed and pillows stay just how I like them! Thank you Charlotte for sharing your creativity with us”
@daisywalkr – “I’d been looking for ages for something to go above my bed in our newly renovated victorian terrace, and was so fed up of seeing the same old canvas/prints/photo frames everywhere! Until I stumbled across Charlotte and her beautiful home – I instantly knew thats what I wanted! I’ve always loved personalised things and this ticked all the boxes. Our nearest IKEA is over an hour away so I bought wooden box frames from The Range and painted them using chalk paint, which meant the project took a little longer than expected but still only a couple of days in total. I found some old paint we had from when we did the bedroom for the centre of the frames and voila! i cold not be happier with how it looks and we have had so many compliments about it. Thank you for the inspiration Charlotte – can’t wait for the next project! <3”
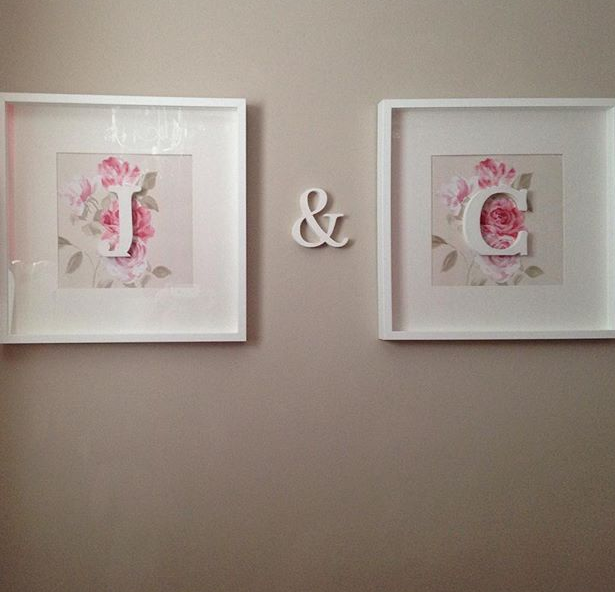
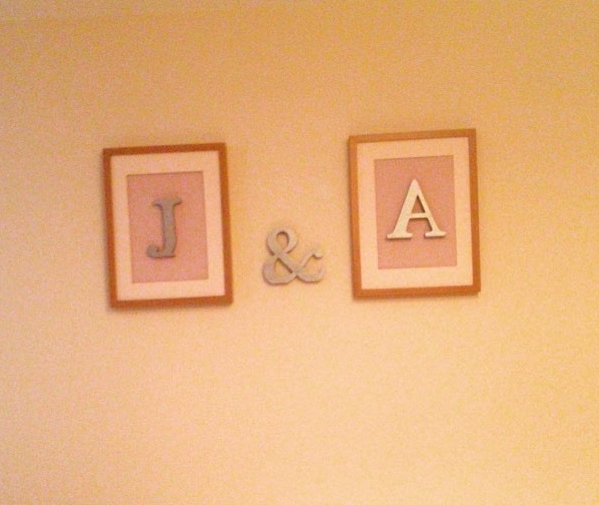
@joanne_harris14 – “I saw how lovely yours were on your blog and thought let’s give it a go. Even more fab we have the same initials”

@khadijahtaylor – “When I saw Charlotte’s framed monograms on Instagram I knew I wanted to do something similar for my bedroom. So when she posted the tutorial on her blog I was really excited to try it myself. The instructions were easy to follow. I had to alter it a little as my frames are different. Overall they look great and i’m really happy with them so thank you Charlotte for inspiring myself and lots of others too!’
@jowdii_x – “I have been following Charlotte for around 6 months now and was initially following her after falling in love with her home! Her instagram looked so fresh and bright and always seemed to have daily posts of how i’d always imagined my own home would look. I love clean and neutral it all looks together in a room! After seeing all of the pretties on her instagram I started looking around my own home at things id change if I had the time money, and decided I was bored of my bedroom (well I wasn’t and bored until I saw charlotte’s but hey ho nothing like an inspirational spruce up!) I didn’t follow the blogpost completely but put my own twist on it. It was really easy and only took me about 15 minutes! Since it’s been up a cuple of friends have asked me to make similar monograms for their childs bedrooms. It’s the first thing you see as you enter our bedroom and makes our shabby chic, fresh theme all come together. It also makes me smile seeing mine and my fiances initials together over our bed as if we are kings naming our domain. Thank you for the awesome idea xx”

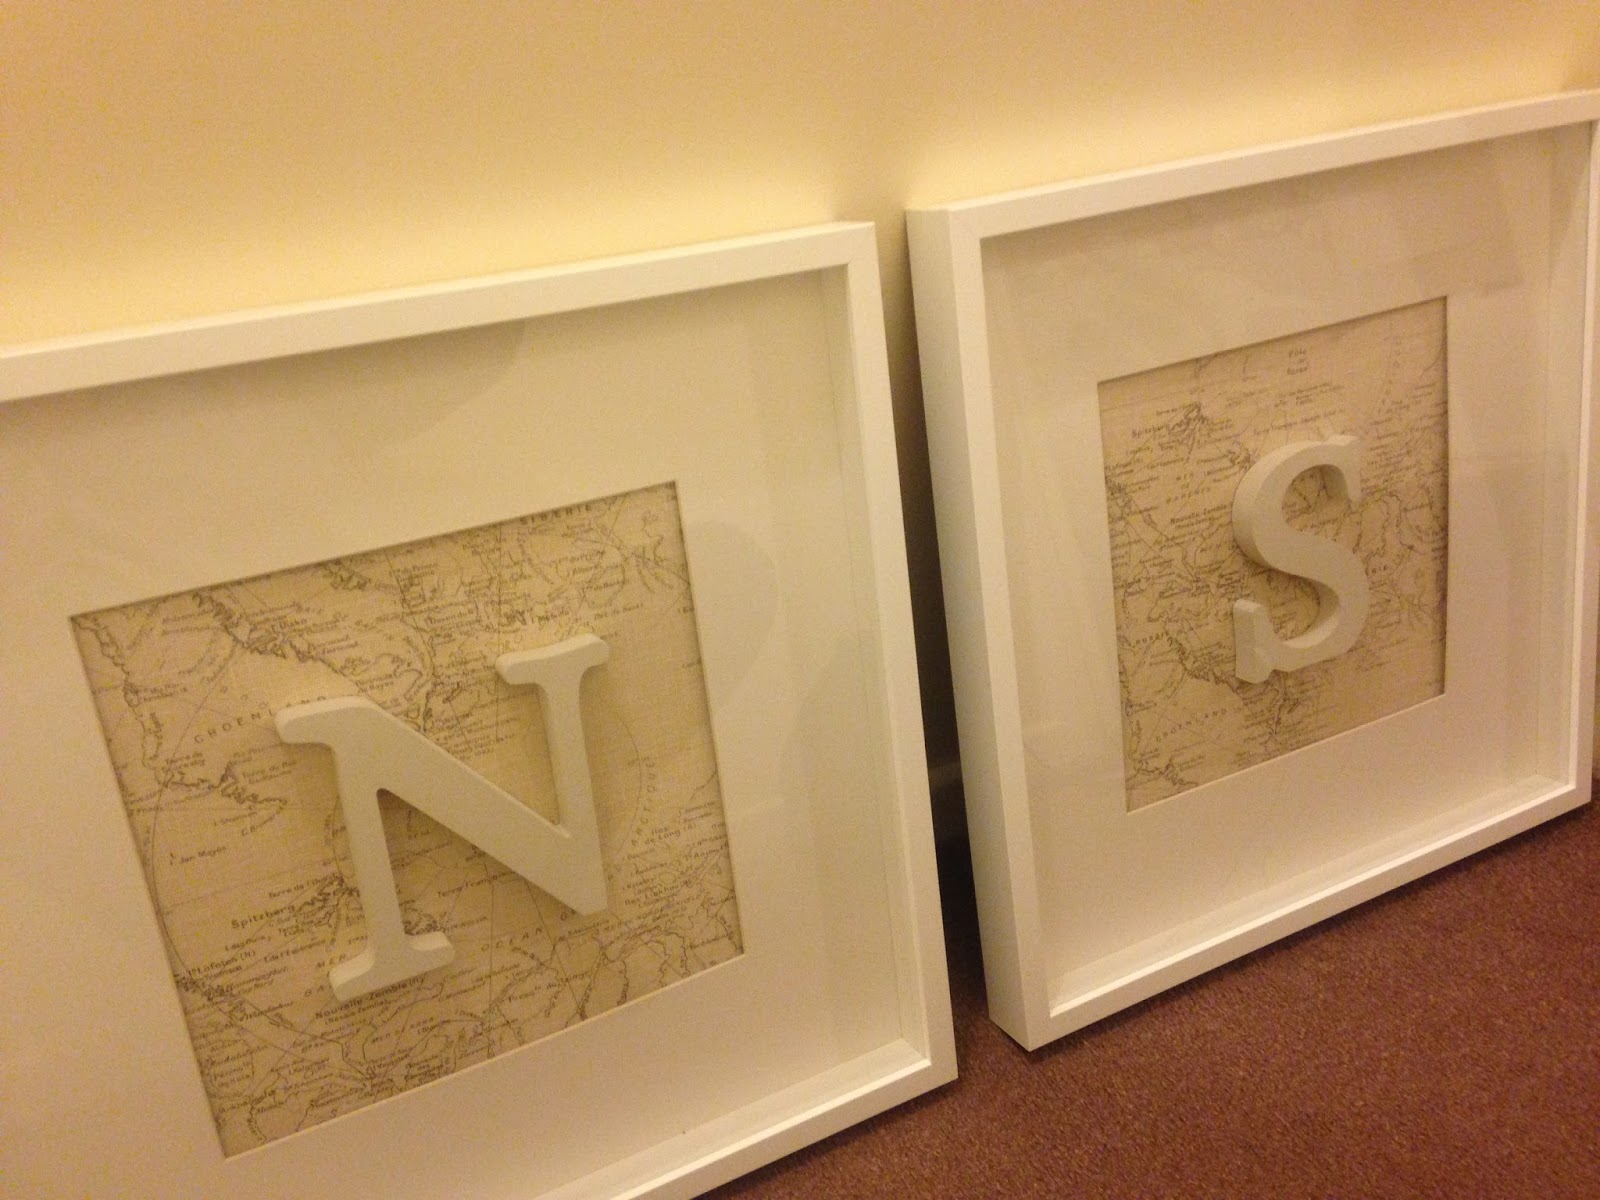
@saraagarner – “I thought that these were fairly simple to make using your blog post – I bought everything stated in your post and it took no time at all to do! The only difference being I did not paint the background, instead went in to Homebase and ripped a strip of wallpaper off a sample roll and stuck it to the board. I opted for an old style map wallpaper as I am interested in travel and made it a bit more personalised to me. I feel that the monograms looks a lot more expensive than they actually were and add something personal to the room. My bedside lamps also cascade a ‘V’ of light towards them, making them stand out in the room and look professional. I have lots of compliments from family and friends visiting and it feels nice to say that I made them!”
@sarahphe – “Absolutely love these that I made after seeing them on @charlotteamorvalentine blog, they took about an hour to make, so simple yet they add a really nice personal touch to our bedroom. I’ve been following Charlotte for about a month now, her home is amazing and I look forward to many more inspirational ideas :)”
Thank you so much to the ladies involved in this post for their pictures & words. I’m so proud that so many of you love this idea – it just shows that sometimes the simplest of ideas can be the best ones.
Love, Charlotte x