As a female, I take up the majority of the bed and one of my favourite pastimes is duvet stealing (I say it makes up for the constant snoring I have to listen to every night). However I am still a firm believer in ‘your side’ and ‘my side’…a boundary that shouldn’t be crossed if that darling husband of mine wants to keep his body parts intact. Those pillows I have rigorously selected are mine and god forbid any should find their way onto his side, there will be hell to pay.
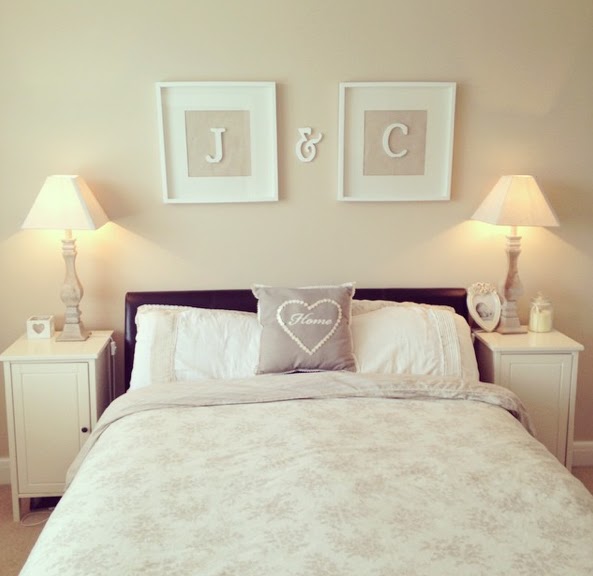
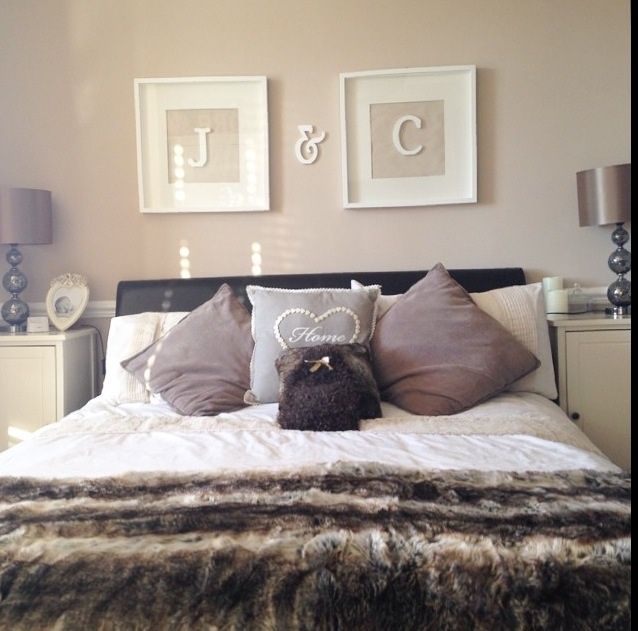
Which is why when I bought a few too many bargain Ikea frames I decided to take it upon myself to not only show the world which side of the bed is mine, but also create a simple yet effective design on an otherwise plain empty wall.
I do get a lot of comments and ‘where did you get these from?’ on my Instagram page with even a few followers recreating the look themselves – so I thought it would be a good idea to do a blog post on how I made these.
Time taken: 1 hour (including paint drying time – otherwise 10 minutes)
Cost: £28 approx
What you need –
- Glue gun: you can pick these up for around £5 in most craft places – hobbycraft sell a fun mini pink or blue one which I absolutely love – http://www.hobbycraft.co.uk/hobbycraft-hot-melt-mini-glue-gun-pink/598098-1000?gclid=Cj0KEQiAiuOlBRCU-8D6idaPz_UBEiQAzTagNM26xBIBSgPVcdkPPvo_en9u83wW1yGeDS8gIb8ZI54aAr-t8P8HAQ)
- 2x Ikea RIBBA frames: I used the 50x50cm ones which are £9 each – http://www.ikea.com/gb/en/catalog/products/60078034/
- Paint or wallpaper: depending on the look you’d like. I painted the back of the frame with the same colour as my walls (wilkinsons ‘coastline’) to blend in for a simple effect however you could chose a contrasting colour or even pick up a couple of wallpaper samples to put behind for free from local DIY places. You will also need some white paint for the letters
- Initials including an ‘&’ sign: I got mine from ebay (seller: lissaj2006 – item number 281436809326) which are 15cm high and cost £1.60 each including P&P. I went for the 15cm option.
- Others – paintbrushes
Instructions –
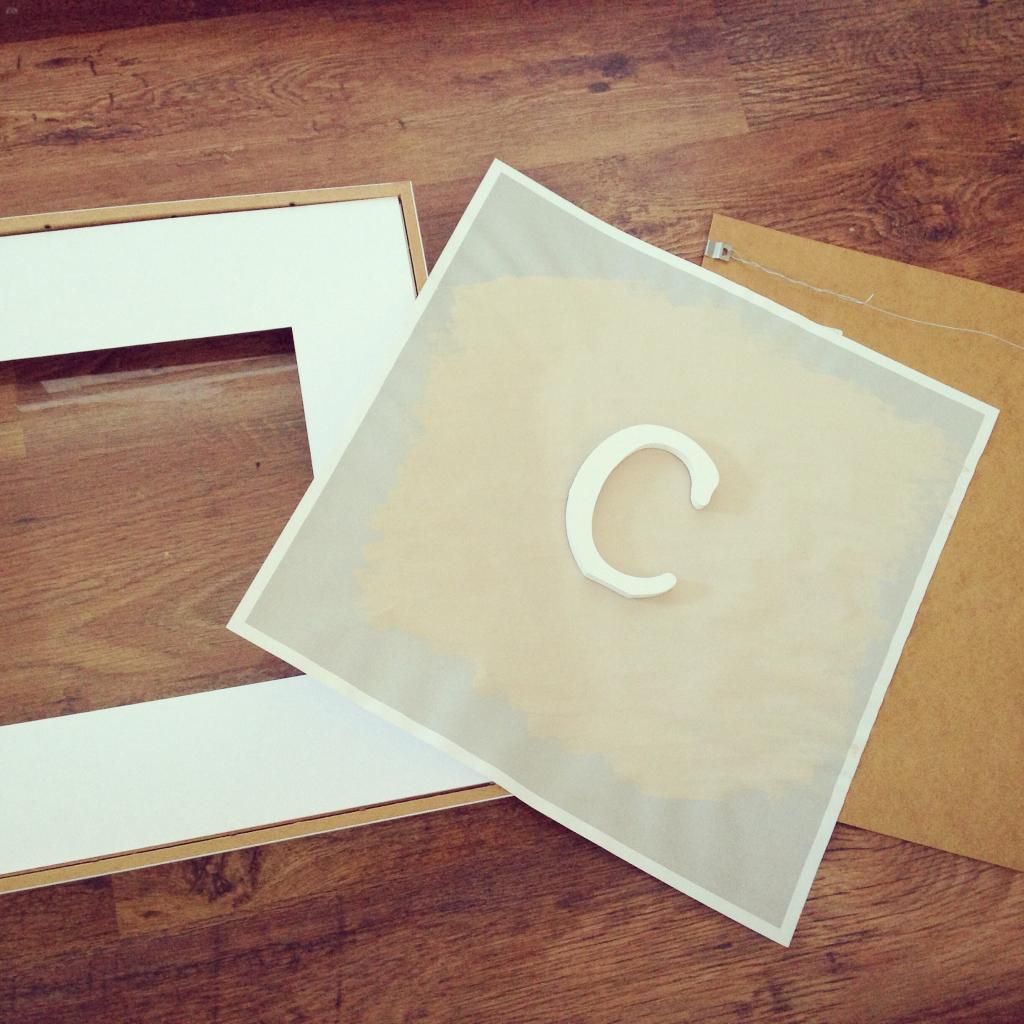
- Firstly paint (or wallpaper) the back of your frame – I literally painted the paper that comes with the frame to show the dimensions when buying
- Secondly, paint your initials including ‘&’ sign
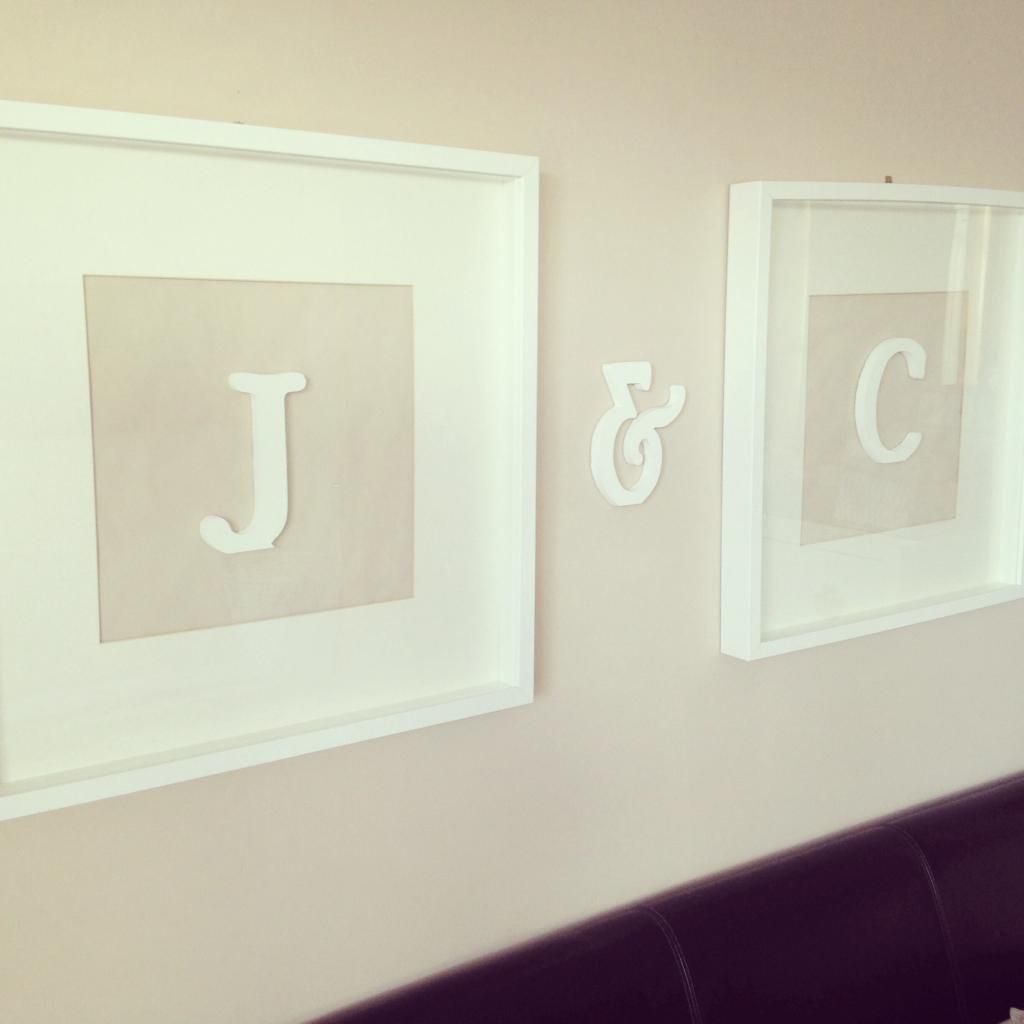
- Thirdly, once all the paint is dry, use your glue gun to stick the letter to the painted paper (making sure it is central to the mount). I also used my glue gun to stick the painted ‘&’ sign onto the wall in the middle of the two frames…probably not advisory if you want to remove and not redecorate however!
- And finally, hang the frames.
Et voila! Simples.
Such a lovely idea! Cant wait to create this for my home 🙂 Thank you for sharing! x
I made one today for my house after reading this. Amazed with how well they turn out! Thank you x
These are lovely 🙂
Does the glass fit over the letters or have you left the glass out the frame?
Ahh amazing! So glad I could inspire somebody. Would love to see a pic of the finished project x
The frames quite deep so the letters are inset nicely 🙂
What thickness size are the letters ? X
How thick are the letters you Bought? 🙂