
Over the years I’ve become a bit of a pro at painting & decorating. When you’re obsessed with interiors & get bored as easily as I do, it means that become a dab hand with a paint brush is a bit of a must so I thought I’d impart some of the wisdom & tips I’ve picked up over the years in a blog post.
DIY is somewhat of a dying breed & nowadays instead of taking on home projects ourselves, it’s all too easy to give a handyman a call to do the dirty work for us but as they say, you can’t learn if you don’t try & you’ll be surprised what you can do.
DIY is for girls just as much as it is for men & my impatience has meant that waiting on Mr THTMM to get home from work & instead having a go myself has become the norm. Sure sometimes I end up taking half the plaster off the wall when putting up a frame but hey, at least I tried right?

One of the easiest tasks when it comes to giving your room a makeover is giving it a new lease of life with a lick of paint, but for the novice decorator, what should you bear in mind?
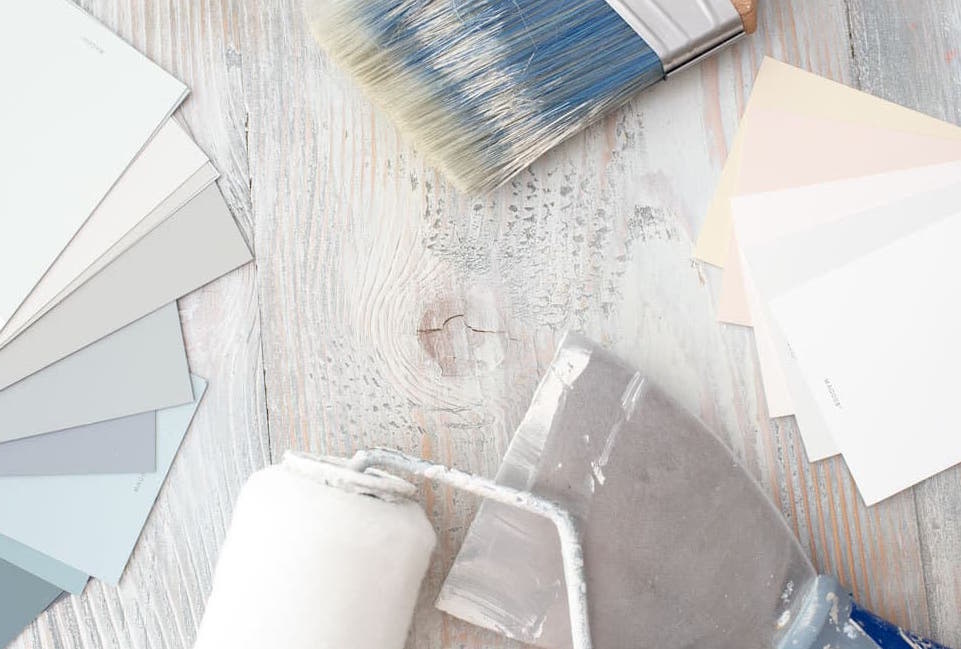
- Paint finishes – the type of paint you chose will have a huge impact on the overall look & how it’ll end up looking further down the road. Matt is my go to for the chalky finish but for spaces that are high traffic or have tiny people (or pets) in, going for something a bit more durable like silk or eggshell is the best option. See my full post on this here.
- Invest in a good brush – the trick to the perfect cutting in is all in the brush. You can get specific ones which are angled & instantly make it 20x easier. I now don’t even use masking tape but prefer to do it freehand, although it’s taken years to get to this stage! This goes with rollers too, don’t go for anything too cheap as you’ll find you get more paint flicking around than you do on the walls. I’d recommend this brush off Amazon which I use.
- Protect your stuff – paint has a habit of getting everywhere so unless you want your floor & furniture covered in the typical roller splatters then use old sheets or plastic drop cloths to cover everything over…or even better move it all out of the room to make life easier.
- Tape is your best friend – I always use Frog tape rather than cheap masking tape to give a better finish & avoid the dreaded peel off which then takes half the paint with it. Also to avoid this, peel off when still slightly damp or blast a hairdryer over it for a minute or so then use a sharp knife.
- Perfect preparation prevents (piss!) poor performance – it’s all about the prep work & although it’s probably the dullest & most time consuming side as it’s not making an immediate difference like the feeling of slapping on a coat of paint, it’ll make the biggest impact. Making sure you spend time on the below will mean your finish is improved so take your time!
Here are the steps I take when painting –
- Begin by getting together everything you’ll need for the project; paint for walls & woodwork, brushes, rollers, sheets/covers, sandpaper, frog tape & even some old clothes to wear.
- Cover/move all furniture & flooring, the emptier the room, the easier it’ll be to manoeuvre & the less time it’ll take.
- If you need to strip any wallpaper then nows your time. It’s a labour of love (especially with awful good chip!) & you never know entirely what you’re going to find underneath but it’s a must if you want a good finish so put in the hard work now. I don’t actually use a steamer but my trick is to peal then wet with a big sponge then leave for a few minutes & peal again. It usually does the trick just as well once it’s soaked through the backing. Prepare to possibly need a plasterer if you’re wall underneath is in bad condition!
- Fill any holes, cracks & marks with multi purpose filler…my trick for this is to use an old debit/store card, then leave it to dry (depending on the one you go for but I usually leave it a day) & sand.
- Clear any cobwebs & dust, if it’s really grimy then use a sugar soap solution to get rid of any grease.
- Tape (as I said, I recommend Frog tape) around anything you don’t want to get paint on or want a straight edge; plug sockets, light switches, woodwork & so on. You’ll eventually get to a stage where a steady hand (& a good cutting in brush!) will mean you don’t have to bother with this but it does take a bit of practise.
- If needed, prime or undercoat your walls (apply a mist coat to any freshly plastered walls).
- Now you can start applying your colour – start from the top to the bottom so if you’ve got ceilings to paint then they are number 1 on the list, then walls, then woodwork. The last thing you want is paint flicking on to your newly painted walls after all.
- Work your way around cutting in then using a roller. You ideally want to get the room done in one go so write off the day; otherwise you risk some areas getting more coats if you leave parts to dry then go back however much time later.
- Prepare to do two, if not three coats depending on the coverage, colour & quality. Sometimes a very light sand between coats is needed. Another trick I’ve learnt to stop any tiny bubbles or bumps when rolling is to not overload the roller but also to use a second new/dry roller to go over the area you’ve just done to even out the paint & to smooth.
You’ll be perfecting your painting & become a pro to be able to give your room a brand new look in no time at all.
Love,
*This post contains affiliate links
I am thinking about taking on the challenge of redecorating our bedroom. I have been reading and re-read your posts to take on board all your pointers. So thank you for being a guiding light for the ones lost in paint swatches and fabric testers. XxX
Good luck Carol – you can 100% do it! xx
Great tip about rolling over with a dry roller, thank you! I have also heard this works well when painting furniture – still have to try it though 🙂